Pixpa gives you the option to manage the page settings like Navigation Title, Visibility, SEO, and much more.
In this article, you will know about all the global settings of any page.
Manage the page settings:
- Enter the page title (1) (that you want to edit) in the Search Bar.
- Click on page (2) under Site Menu Items.
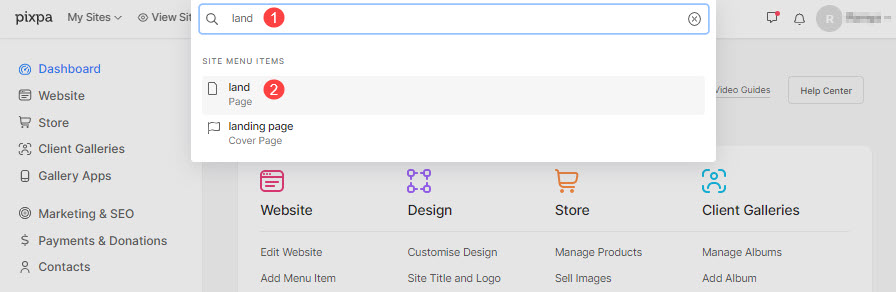
- You will now reach the page builder.
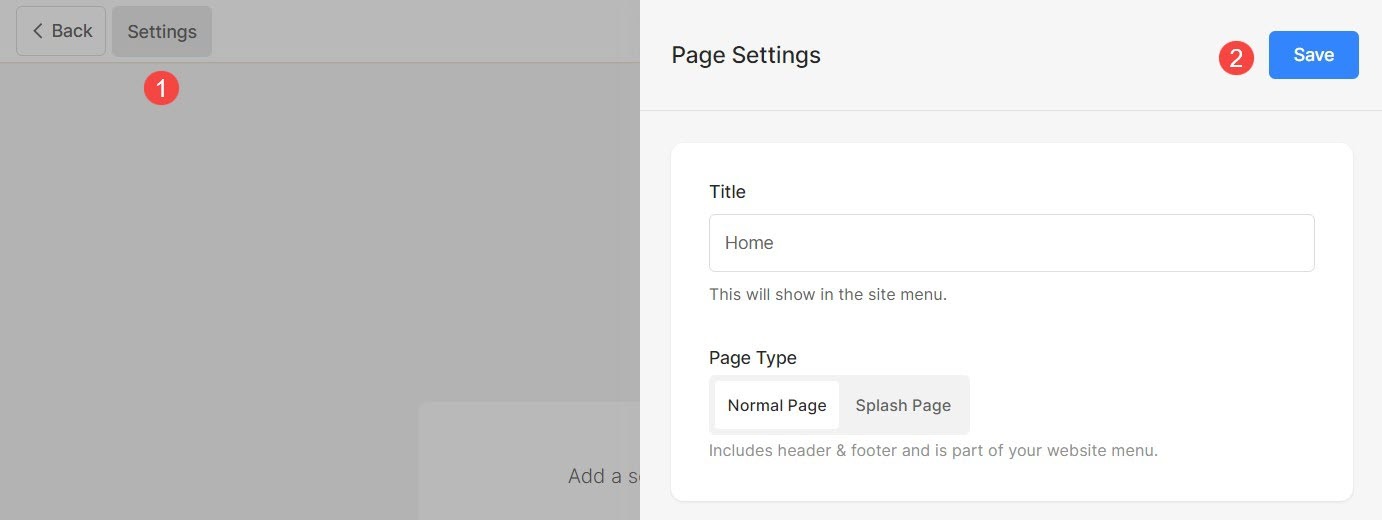
- Click on the Settings (1) button to view the page settings.
- After making the changes, hit Save (2) button.
From the Page Settings, you can manage:
- Page Title
- Set page as Normal Page or Splash Page
- Page Visibility
- Password Protect a Page
- Page Header & Footer
- Social Media Image
- Additional Page Information
- Search Engine Optimization
- Page Code Injection
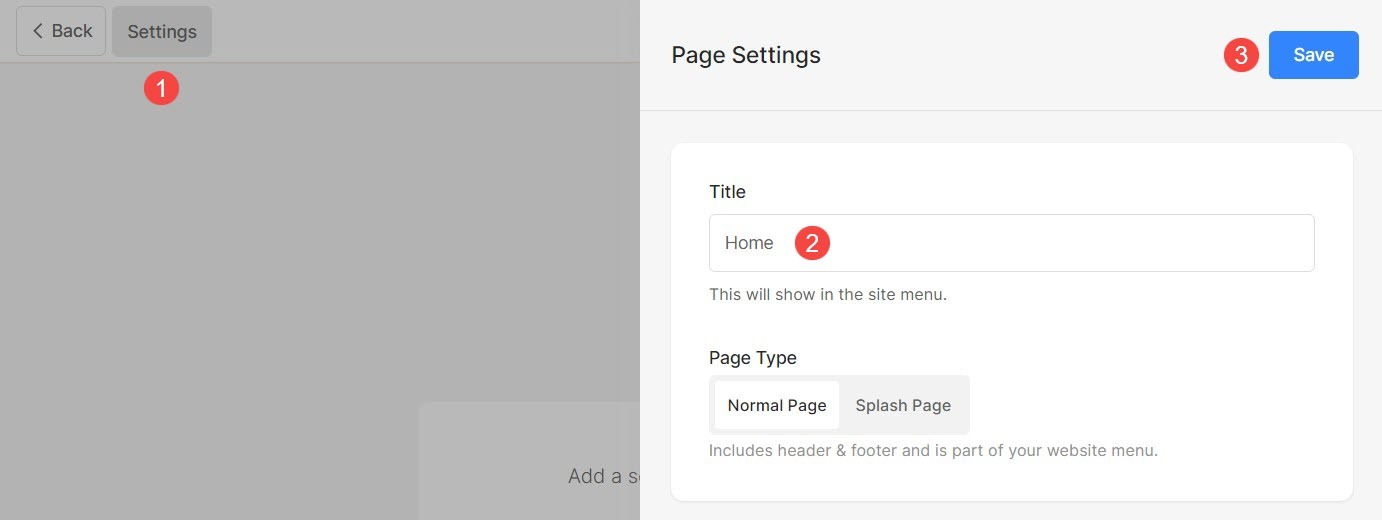
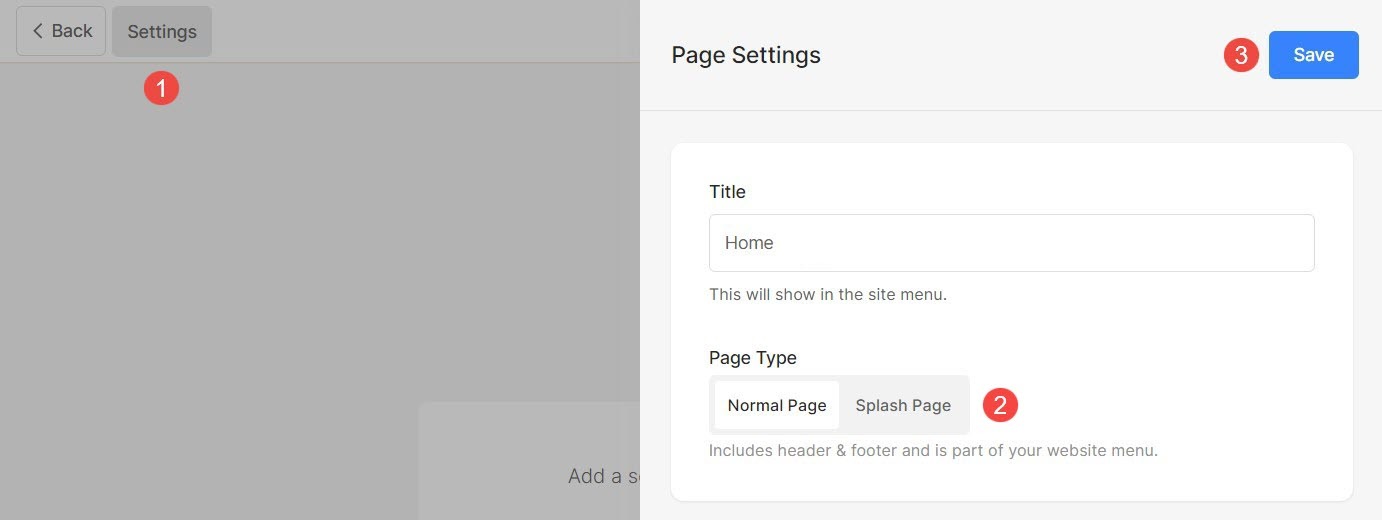
Page Title
- Click on the Settings (1) button.
- You can change the title of the page from Title (2) section.
- Save (3) the changes.
Normal Page or Splash Page
For different reasons, you may want a page without any distractions like the header and footer. You may only want your website visitors to focus on the page content.
In this case, you can create a beautiful, fully responsive cover or splash pages through Pixpa.
Build one-page websites to express your ideas, create landing pages for your web campaigns, an entry/splash page for your main site, or an under-construction page. The possibilities are endless.
To convert a normal page to Spalsh page, follow the steps mentioned below:
- Go to Settings (1) of the page.
- Select the option of Splash page (2).
- Save (3) your changes.
Page Visibility
Pixpa enables you to choose whether to show or hide a page from the website menu.
- Click on the Settings (1) button to view the page settings.
- You will have the Visibility (2) option on the right side.
- Change the visibility status and Save (3) the changes.
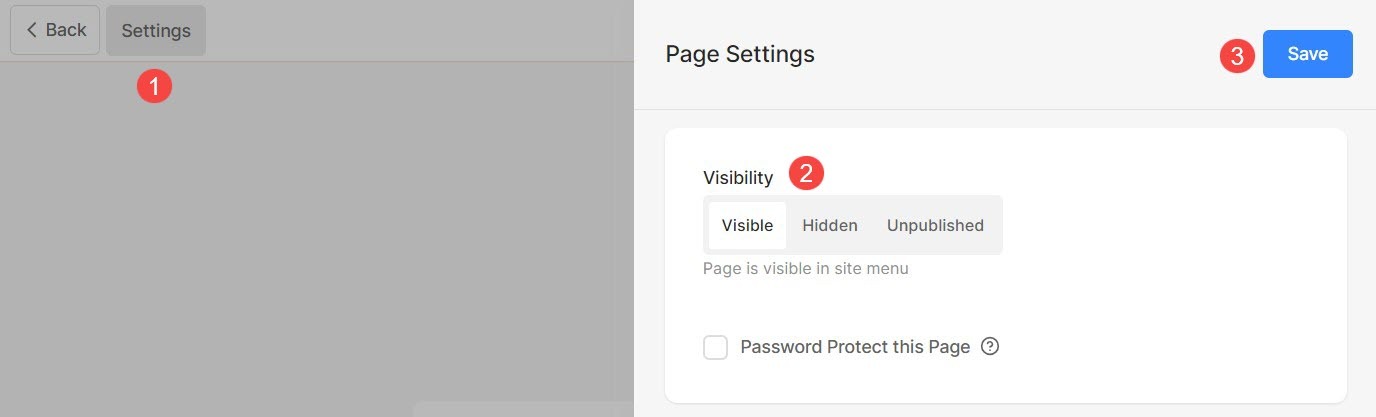
Different Visibility options are:
- Visible: Choose this option to show the page on the website.
- Hidden: Choose this option to hide the page from the website. However, it will be accessible on its link.
- Unpublished: The page will not be available online and will give a 404 error page when opened.
Also Check: Customize 404 error page
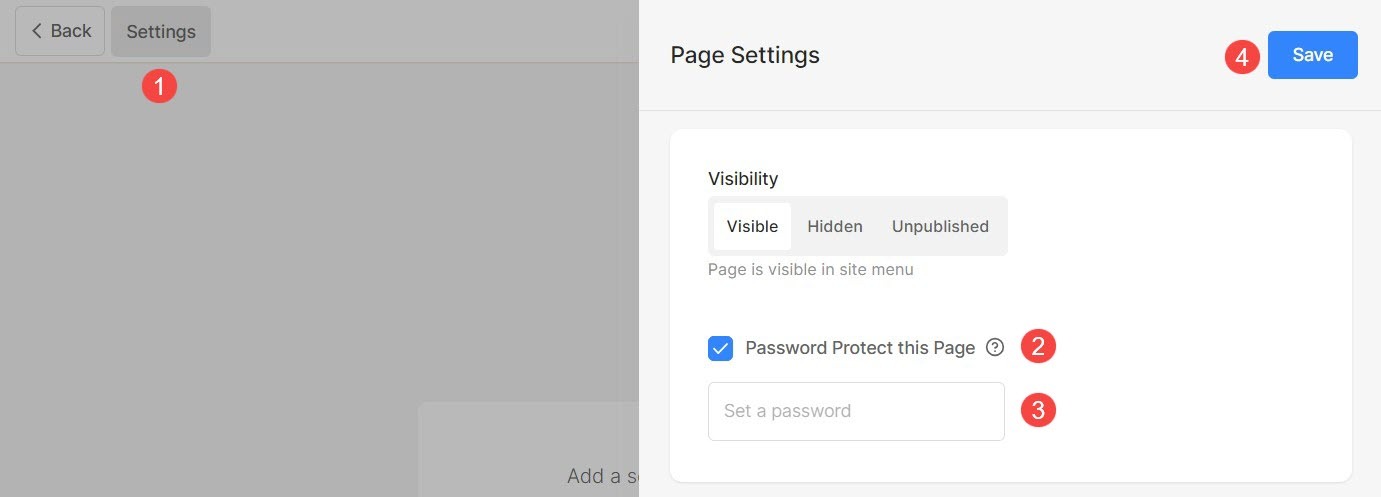
Password Protect a Page
You can easily add a password to any of your pages within Pixpa so only those people who have access to the password will be able to see the page.
You can also restrict or password-protect the whole website access by enabling a password so that no one can see your site changes for time being.
- Click on the Settings (1) button and check the option of Password Protect this Page (2) to enable the password box.
- Specify the password (3) for the page.
- Finally, Save (4) the changes.
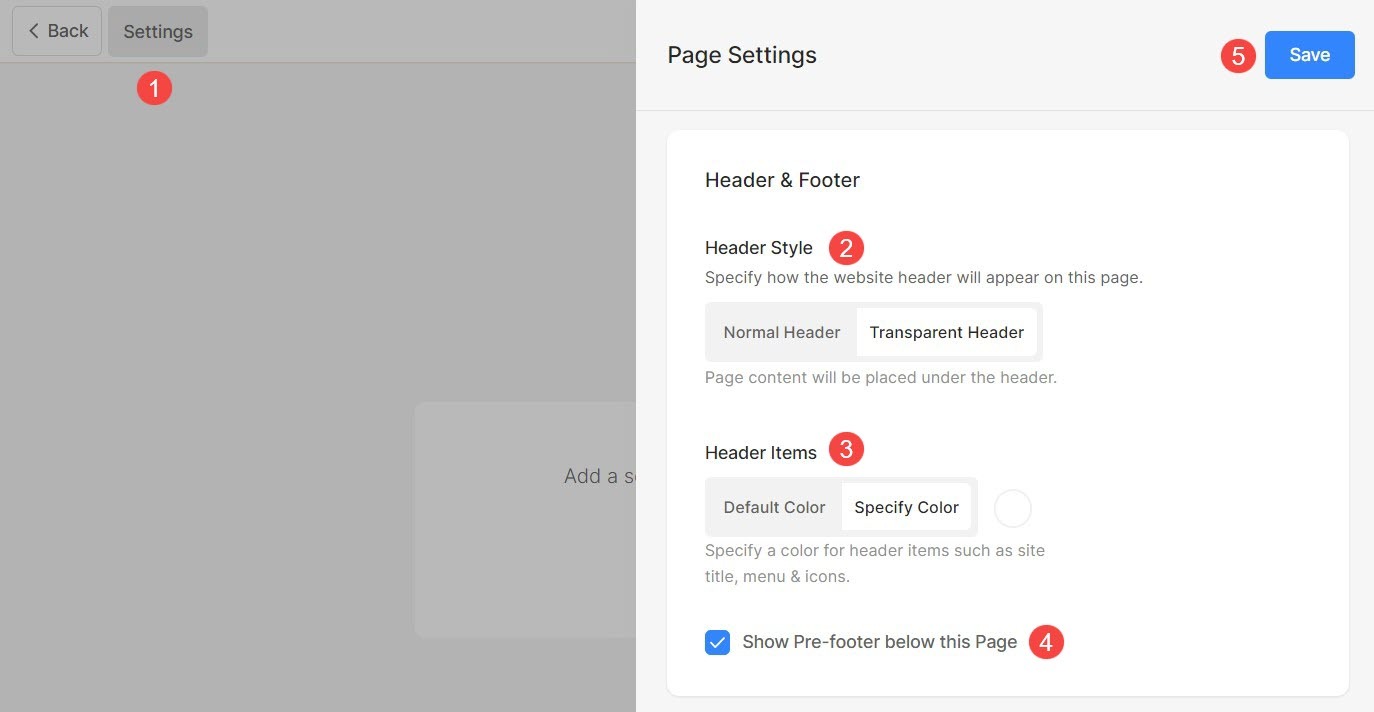
Page Header and Footer
You can add an extra flair to your page by making the header transparent and show a background image behind the header.
Apart from this, you can also show the prefooter on any page and show content like Instagram feed, business contact information, newsletter box, working hours, etc in the footer area. This is shown above the footer.
- Click on the Settings (1) button to view the page settings.
- Scroll down the Settings drawer, and choose the Header Style (2) for the page you are working on.
- In case Default is selected, the default website header style will be used on the page. The page’s content will be placed after the header. Check out a live example.
- In case Transparent is selected, the header will be set as transparent on this page. The page’s content will be placed under the header. Check out a live example.
- If you have set the header to be transparent, you can choose the header items/menu items color (3):
- In case Default Color is selected, the header items color is inherited from the Design section.
- In case Specify Color is selected, you can click and choose the header items color.
- Check the option of Show Pre-footer below this Page (4) to show the pre-footer.
- Finally, Save (4) the changes.
To learn more about Header style options, click here.
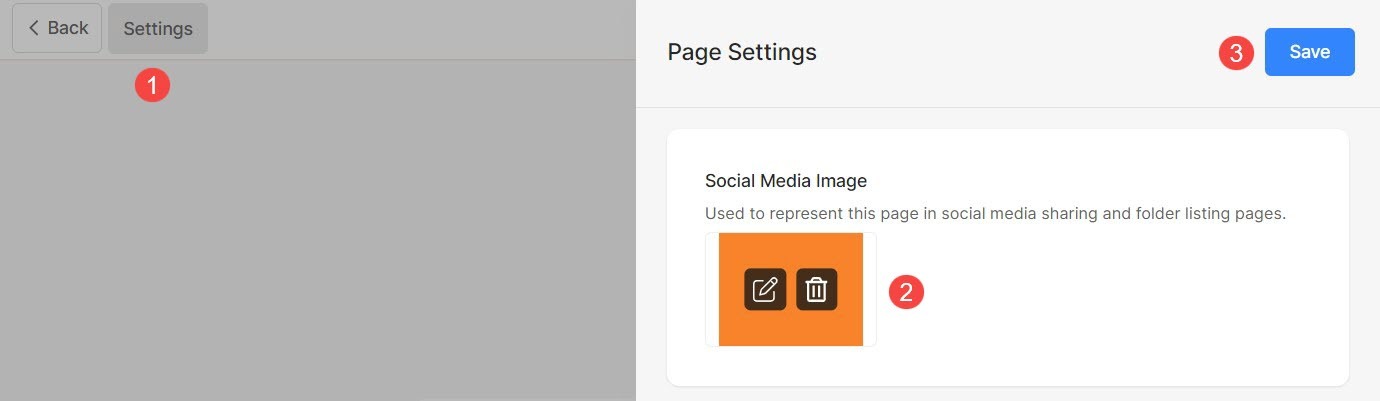
Social Media Image
Pixpa enables you to add a Featured Image to any page to be used in social sharing of the website and as a cover image when the page is added in a folder.
- Click on the Settings (1) button.
- Upload or remove the Social Media Image (2) for the page.
- Save (3) the changes.
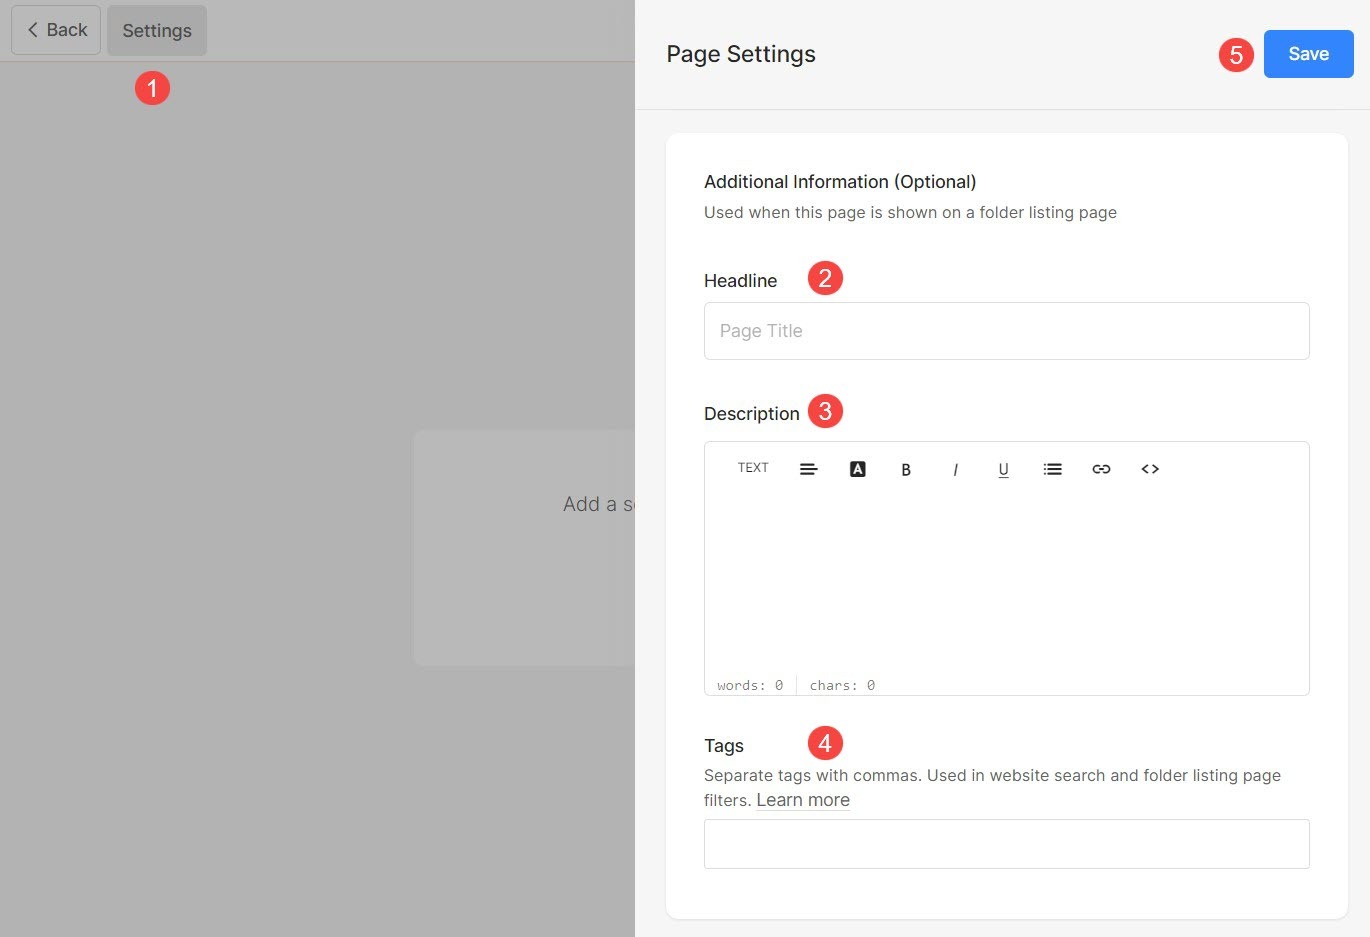
Additional Page Information
The Headline and Description will be used on the folder listings page to represent a particular menu item i.e., it is only used when the menu item is added to a folder.
You can choose to show these headlines on the folder page from the folder design. These are optional fields.
- Click on Settings (1) button to open the page settings.
- Update the Headline (2) of the page.
- Add a Description (3) for the page.
- Specify Tags (4) for the page. Learn more about tags.
- Save (5) the changes.
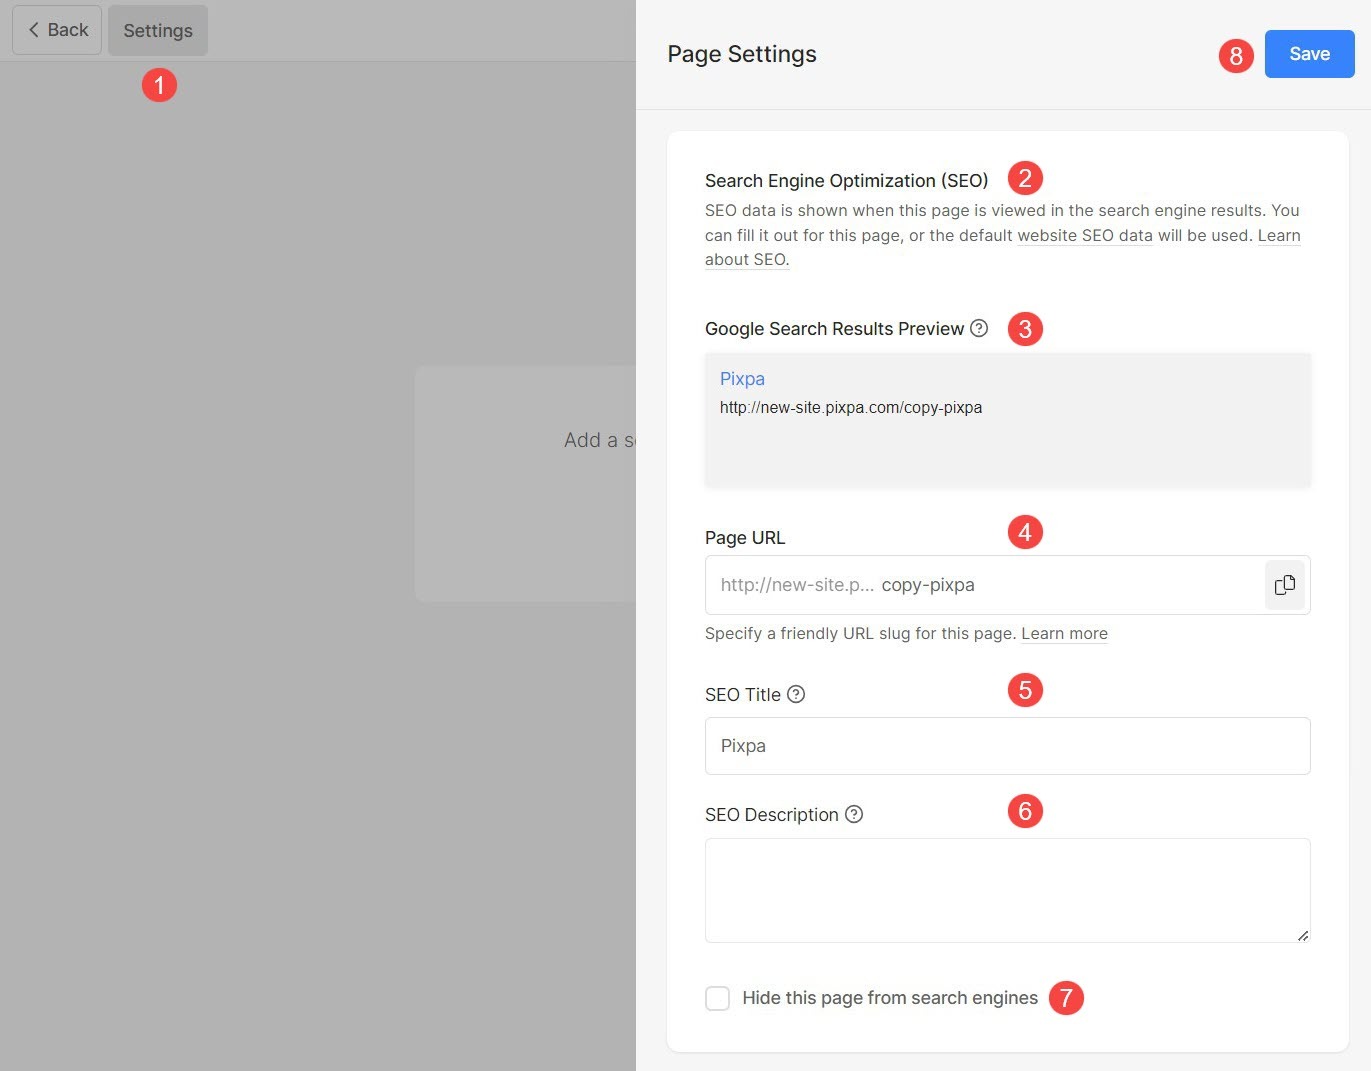
Search Engine Optimization
Pixpa gives you the option to manage the SEO of all your pages. Increase your page ranking by specifying the SEO information. This information is used by search engines to know about the page, browser tabs, and social sharing.
If suppose you have not entered the page-specific SEO information, then the global SEO information of your website will be used.
- Click on the Settings button (1) to view the page settings.
- Scroll down to the Search Engine Optimisation section (2) where you can manage:
- Preview (3) of the SEO Title and Description of how it will appear in the search results.
- Change the URL (4) of the page. By default, the page navigation title is used in the URL. In case you are changing the URL, make sure you create a 301 redirect from your old URL to the new one. If you do not create this redirect, your website visitors with the old URL will reach the 404 page.
- Add the Page Title (5) of the page to be used in the SEO. This title shows up in the browser tab.
- Add a Page Description (6) for the page SEO. You can also include targeted keywords. This is shown below the page title in search engine results.
- Hide page (7) from being indexed by Search Engine bots. Also Check: Hide website or pages from search engine results.
- Save (8) your changes.
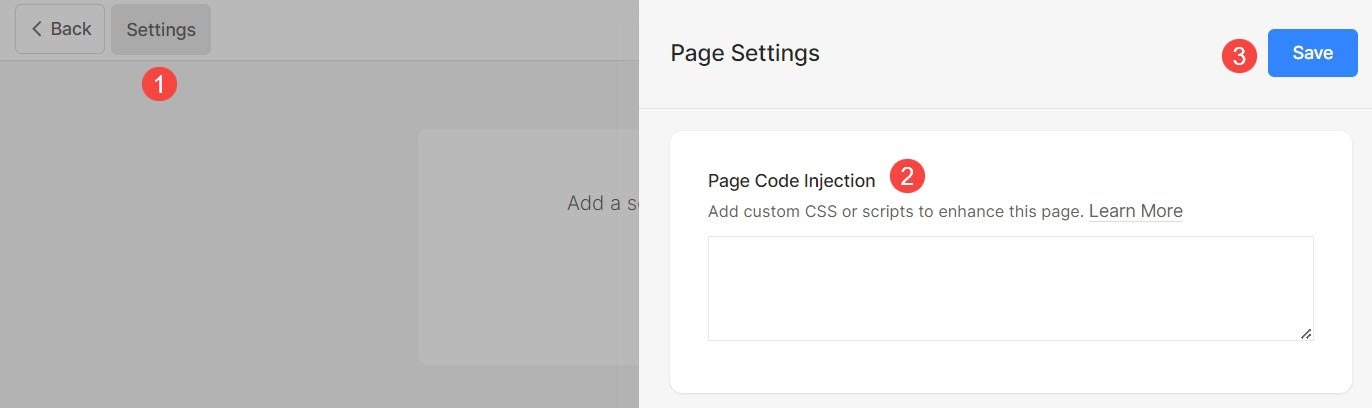
Page Code Injection
Pixpa gives you the option to add any external script or HTML code to a specific page and add external features to your website. You can also add your own CSS which will be applied to the particular page only. But, we recommend adding custom CSS to the Design section.
When you want to run some background script when anyone visits one of your website pages (i.e, for page analytics), you can enter the script in the code injection.
The code injection is not meant to add any content or custom CSS. For adding content, you can use any menu item that suits your requirements.
Always remember:
- Add CSS code this way:
- <style> Add CSS code </style>
- Add JavaScript code this way:
- <script> Add JS code </script>
Add a script/custom CSS to a page:
- Click on the Settings button (1) to view the page settings.
- Scroll down to the Page Code Injection option (2) and add your custom CSS / script.
- Finally, Save (3) the changes.