Use the Media & Apps Section section to add external content to your site like Pinterest board, Youtube, Tumblr, Spotify, Vimeo, and more.
Before you begin
Embed blocks pull content from services that use the Embed standard or manually set embed codes.
In this article:
- What is a Media & Apps Section?
- Adding Media & Apps Section to the page
- Add and edit list items
- Sequencing list items
- Deleting list items
- Changing section layout
- Style options
1. The Media & Apps Section
- You can easily include a Media & Apps Section on your website where you can showcase Pinterest board, Youtube, Tumblr, Issuu, Spotify, SlideShare, Wlista, Vimeo, Soundcloud, Dribble, Facebook, Bandcamp, Flickr, Instagram posts, Giphy, Twitch, and any custom embedded code.
2. Add Media & Apps Section
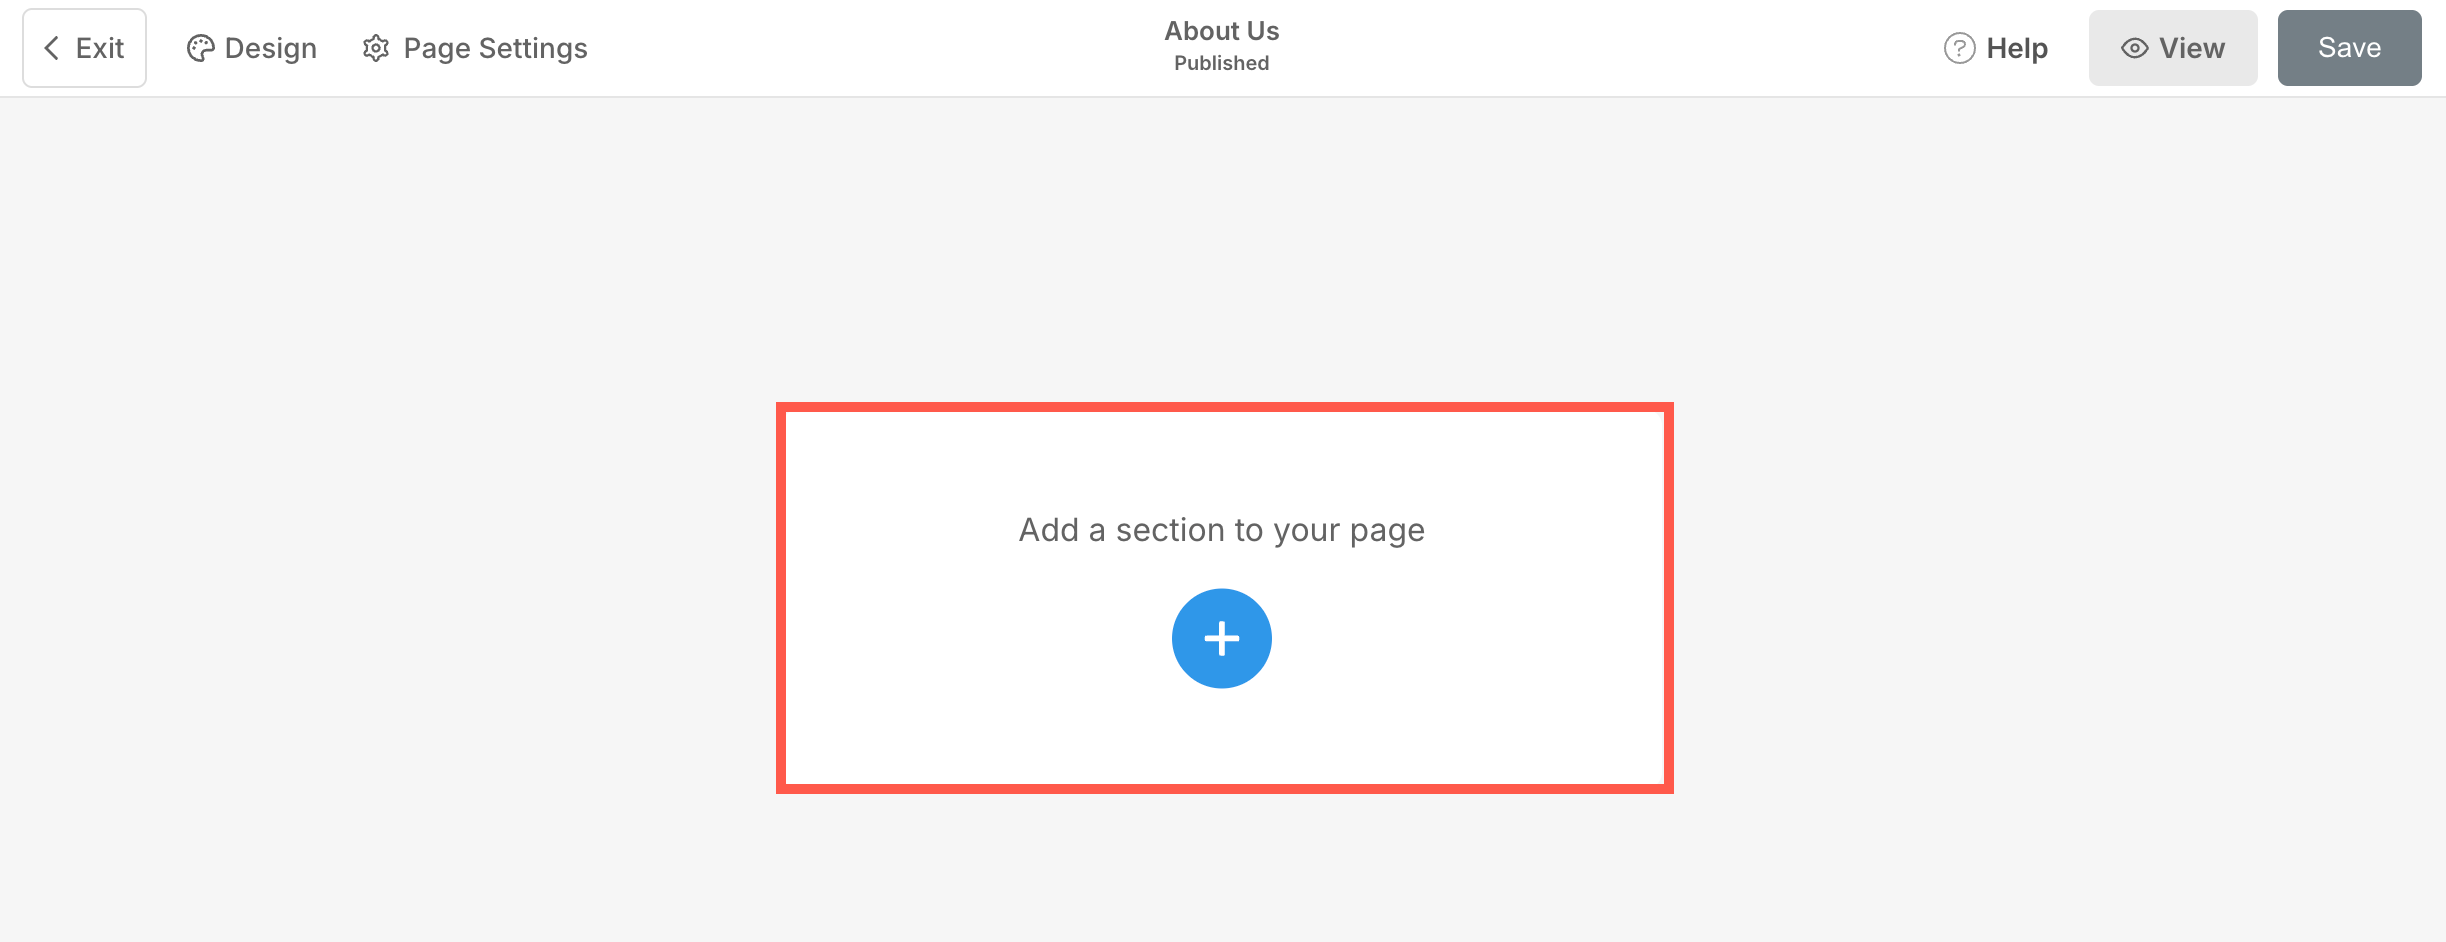
- To add a section, you need to add a page to your website first.
- On your page, click on the blue + icon to add a New Section to your page.
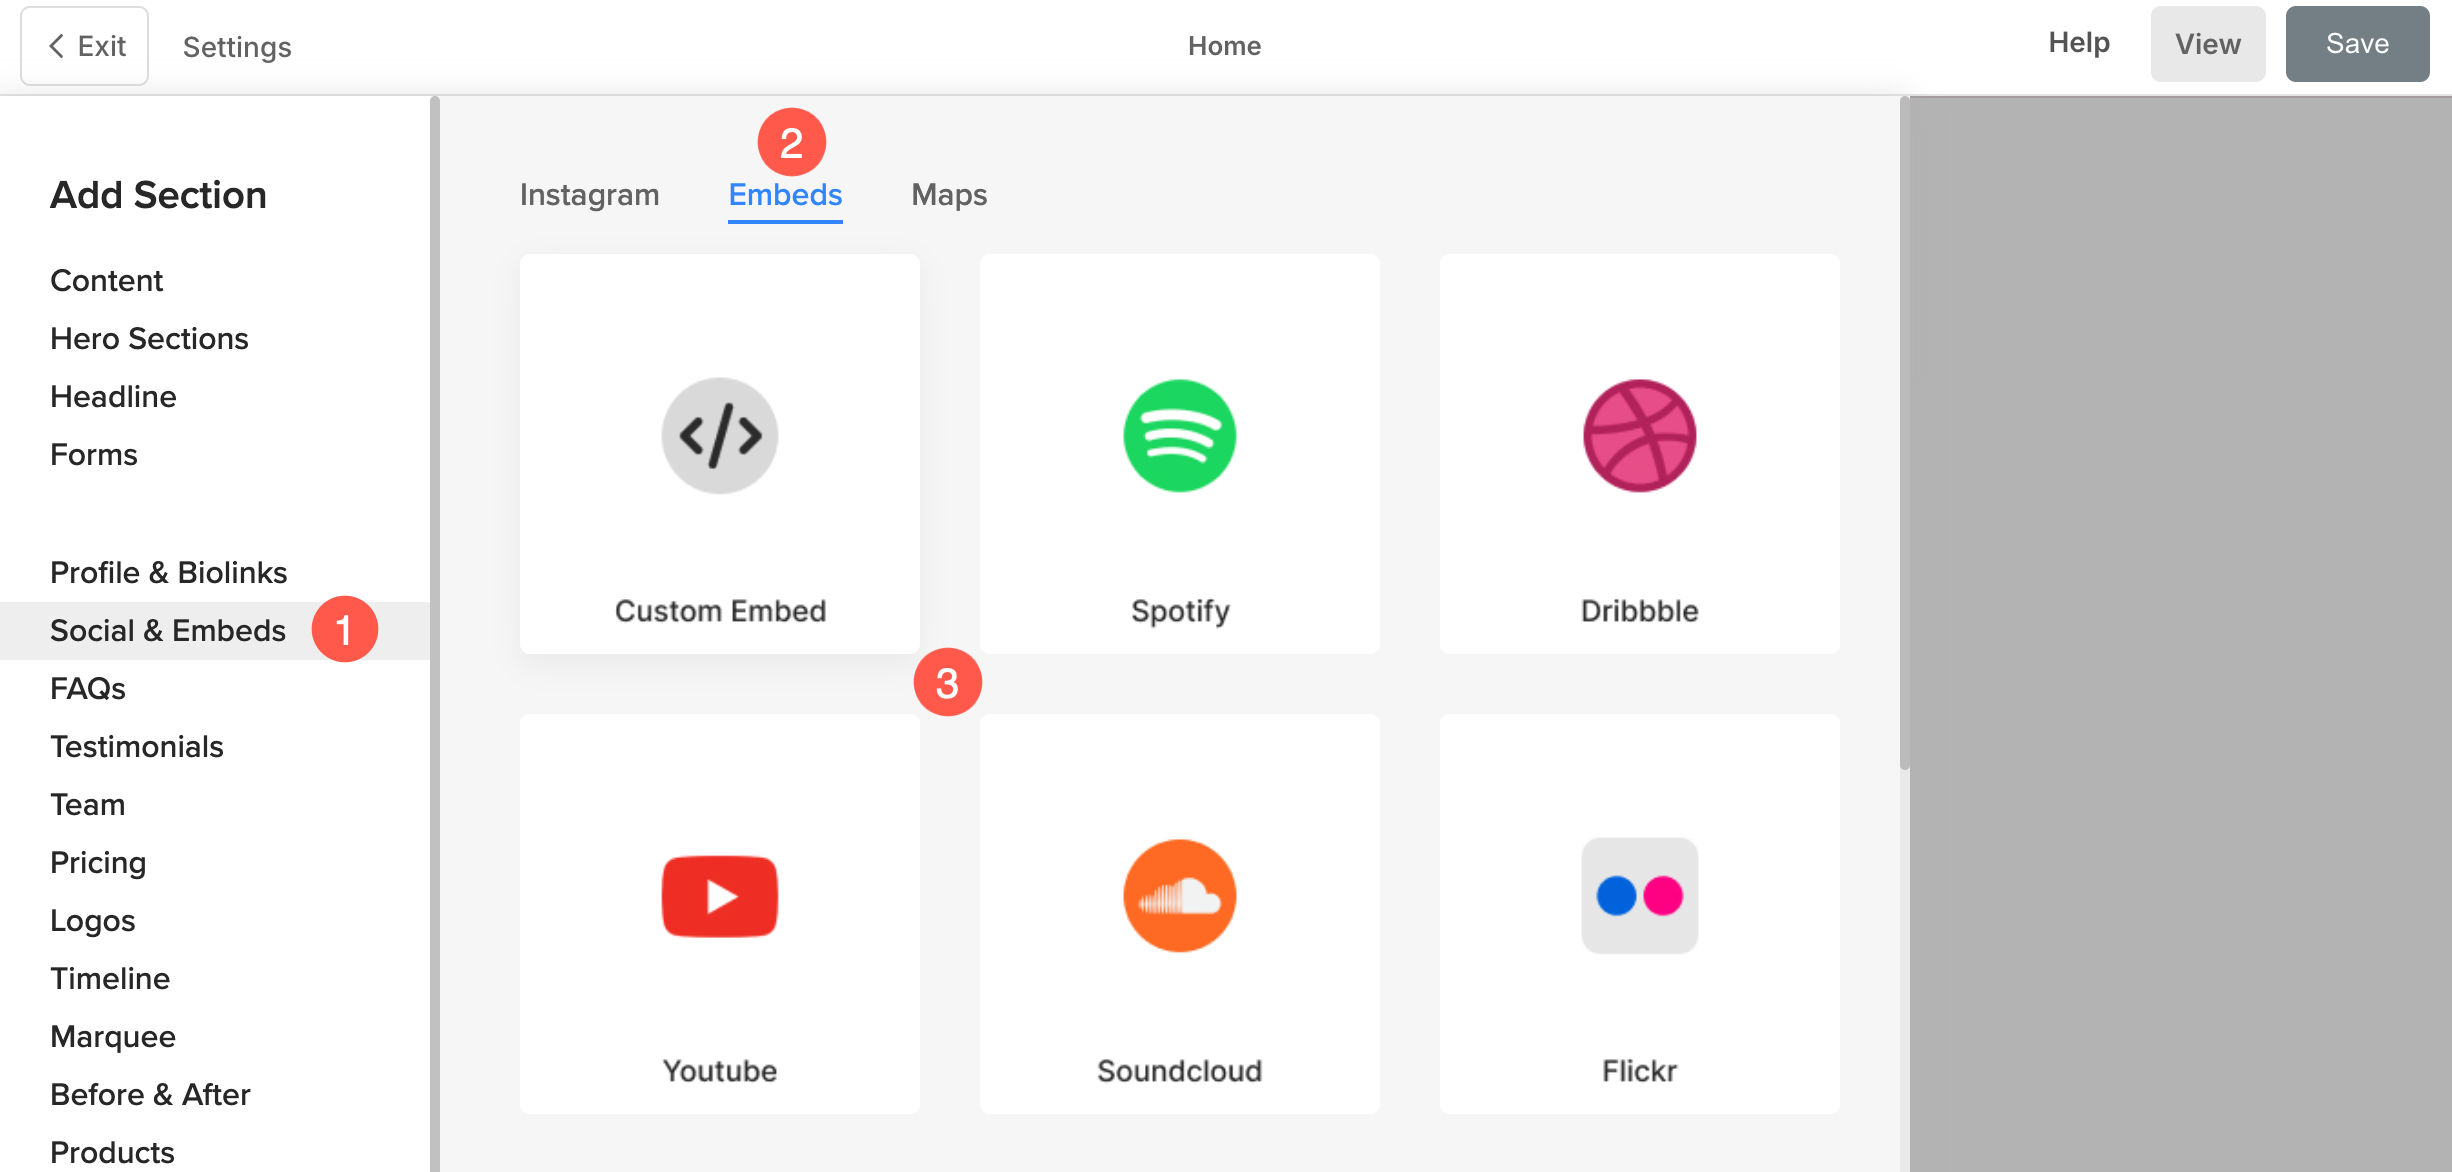
- You will now see the section categories on the left side.
- Choose the Social & Embeds (1) category and click on the Embeds tab (2) where you can choose from different layouts of the Embeds (3) section.
Choose any section layout (2) and click on it to add it to your page.
3. Add and Edit List Items
Add List Item
Once you have added the section:
- Click on the Manage Embed section (1) button to open the List Item Panel.

- Click on the Add Item (2) button to add a new list item.

Edit List Item
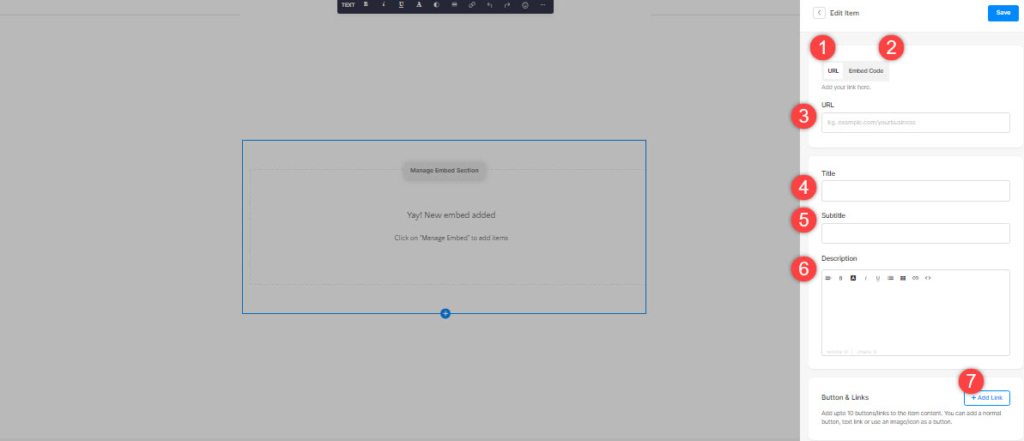
- It will open the List item editing options.
- Add an URL (1) or add an embed code (2) for the List Item.
- In case, you select add link option then you can add your link here(3), title(4), Subtitle (5), Description 6), and add type of Link (7) to the list item. You can add a Button/Image link/Social Icon/Text Link. Learn more.
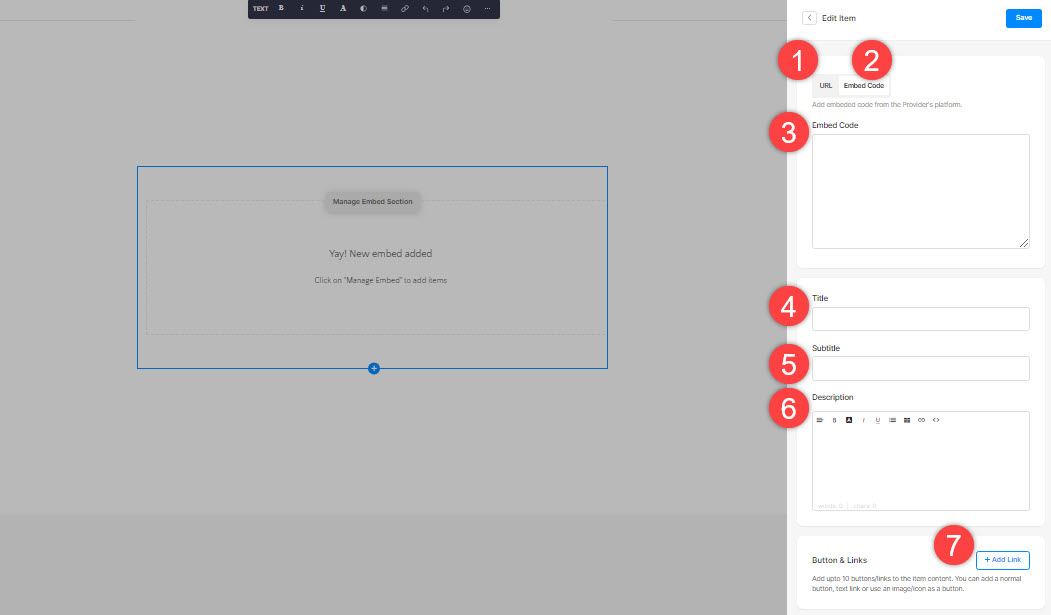
- In case, you select add embed code option then you can add your embedded code here(3), title(4), Subtitle (5), Description 6), and add a type of Link (7) to the list item.
4. Sequence List Items
- You can easily drag and drop the list items to change the sequence.
5. Delete a List Item
Once you have added a list item, you can edit the same and also delete it.
- Click on the Delete icon next to the embed list item.
- Click on the Delete button in the confirmation popup.
- Save your changes.
6. Section Layout
- Click on the Edit Embed Section (1) button to open the List editing panel.
- Choose the Layout (2) tab.
- Select the Layout for your section and save your changes (3).

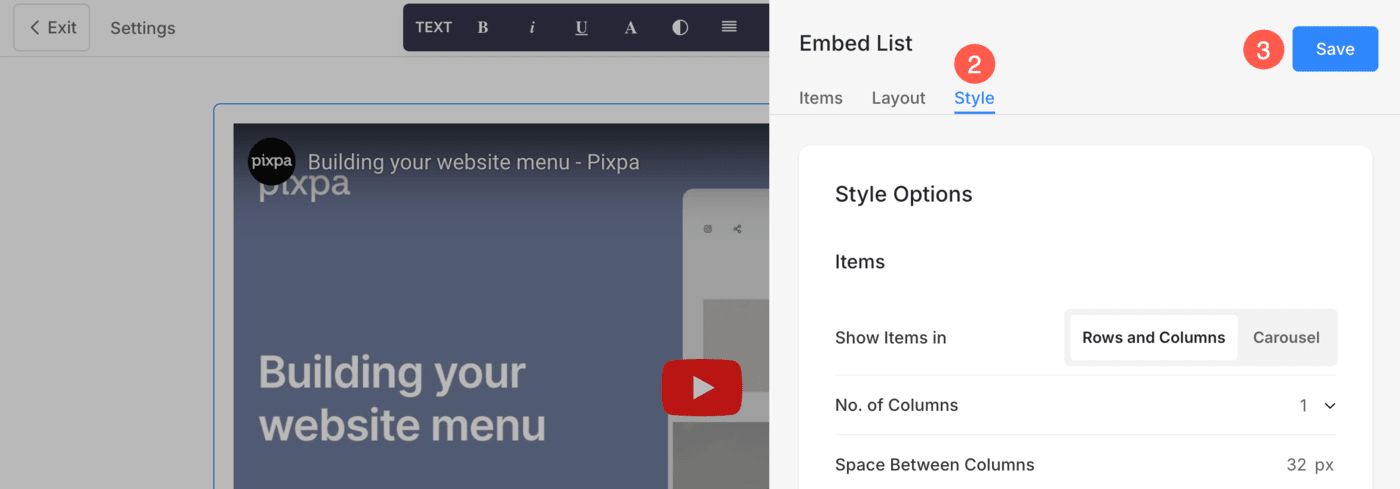
7. Style your Section
- Click on the Edit Embed Section (1) button to open the editing panel.
- Choose the Style (2) tab.
- Change the Style for the section elements and Save (3) your changes.
You will have multiple style options for the section:
- Items Options
- Text Size Options
- Spacing Options
- Section Headline
- Embed Crop
- Shape Mask
- Cards Options
- Shadow Options
- Buttons & Links
Items Options
- Choose to Show Items in rows and columns or carousel
- If you have chosen the rows and columns option, the list items will be arranged in rows and columns. In this case, you need to specify the number of rows and columns.
- If you have chosen the carousel option, the list items will be presented as a slideshow.
- Set the Number of Columns for the Embed list. You can choose from 1 to 10 columns.
- Specify the Space Between Columns of the list items.
- Specify the Space Between Rows of the list items.
- Choose the Content Order i.e., if the embedded part of the list items to be displayed first or the associated text.
- Align the Content Horizontally in the Image List. You can set them to be left, right or center aligned.

Text Size Options
- Click on the Change Text Style button to visit the Design section and manage your font sizes and styles.
- Set the Title font style for the list items.
- Set the Subtitle font style for the list items.
- Set the default Description font style for the list items.

Spacing Options
- Specify the Embed Width for list items (in %).
- Specify the Content Width for the list items (in %).
- Specify the Space Below Section Headline (in px).
- Specify the Space Below the Embedded portion (in %).
- Specify the Space below the titles of the list items (in %).
- Specify the Space Below Subtitle of the list items (in %).

Section Headline
- Horizontally Align the section headline text. You can set it to Left, Center, and Right.
- Enable/Disable the Divider between the section headline and the section content.
- Set the thickness of divider (in px).
- Specify the Divider Color from color picker.
- Choose a preferred Divider Style.

Embed Crop
- Choose Embed Crop. You can set it as 1:1 Square, 2:1 Horizontal, 3:2 Horizontal, 4:3, 3:4, 16:9, 2.4:1 and Orignal Embed crop.

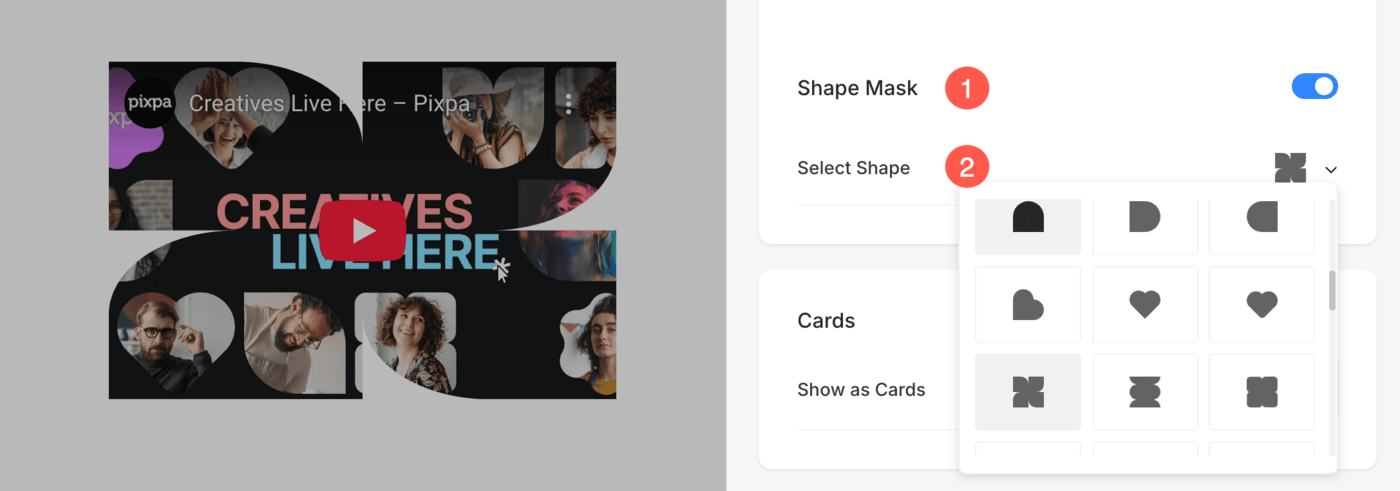
Shape Mask
- Shape Mask: Enable this toggle to apply a shape mask to the image in Embed section. Once enabled, the selected shape will visually clip the image into that form.
- Select Shape: Choose from various predefined shapes to apply to your image. This allows you to creatively stylize your content by displaying image in a unique form like rounded, diamond, drop, etc.
Cards Options
- See how to manage cards.

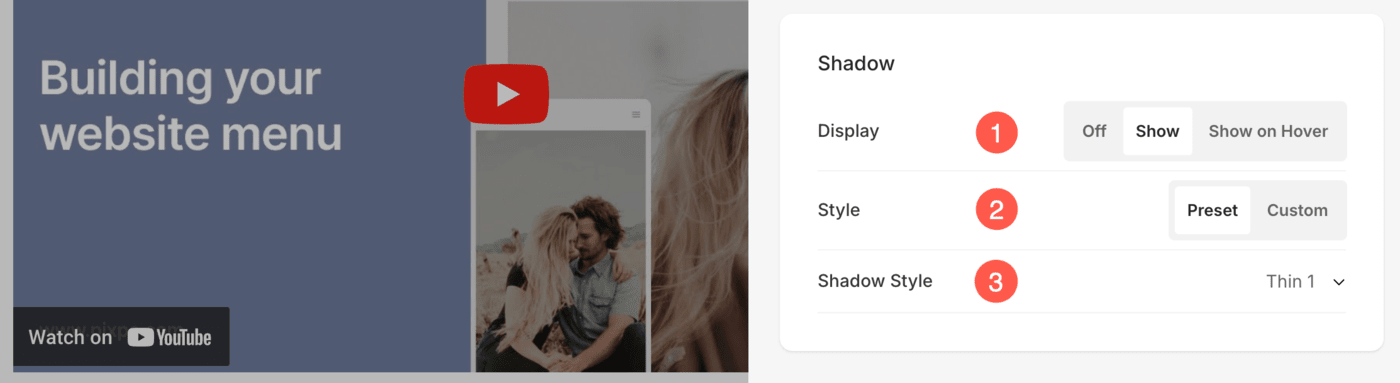
Shadow Options
- Display – Choose to show the shadow behind the list items always or on hover only.
- Style – Choose from existing presets or create a custom shadow.
In case you have chosen the Custom option, then visit this Box Shadow Generator to create a custom shadow. Finally, copy and paste the box shadow CSS. - In case you have chosen the presets option, then Choose Shadow Styles from the dropdown.
Buttons & Links
- See how to manage the styling of buttons & links.
- Save the changes.
