In this article, you will learn how to enable Disqus comments on your pixpa blog. Disqus is an external website that supports commenting. You can also choose to enable Pixpa’s inbuilt commenting.
You need a Disqus shortname to enable Disqus comments on your blogs on your website. (Note: Having a Disqus username is not enough.) You can use this platform in case you need advanced commenting features.
What is a Disqus shortname? And how to get one? Know everything.
In this article:
- Get a Disqus Shortname.
- Add Disqus Shortname in the Pixpa studio.
- Enable Disqus commenting on a blog.
Get a Disqus Shortname
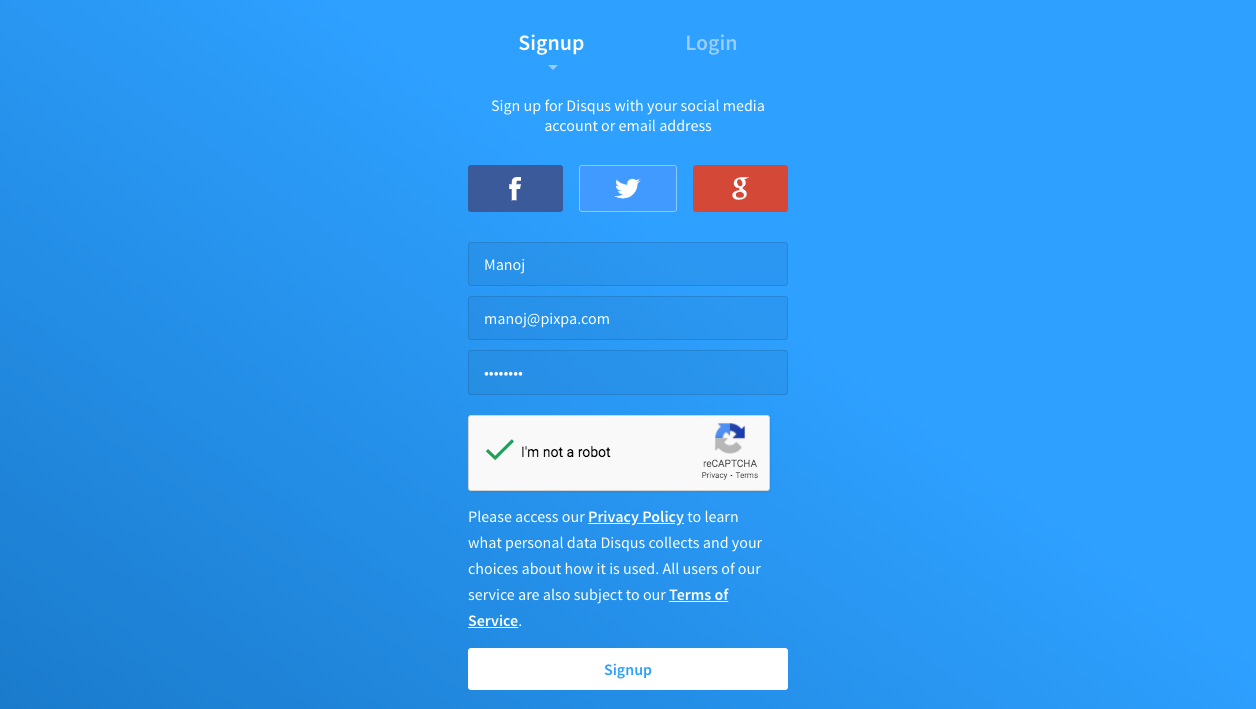
Step 1: Register your website with Disqus.
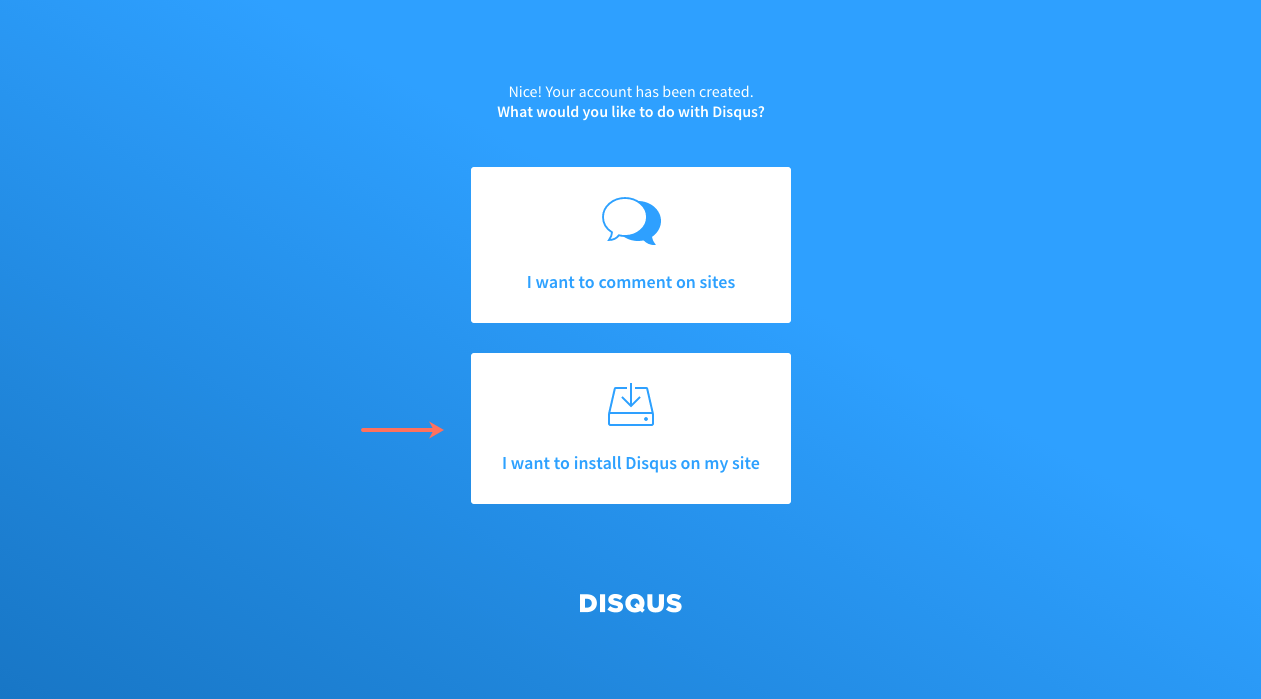
Step 2: Select “I want to install Disqus on my site”.
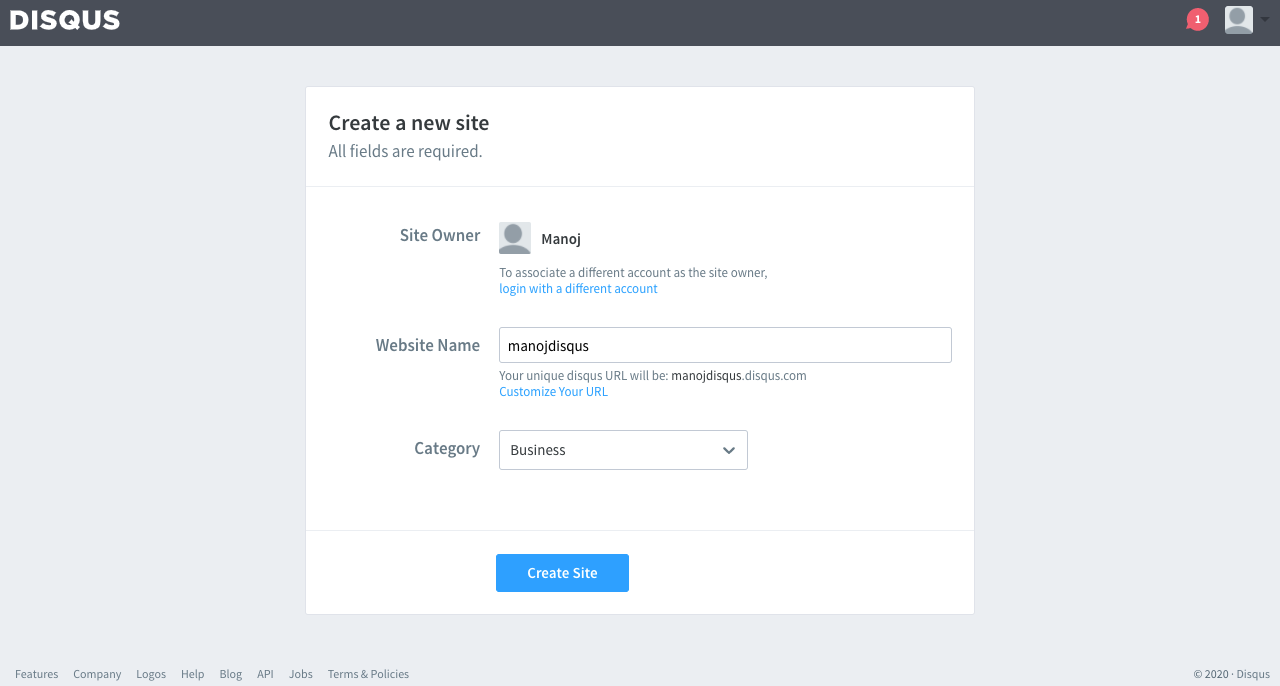
Step 3: Specify your Disqus shortname (this is the same as your unique Disqus URL) and select a Category.
In the example below, my Disqus shortname is manojdisqus and the Category I have selected is Business.
Copy your Disqus shortname for the next step.
Add Disqus Shortname in the Pixpa studio
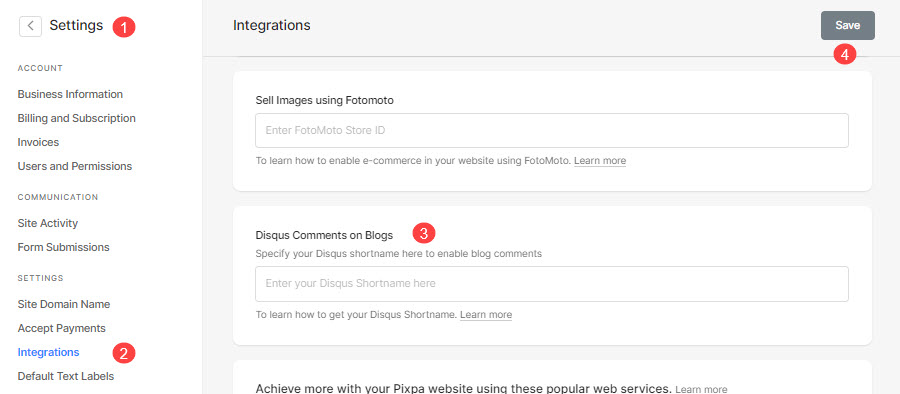
- Go to the Settings section (1) in Pixpa studio and click on the Integrations option (2).
- Now, find the Disqus Comments on Blogs field (3) and paste your Disqus Shortname as shown in the image below.
- Finally, hit the Save button (4).
You can now enable Disqus comments on any blog on your website.
Enable Disqus commenting on a blog
- Go to Blog Settings. See: Blog Settings.
- Scroll down until you find Blog Comments.
- Under Blog Comments, select Disqus Commenting and click Save.

Once you have followed the above steps, the Disqus commenting substitutes the Pixpa inbuilt commenting. You can check this by visiting the blog page.