Choosing the right website colors is crucial for creating a visually appealing and cohesive design that effectively conveys the brand’s message and enhances user experience.
In this article:
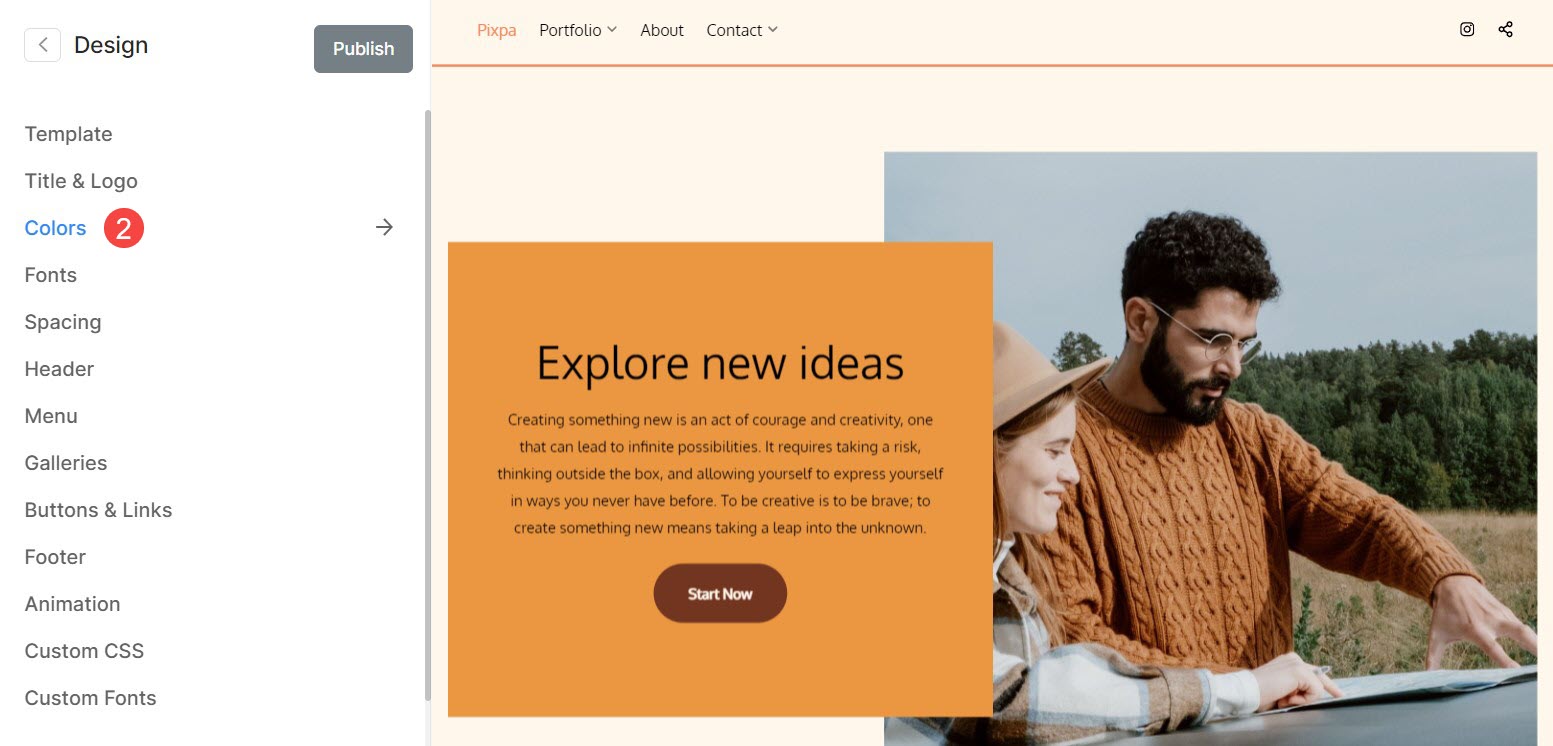
You can manage your website’s colors from the Design (1) section.

Once you are inside the Design section, click on Colors (2) tab.
Current Color Palette
- The selected Color Palette (1) will be displayed here.
- You can customize (2) each of the options within a palette and choose the colors according to your preferences.
- You will see five color options – Background (3), Neutral (4), Accent (5), Dark Accent (6), and Text (7). These options define an overall palette.

Following is the list of items that affect while making changes to the individual palette options:
Color Palette Presets
Color palette presets (1) are predefined combinations of colors that are carefully selected to provide you with a quick and convenient way to give your website a specific look.
You can easily make changes to the colors of your website by changing the presets. It will be applied globally on your overall website.
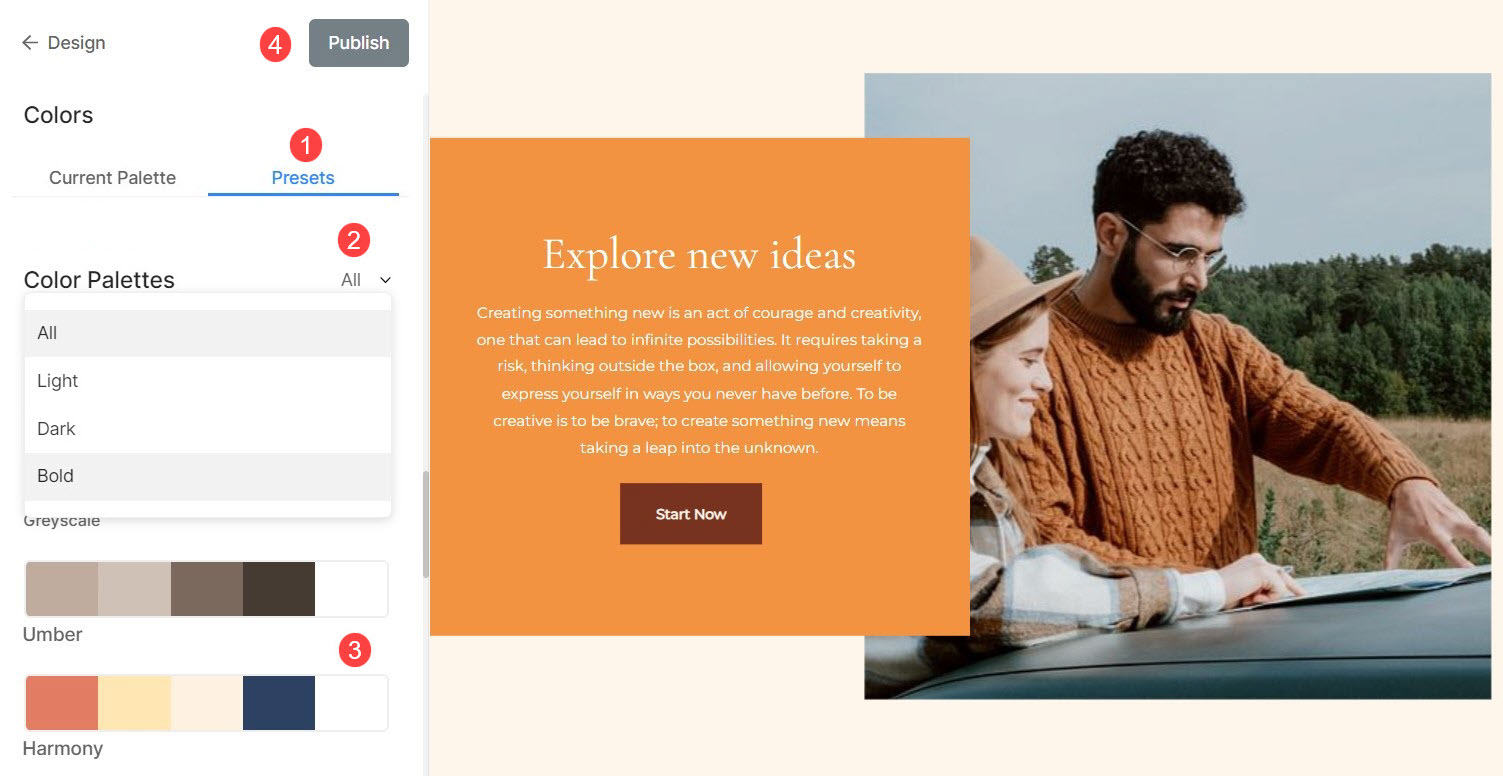
You can Filter (2) the list by selecting All, Light, Dark or Bold presets. Once you select a filter, you will see related palettes only.
To choose a Color Palette (3), you simply have to click on it and Publish (4) the changes.
Advanced Edit
From Advanced Edit, you have the power to customize color of every single element of your website, granting you full manual control over its aesthetics. Under the ?Advanced Edit, you will find the following options:
- Site Color Options
- Lightbox Color Options
- Cards Color Options
- Menu Color Options
- Text Color Options
- Buttons & Links Color options
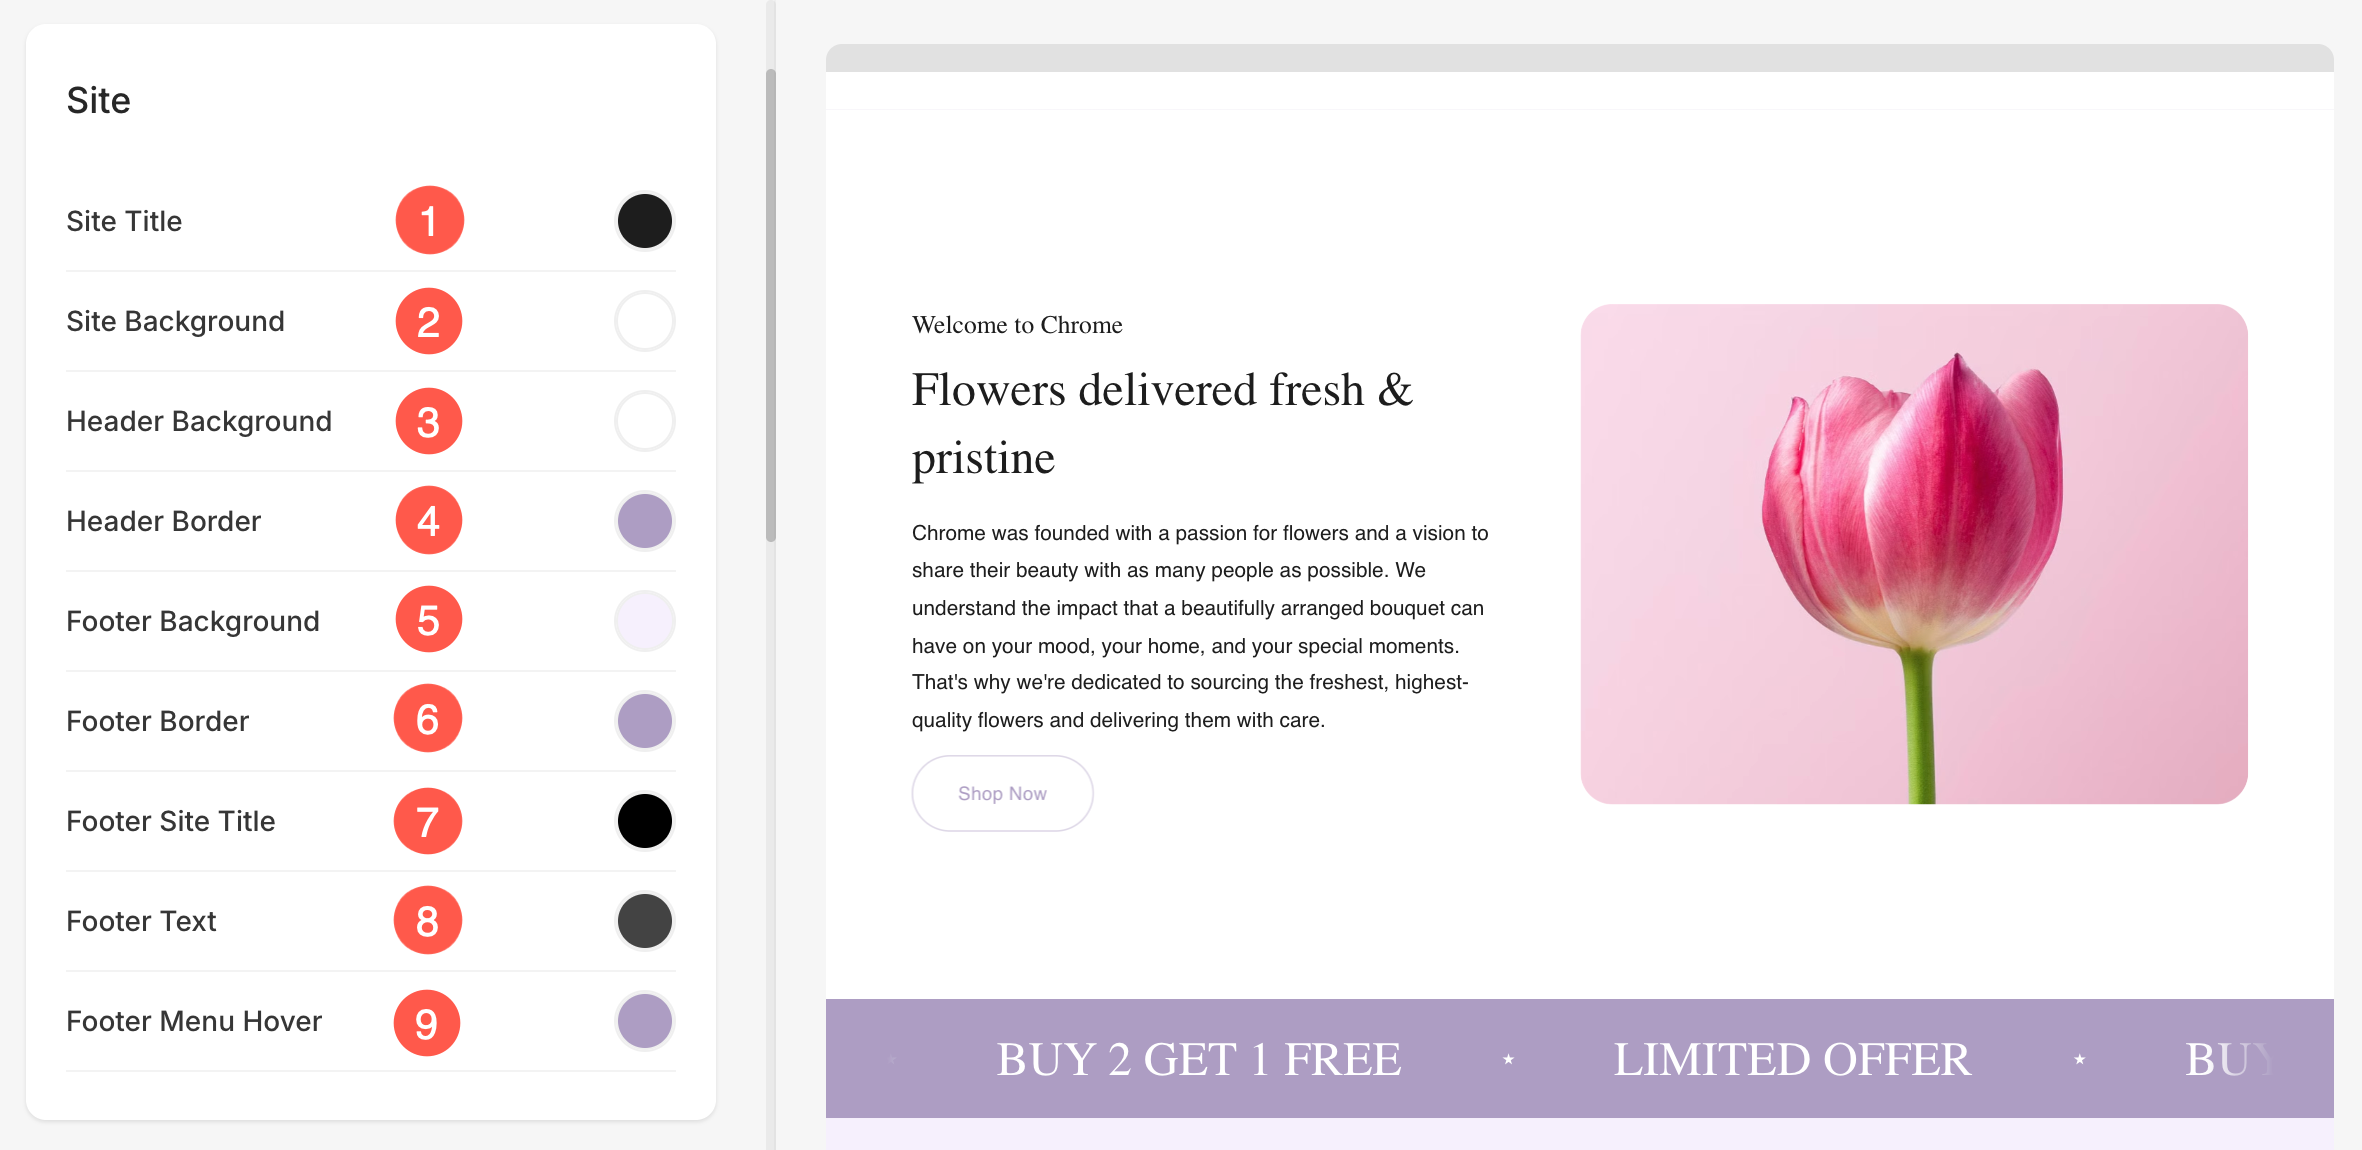
Site Color options
- Site Title: Choose the text color for your site title.
- Site Background: Set the Base color for your website.
- Header Background: Set the base color for your website’s header.
- Header Border: Set the color of Border for your website’s header.
- Footer Background: Set the base color for your website’s footer.
- Footer Border: Set the color of Border for your website’s footer.
- Footer Site Title: Choose the text color for the site title displayed in your website’s footer.
- Footer Text: Set the text color of your website’s footer.
- Footer Menu Hover: Set the color of footer menu items when cursor is hovered.
Lightbox Color Options
- Background: Set the background color (overlay) that appears when images are viewed in lightbox mode.
- Text/Elements: Set the color of navigation arrows, icons, and other elements in the full image view.
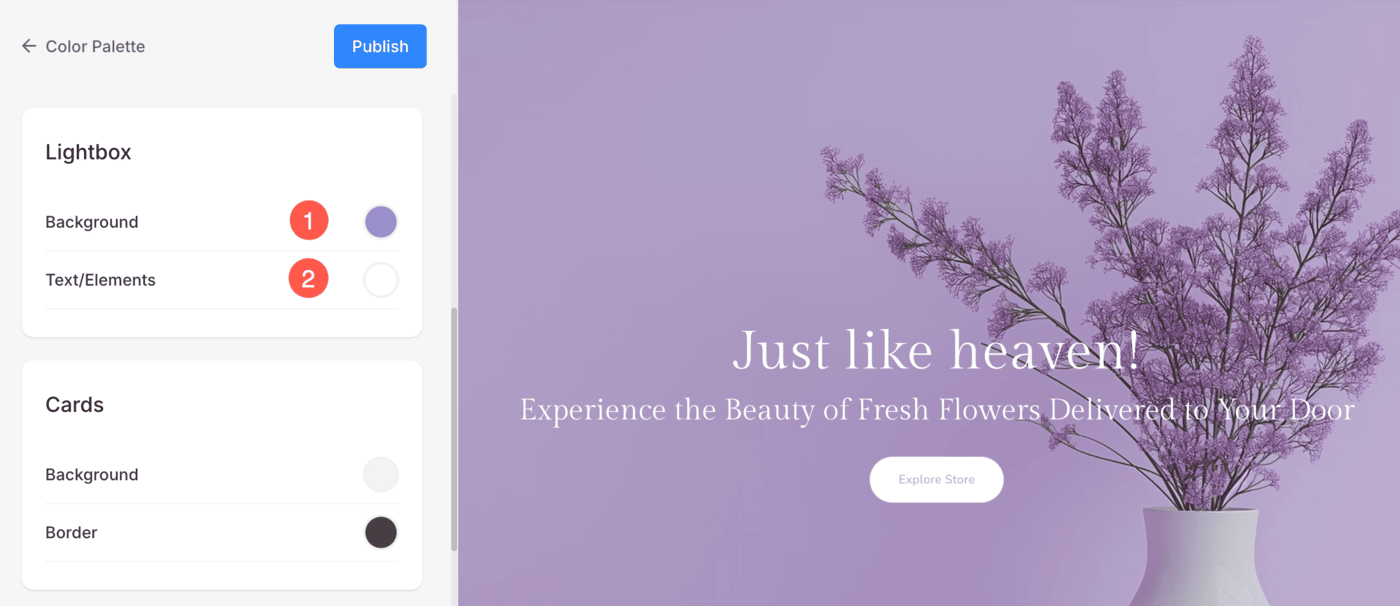
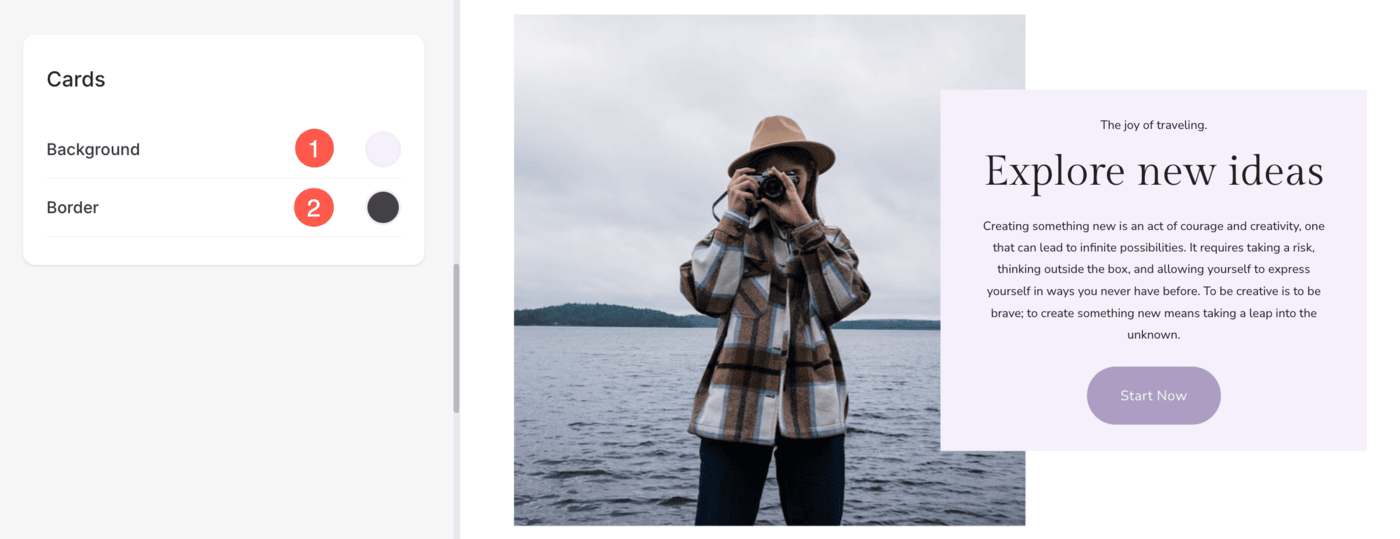
Cards Color Option
- Background: Set the card color for the dynamic list items (like the text/image lists) present on your website. The card color is applied as the outline and background for the list items.
- Border: Set the color for card border. You can choose Default or Custom color for individual sections.
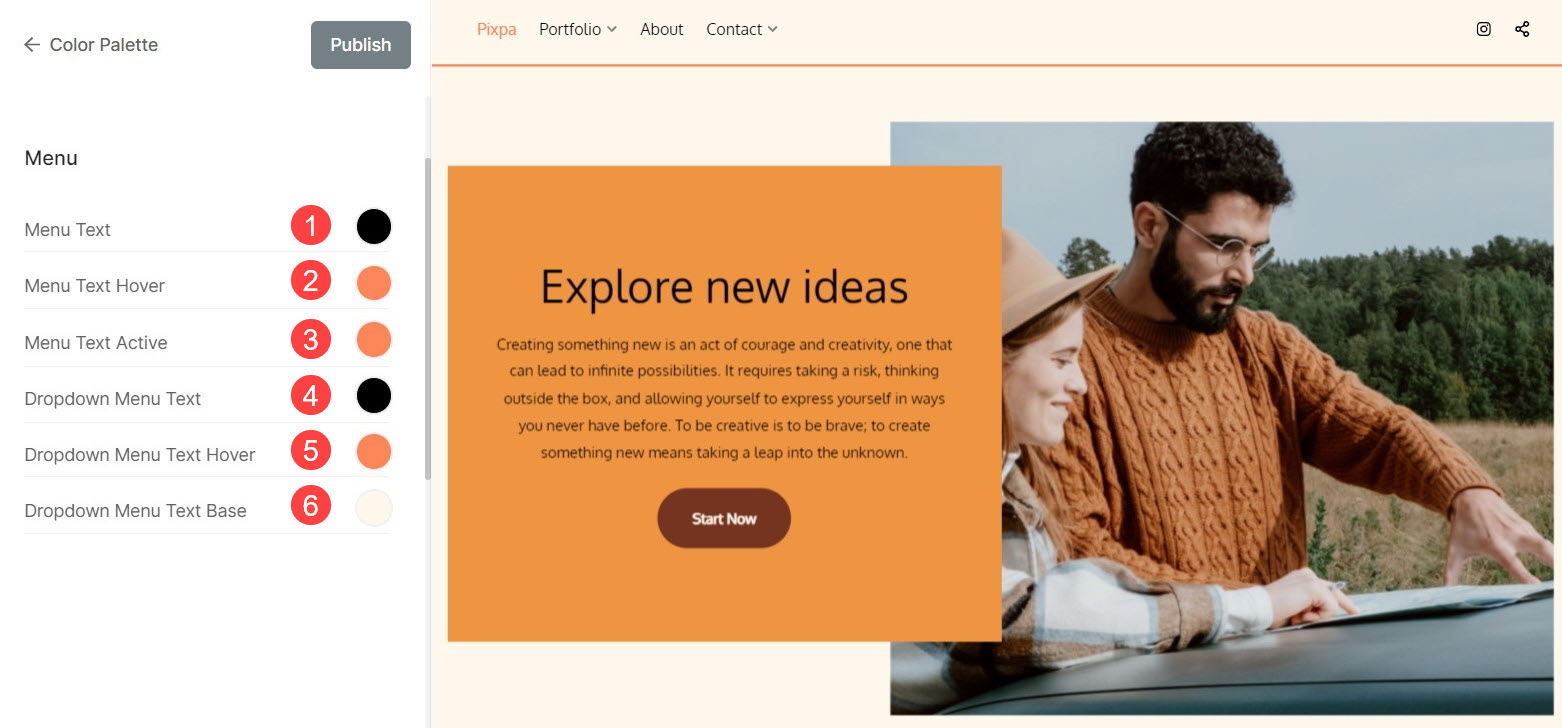
Menu Color options
- Menu Text: Set the text color for navigation menu items.
- Menu Text Hover: Select the text color for menu items while hovering cursor over them.
- Menu Text Active: Select the active menu text color.
- Dropdown Menu Text: Specify the text color of your dropdown menu items.
- Dropdown Menu Text Hover: Select the hover color for the dropdown menu items.
- Dropdown Menu Text Base: Select the base color for the dropdown menu items.
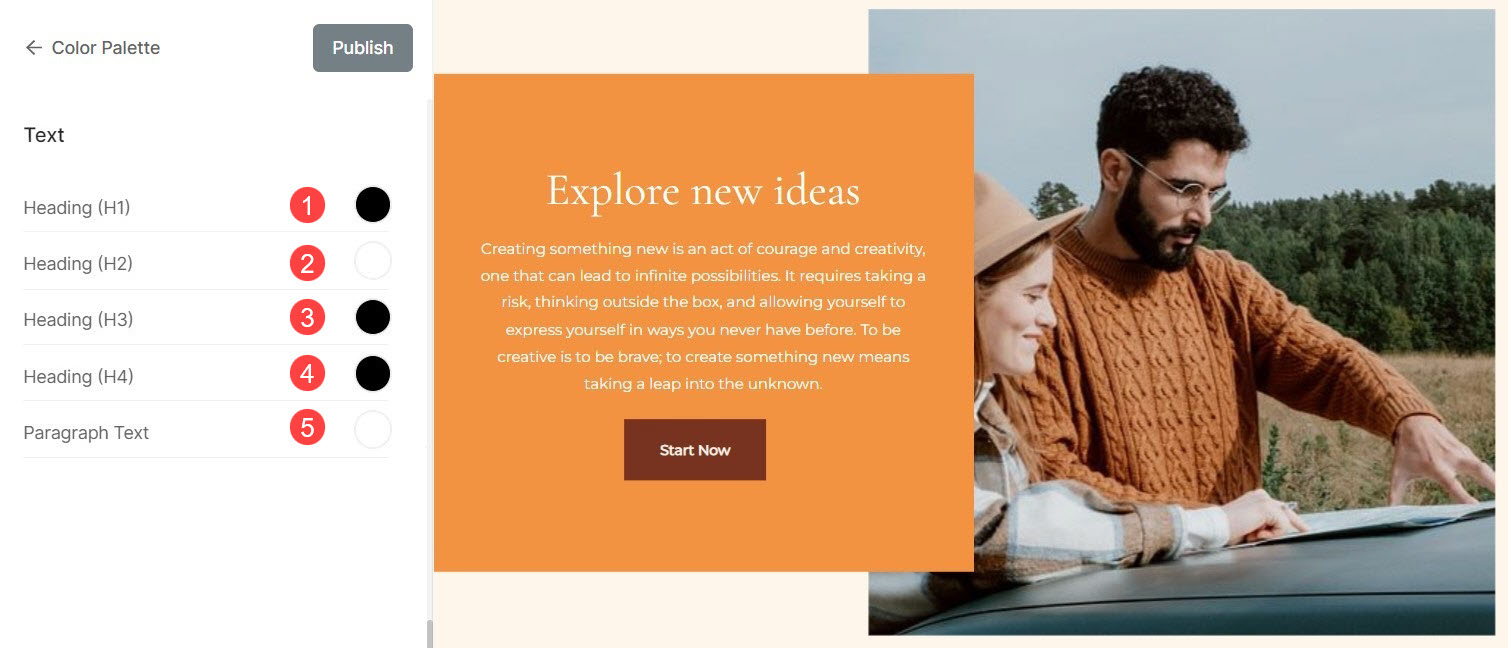
Text Color options
- Heading (H1): Select the font color for the heading (H1).
- Heading (H2): Select the font color for the heading (H2).
- Heading (H3): Select the font color for the heading (H3).
- Heading (H4): Select the font color for the heading (H4).
- Paragraph Text: Select the font color for all paragraph text (P Normal, P Small and P Large).
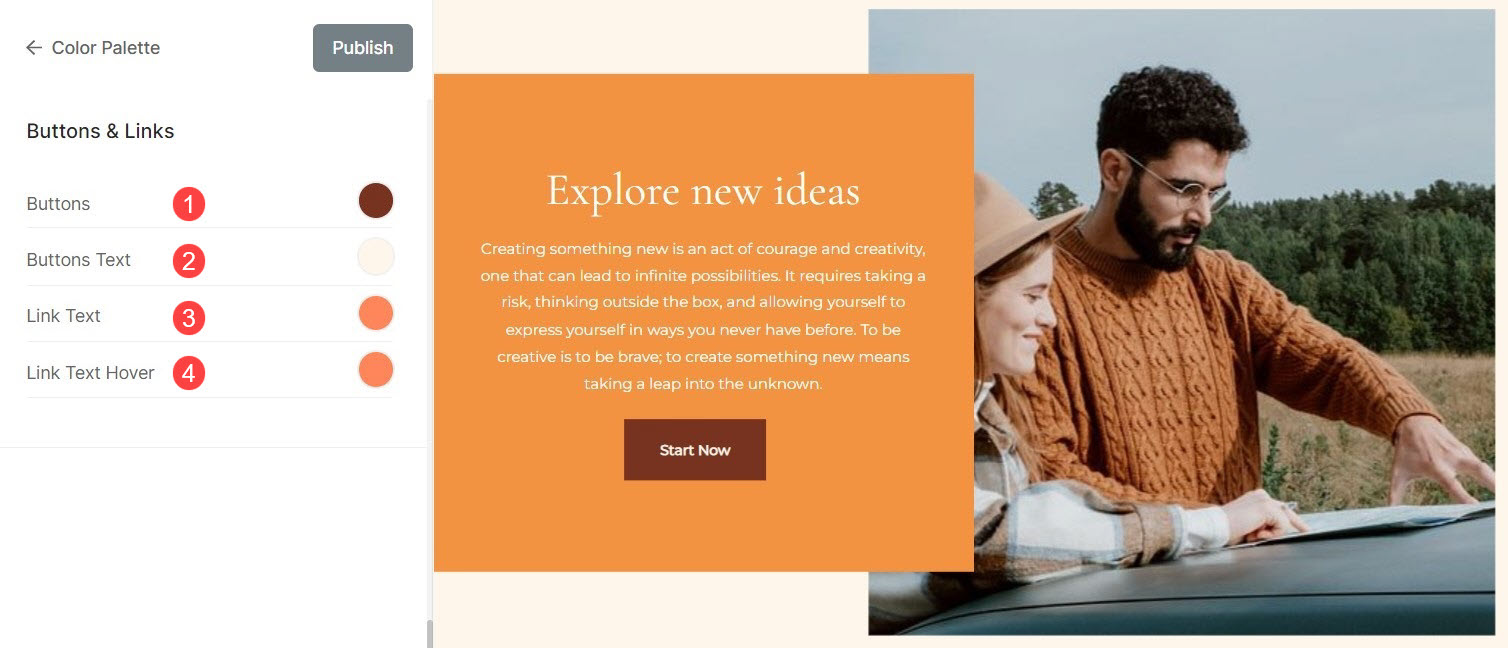
Buttons & Links options
- Buttons: Choose the background color of the buttons from here.
- Buttons Text: Select the color of the button’s text.
- Link Text: Set the link text color for all the links on website.
- Link Text Hover: Set the link text hover color for the links on the website.
Reset Custom Settings
You can easily reset to default palette settings if you have made changes to accent colors by editing a palette or customizing the color settings from Advanced Edit.
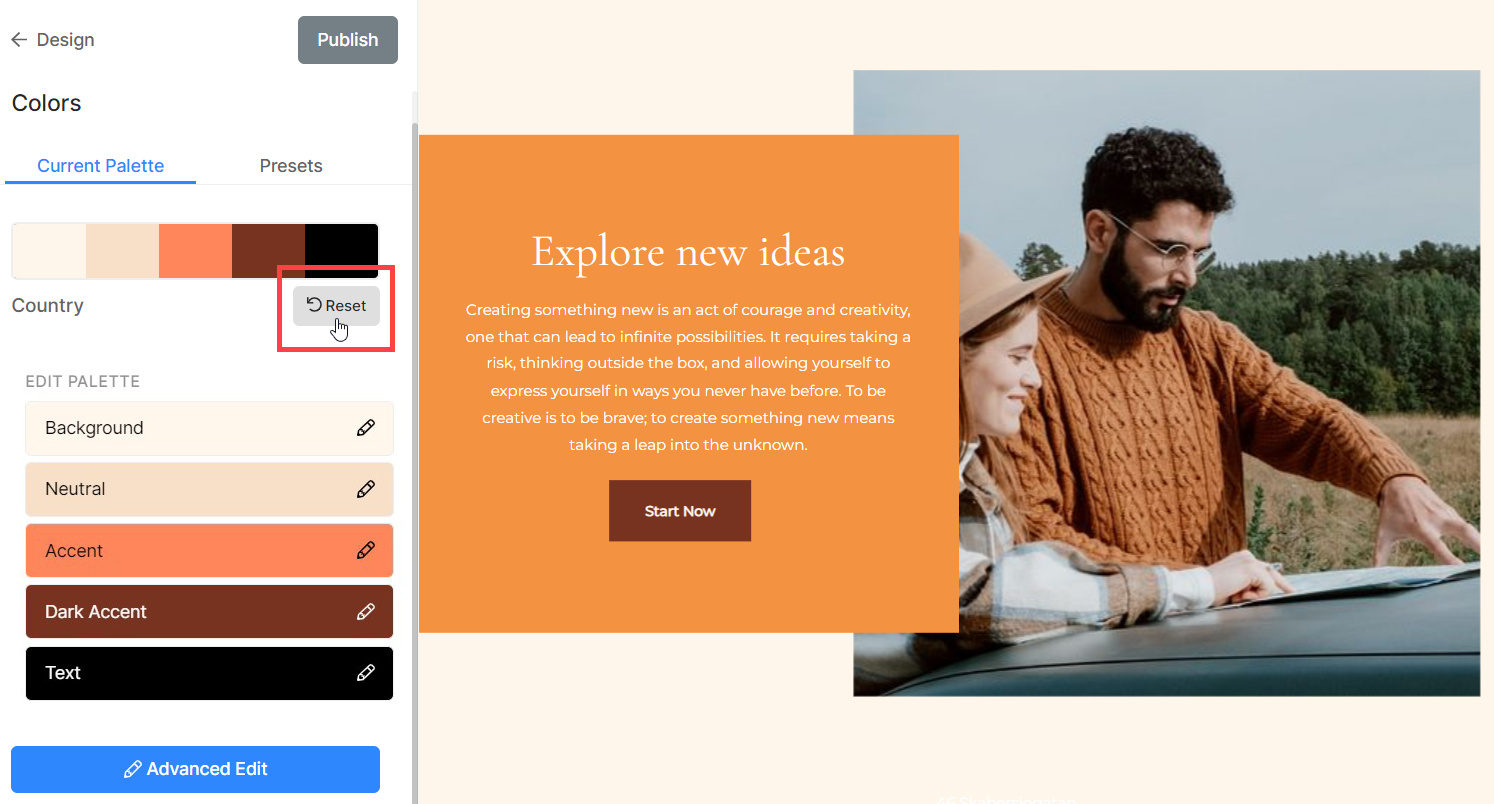
You’ll see a Modified button. Hover the cursor over the button, it will change to Reset. You can reset the changes to original from here.