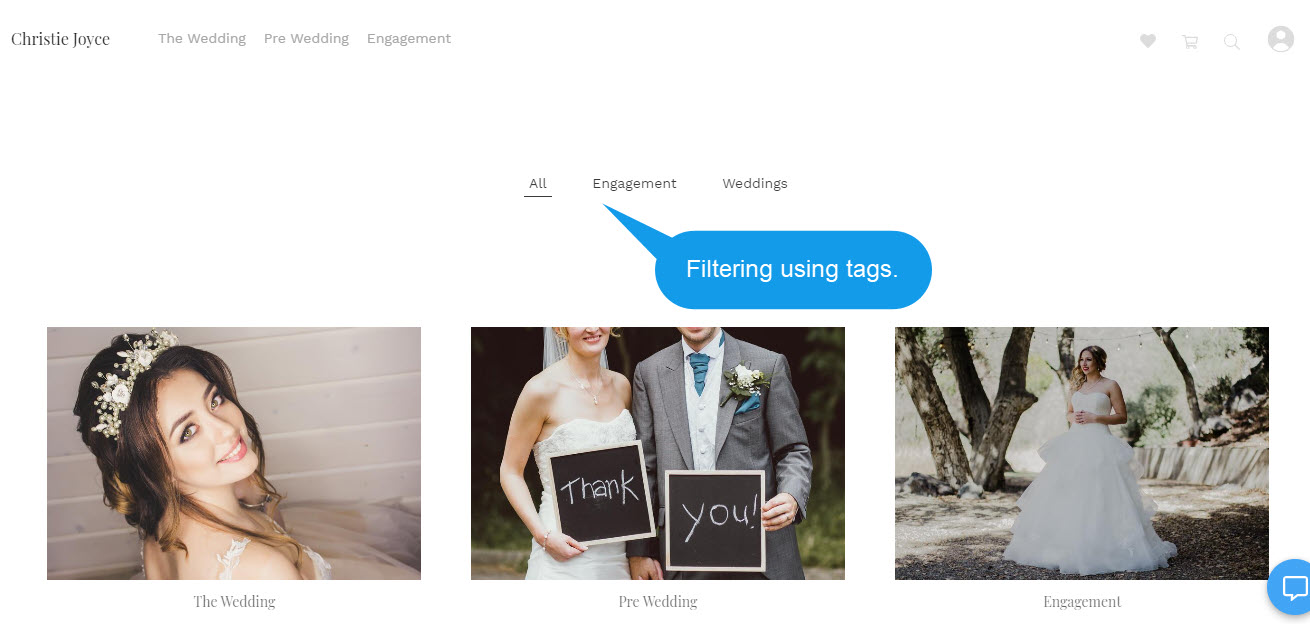
Pixpa has an extremely flexible and versatile method of enabling you to filter the album galleries. This is done by using keywords which we call Tags.
You can add multiple tags to any album gallery. When you filter using a tag, all the album galleries with that tag will be shown. This way, you and the customer can filter the Galleries and find the potential gallery quickly.
Do check out a demo Album with filter tags in action here.
To enable filter by tags, follow the following steps:
Step 1: Add Tags in album galleries
- Enter Album title (1) in the Search Bar.
- From the related results, click on the Album that you are searching for (2) under Client Galleries.
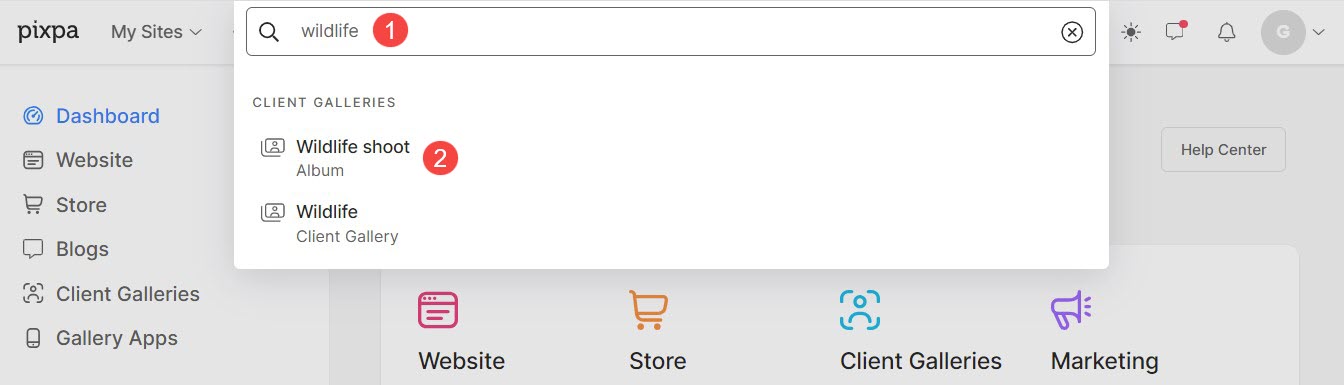
- You will now reach the Album page.
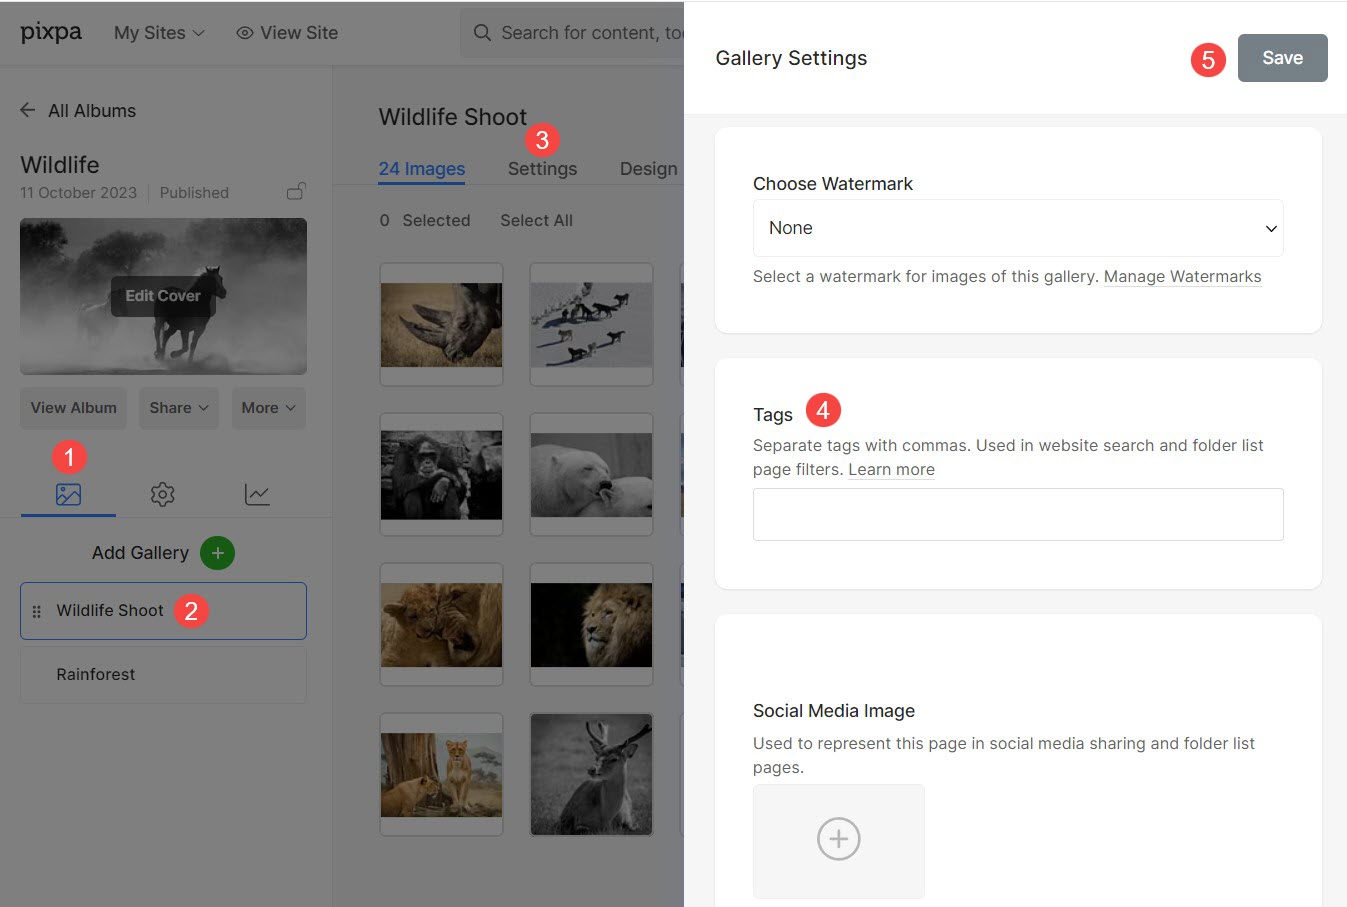
- Click on the Galleries tab (1) to see all the Galleries of a particular album. Also See: Add Gallery to an Album.
- Click on any Gallery (2) from the list of galleries.
- Then, click on the Settings (3) tab on the right side.
- In the Gallery Settings, scroll down and you would see the option to add tags (4) for that particular gallery.
- Add your tags and hit the enter key for each tag.
- Finally, hit the Save (5) button.
For example, the Wildlife tag is added to the Wildlife Shoot gallery under the album named Nature.
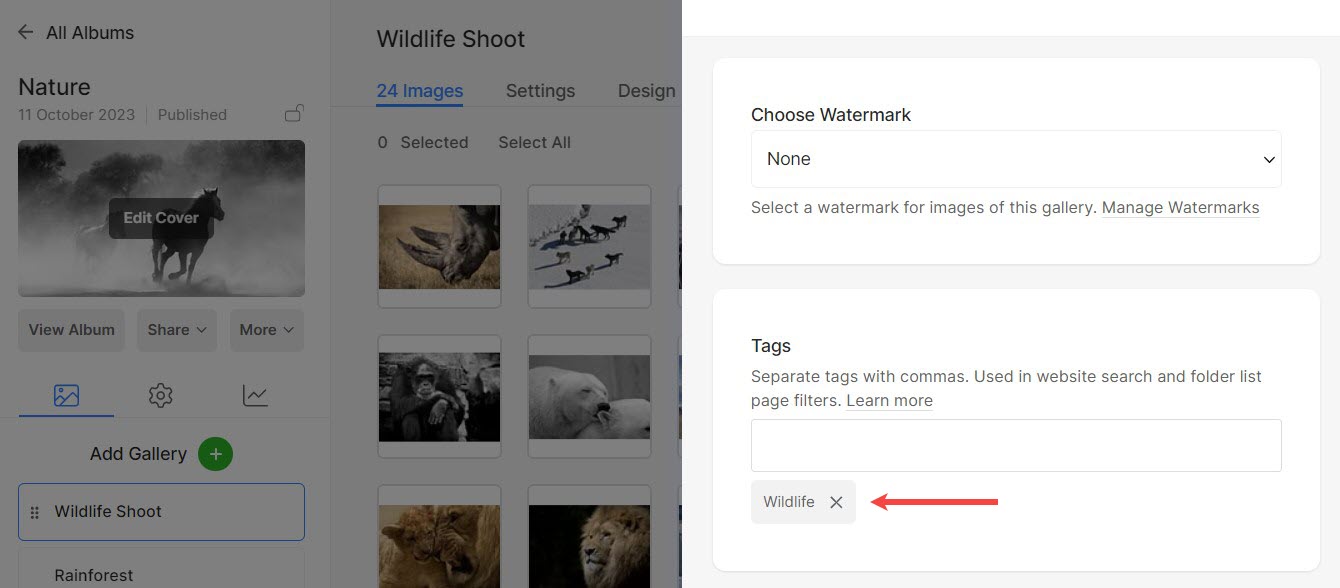
In this way, you can go to the Settings section of each album gallery and add the respective tags.
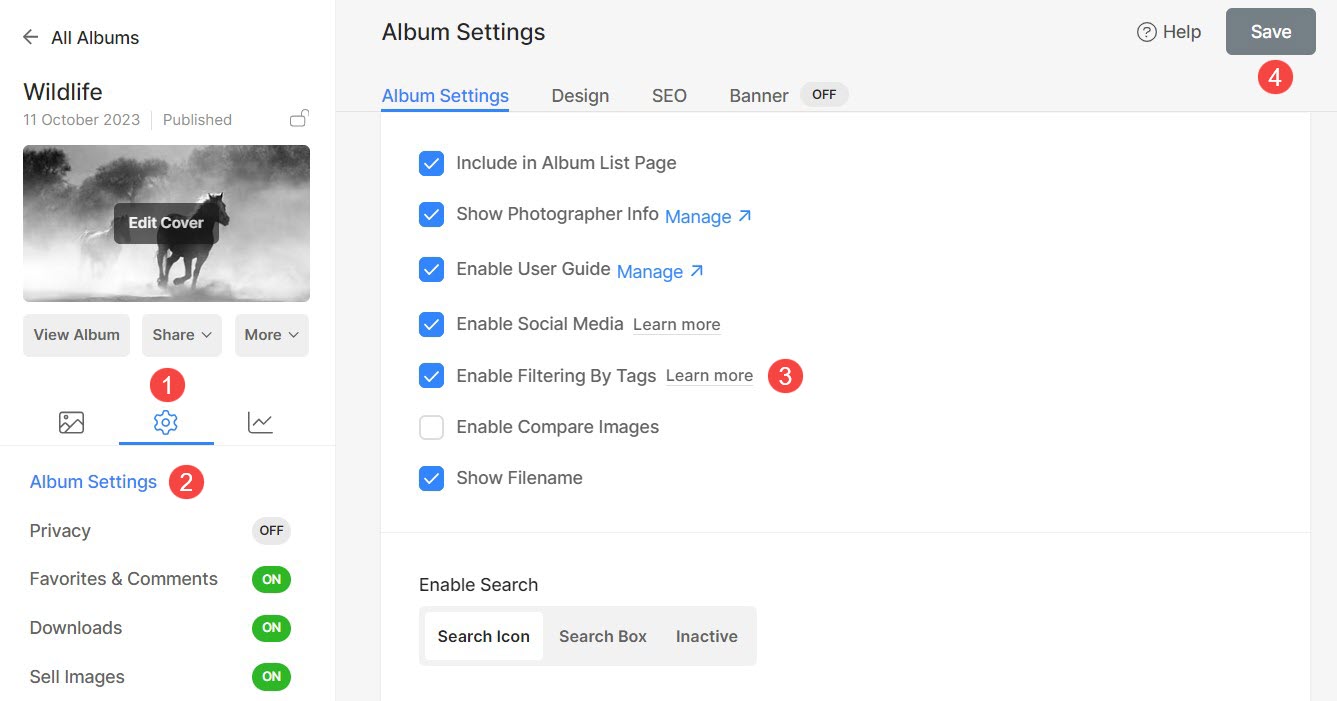
Step 2. Enable the filter by tags in the Album
- Under the Settings (1) section, go to the Album Settings (2) option of a particular Album.
- Check the Enable Filtering by Tags (3) option.
- Save (4) your settings.
You will see the tags on your Album now.