Pixpa gives you the option to add your Store Products on any of your pages. This way, you can advertise/exhibit your products. You can show your products in a unique way when compared to the Store page.
Using this section, you can show specific products that you wish to. This section allows you to create a fully customizable store page if you do not wish to show the default store page.
Remember:
- Make the Store active and create the products.
- The product(s) that you add in the products section should be available on your Store page.
- The products should be either active or hidden.
In this article:
- Add a Products section
- Product Section Settings
- Change product feed Layout
- The Full card and the Text card
Add Products Section
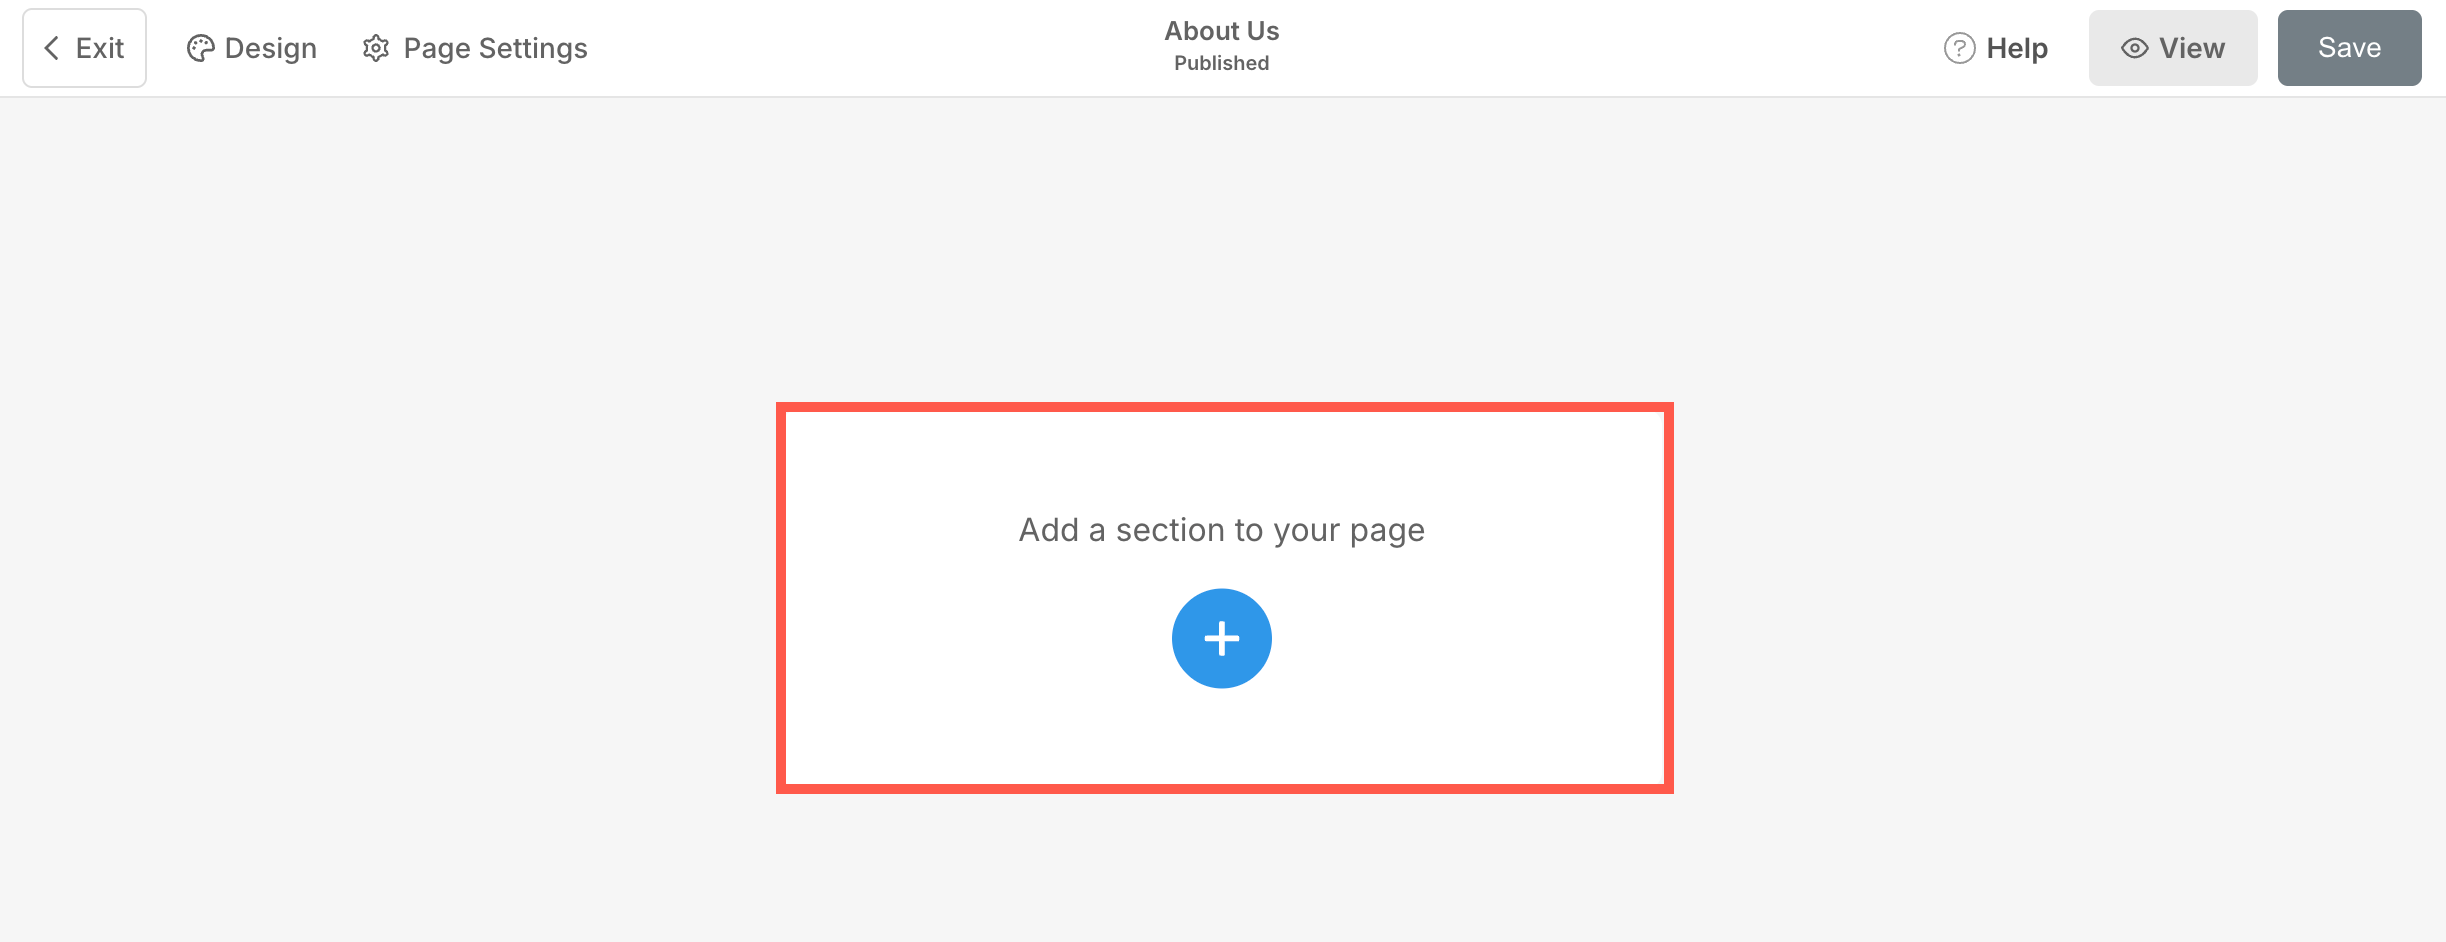
- A section can be added to a page. You can either add a section to an already existing page or create a new page within your website.
- On your page, click on the blue + icon to add a New Section to your page.
- You will now see the section categories on the left side.
- Scroll down and choose the Products Section (1) option where you can choose from the different layouts (2).
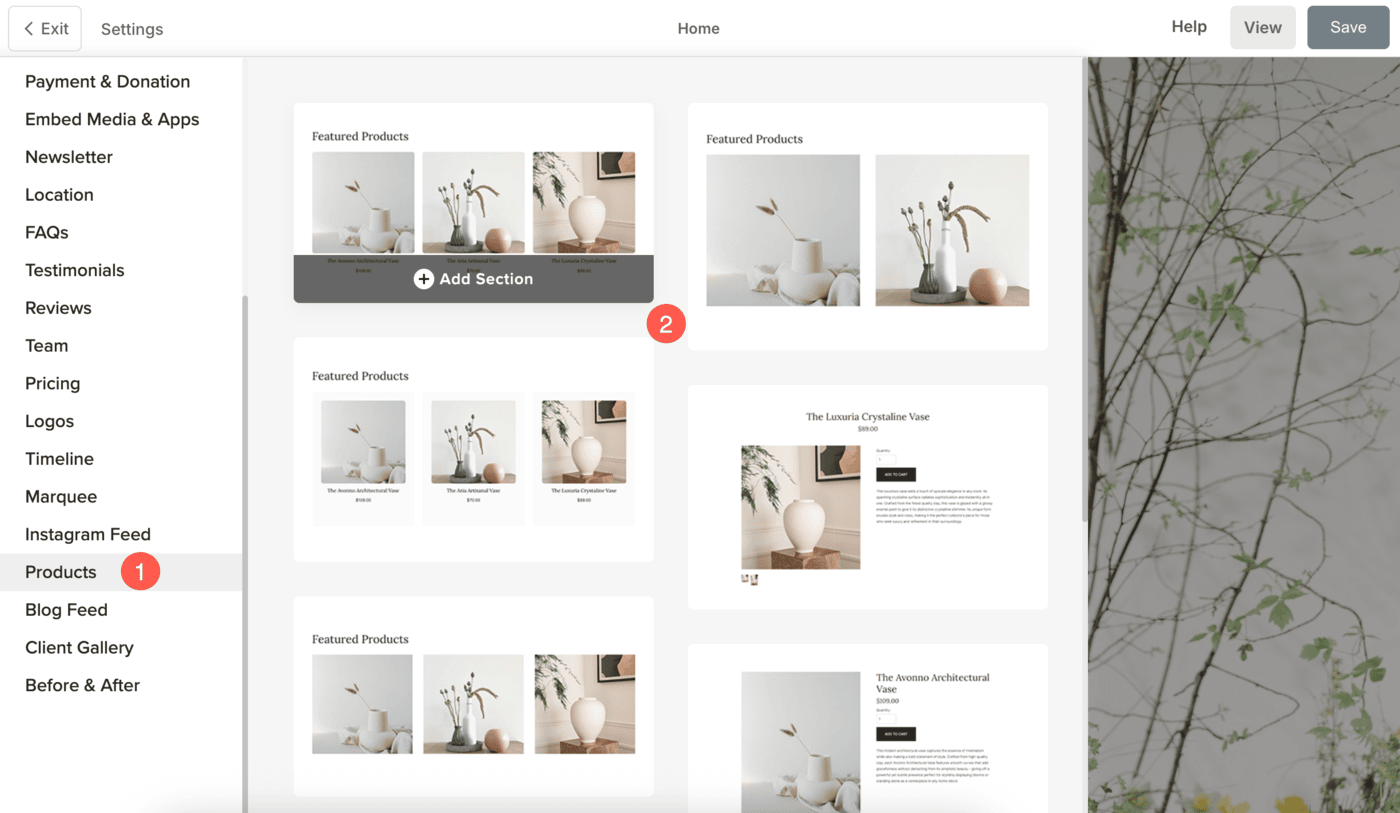
- Choose any section layout and click on it to add it to your page.
Products Section Settings
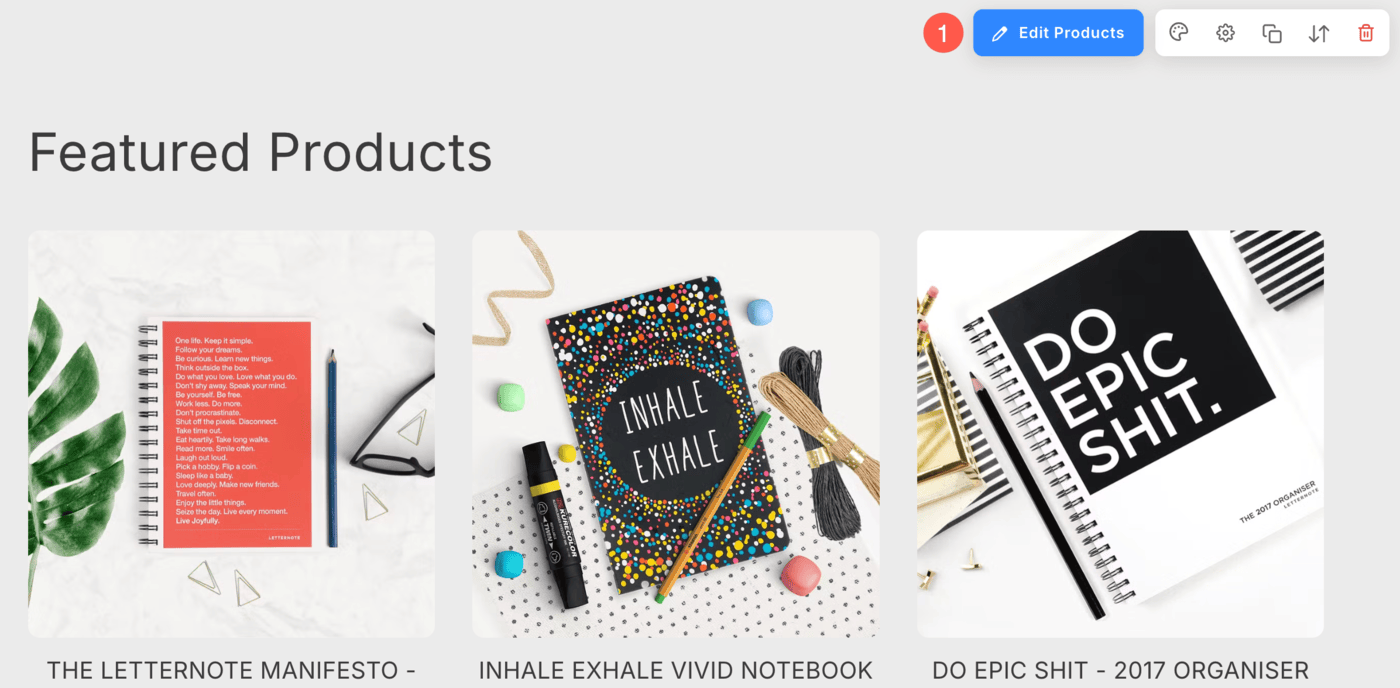
Once you have added the section:
- Click on the Edit Products (1) button.
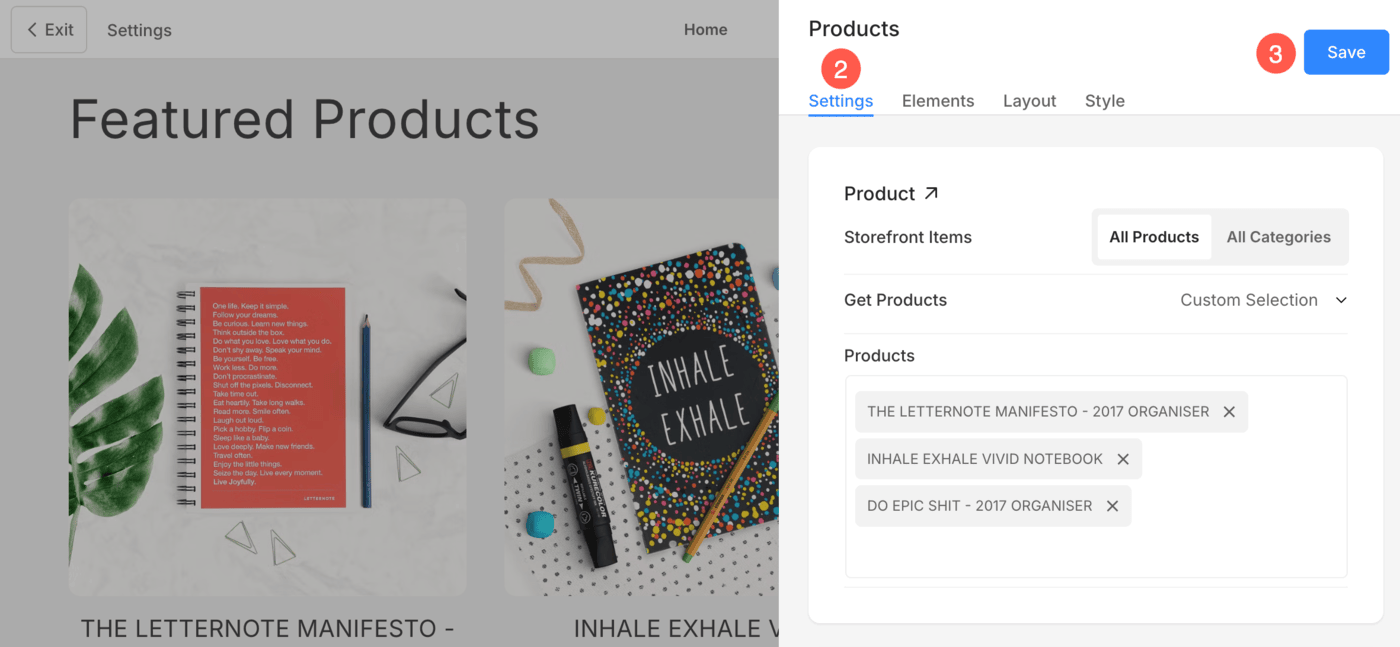
- Click on the Settings (2) tab to manage the Product section settings.
- Save (3) your changes.
You will have the option to:
-
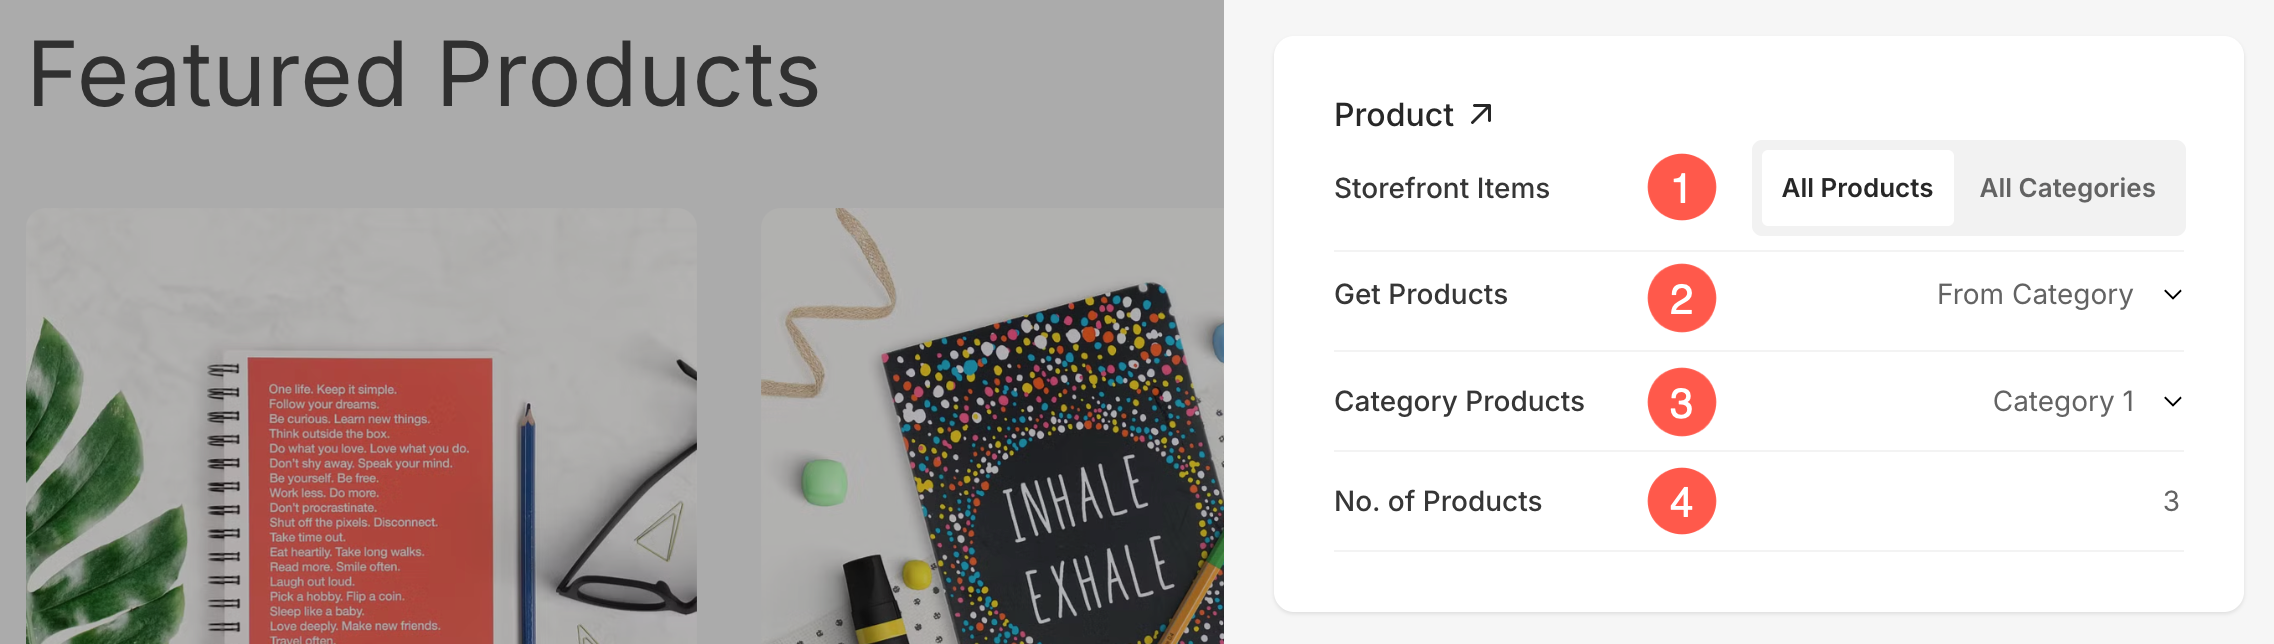
- Storefront Items – Choose whether to show products from:
- All Products – Displays products from your entire store.
- All Categories – Displays products grouped by categories.
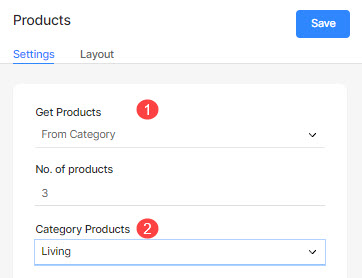
- Get Products – Choose to show the New Products or products from a Specific Category or a Custom Collection. Learn more.
- Category Products – This dropdown appears when “From Category” is selected. You can pick a specific category (e.g., Category 1) from which the products will be displayed.
- No. of Products – Set the number of products to be shown in this section. This gives you control over how much product content is displayed visually in one section.
- Storefront Items – Choose whether to show products from:
- Section Headline – Specify the Headline text for this section. This is the optional field.
- Buttons & Links – Add any type of Link to the section. You can add a Button/Image link/Social Icon/Text Link. Learn more.
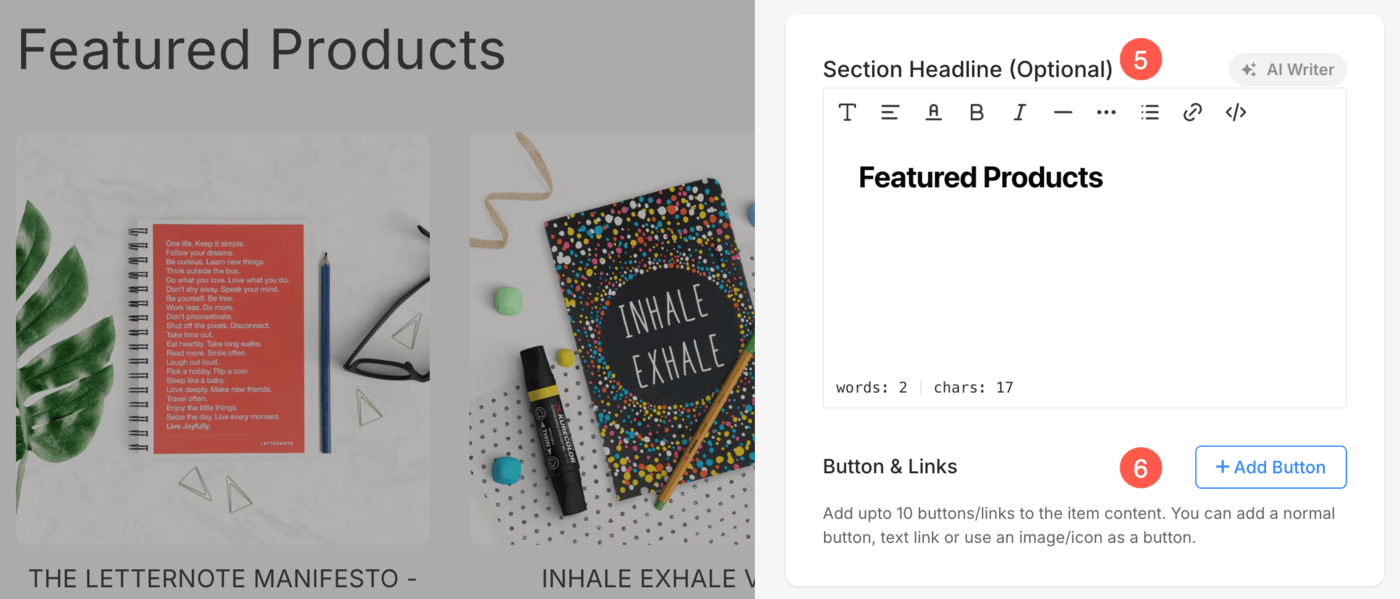
- Choose to show the image items as Full/Text Cards (6). Learn more.
- Specify the padding/spacing (7) of the card in px.
- Align the text (8) below the thumbnails to the Left, Right, or Center.

- Set the Hover Background/Base color (9) and its opacity
- Set the Hover Elements color (10).
- Finally, save (11) the changes.

Get Products options
From Category
- When you choose From Category option (1) in Get Products field, you will have the option to choose the category (2).
Custom Collection
- When you choose the option of Custom Collection (1), you can enter the products from the Products (2) field.
- You can simply enter the product name, the product (if exists in your store) will appear in a dropdown, just click on it.

Change Product Section Layout
Once you have added the product feed section:
- Click on the Manage Products (1) button.
- Click on the Layout (2) tab where you can choose the product feed layout.
- Choose the layout (3) and save (4) your changes.

The Full card and the Text card
When you turn on the Full/Text Card over your products list, the list items will have an outline and background with the card color that you have selected in the Design section.
Also See: Website colors and spacing.
Full Card
When the full card option is selected, the card color is applied to the whole card i.e., the image and the text below it.
Have a look:

Text Card
When the text card option is selected, the card color is applied only to the text below the image.
Have a look:
