Pixpa is an all-in-one platform that enables creative pros to build and manage their Portfolio Websites, eCommerce sites, Client Galleries, and blogs easily without any coding knowledge.
With Pixpa, building a website has become easier than ever before.
Here’s a complete guide for creating your website:
Tools needed
Pixpa is the only tool you need to create your website.
Whether you want to:
- Showcase your Portfolio,
- Start your Business Website,
- Set up your Online Store, or
- Publish a Blog
Pixpa’s versatile platform has everything you need and empowers creators to manage their whole web presence from one location, saving time and money.
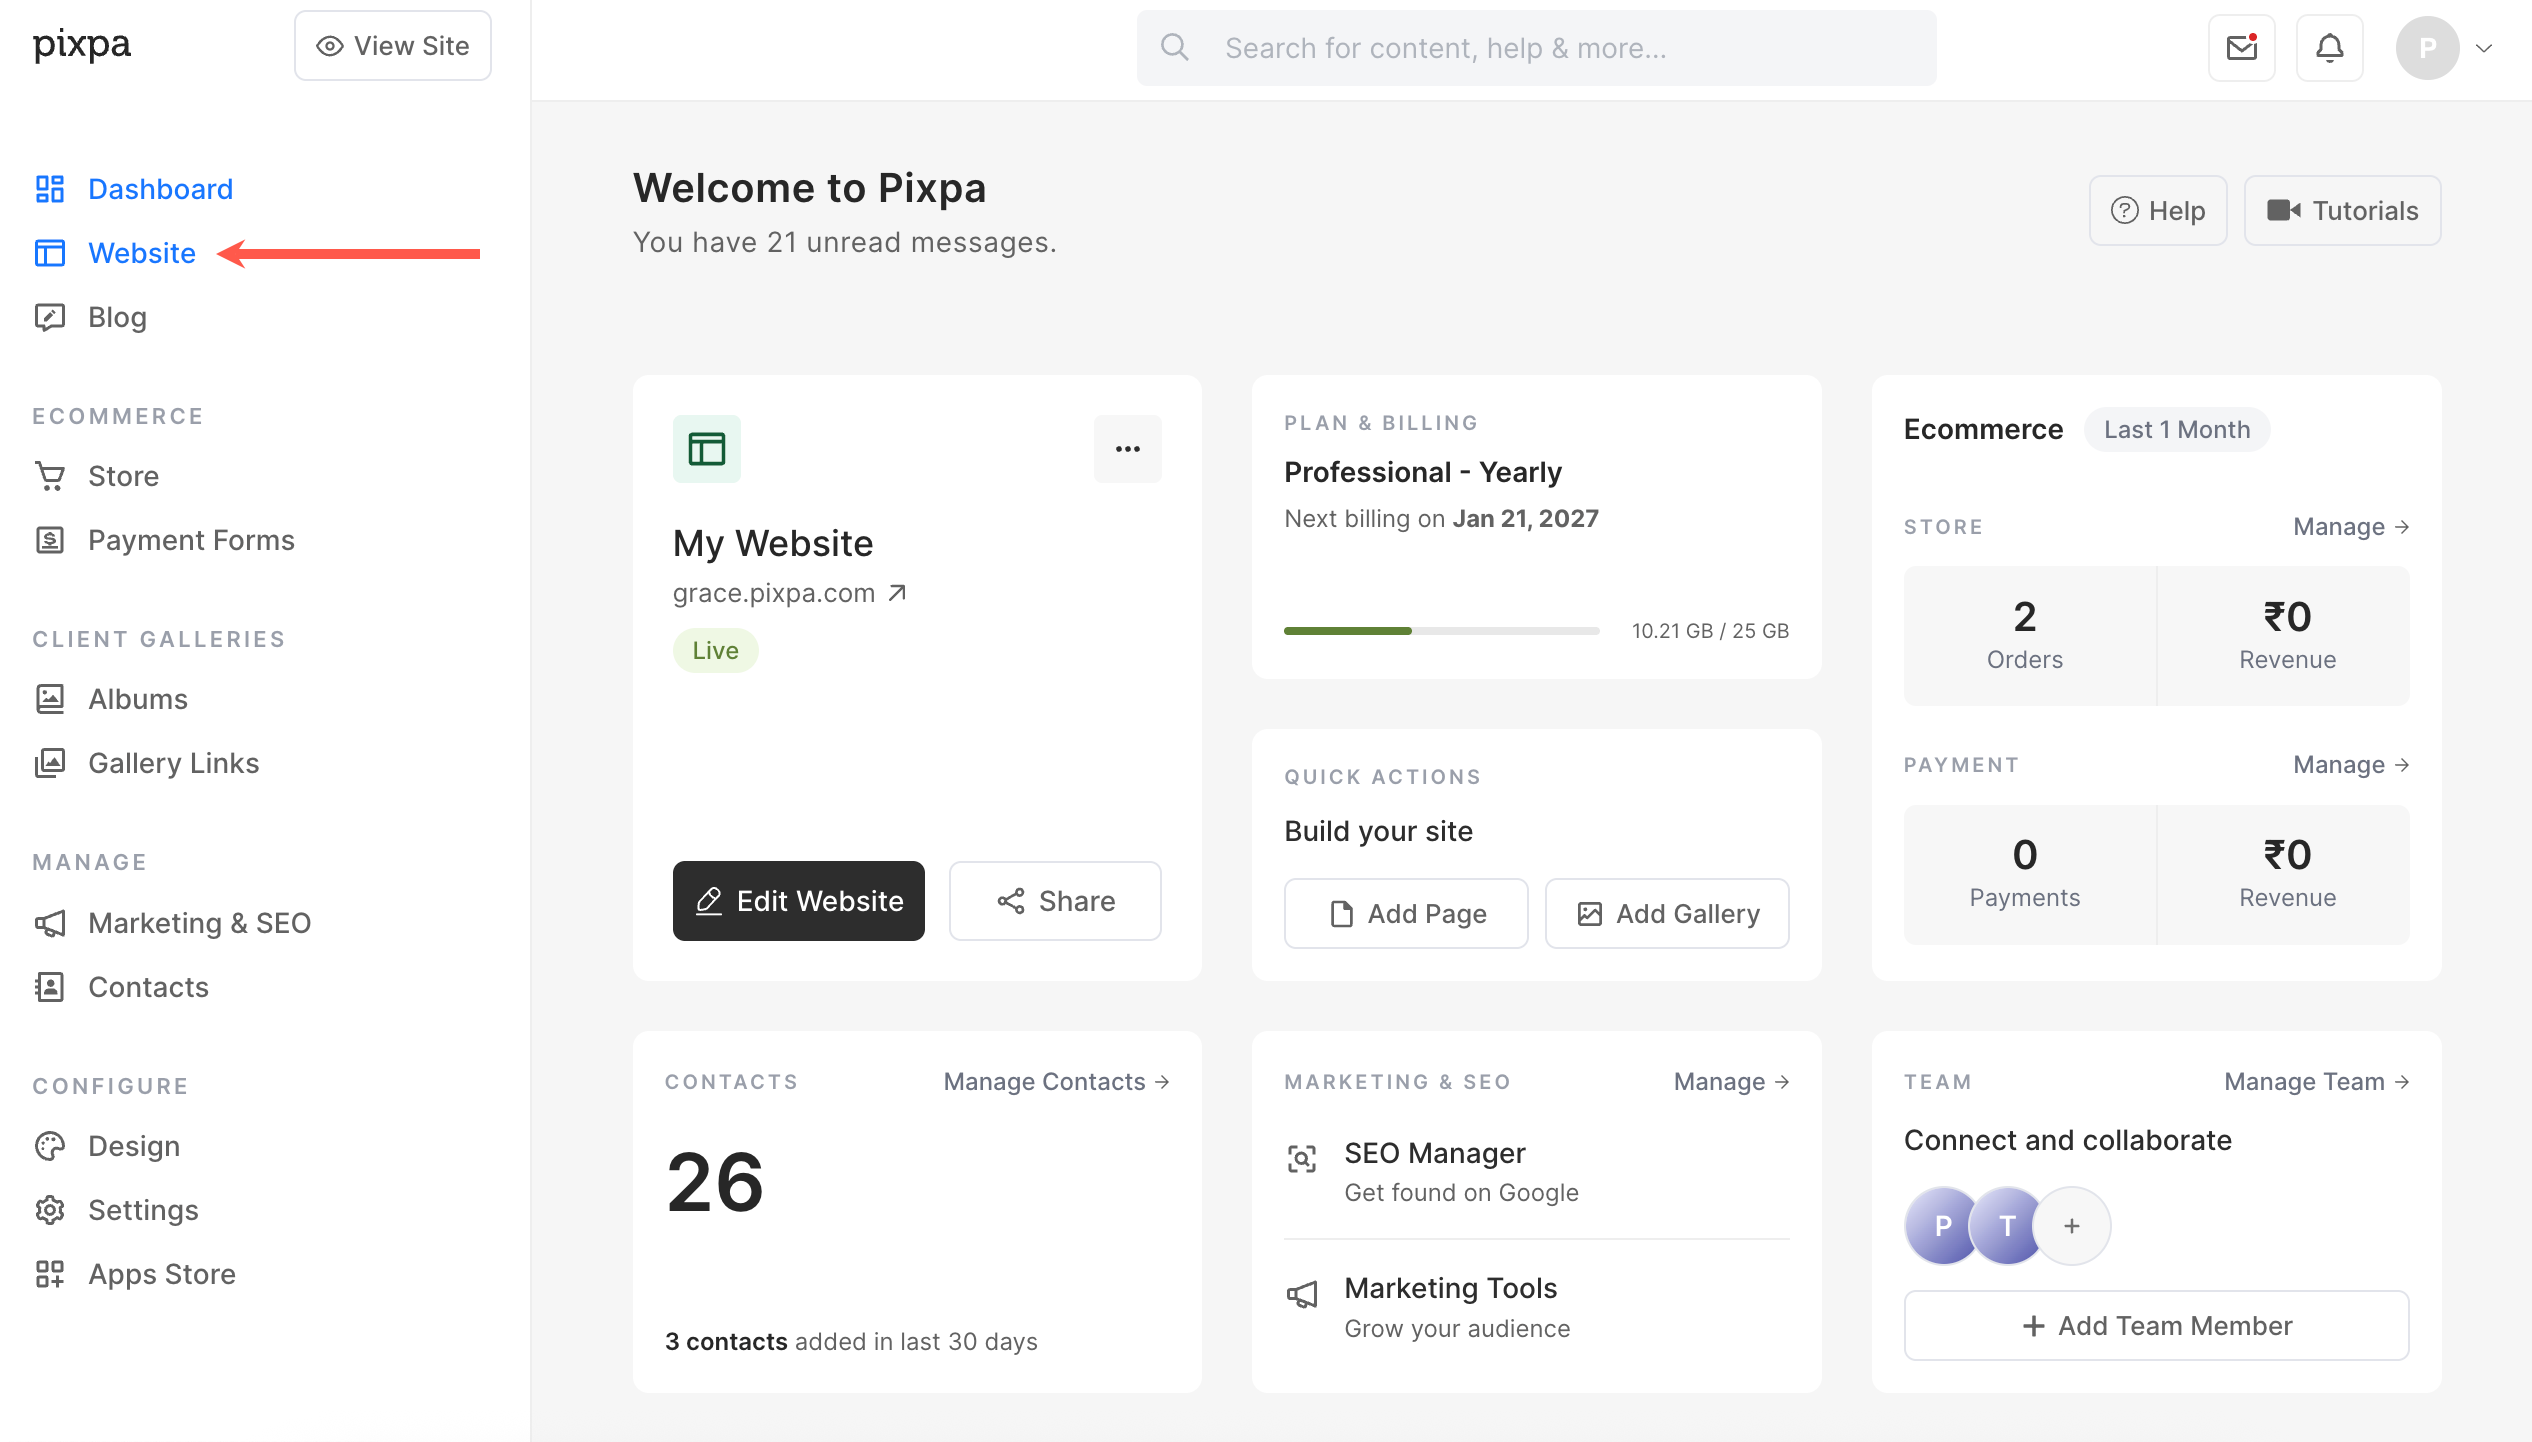
The Pixpa Dashboard looks this way:

You can sign up for the free 15-day Pixpa trial and get instant access to all Pixpa features for 15 days (you can test-drive everything). We don’t require a credit card during the trial, so you get to try Pixpa obligation-free.
We offer monthly as well as yearly subscription plans. The pricing plans start from $9/month. Start your subscription from here.
In this article:
- Pick your website template
- Edit your menu items
- Customize your website header
- Tailor your site fonts and colors
- Edit your website pages
- Build a blog
- Customize your website footer
- Go Live
- Pro tips for your website
- FAQ
Pick your website template
Begin your website-building journey by signing up to Pixpa and start your free trial.

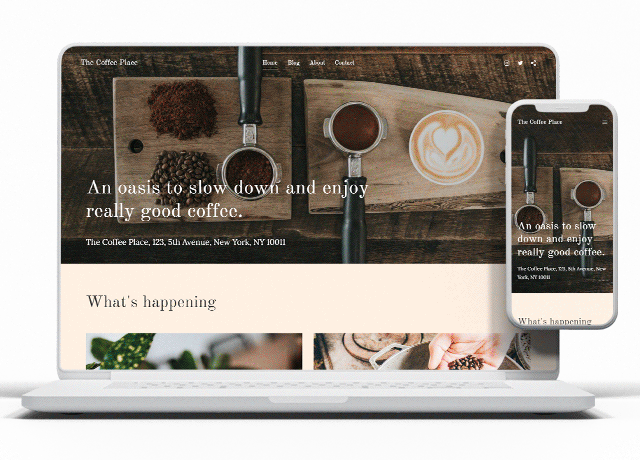
Kickoff creating your website by selecting a theme of your choice. Pixpa provides nearly 200 stunning, professional, responsive themes.
Each theme is a set of presets created by Pixpa’s experts to help you get the look you want for your website. Check the themes offered.
You can switch themes later with a single click. Your content would adapt automatically.
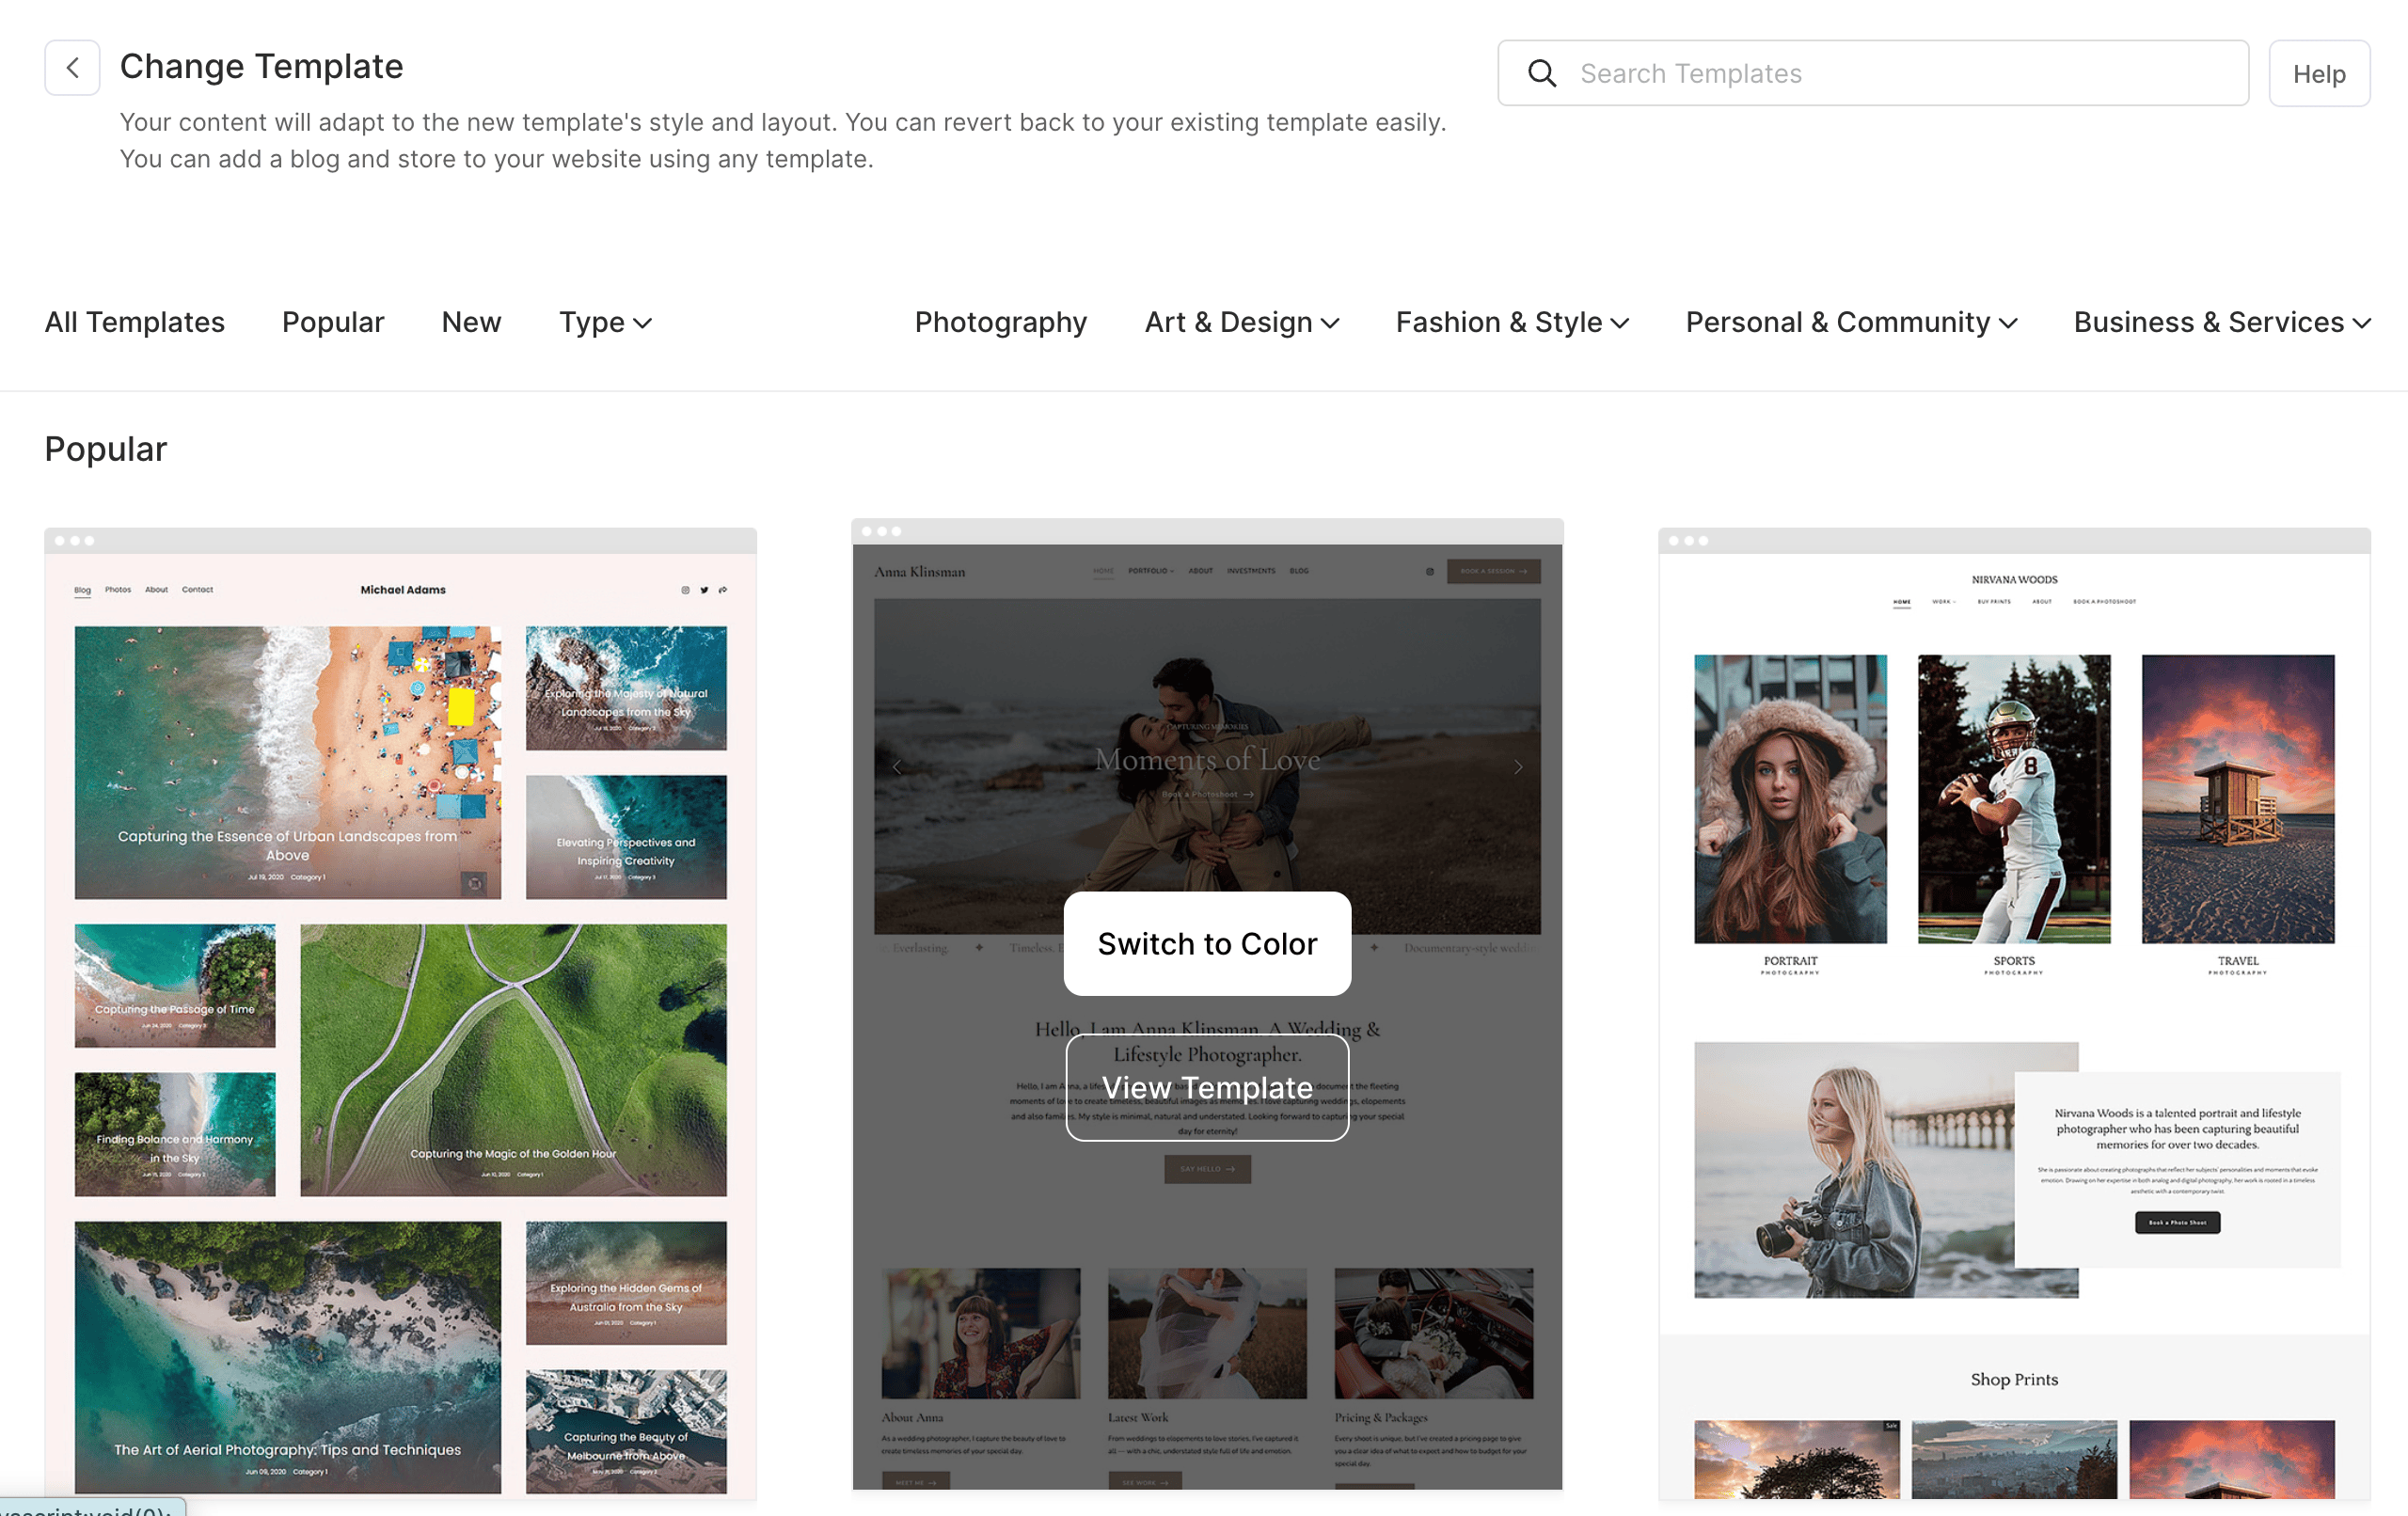
After you have chosen a theme, you can further customize any element of your website.
Once the sign-up process is completed, you will be directed to the Pixpa Dashboard.
For further details about templates, you may check out this video guide:
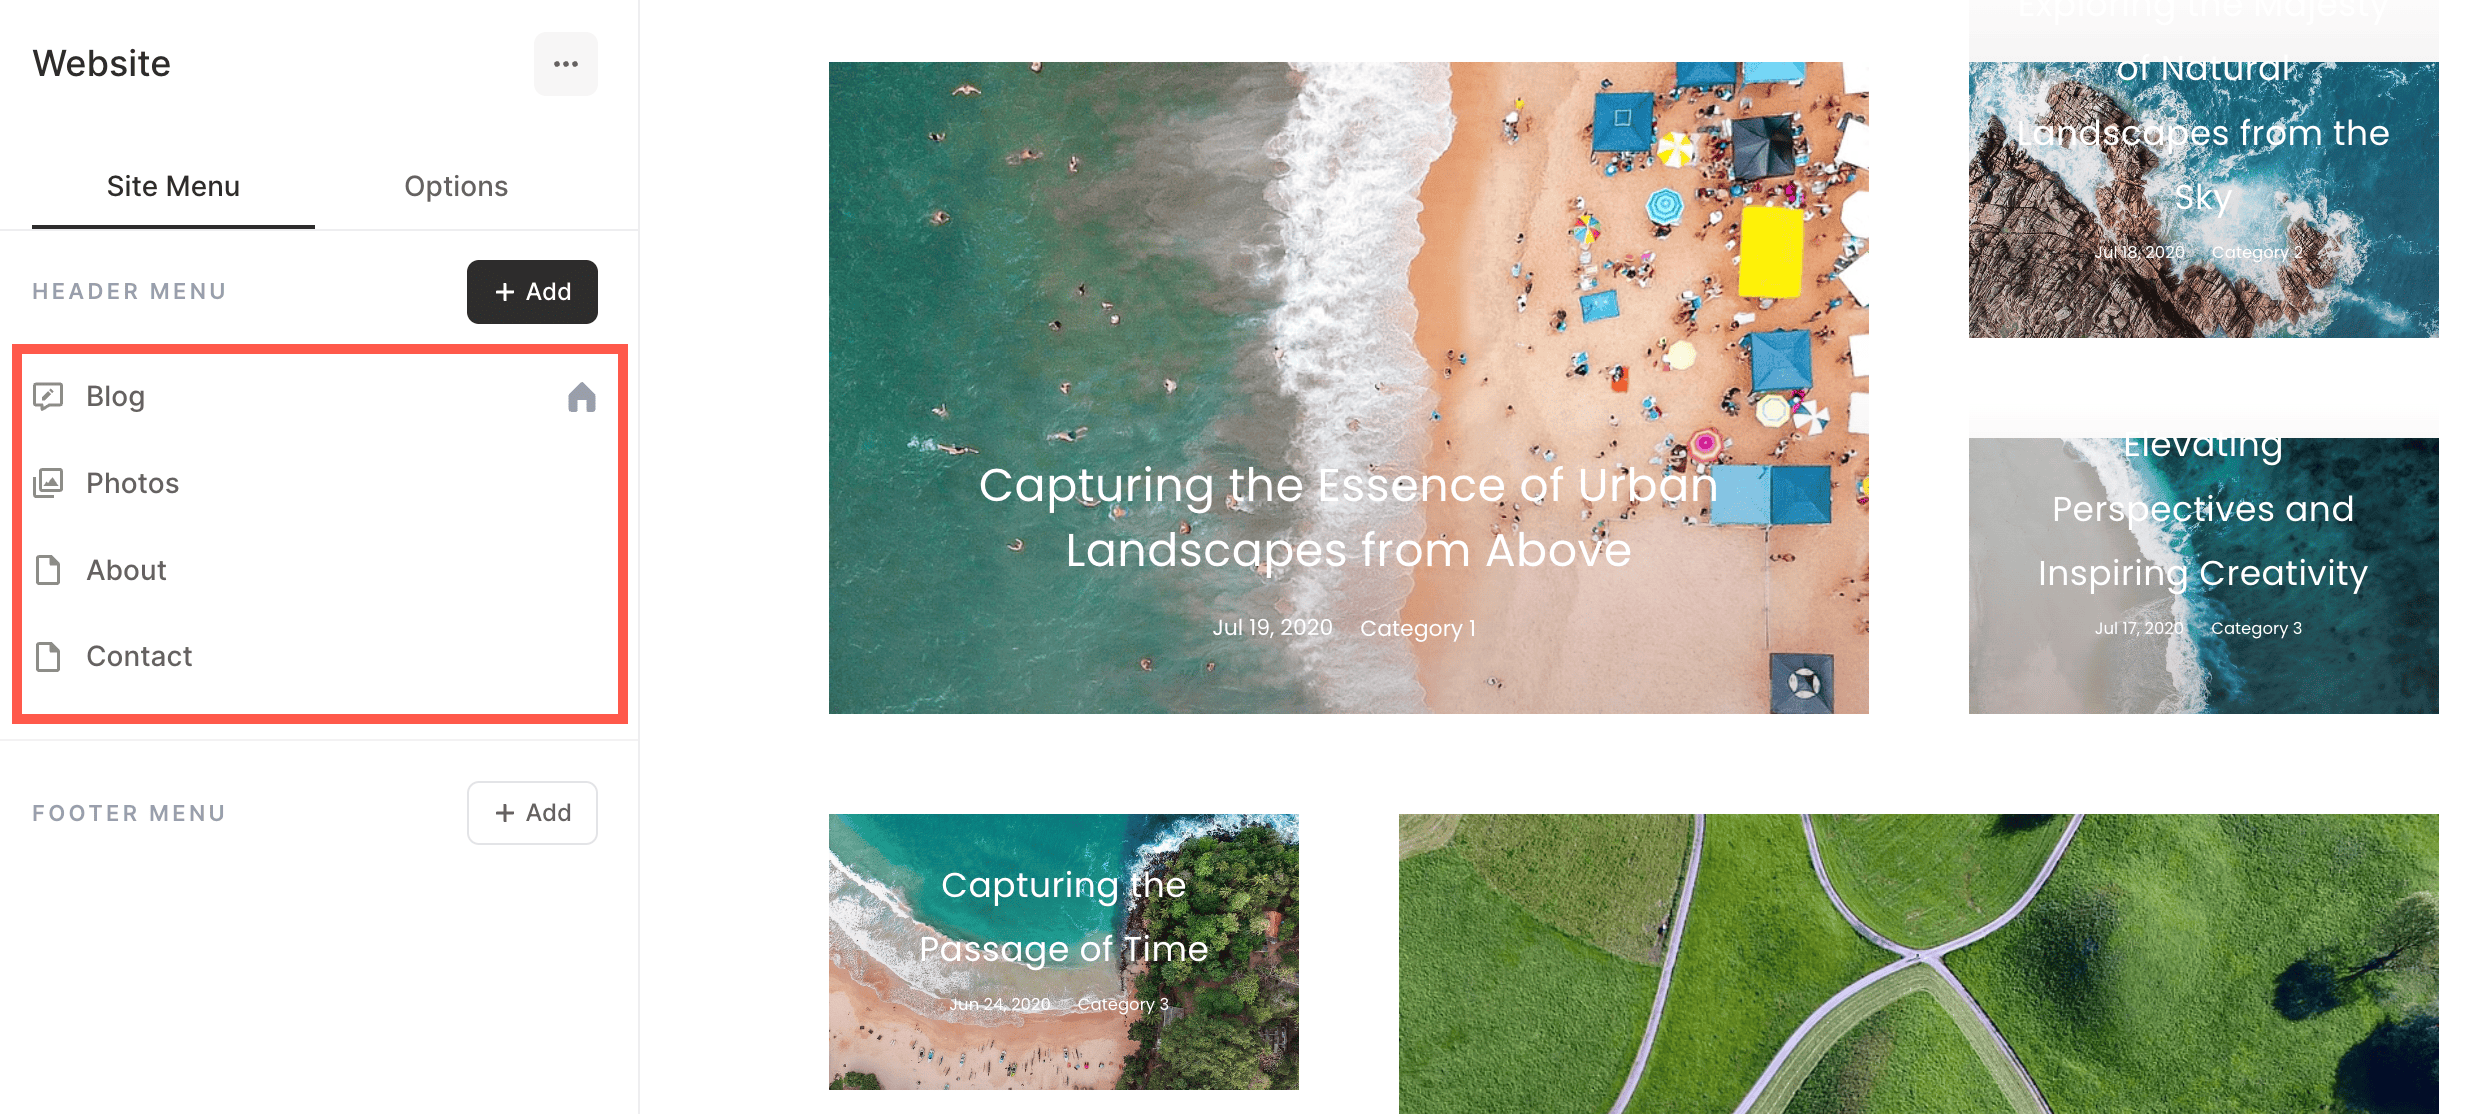
Edit your menu items
Head on to the Website section to view the menu items of your website.
The Demo pages
Once you are in the website section, you can view few demo pages of the theme you have chosen. You can either delete or edit or use them directly.
Also Check:
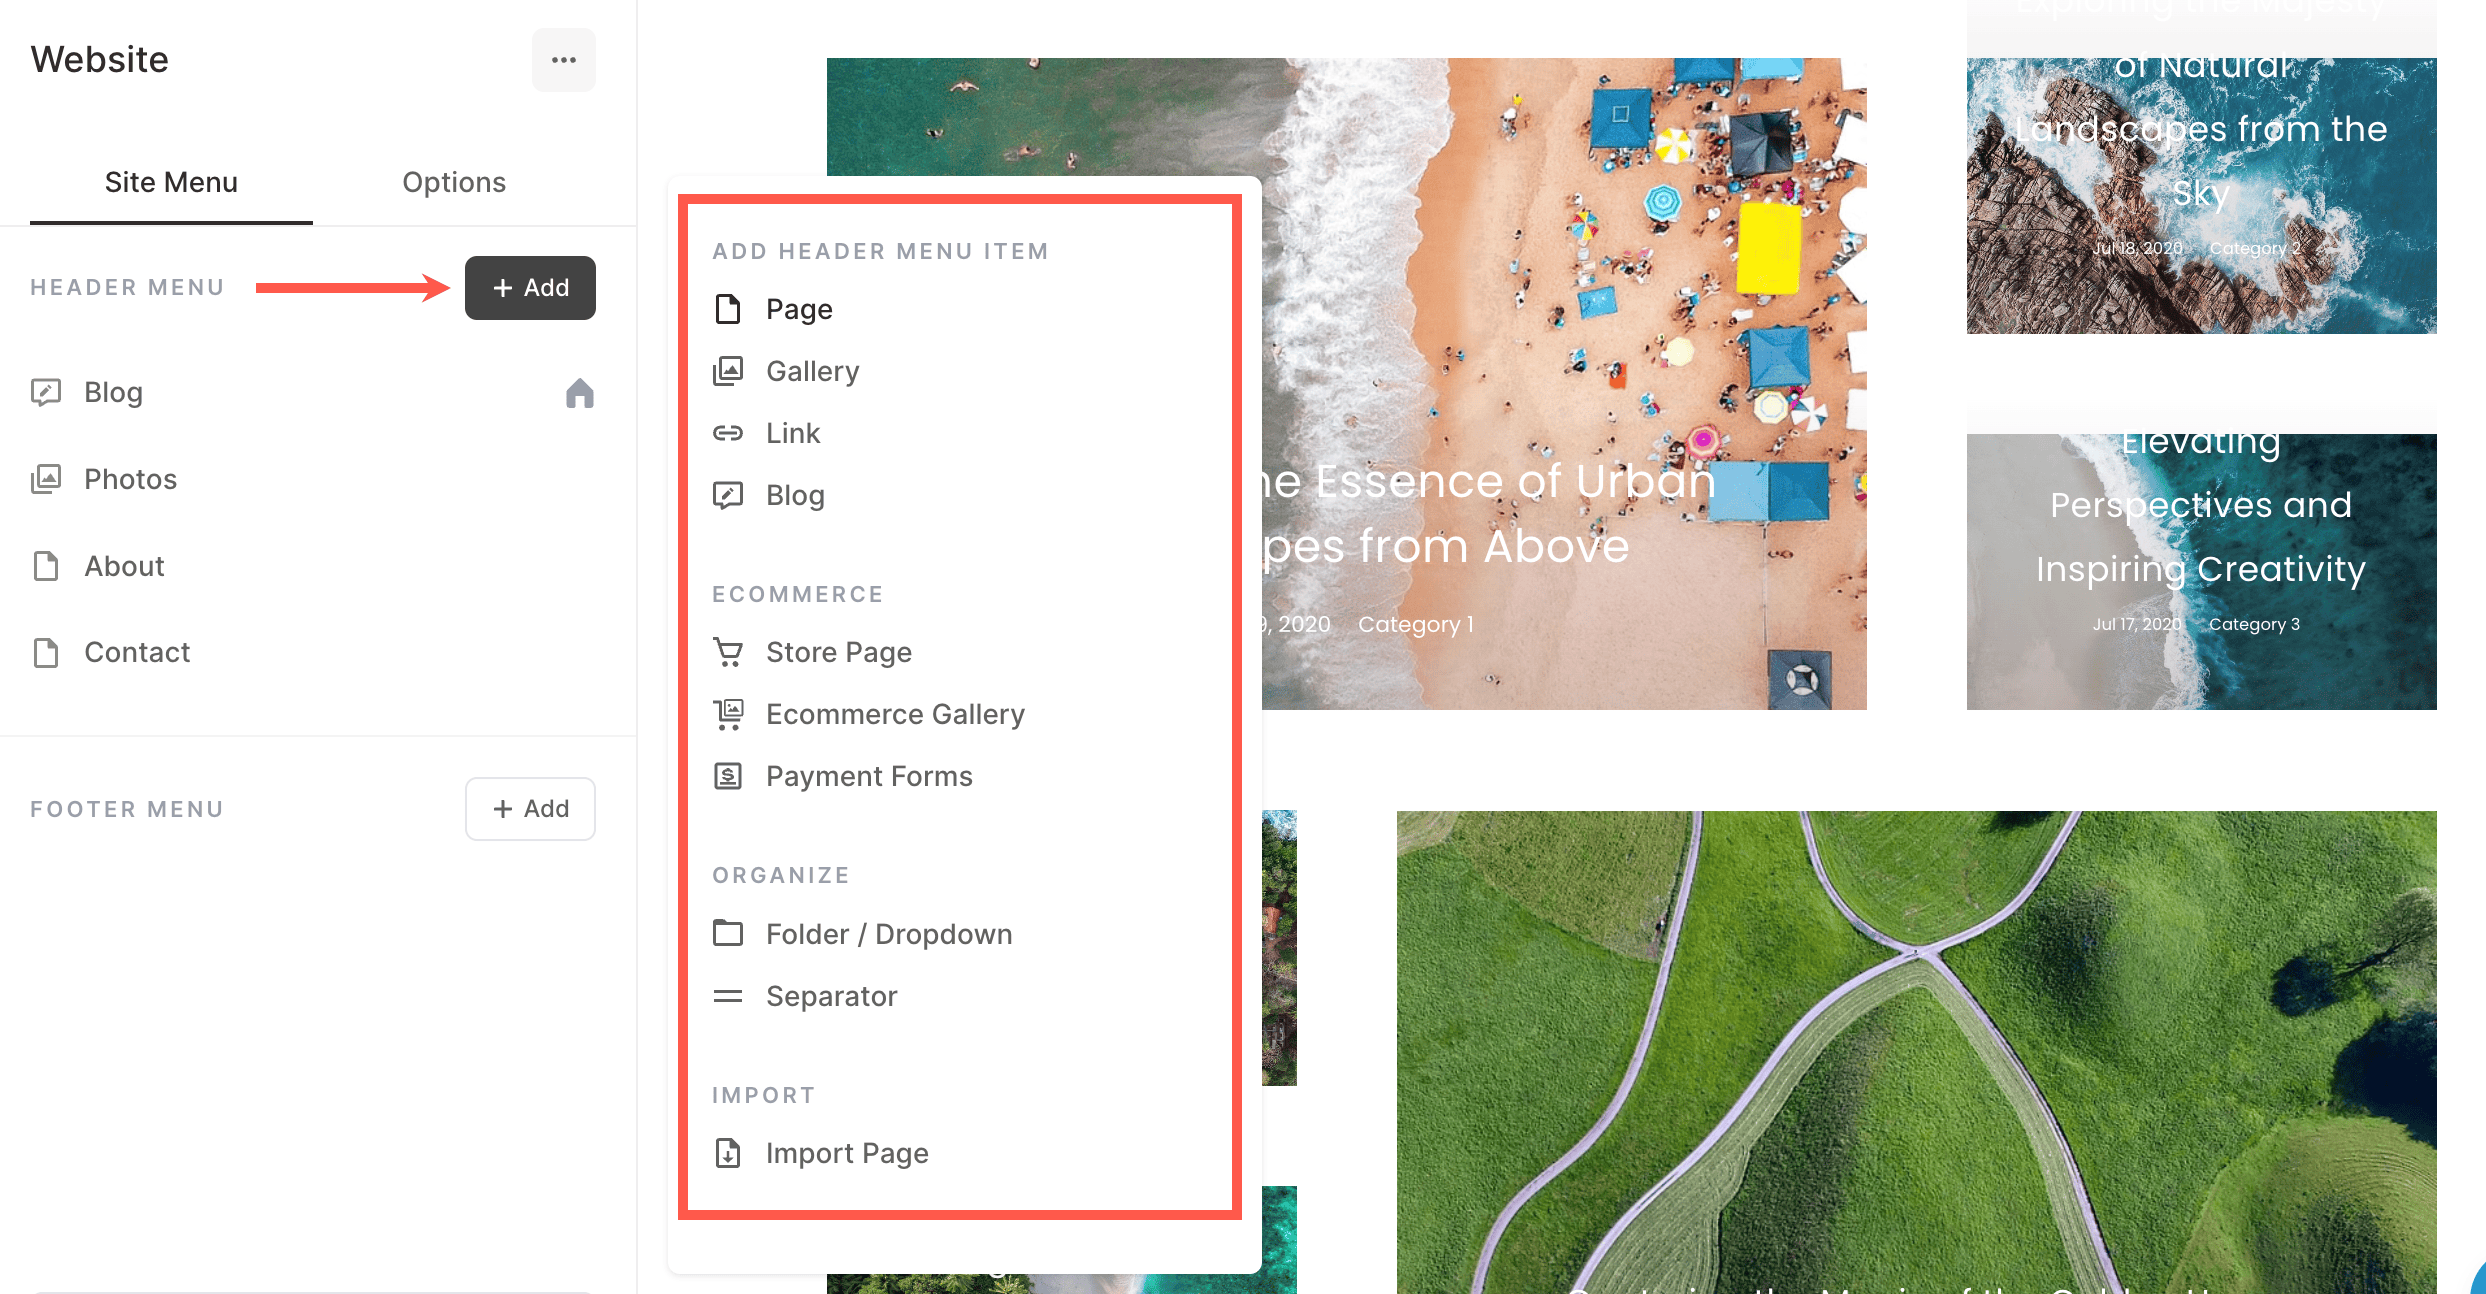
Add new menu items
From the Website section, simply click on Add Menu Item to add a page, gallery, link item, blog, ecommerce galleries, spotlight page, folder, or a separator. You can add menu items under the Header of your website or the Footer. Learn more.
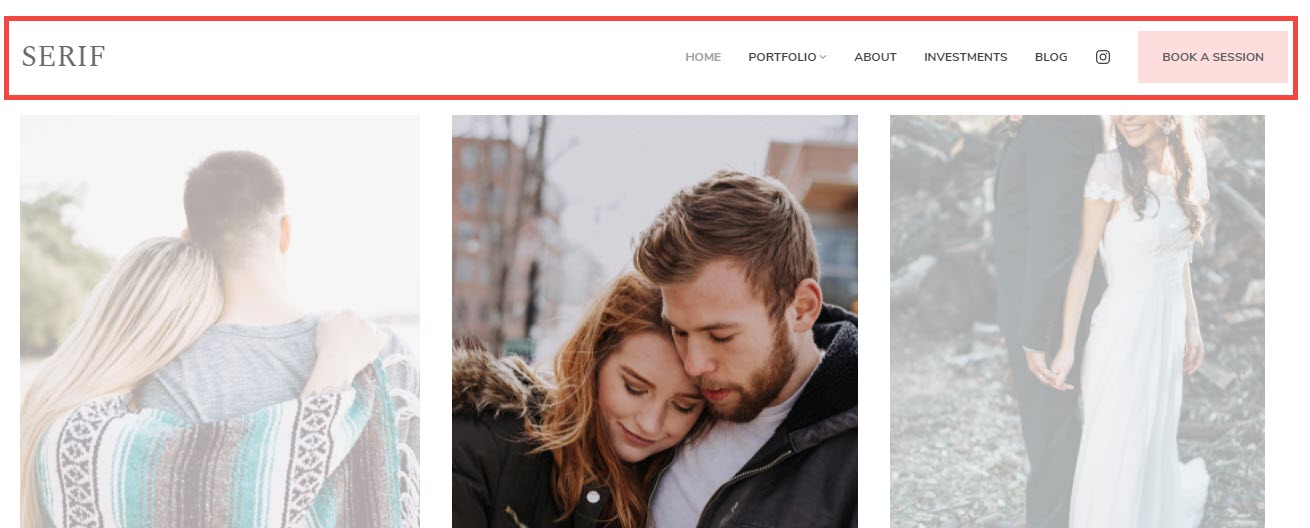
Customize your site header
The Site Header is the top section of your site that consists of the Site title/logo and the menu.
Visit the Design section to customize your header.

- You can either enter your site title or upload a site logo for your website.
- Choose from a variety of header layout options, and apply anyone to your website. We provide two types of header layouts – top header layouts, and two-column header layouts.
Top header layouts
Two-column header layouts
The two-column header layouts exist in themes like Burst, and Isle. Learn more.

The add-ons that can be added to your site header are:
Know everything about Website Header Style Options.
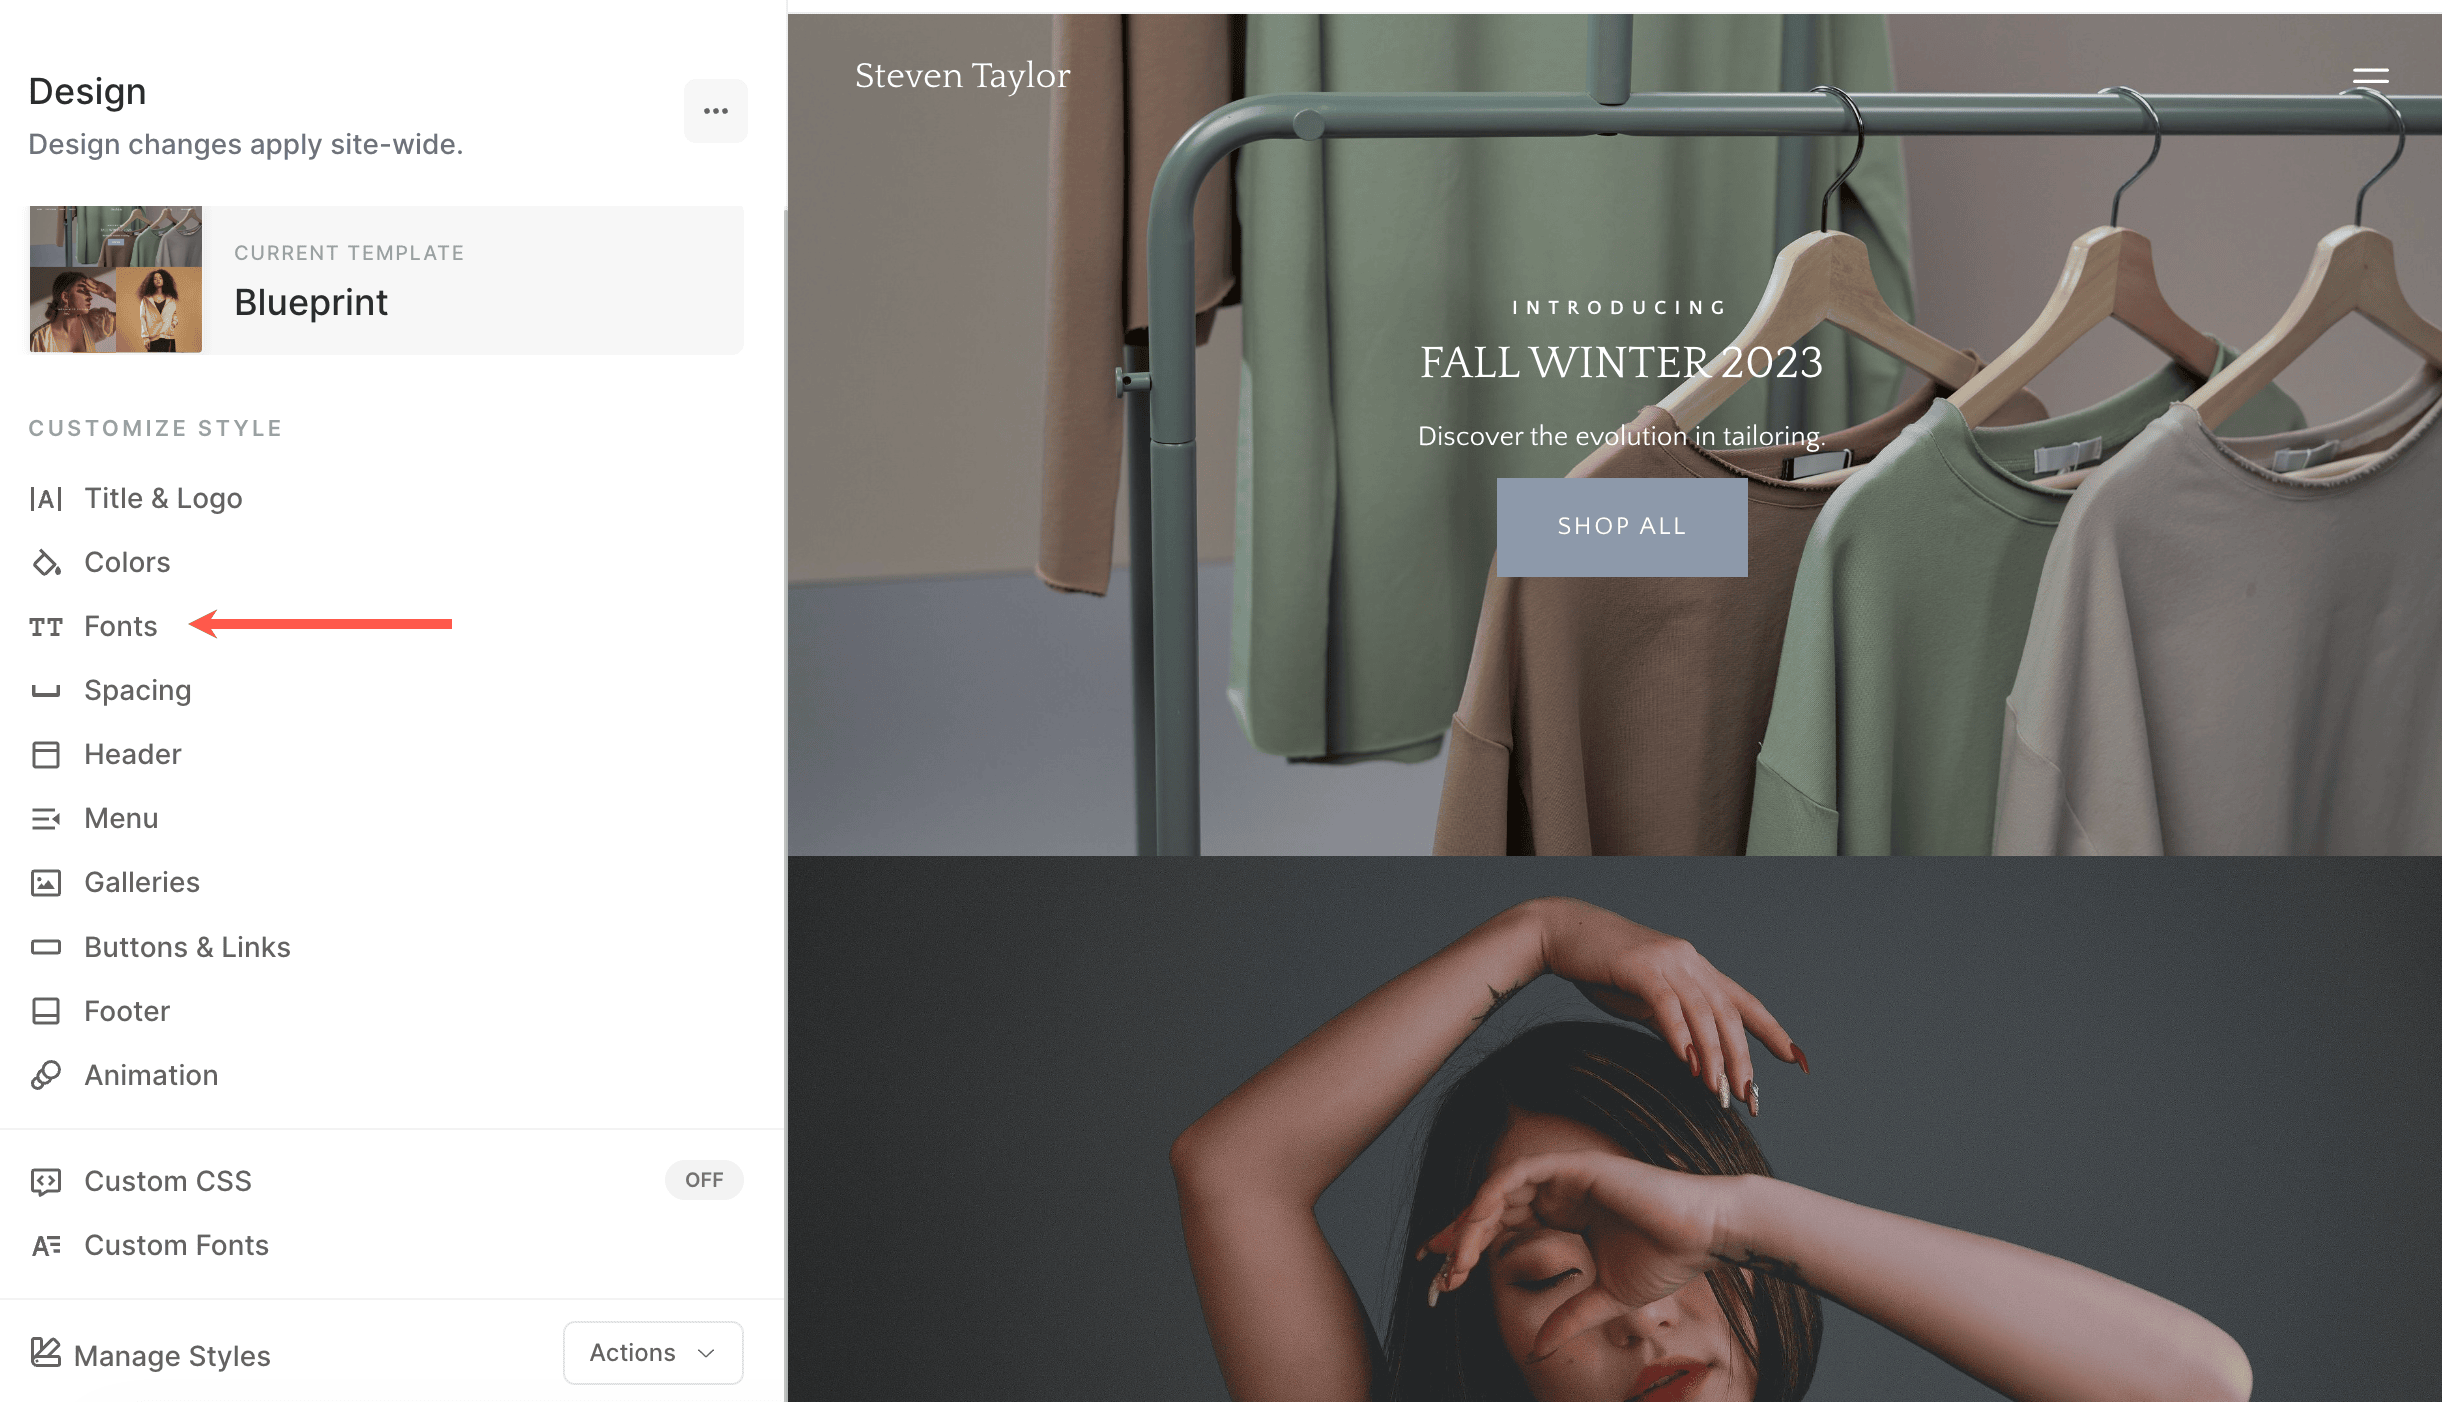
Tailor your site fonts and colors
The next step would be to manage your website’s font styles and colors. Fonts and colors are vital to the overall appearance of your website.
Managing site fonts
Pixpa supports 500+ selected fonts from the Google Fonts repository. The wide variety of fonts along with the ability to choose font weights (where available) gives you total control over your website typography.
You can pick your favorite font from our extensive collection, choose the font weight, size and color and design your website the way you want.
You can manage your website fonts from the Design section, Fonts tab.
Know more about Website Text styles.
Managing site colors
The colors of elements used on your website should match your brand colors. Colors are also a great way to focus on the important elements of a web page.
Once you have changed the colors here and published the changes, they would be applied to your complete website.
To manage the color palettes for your website, go to the Design section, Colors tab.

Know more about Website Colors.
Edit your site pages
Manage your site content from the Website section. Click on any item (page/gallery/folder etc) from the left panel to manage its content and settings.
Let’s assume you are editing a page.
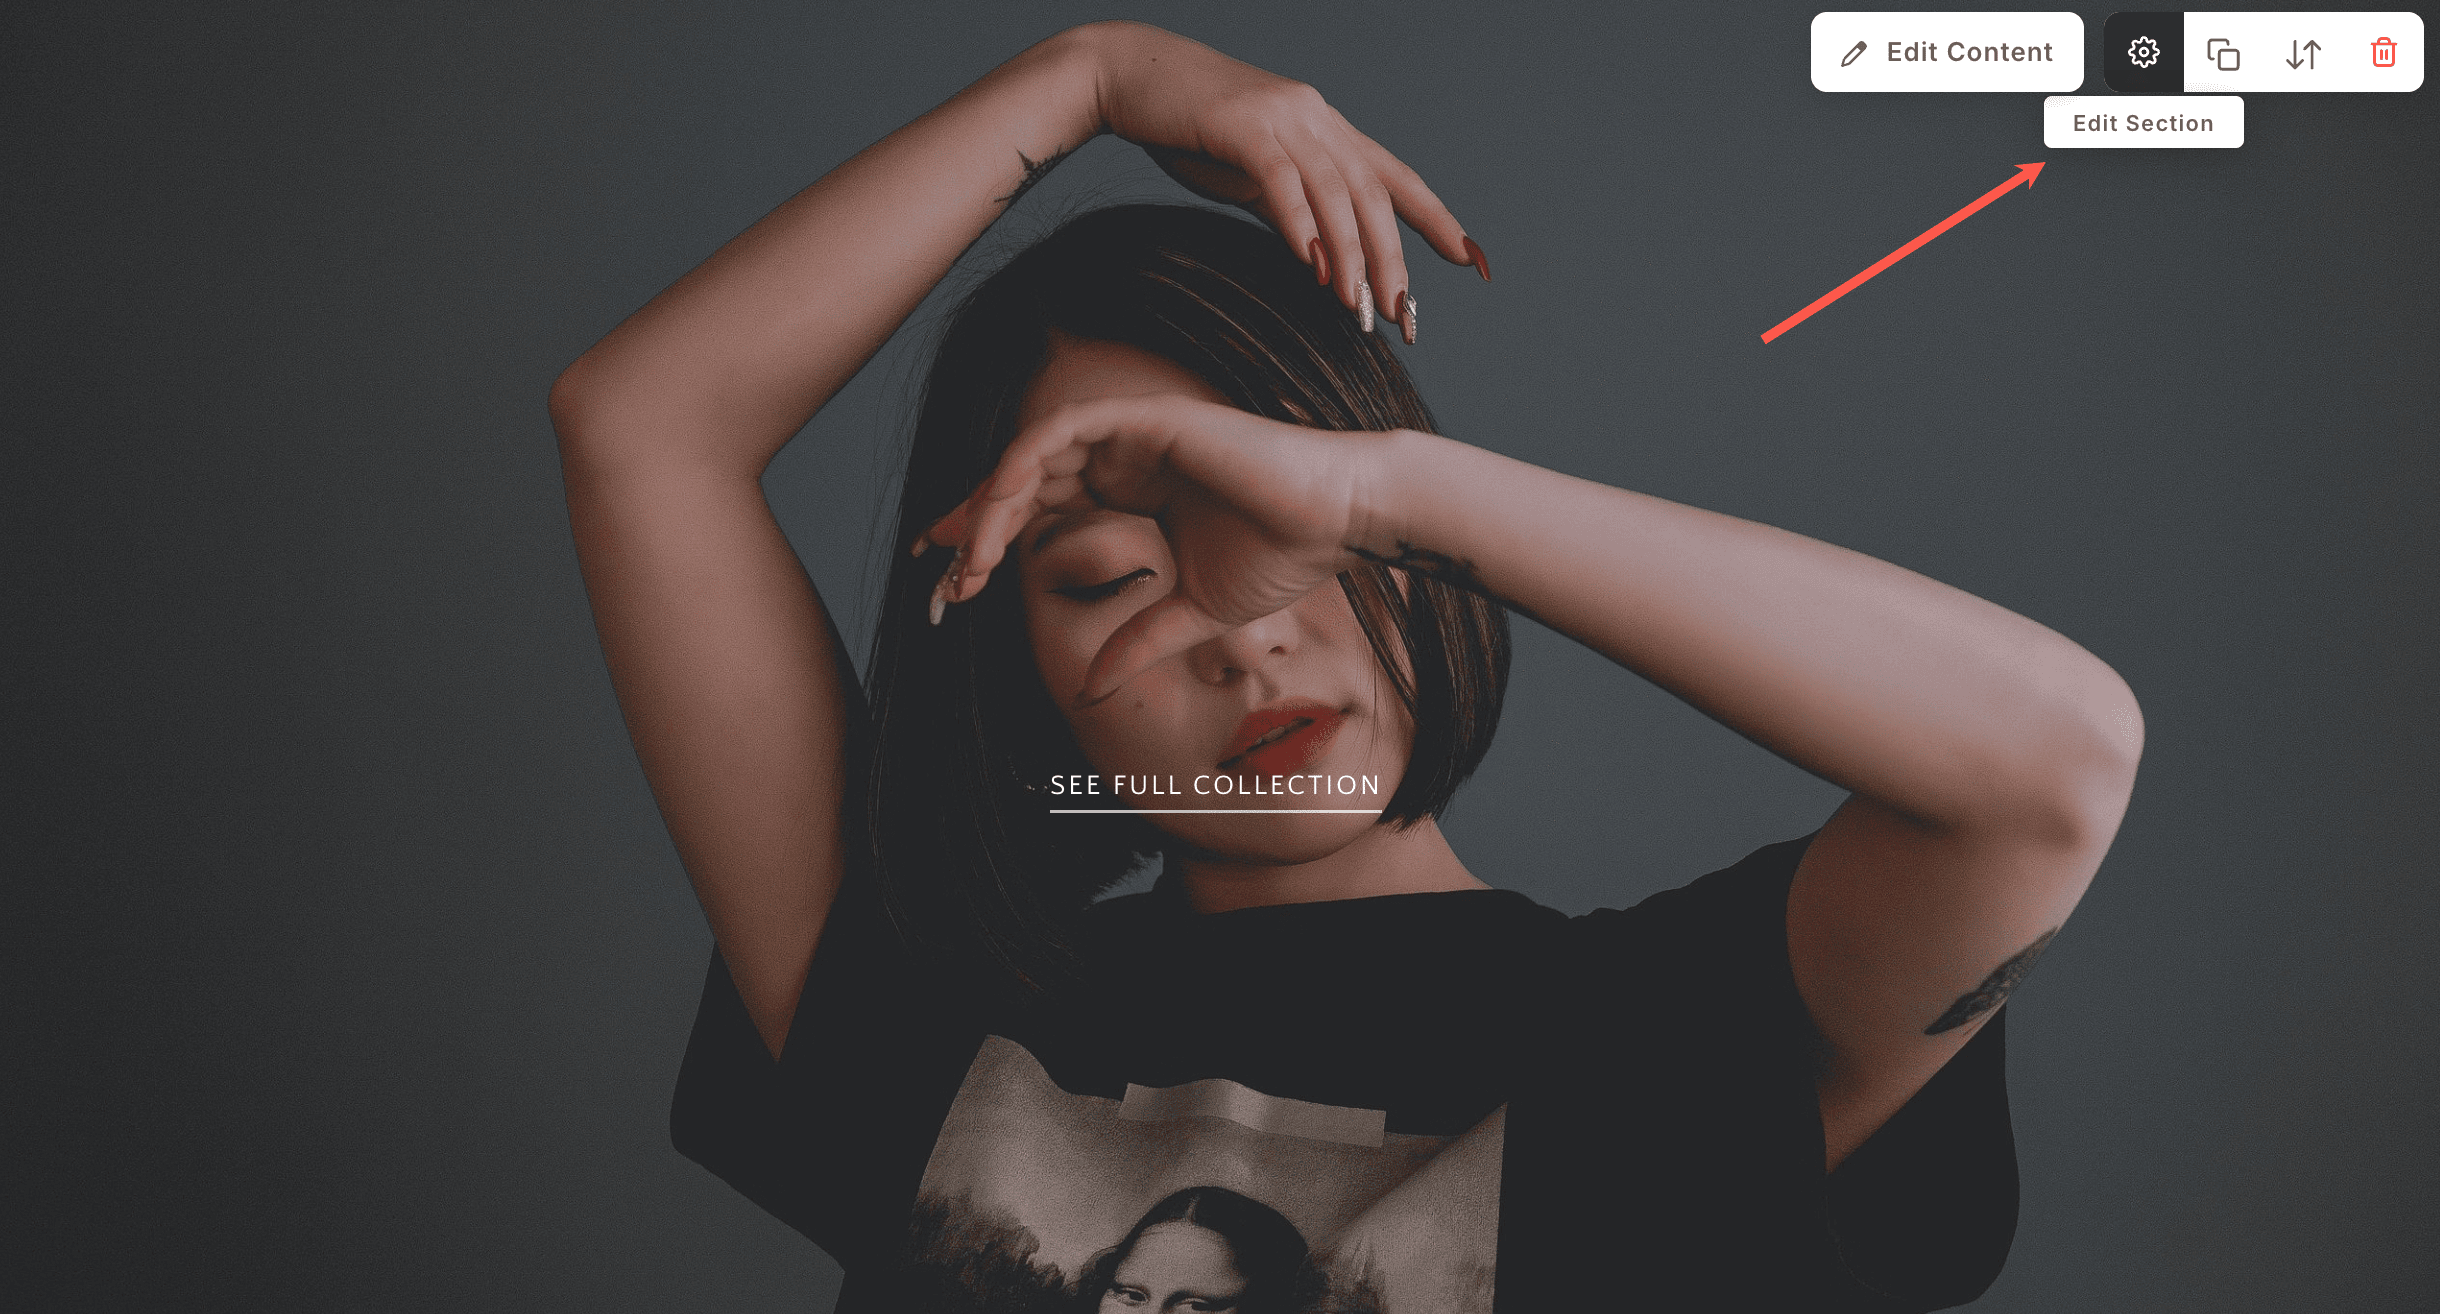
The Background Image
Change the background image/color of any section in a page (a page consists of many sections) from the Edit Section option.
Adding new sections
A section is a content block that can be added to your page. You have the option to choose from different section layouts to customize your pages.
To add a section to a page, follow these steps:
- For a blank page you will see the Add a Section to your Page box and for ready pages the Add a Section box will be present between any two sections.
- Click on it to add a new section to your page.

Know how to add a section in detail.
Manage section width and height
Once you have added a section to a page, you can easily customize it.
Hover on the section for which you want to manage the visibility. This will enable the editing toolbar (1) in the top right corner of the section. Click on the Edit Section (2) icon to open the section settings box.

- In the Section box, you will have the option to manage the width, height, and more options.
Know everything about Section width and height.
To create a contact page for your site, add the contact section to a page and customize it.
Build a Blog
Create a blog within your Pixpa website and publish stories, posts, announcements and share your journey with your site users. The Blogging feature is offered on all the plans.
Go to the Website (1) section. This will bring you to the screen where you can add a blog page to your website.
Click on the Plus + (2) button. You’ll now see the Add Menu Item popup, select Blog (3).

Know how to create a blog in detail.
Know how to create a blog post in detail.
The Blog layout
Pixpa uses blog listing pages and blog post pages to organize the blogs. You can set the appearance of your blog listing page and blog post page of your website from the Blog settings.
Click on the blog in your site menu to view the Blog Settings page.

Know everything about Blog page design.
Pixpa gives you the option to add your Blog feed to your pages.
Customize your site footer
Using the footer, you can add important links and customize its appearance to maintain the consistent branding of your site.
To edit the footer, go to the Design section, footer tab.

Know everything about the footer.
The Pre-footer
You can easily add content like Instagram feed, company contact information, newsletter box, working hours, etc to your website using the Pre-footer. This is shown above the footer across your entire website.
See Footer and Pre-footer in action.
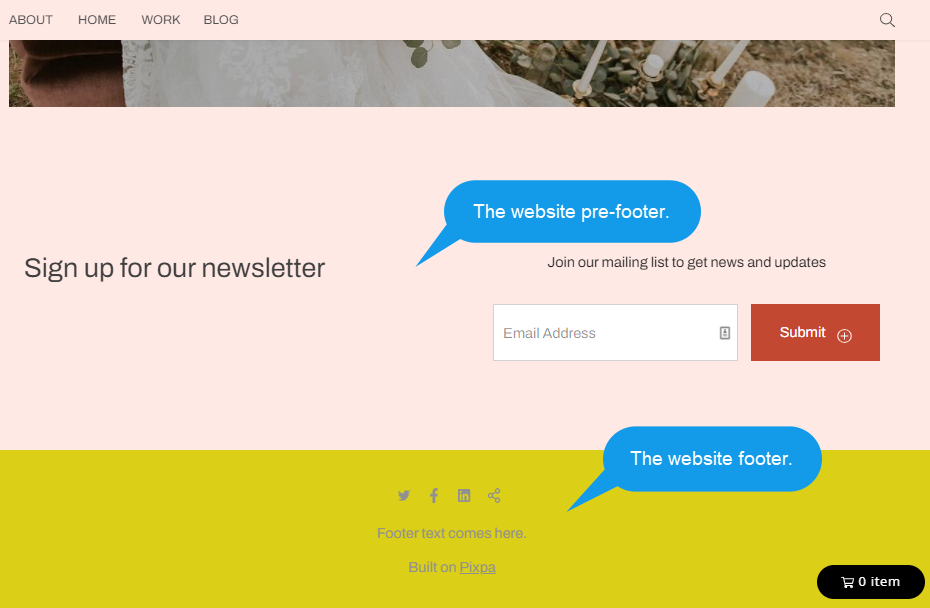
Know everything about the Pre-footer.
Know how to show social icons in the footer.
Know how to change the footer color.
Go Live
Once, you have set up your website completely, you can make it go live.
Start your subscription
You can start your subscription whenever you are ready in the 15 days of the free trial or even after your trial expires. Your website will go live and be available to everyone once you start the subscription.
You can upgrade to a paid subscription from the Plan and Billing page.

On clicking on the Start Subscription button, you can select the plan that best works for you. Pixpa provides both annual as well as monthly plans.
Pixpa also provides free one-year domain registration through Hover.com on new annual subscriptions. Once you start your annual subscription, you can claim the free domain voucher from the Pixpa support team. You can ping us from the studio’s live chat or mail us at support@pixpa.com.
Get a Pixpa Expert to set up your website for a one time fees of USD 199 and get a foundation on which you can easily continue to build your website. Pixpa’s Website Setup Service is available to all Pixpa subscribers.
Know how to start your subscription in detail.
Connecting the domain
You can now connect your own custom domain (like yourdomain.com) to make your website truly yours!
Know how to connect your domain to your Pixpa website. Once you have successfully connected the domain, your site would be live on your custom domain.
Pro tips for your website
Here are a few tips for building an extraordinary website.
1. Set a goal for your website
Set up your website to achieve a specific goal.
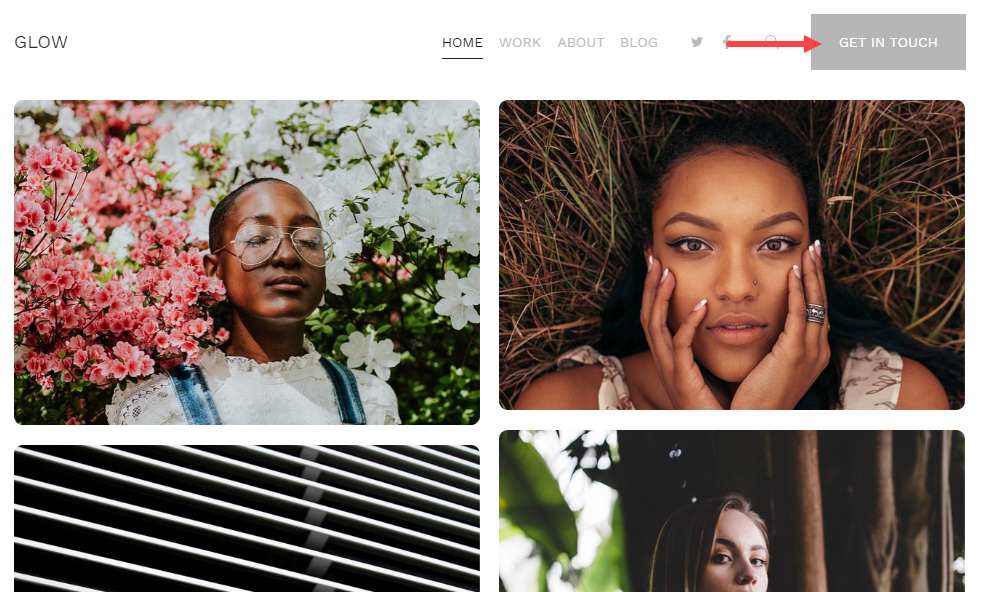
For instance, you can connect the contact page to the menu button in the header if you want potential clients to get in touch.
2. The website Menu
Your website menu should be easy to locate and understandable.
3. Show Testimonials
Show up testimonials on your website and assure the trueness of your brand. Include a Testimonial Section in your website where you can showcase feedbacks, comments, testimonials in your website.
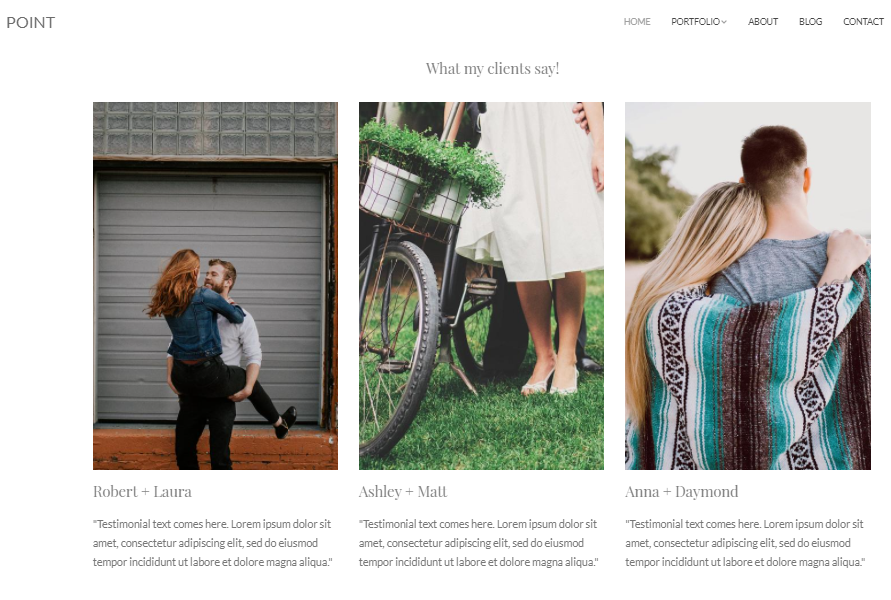
See a testimonial section in action.
4. The contact details
Share your genuine and true contact details on your website. Create a Contact page now.
FAQ’s
How much does it cost to create a website on Pixpa?
Unlike many other website builders, our plans start from just $9/month. Check Pixpa pricing plans.
- View Website FAQ.
- View Design FAQ.
- View Store FAQ.
- View Client Galleries FAQ.