We do support self-fulfillment where you can fulfill your orders using any lab of your choice. To automate self-fulfillment, you need to set up your print vendor.
Print Vendors allow you to automate print order processing by automatically sending the order email with download links of images to be printed to any print lab that accepts orders by email.
Set up a Print Vendor
- Enter fulfillment methods (1) in the Search Bar.
- From the related results, click on the Client Galleries – Fulfillment Methods option (2) under Studio Links.

- You will now reach the Fulfillment Methods page.
- Move to the Point Vendor Fulfillment and click on Add a Vendor (3) button.
- You can also manage any existing print vendor by clicking on Manage (4) button.

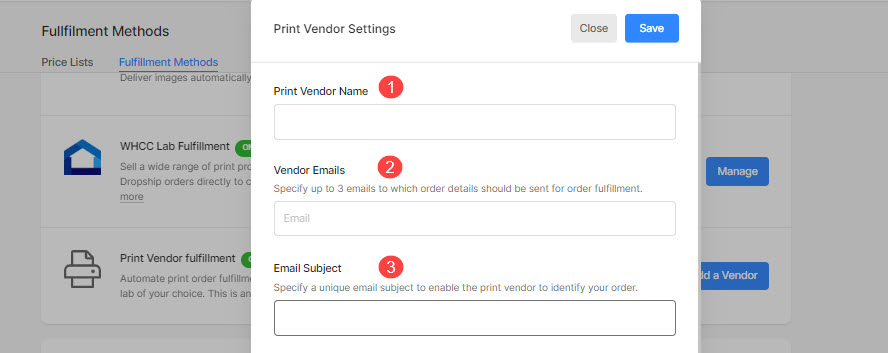
On clicking the button, you would see a pop-up window where you need to fill in the required details.
Let’s dive into this in detail:
- Print Vendor Name – Specify your local lab name.
- Vendor Emails –
- Email subject – Specify the subject of the order emails. Add a unique prefix to stand out your order email in their mailbox like [Your store name] or [Print order] etc.
-
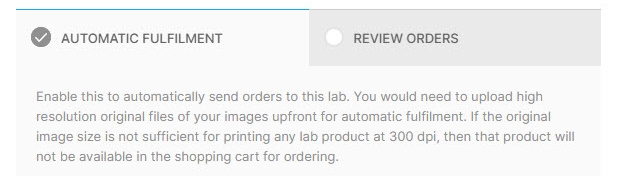
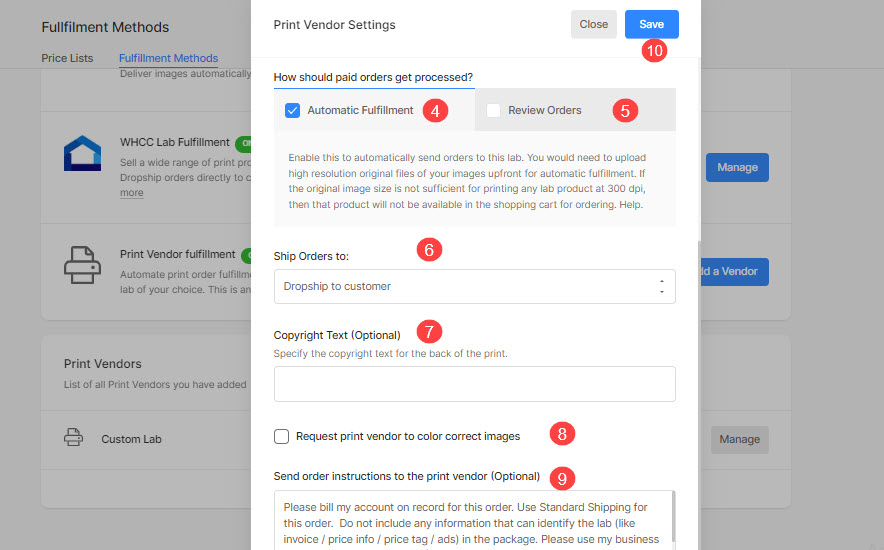
Automatic Fulfilment – Enable this to send all paid orders to this lab automatically. You would need to upload high-resolution original files of your images upfront for automatic fulfillment.
If the original image size is not sufficient for printing any lab product at 300 dpi, then that product will not be available in the shopping cart for ordering.
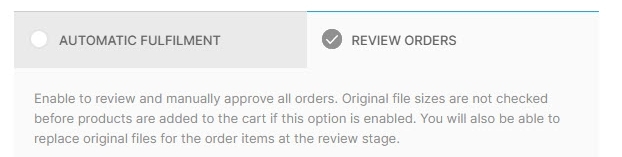
- Review Orders – Enable to review and manually approve all orders. Original file sizes are not checked before products are added to the cart if this option is enabled. You will also be able to replace original files for the order items at the review stage.
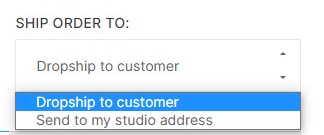
- Ship orders to – Here, You can choose where you do want to ship your order. Either Dropship to the customer’s address in the order invoice or Send to my studio address which is specified in the My Account section.
- Copyright Text (Optional) – Specify the copyright text for the back of the print.
- Request print vendor to color correct images – You can request your lab to color correct your images for all the orders If they support.
- Hit the Save button to save the changes.
That’s it. Your print vendor has been set up.
What next?
Go to the Price Lists section to create a Print Vendor price list.