This article lets you know how to manage the items in a gallery.
Once you create a gallery and upload items to it, you can use the item manager to sequence, make active/inactive, edit, delete, and manage all your gallery items.
You can click on any item and you would see the available options at the top.

You can perform the following operations in the item manager:
- Select all or a few items, and Clear Selection
- Actions
- Sort the items
- More
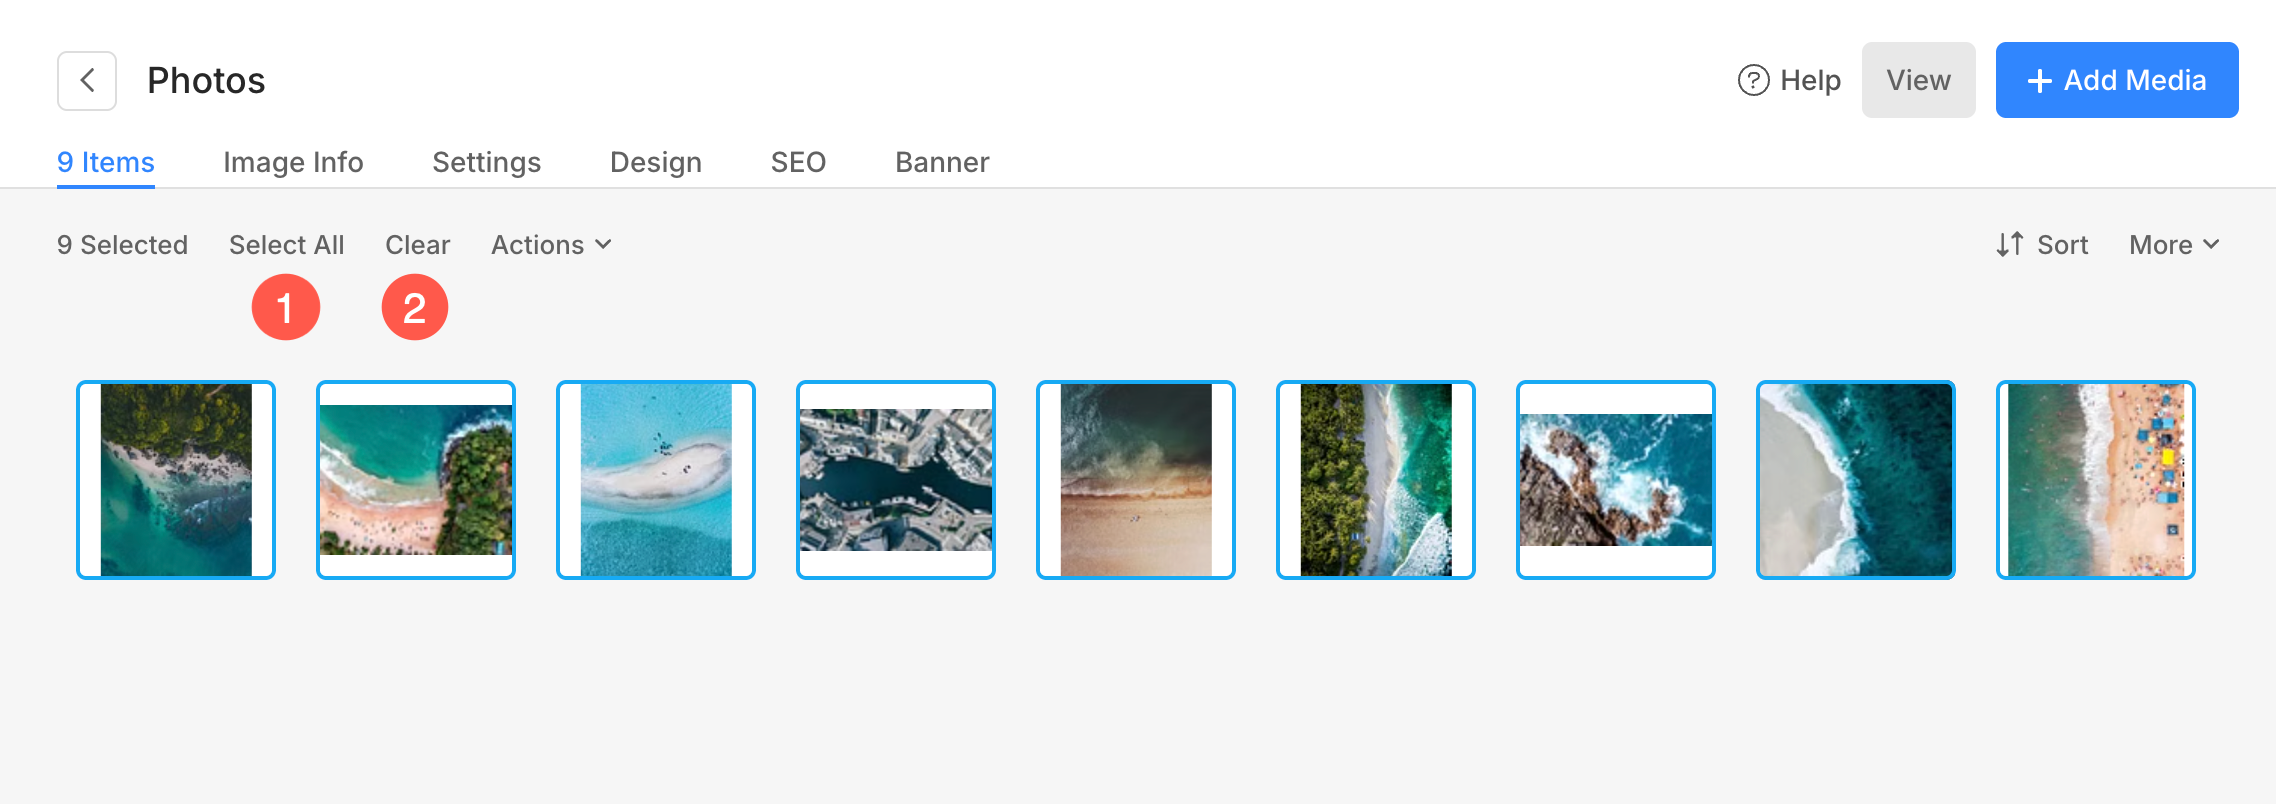
1. Select all or a few items
- You can select all the gallery items by clicking on the Select All button, and individual items by clicking on the item itself.
- Click on the Clear Selection button to unselect the items.
To select multiple adjacent items, you can use either the shift key or click-and-drag.
- Click on any gallery item, then press the shift key and hold it. Click on any other item(s) and then, release the shift key. In this way, multiple images in a sequence would be selected.
- You can also use the mouse. Draw the area on any number of items in the gallery; all the items under the dragged area would be selected.
2. Actions
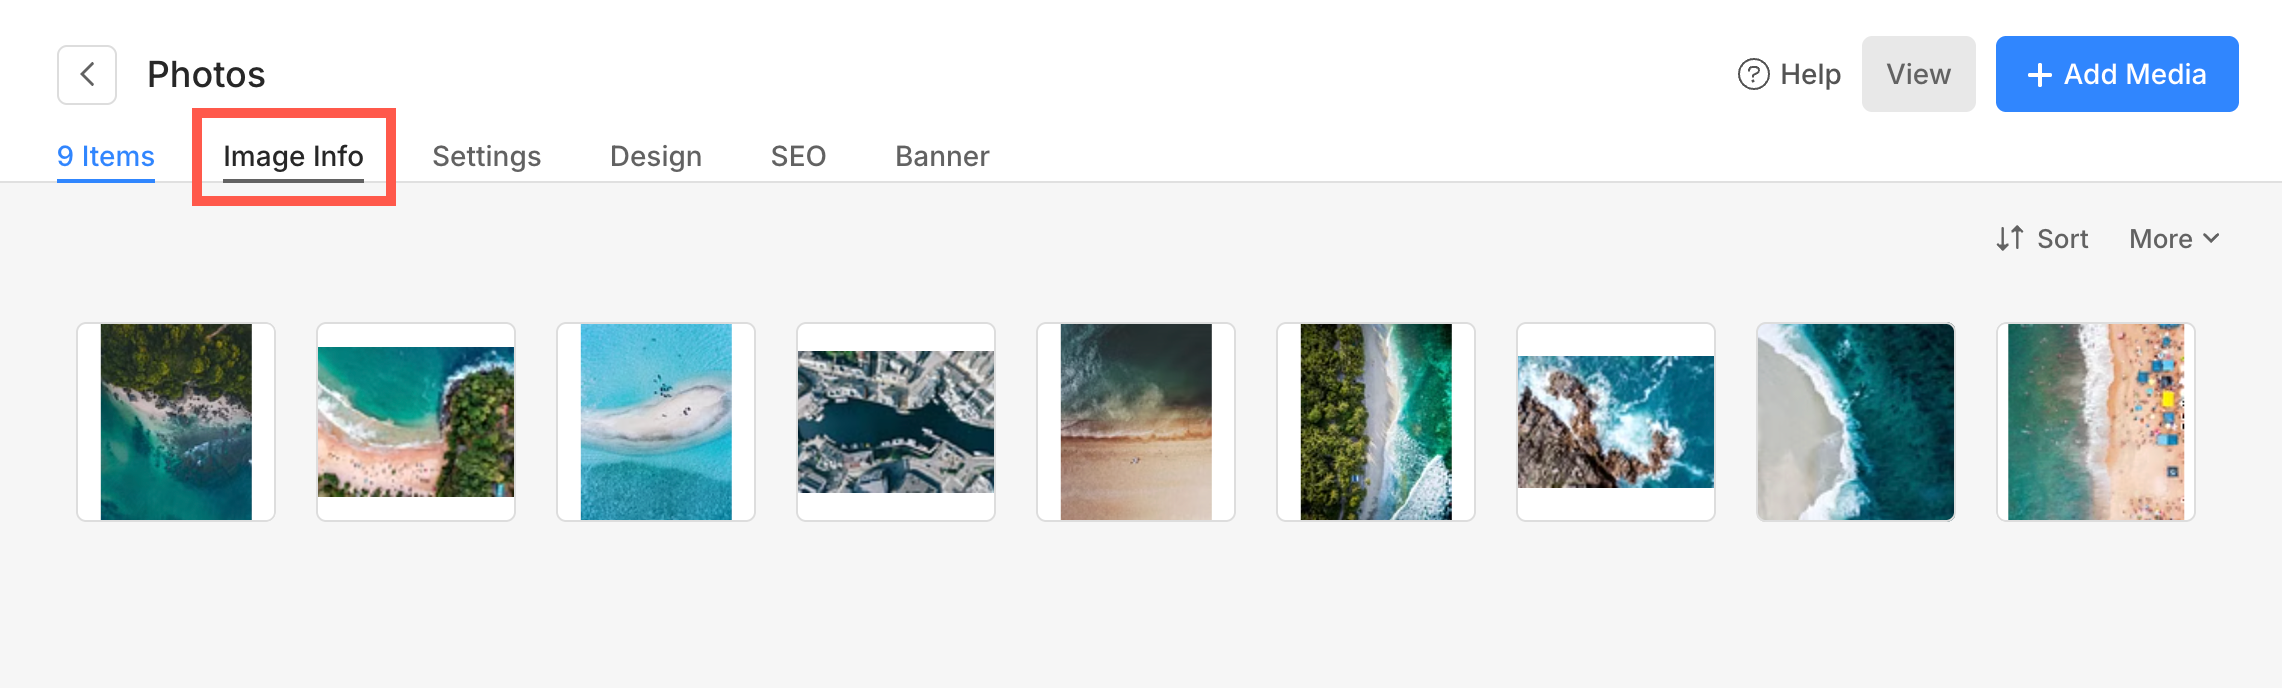
I. Image Properties / Image Info
- Here you can edit the properties of an Image like Image Filename, Image Accent Color (used in some theme templates), Image Headline/Caption & Keywords, Image Description/Caption.
- Simply select a single Image or multiple Images, and click on the Actions menu item. Click on the Image Properties tab under the dropdown.
Also see: Captions and accent colors for gallery images.
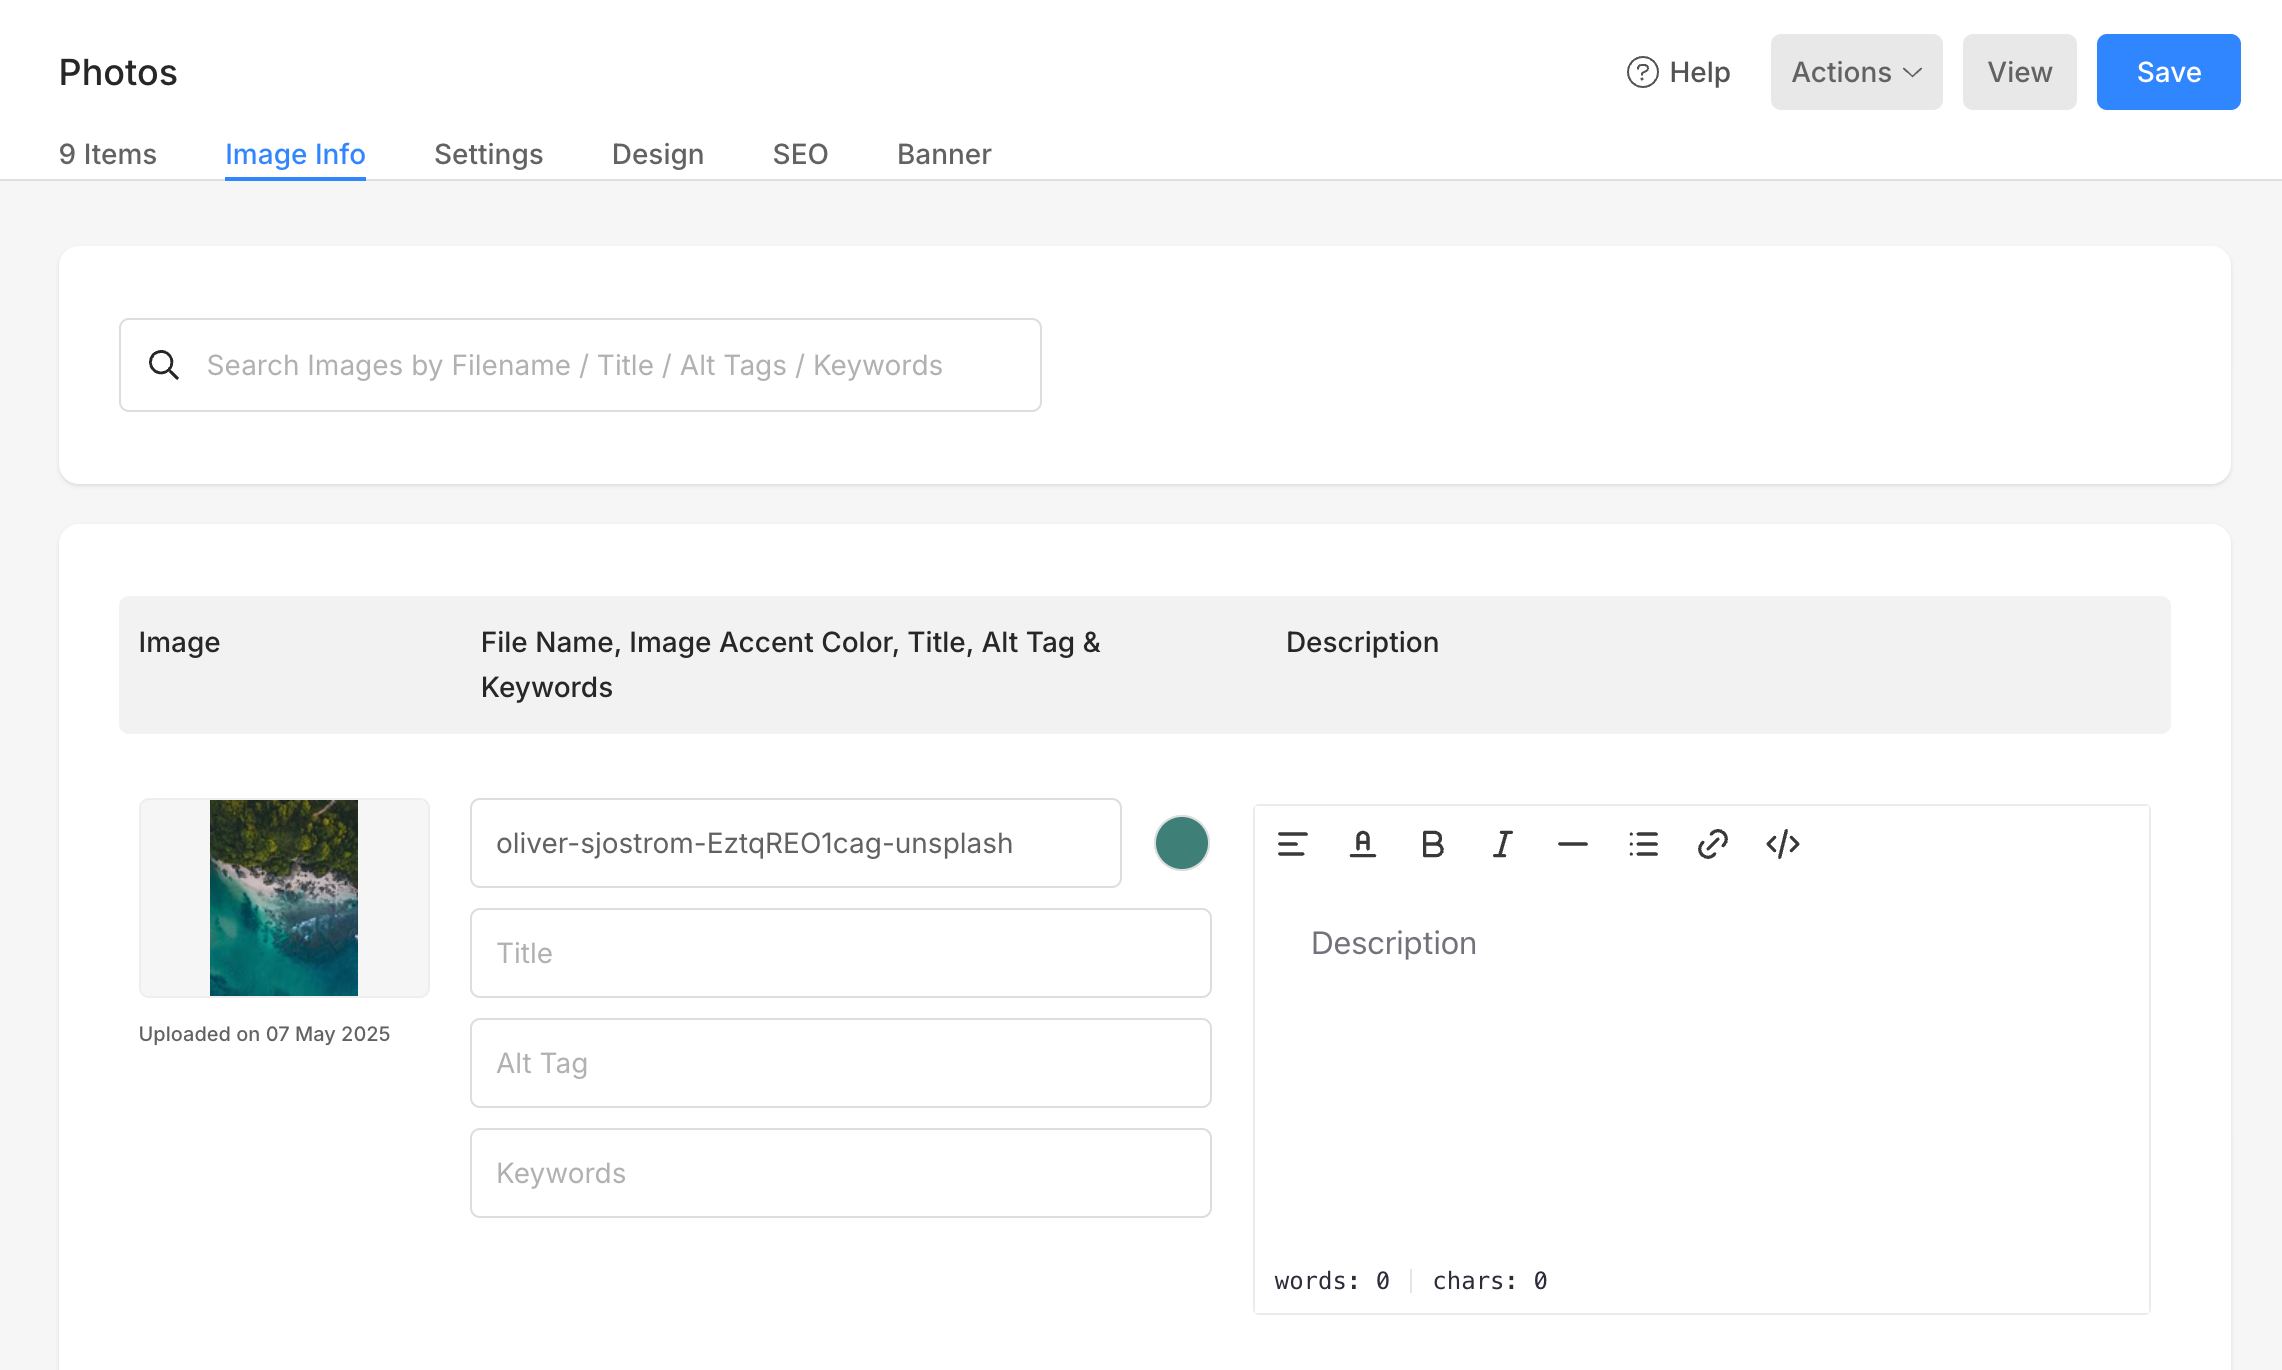
- You would then view the below screen.
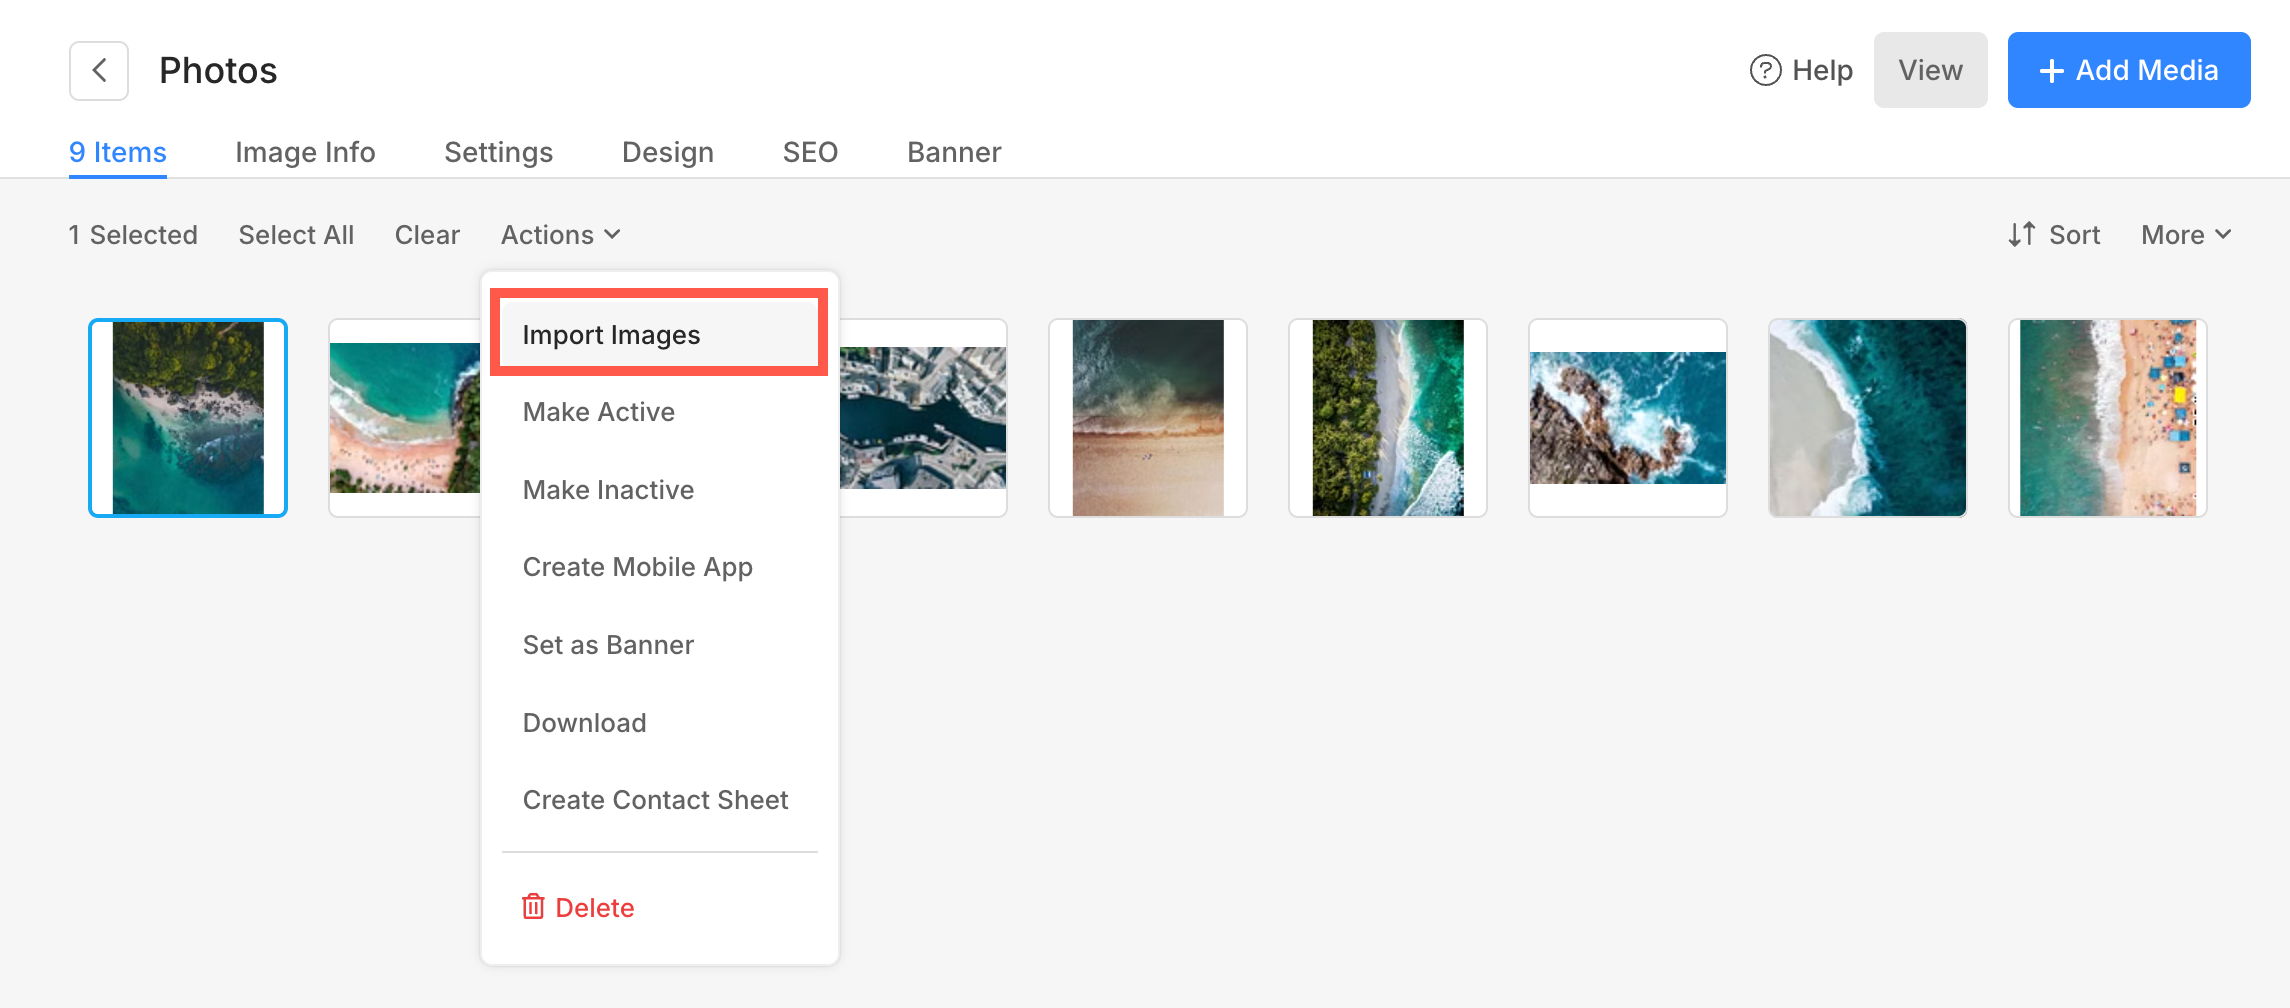
II. Import Images
- You can move or copy the selected images from one gallery to another. Simply select the images and click on the move/copy option.
Also see: Move/copy items in a gallery.
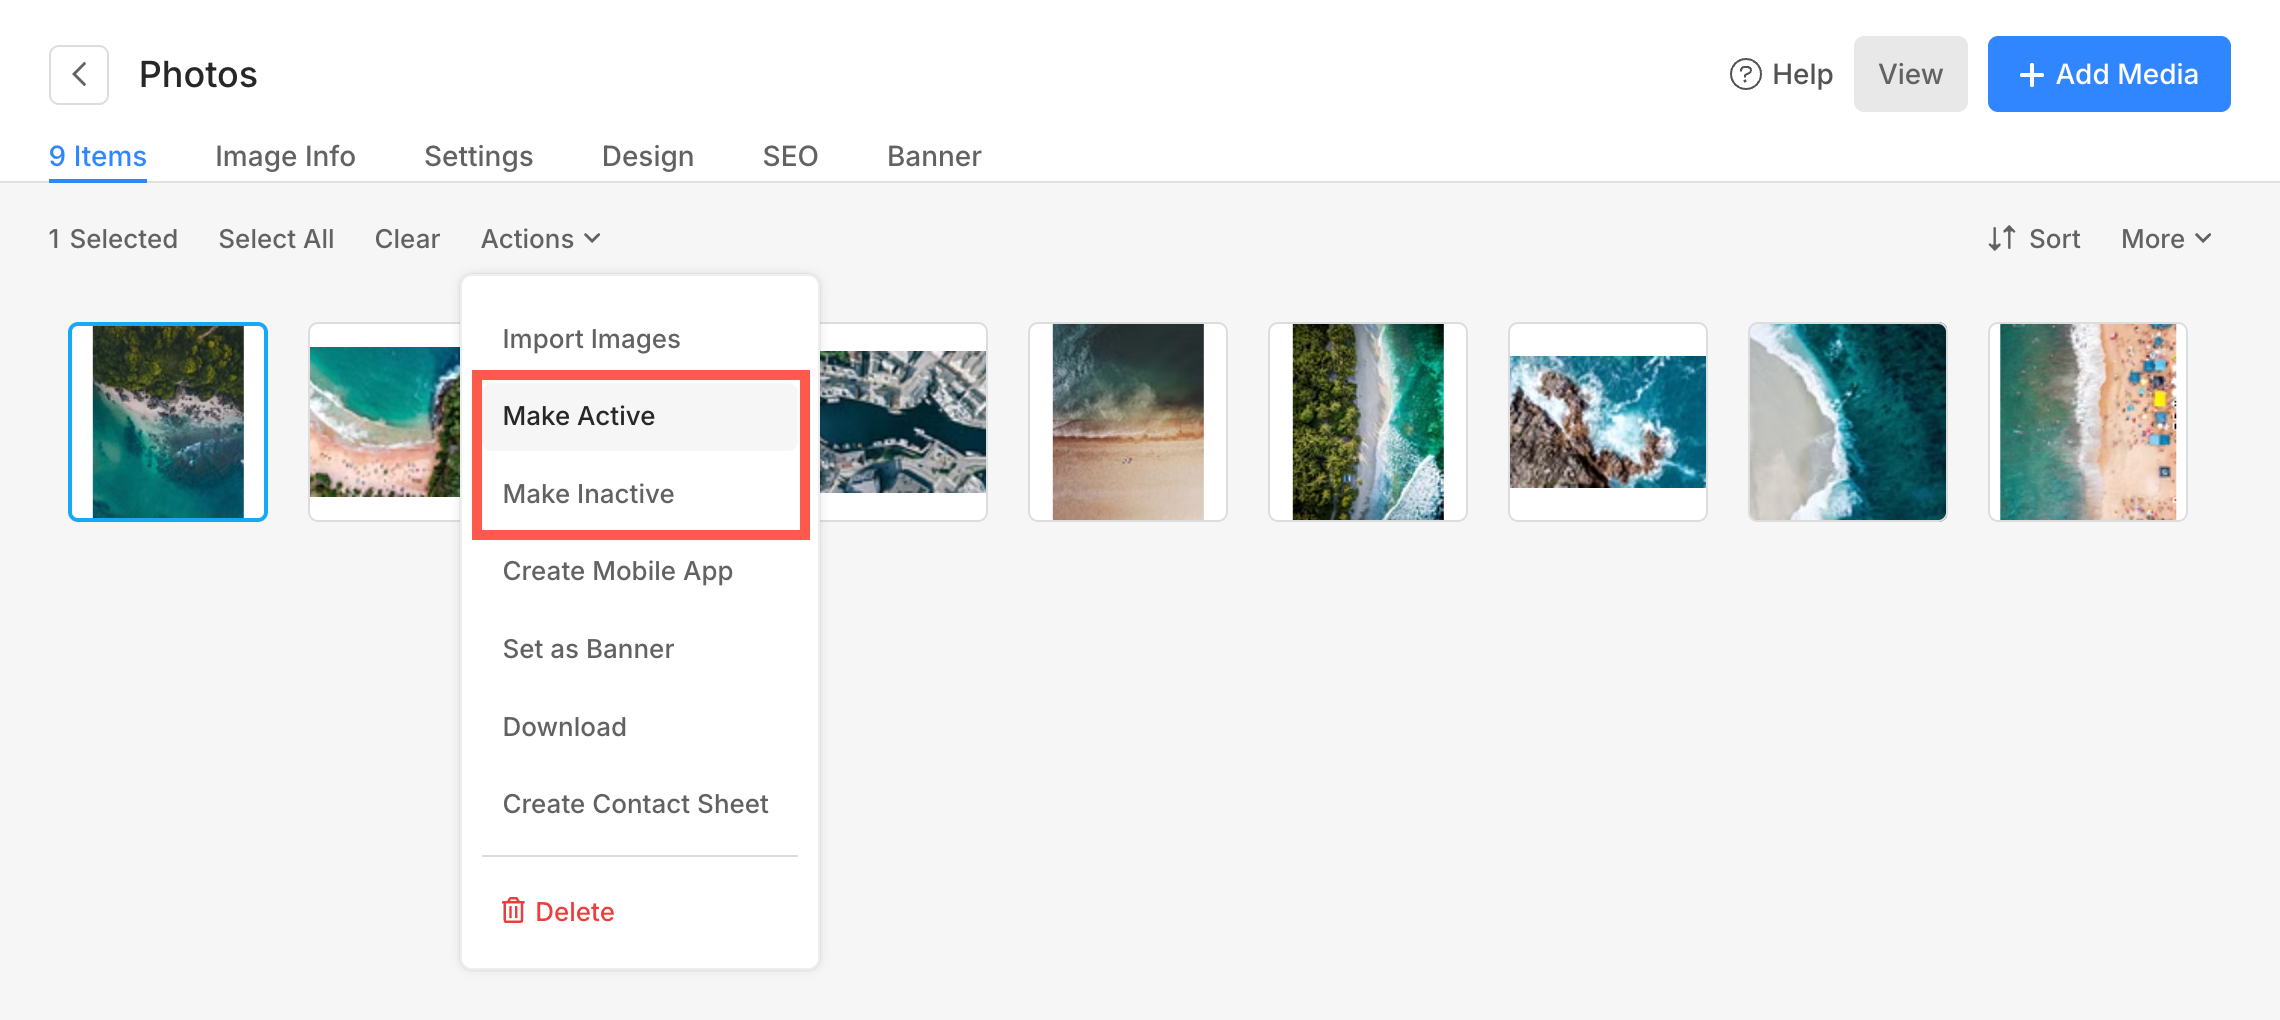
III. Make the items Active / Inactive
- You can select any or all items and make them inactive or active.
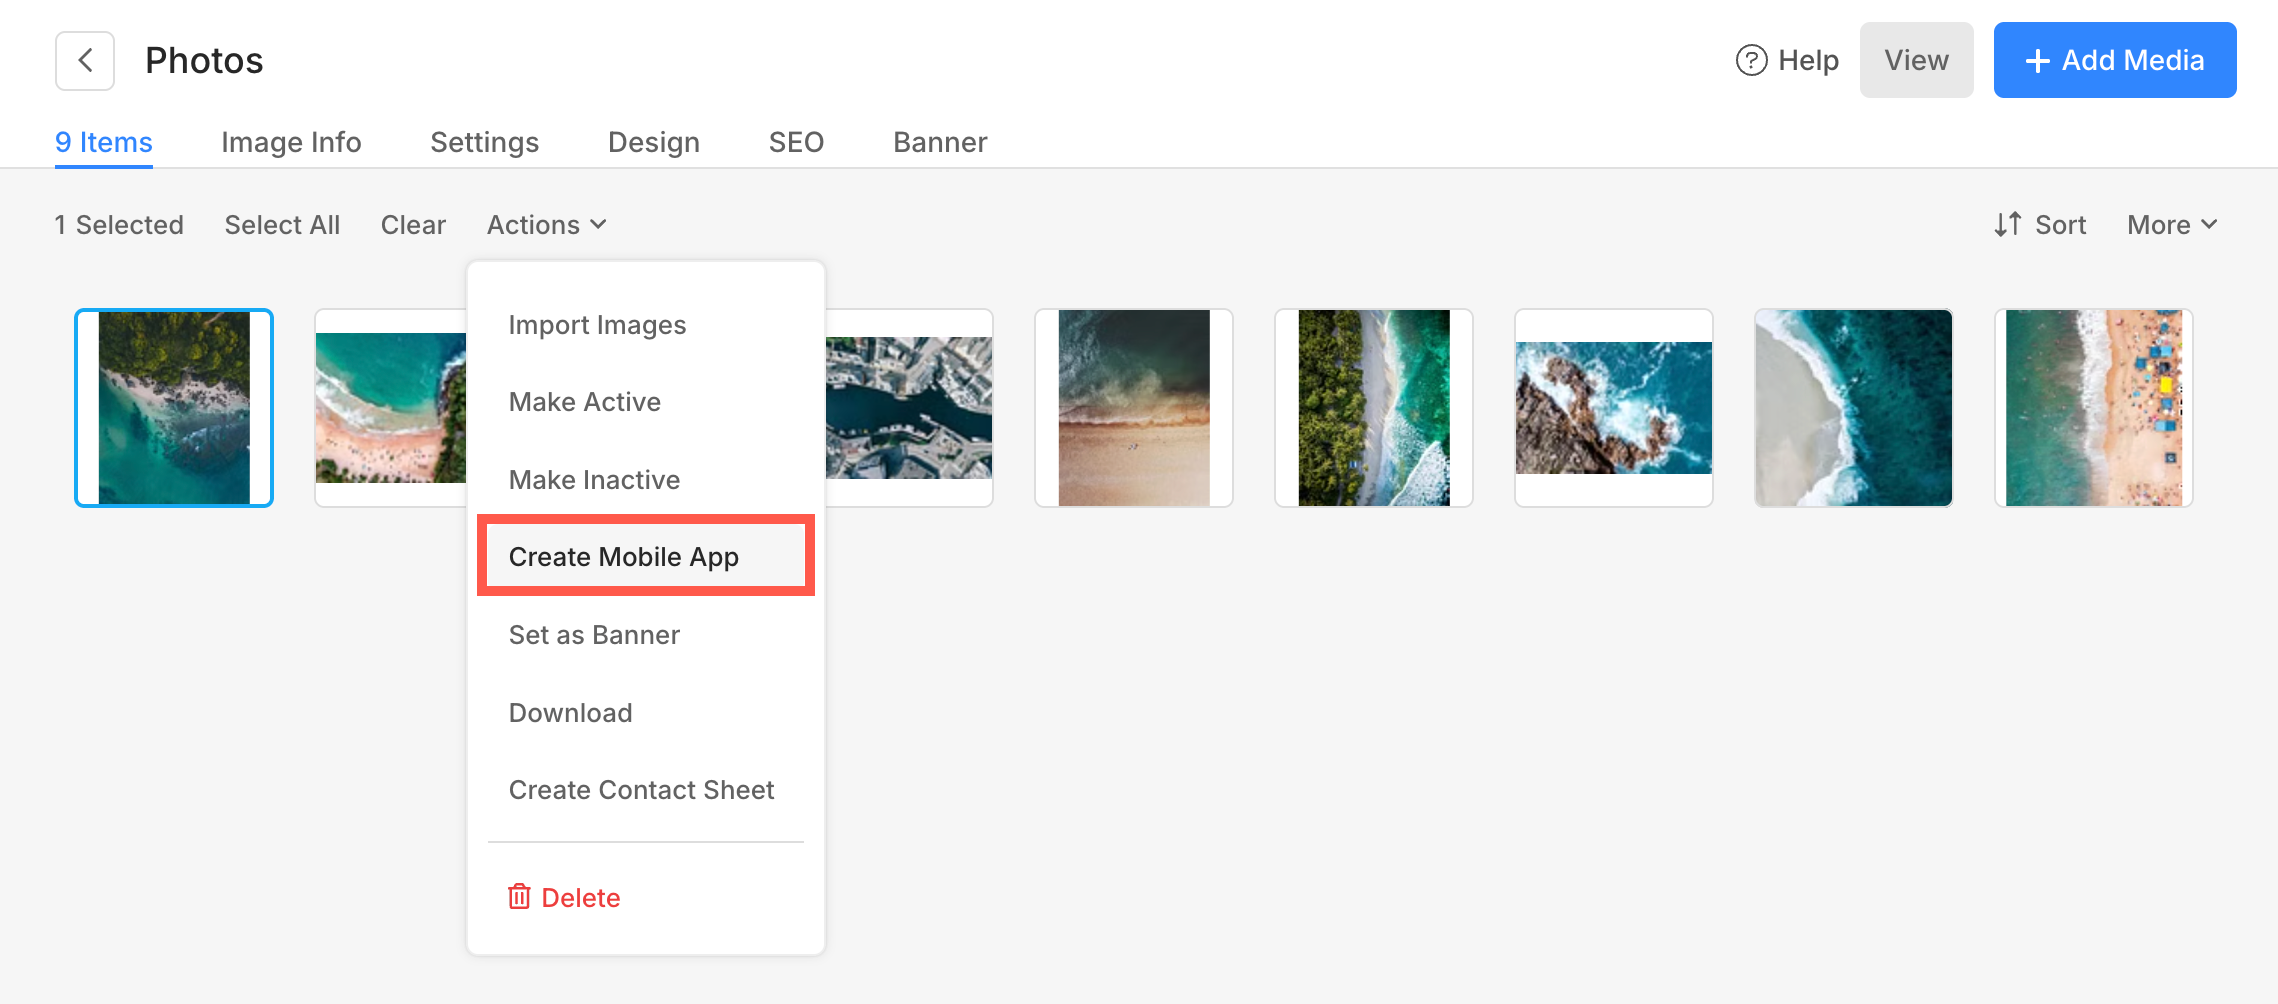
IV. Create a Mobile App
- You can create a Mobile App with the selected Images. Make sure the selected Images are less than or equal to 250.
- After selecting the images, click on the Actions, then click on the Create Mobile App option.
Also see: Mobile Gallery Apps.
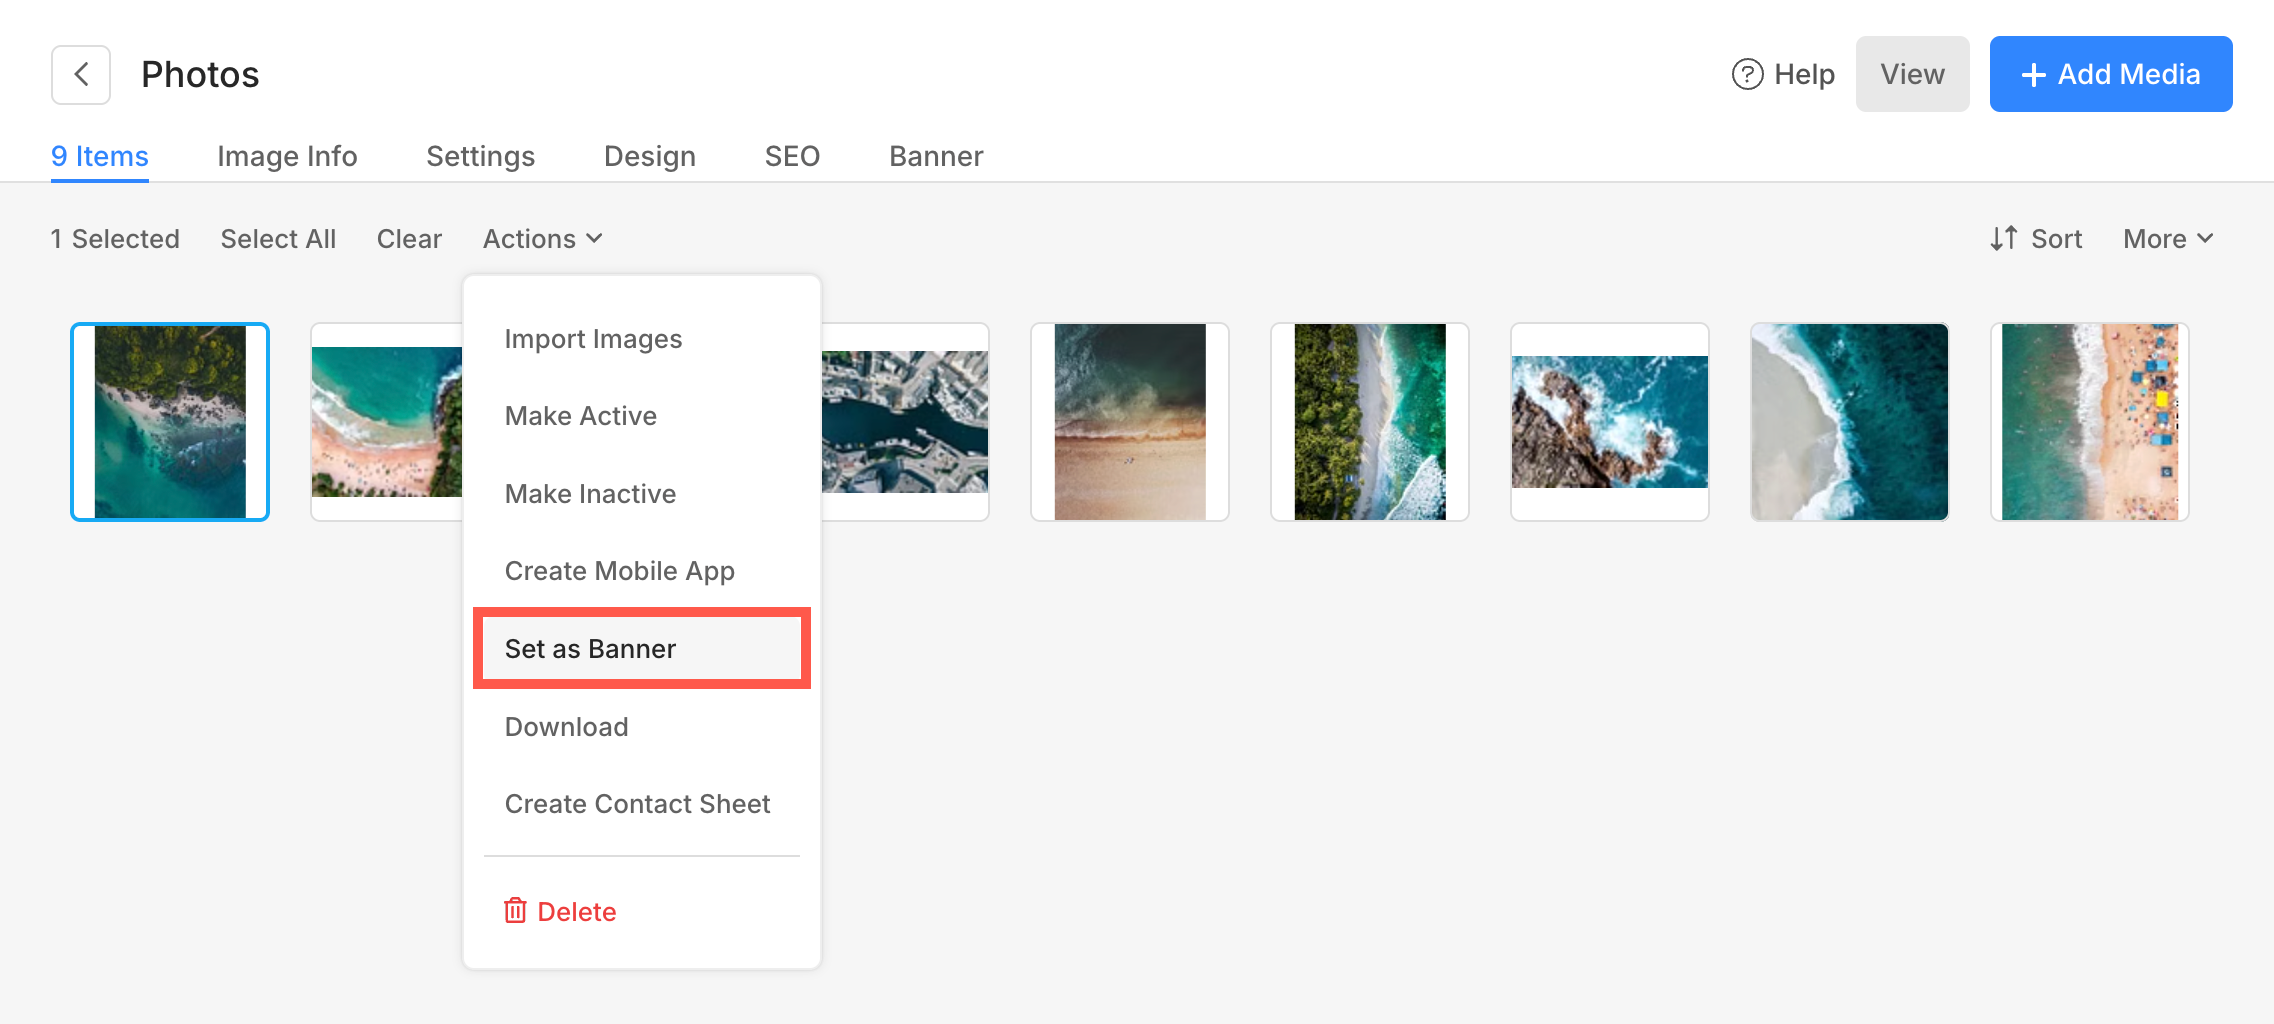
V. Set as Banner
- You can directly create a Banner for a Gallery with selected Images using the Set as a Banner option.
- After selecting the images, click on the Actions, then click on the Set as Banner.
See in action:
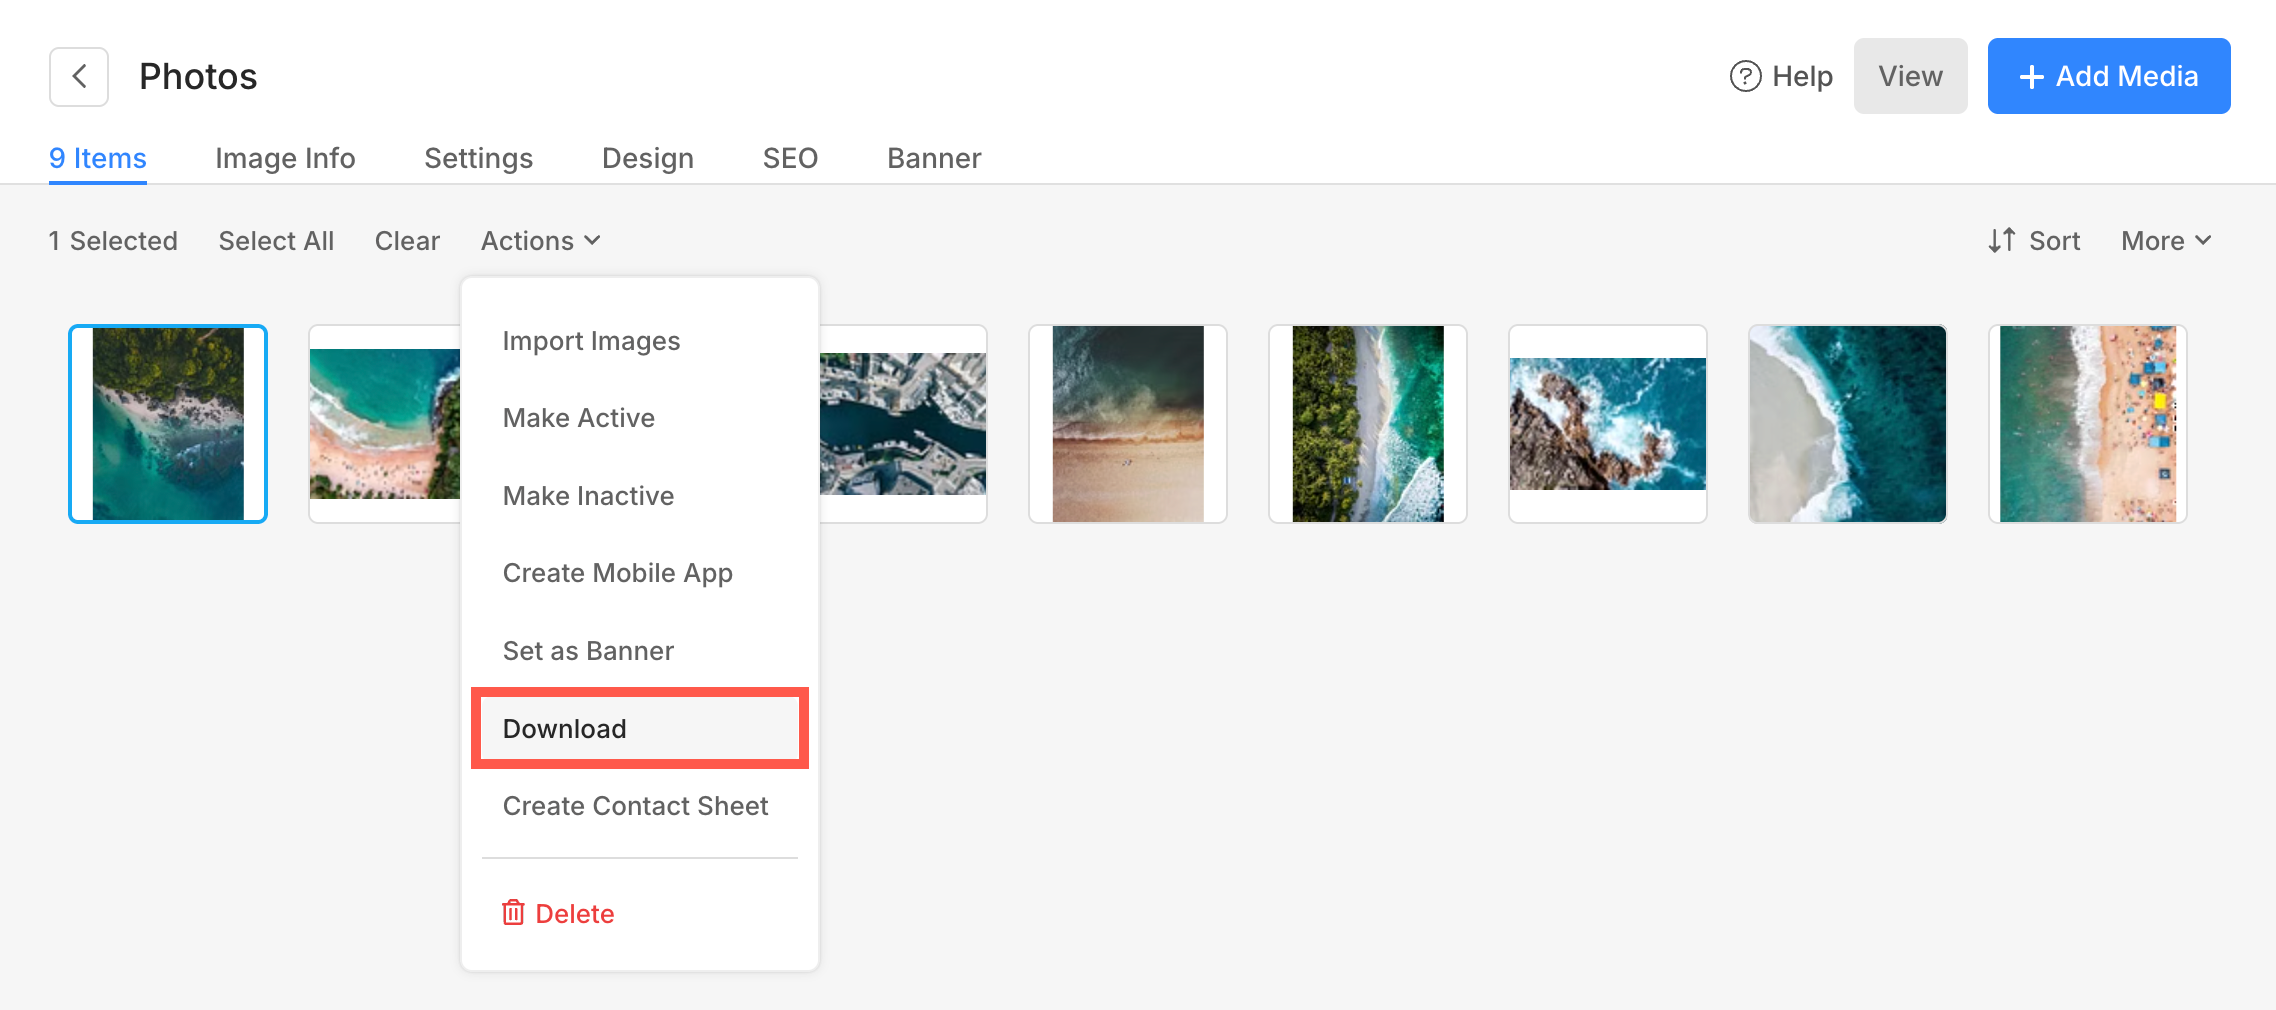
VI. Download
- You can download the uploaded Image(s) in any Gallery.
- You just need to select the Images, click on the Actions button, and then, click on the Download from the dropdown.
- As you click on the Download button, the system will take you to the Downloads page.
- You may need to wait for a few seconds while the system gets ready the download link.
- After that, you can download it by clicking on the Download Ready option link on the right side of the Gallery name.
- They will also be mailed to your registered Pixpa account Email id. Go to the My Profile page to see your registered Email id.
Also see: Download images in a gallery.
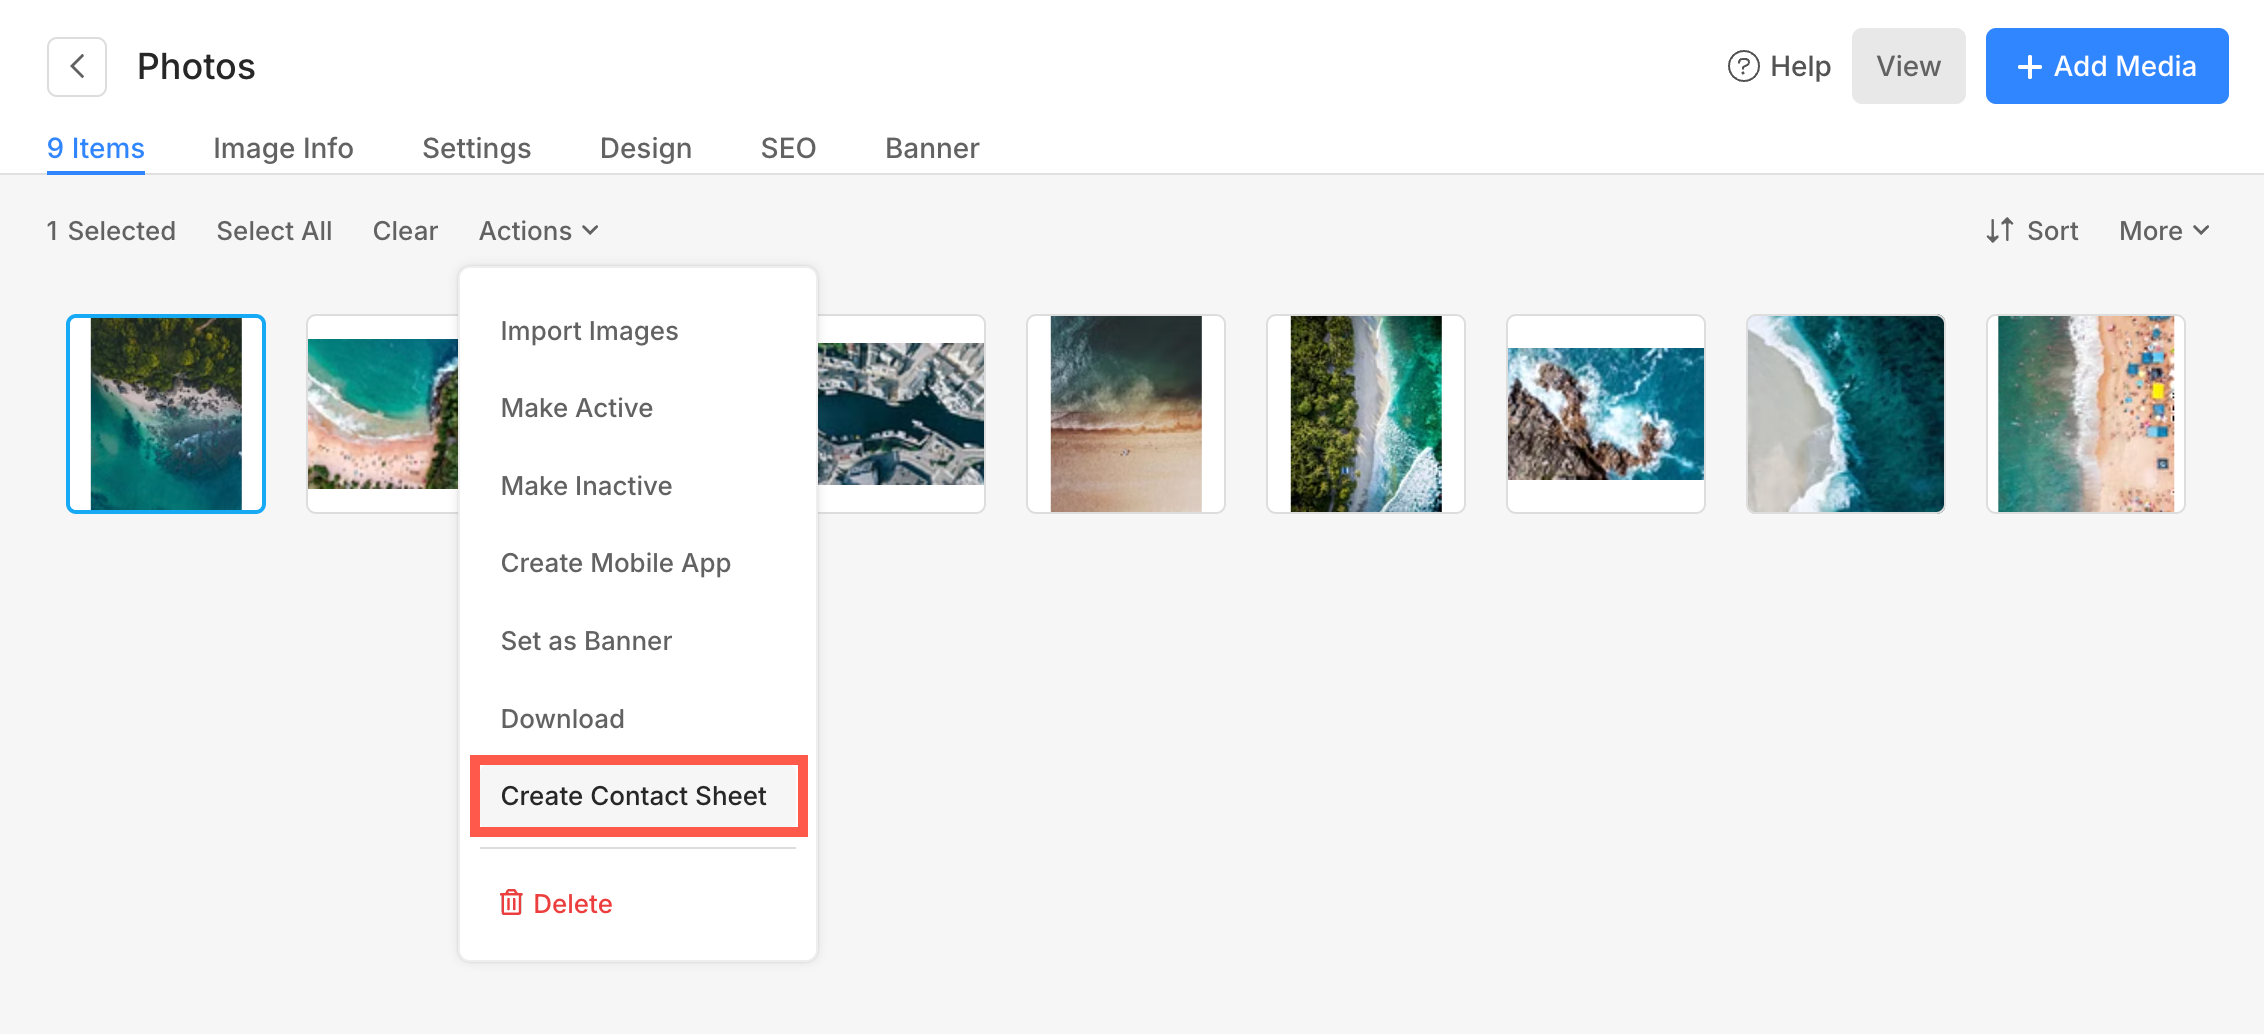
VII. Contact Sheet of Images
- You can create a Contact Sheet (PDF) of all the selected Images.
Also see: Create a Contact Sheet.
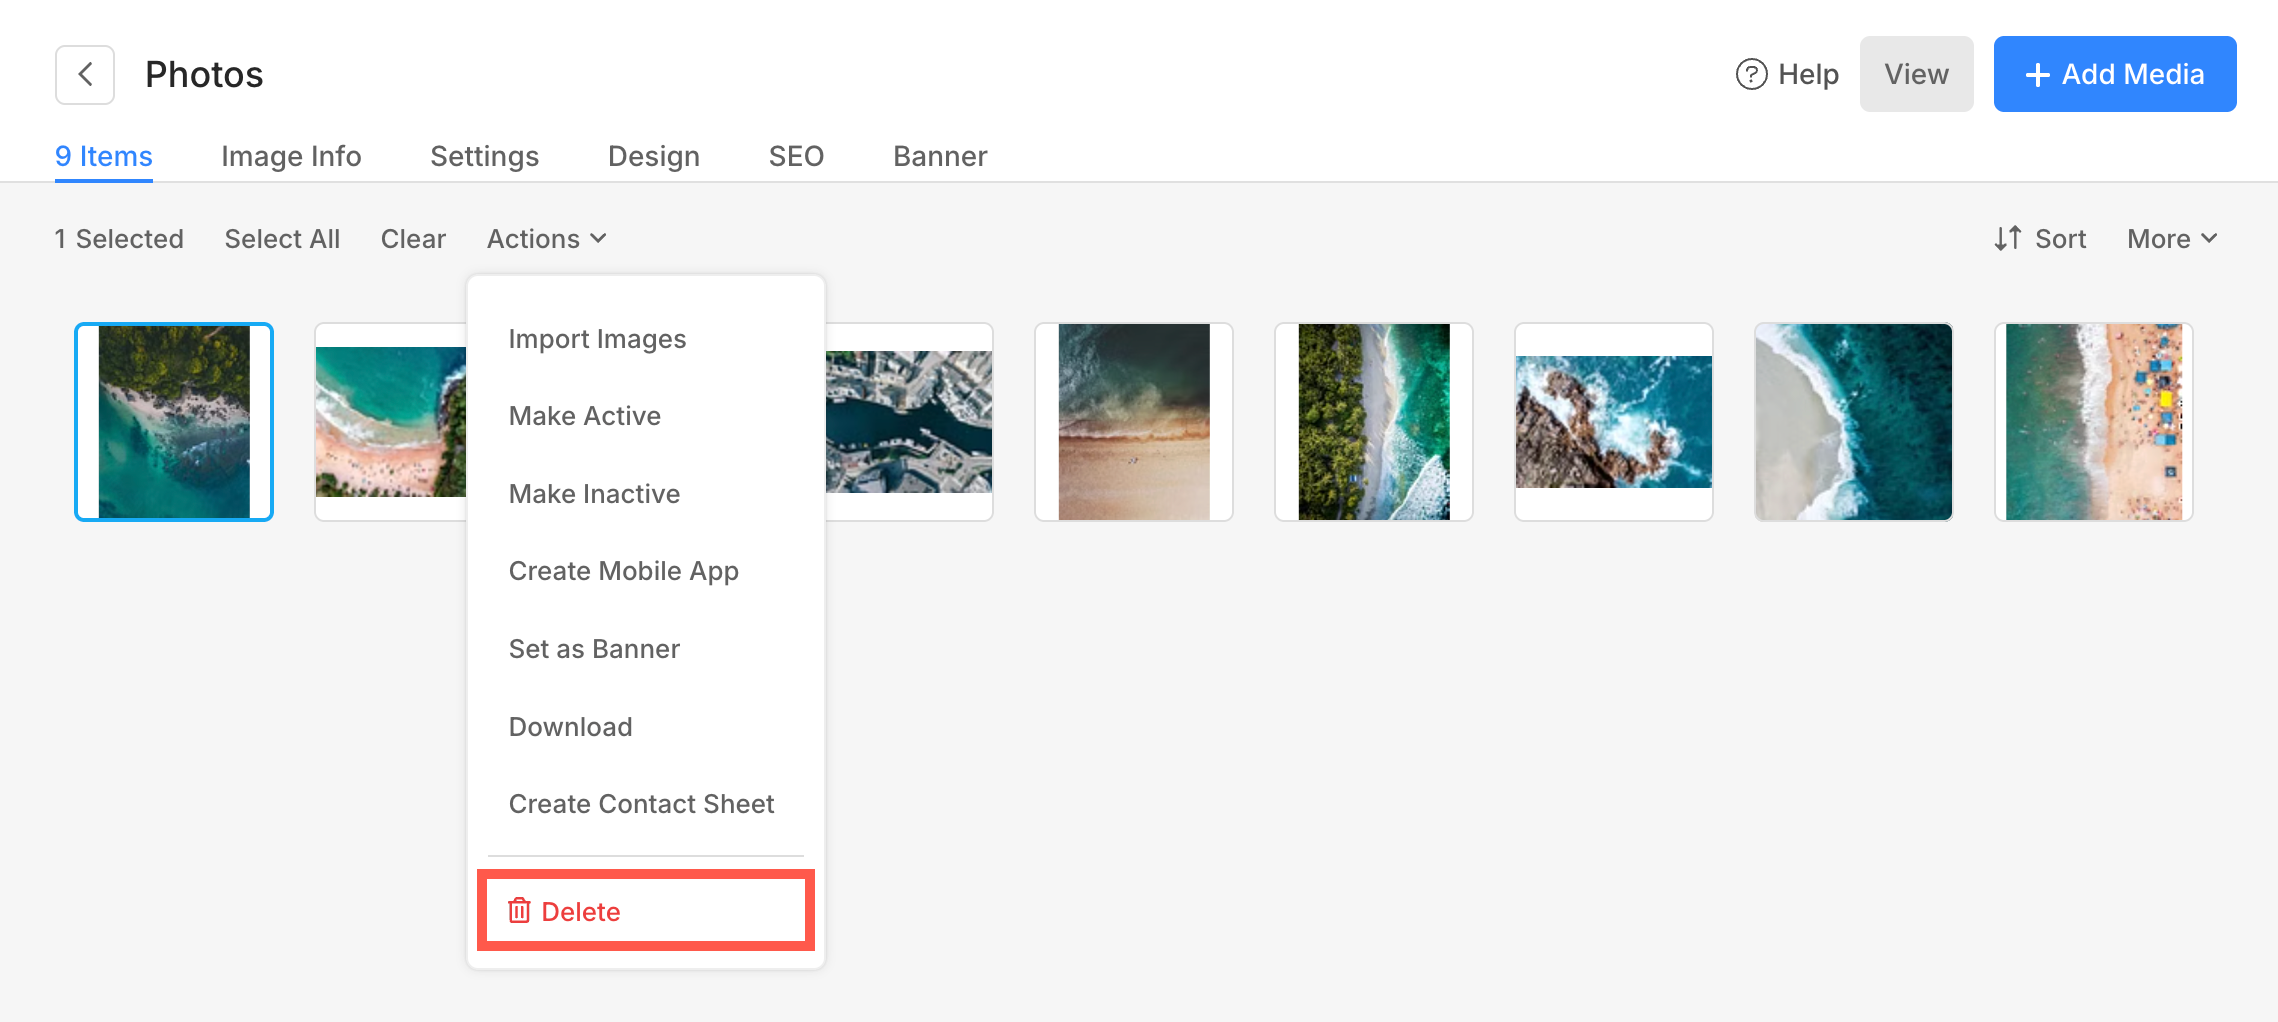
VIII. Delete Items
- You can delete any or all the items in a gallery.
- Select the item(s), and click on the Delete button.
Also see: Delete items in a gallery.
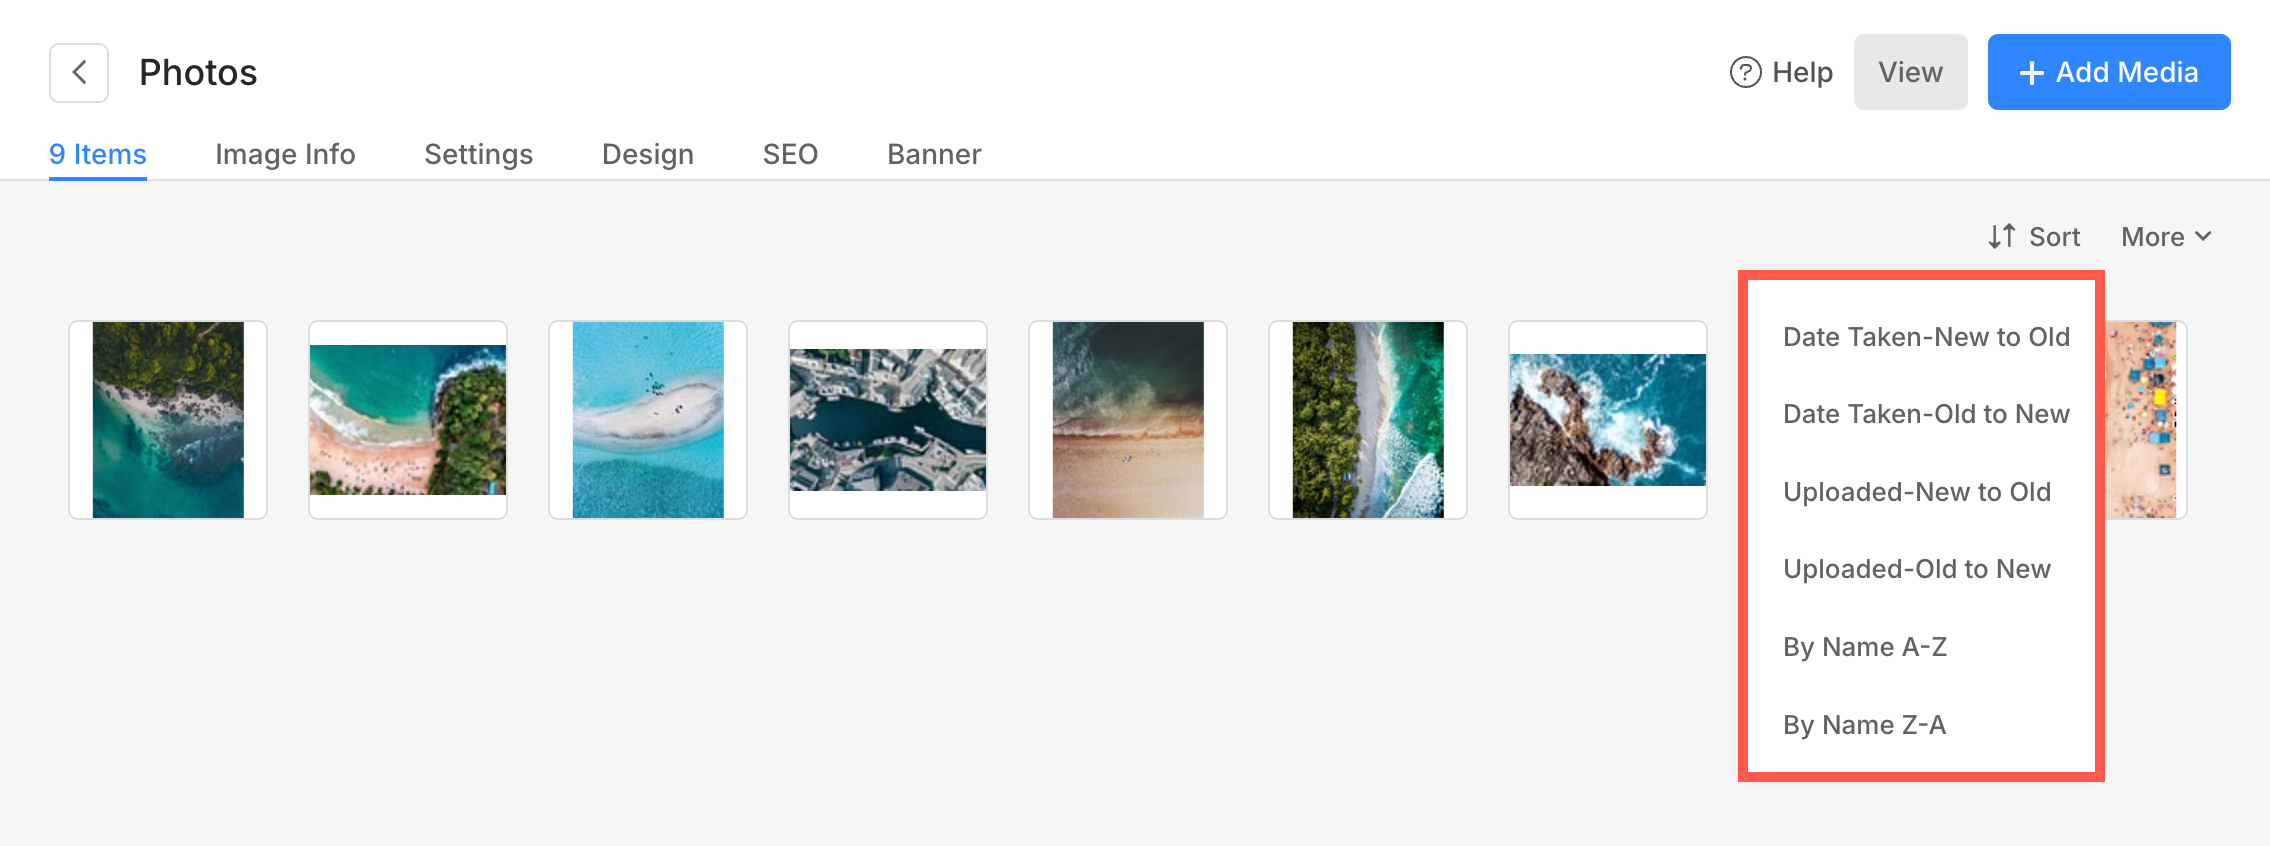
3. Sort the items
- You can easily sequence gallery items by:
- Date Taken – New to Old,
- Date Taken – Old to New,
- Uploaded – New to Old,
- Uploaded – Old to New,
- Name A-Z, and
- Name Z-A.
- Date Taken – New to Old,
- Simply click on the Sort button and select the condition to sequence your gallery items.
- The new sequence will automatically be saved and applied on the live site as well.
Also see: Sort items in a gallery.
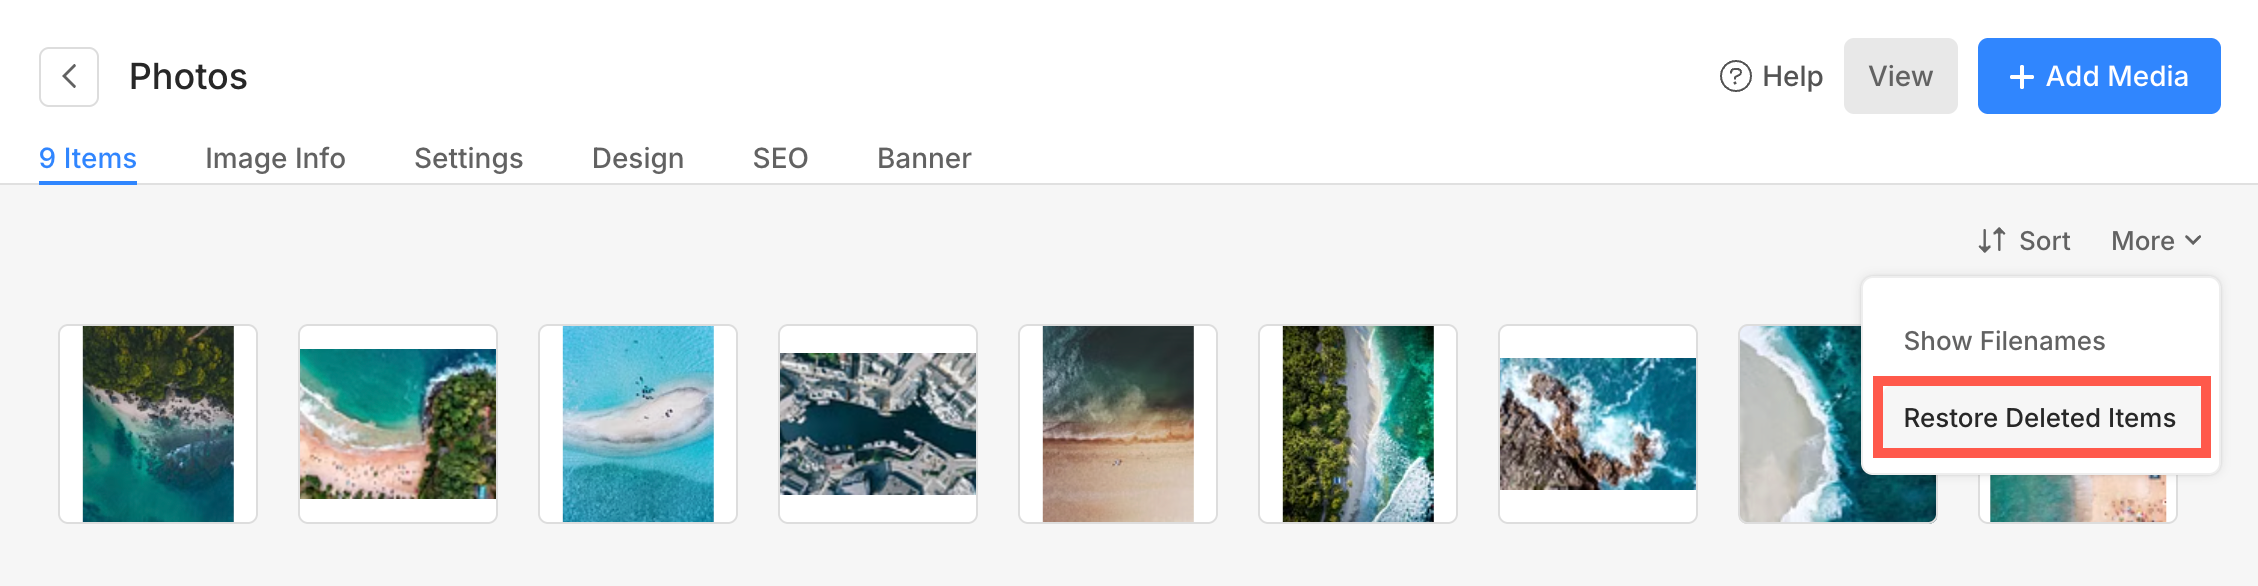
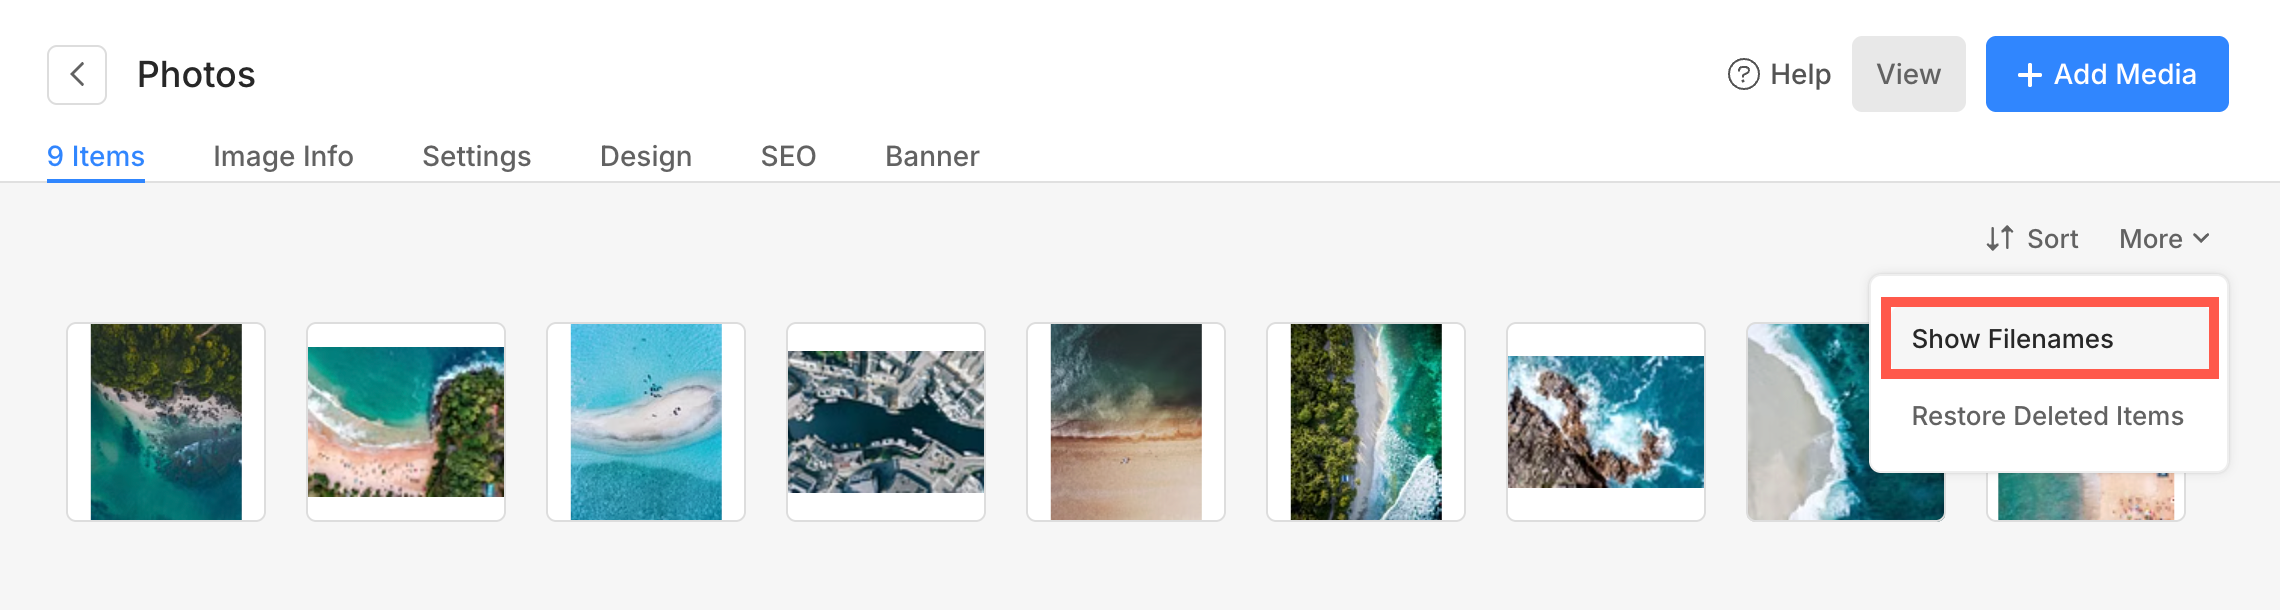
4. More
I. Show/Hide Filenames
- You can easily see the filenames of all the uploaded Images. Under the More tab, click on the Show Filenames button to view them.
See in action:
II. Restore Deleted Items
- You can now restore the deleted items of a Gallery. Just click on the More tab, and then click on the Restore Deleted Items button.