You can add an Album List page to your website to make it easy for your clients to access their albums directly from your site.
You can list all or select particular client albums that you choose to include on this page.
In this Article:
- Add Album List Page
- Manage Albums on Album List Page
- Album List Page Settings
- Albums Sequencing
- Album List Page Design
- Album List Page Banner
- Delete / Hide Album List Page
From the Dashboard of the Studio, click on Client Galleries (1).
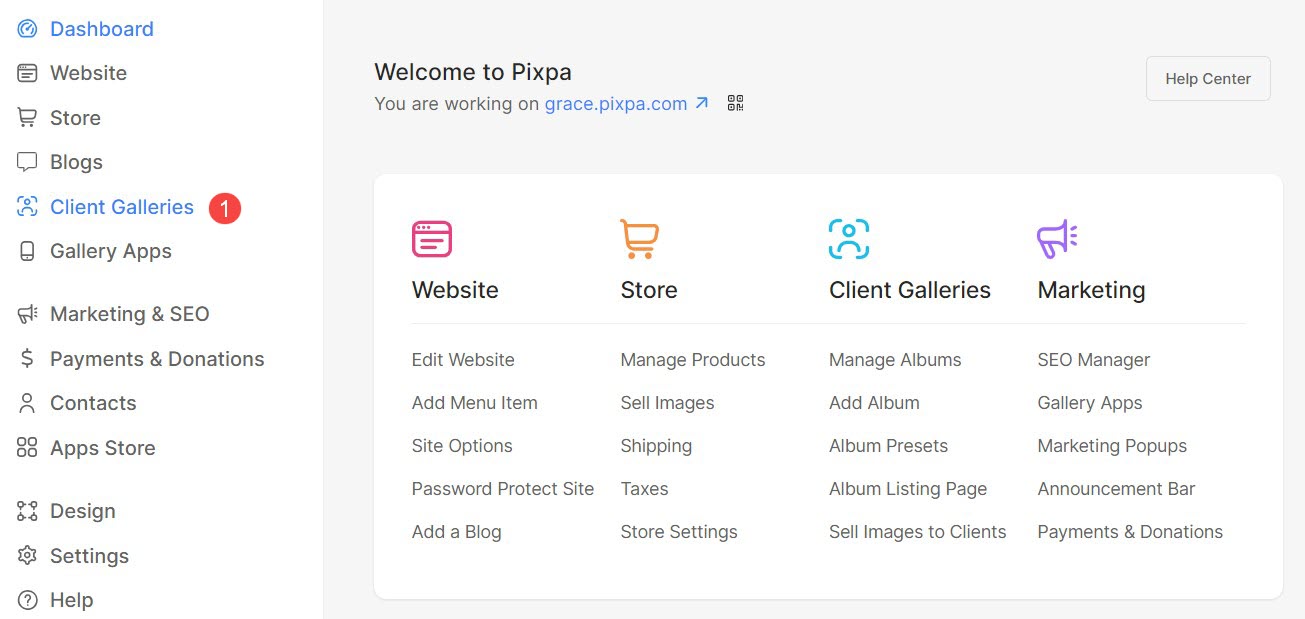
You will reach on Albums page. From here, click on Album List Page (2) tab.
Alternatively, you can also navigate to the Album List Page using Stuidio’s search option.
- Type Album List Page (1) and select Manage Alum Listing Page (2) under Studio Links

Add Album List Page
Click on Add to Website (1) button to add Album List Page to your website’s navigation menu.

- The Album List page link (2) will be added to the last in your website navigation. The screen below presents the new Album Listing page created.

Manage Albums on Album List Page
You can easily choose to display or hide an album on album list page.
Add an album to Album List Page
- In the Client Galleries section, go to the Albums (1) page.
- Select the album that you want to add to the Album List Page.
- Click on the three dots icon next to the album name and select Show on List Page (2) option to add the album to Album List Page.

That’s it! Your album has been added to your Album List page.
Remove an album from Album List Page
You can easily remove an already added album from Album List Page.
- Click on the Albums (1) menu.
- Select the album that is already present on Album List Page.
- Click on the three dots icon next to the album name and select Hide on List Page (2) option to remove the album from Album List Page.

Album List Page Settings
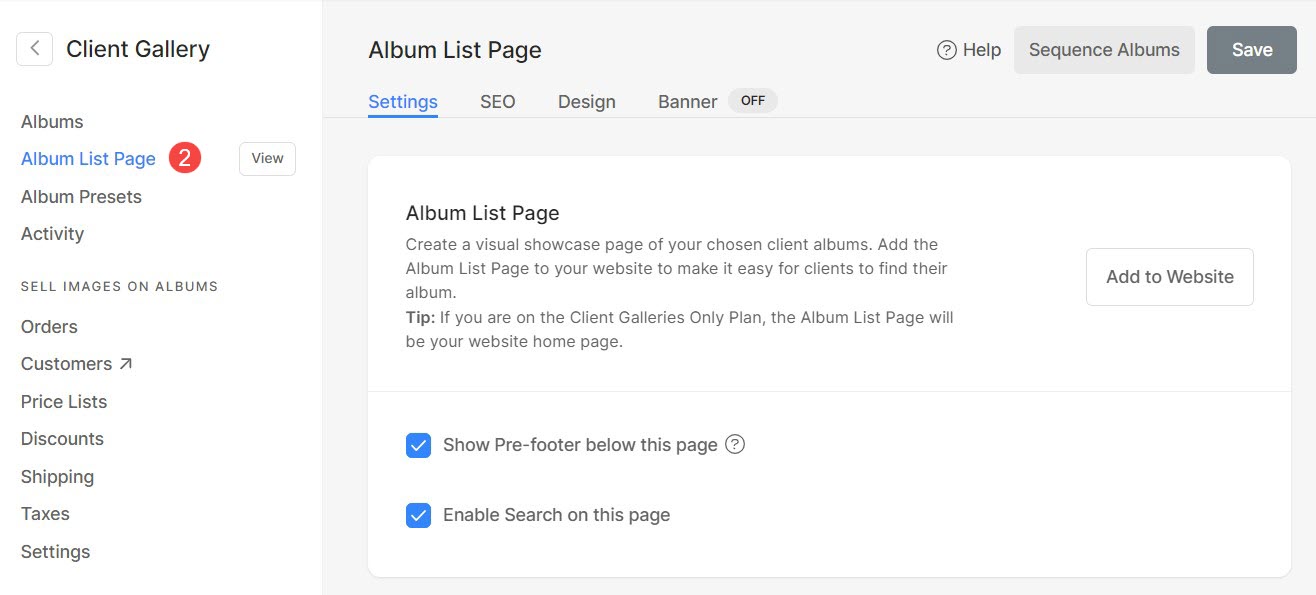
In order to configure Album List Page settings, Click on Album List Page (1) menu and then Settings (2) tab.

The Settings are as follows:
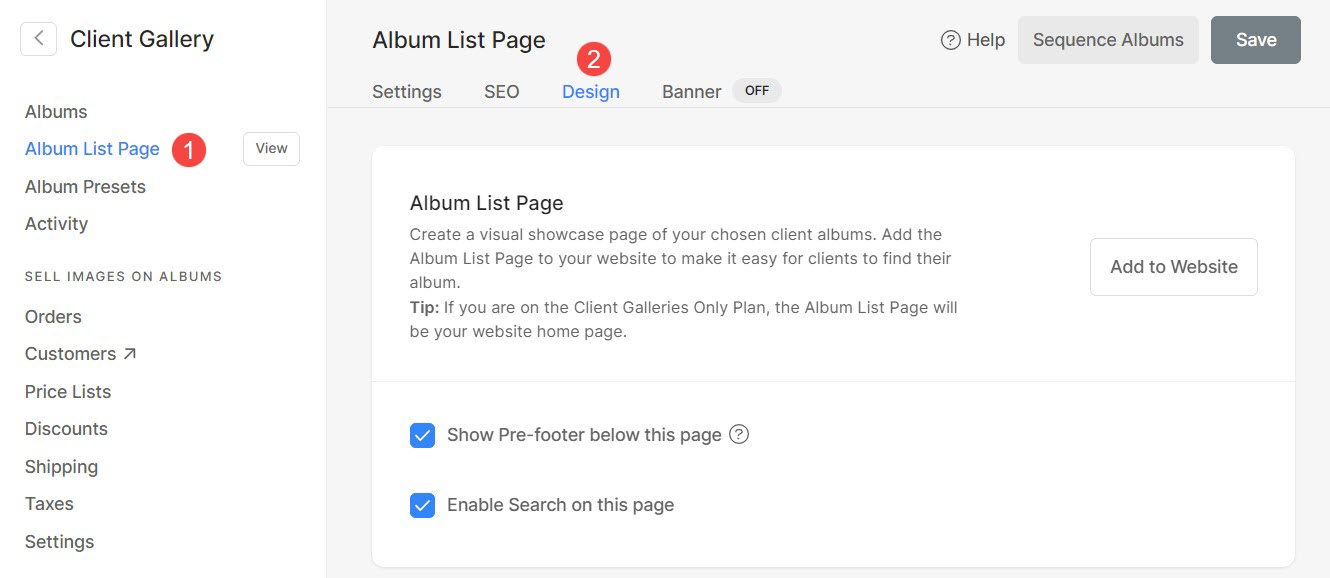
- Show Pre-footer below this page – Check in this option to show Pre-footer below the spotlight page.
- Enable Search on this page – Check in this option to enable search on the spotlight page. Check a live page.

- Search Engine Optimization (SEO) – Specify SEO metadata for this page. It will override the site’s main SEO data.
- Google Search Results Preview – This section shows how this page appears in the case of Google search.
- Page URL – Manage the URL of the Album Listing page.
- Page Title –
- Page Description –
- Hide this page from search engines – Check in this option to hide this page from search engines.

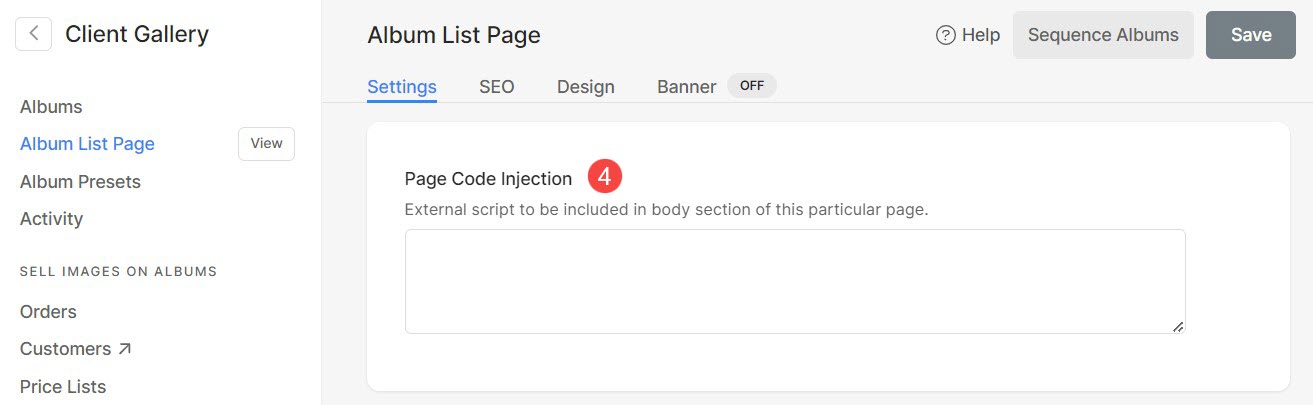
- Page Code Injection – Add any external script that will be included in the body of this page.
Albums Sequencing
Albums are added in a chronological sequence to your Album Listing page (the newest album comes on top by default). You can manage the sequence of albums according to your preferences.
- Go to the Album List Page (1) settings.
- Click on the Sequence Albums (2) button on the top right.

- From the popup, you can quickly sequence them by drag and drop.

Album List Page Design
You can customize the styling by clicking on Album List Page (1) settings and then Design (2) tab.
- Layout : Choose a layout that will be applied to the Album List Page. You have four different layout options to choose from.
- Width : Choose the Albumn List Page width.
- ‘Full width‘ will display the page while covering the entire width without leaving any margin.
- ‘Boxed‘ will display the page leaving some amount of padding on right and left of the screen.
- ‘Site width‘ can be specified in the design section. You can specify a fixed width here. It will display the page by adhering to the fixed-width specified.
- Grid Spacing: Specify the gutter space between the different albums listed on Album List Page (0 – 250 pixels).
- Grid Labels: Choose whether you want to display only the Title of albums or the Event Date also on Album List Page.
- Show Filter by Tags: You can easily enable to display tags on Album List Page. Know more.
- Tag Alignment: Set the alignment of tags. You have three different options to choose from.

- Grid Spacing (Mobile): Set the gutter space between albums in mobile view.
- Save the changes.

Album List Page Banner
You can enable Banner to display Image slides, Videos or Text on top or bottom of the Album List Page. Know more about banner functionality.
To enable the banner, click on Album List Page (1) and then Banner (2) section.

Delete / Hide Album List Page
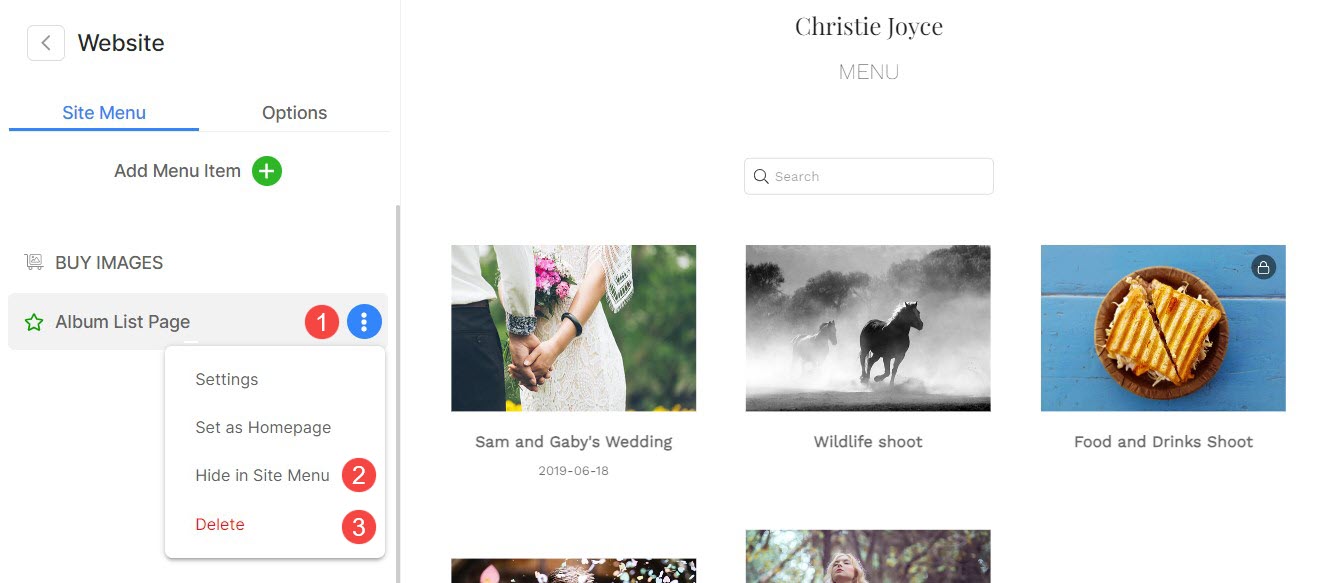
- Go to the Website section.
- Find the Album List Page that you want to hide or delete from the navigation left column.
- Move your cursor to the album listing page and click on the three dots icon (1) next to it.
- Select Hide in Site Menu (2) to hide the Album Listing page from the website menu.
- Click Delete (3) to delete the Album Listing page.