Once you are on the Client Galleries, the first thing to dive into is the Settings page.
The settings page lets you control many aspects of your Client Galleries like the Business Information, Store Notifications, Checkout, and Store Text Templates.
Manage the Client Galleries Settings:
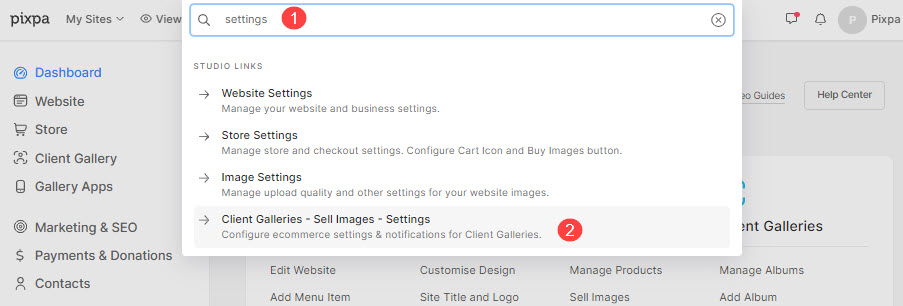
- Enter settings (1) in the Search Bar.
- From the related results, click on the Client Galleries – Sell Images – Settings (2) under Studio Links.
- You will now reach the Preferences page.
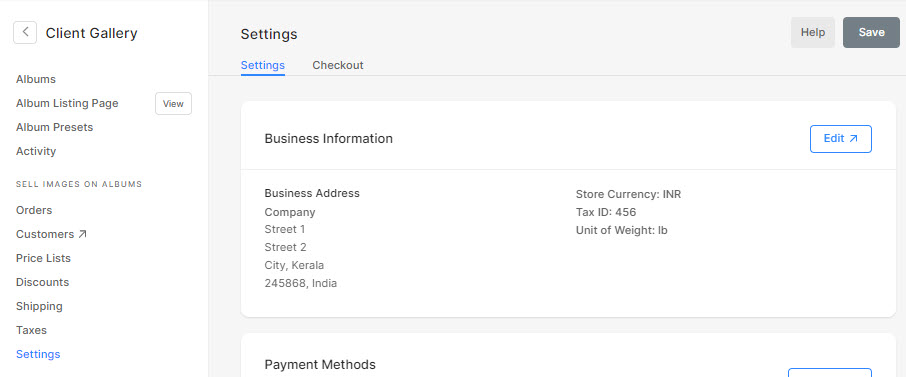
- On the Settings page, you will see all the available settings categorized as:
Business Information
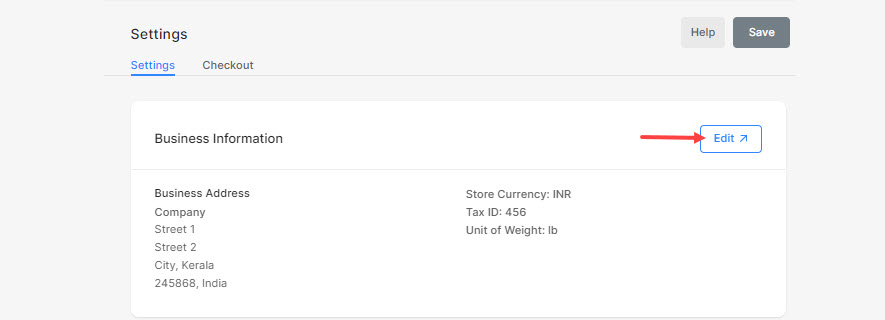
- You can check the Business Information used in your Client Galleries from here.
- Click on the Edit button (1) to change the Business Address or Currency.
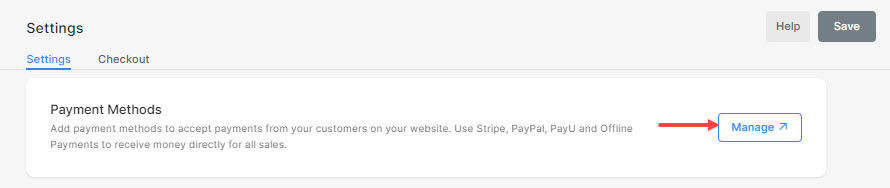
Payment Methods
- Click on the Manage button to manage the payment methods of your Client Gallery Store.
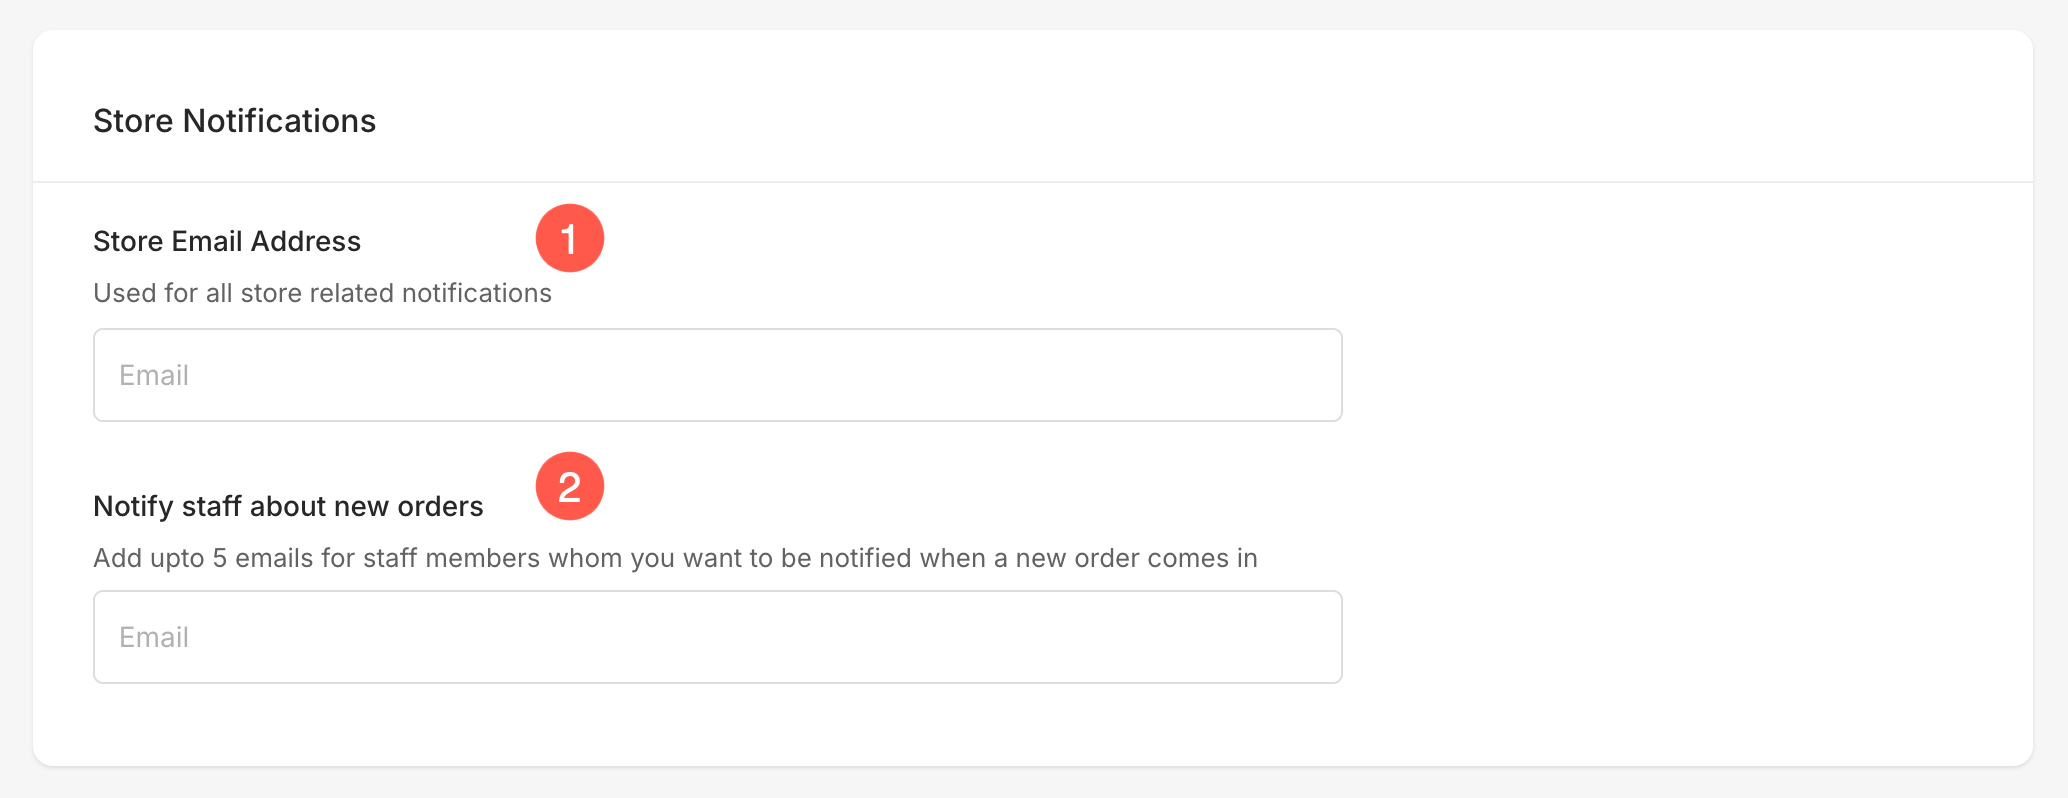
Store Notifications
- Store Email Address – Used for all store-related notifications. Invoices and emails for orders will include this email address.
Typically it would be your registered account email ID. You can easily change it if you want to send order-related information to some other email ID. - Notify staff about new orders – You can add two email IDs of your staff here. When any new order is received, these email IDs will also be notified along with the store email address.
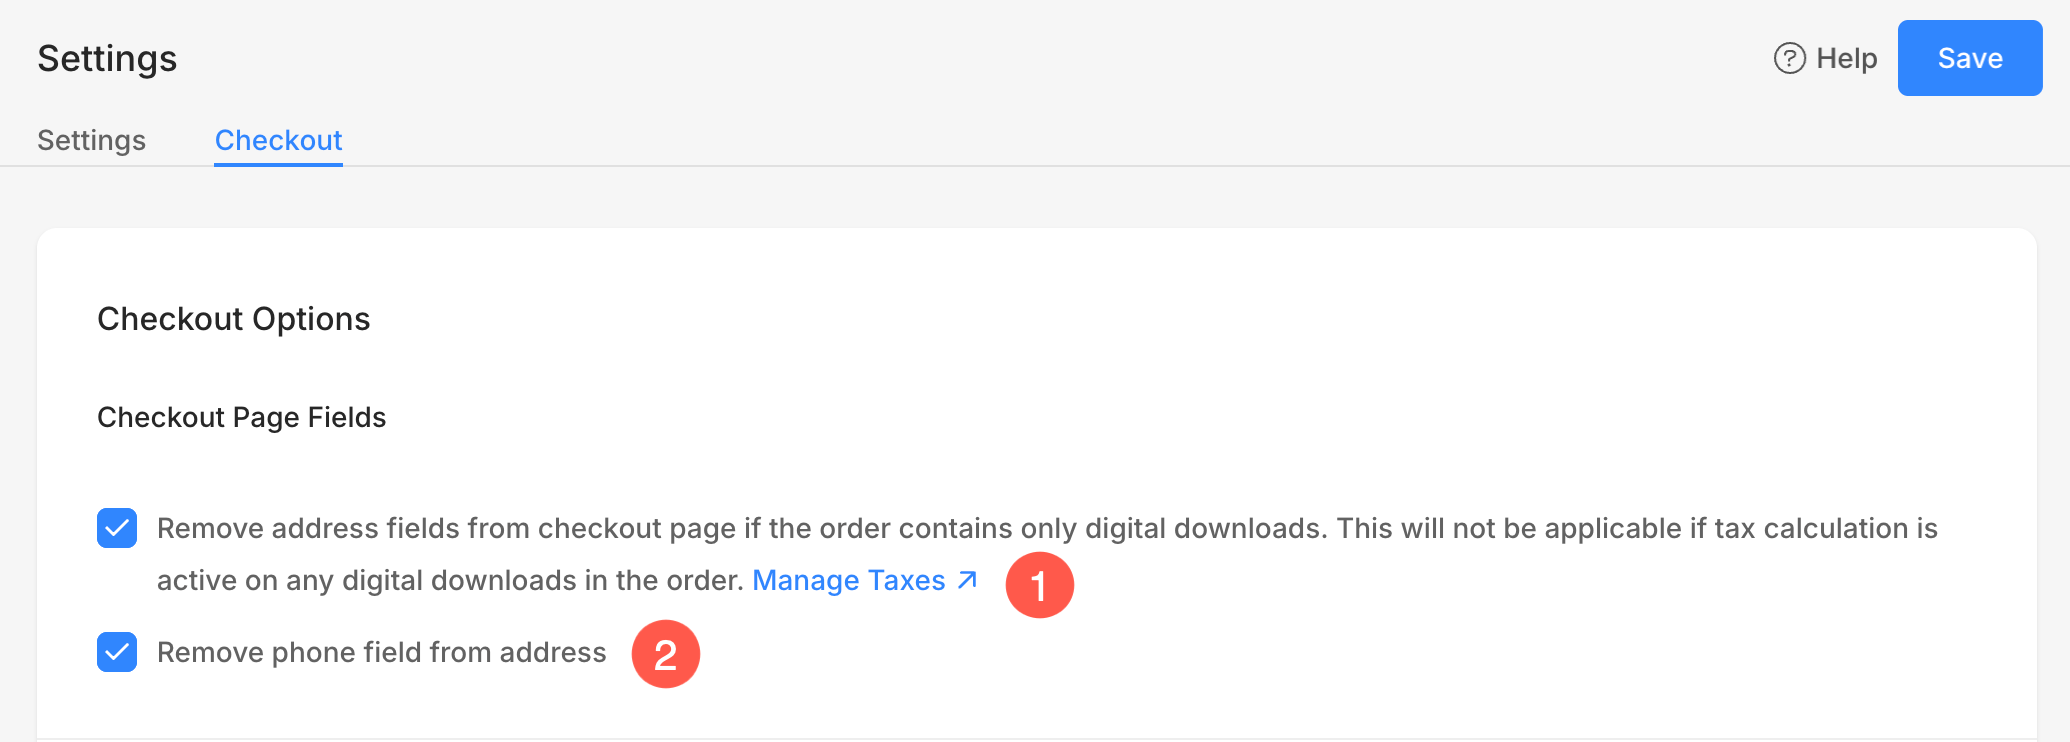
Checkout Options
- Remove address field from checkout page – Check this option to remove the address fields during checkout if the order contains digital downloads or services. This option will be overridden if the tax calculation is active on any digital downloads present in the order.
- Remove phone field from address – Check this option to remove the phone field from your store checkout page.
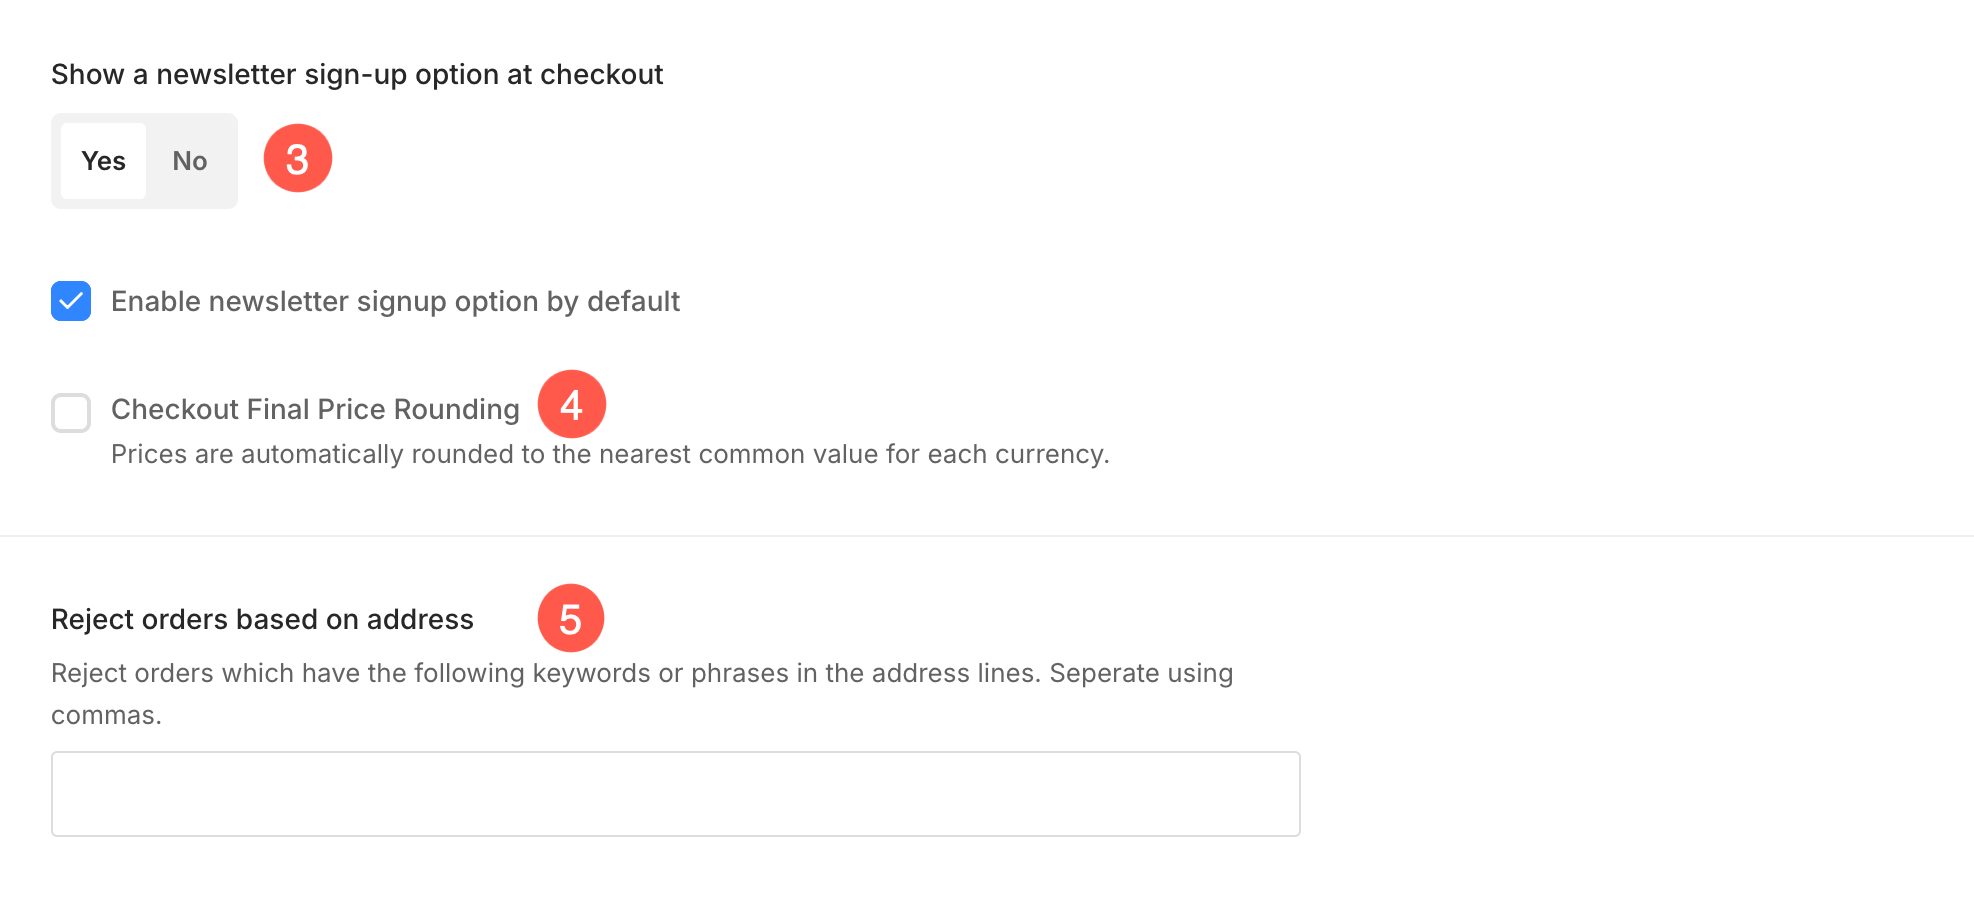
- Show a newsletter sign-up option at checkout – You can choose to show the newsletter sign-up option at checkout.
You can also choose to preselect the sign-up option from here. - Checkout Final Price Rounding – Enable this to automatically adjust and round off the price to the nearest common value for each currency, ensuring consistent and standardized pricing.
- Reject orders based on address – Reject spam orders which affect your business. Sometimes users just place fake orders.
To prevent these, you can add irrelevant pin codes, address keywords, or phrases so that those orders will be rejected automatically.
Additional Order Details
The Additional Order Details section allows you to collect extra information from customers during checkout. This is useful for gathering details such as personalization requests, delivery notes, sizing information, or any other instructions related to an order. When enabled, these fields appear on the checkout screen while a customer is purchasing a product.
- Enable or disable Additional Order Details – Use the toggle to turn this option on or off. When enabled, the additional information section becomes visible on the checkout page. When disabled, customers will not see these fields.
- Section title – Customize the title of this section to match your needs. This title appears on the checkout page and helps customers understand what kind of information they are expected to provide.
- Form fields list – This area displays all the fields and elements added to the Additional Order Details section. You can view the order of fields and understand what information will be collected from customers.
- Add form field – Click Add Form Field to include new input fields. You can add different field types such as text fields, dropdowns, checkboxes, phone number fields, date, time, and more, depending on the information you want to collect. Learn more.
- Field actions – Each field includes options to edit, duplicate, or delete it. This allows you to fine tune field labels, make quick copies of existing fields, or remove fields that are no longer needed.

Once configured, all added fields will be shown to customers during checkout, and the information they provide will be available with the order details for easy reference.
Available Form Fields
- Short Text – Use this field to collect brief responses such as names, short notes, or reference details.
- Long Text – Allows customers to enter longer messages or detailed instructions, such as customization requests or special delivery notes.
- Email – Collect an email address in a validated format. This is useful when you need an additional contact email for an order.
- Number – Use this field to collect numeric values such as quantities, measurements, or order related numbers.
- Dropdown – Provide a list of predefined options from which customers can select one value. This helps keep responses consistent.
- Single Selection – Allow customers to select one option from a list using radio style buttons.
- Multiple Selection – Enable customers to select multiple options from a list, useful for choosing add ons or preferences.
- Date – Let customers select a specific date, such as a preferred delivery or event date.
- Address – Collect a complete address including street, city, state, and postal code when additional address details are required.
- Website – Allow customers to enter a website URL, useful for reference links or portfolios.
- Phone – Collect a phone number in a structured format for contact or delivery coordination.
- Time – Allow customers to select a specific time, such as a preferred delivery or appointment time.
Organise Elements
- Line – Add a simple line to visually separate different sections of the form.
- Separator – Use a separator to create clearer visual grouping between related fields on the checkout form.

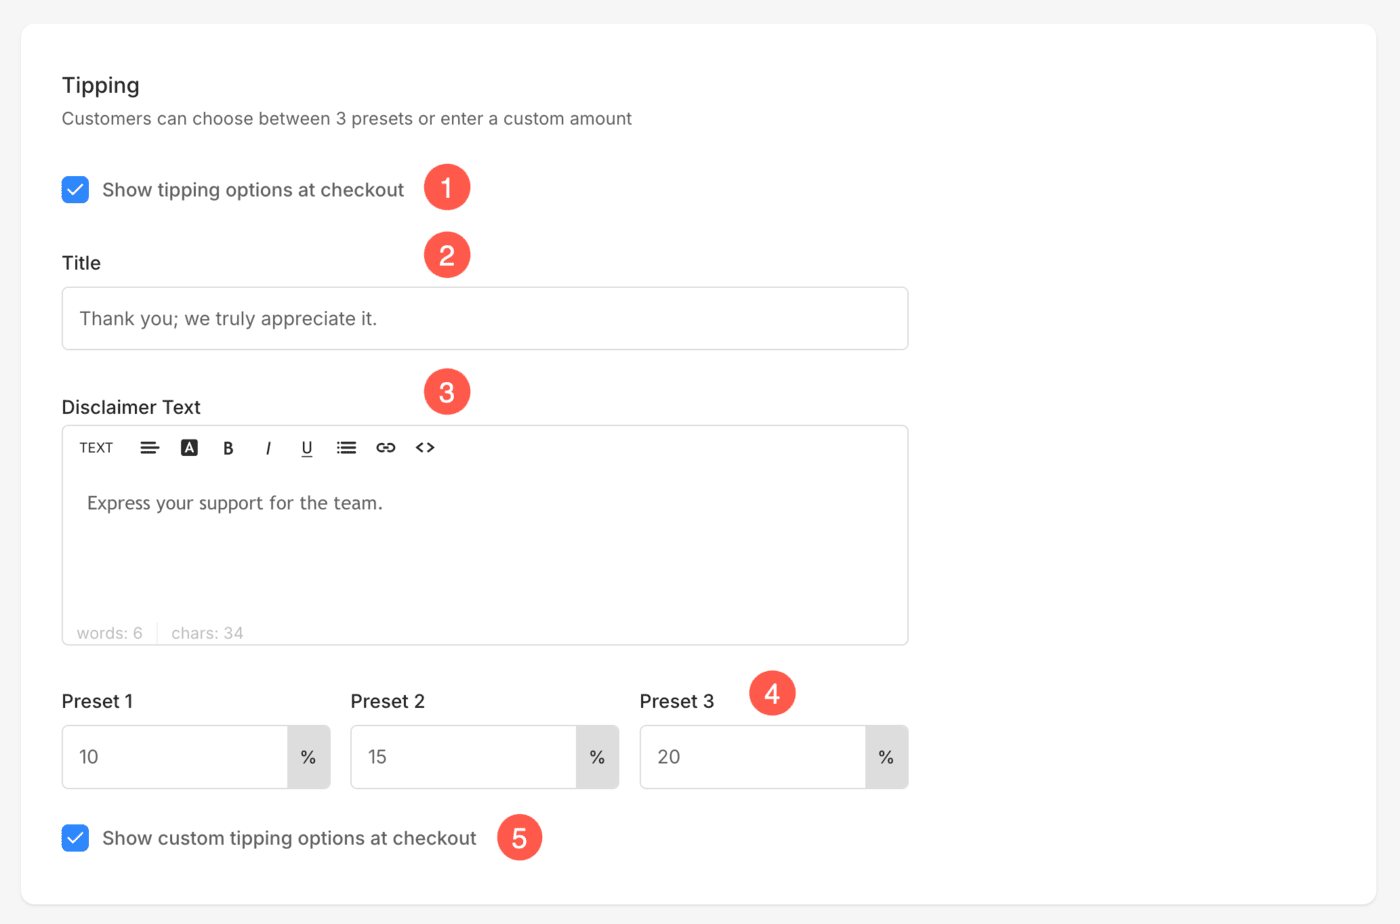
Tipping Options
You can enable Tipping as an optional feature allowing your clients to add extra monetary compensation during checkout as a way to thank you for exceptional service.
- Enable / Disable the tipping options at the checkout page.
- Specify a Title for the Tipping section.
- Enter Disclaimer / Description text for the Tipping section.
- Set tip presets as a percentage of the total checkout amount, allowing clients to choose a preset or select “None” if they don’t wish to add a tip.
- Allow clients to specify a custom tip amount based on their preference.
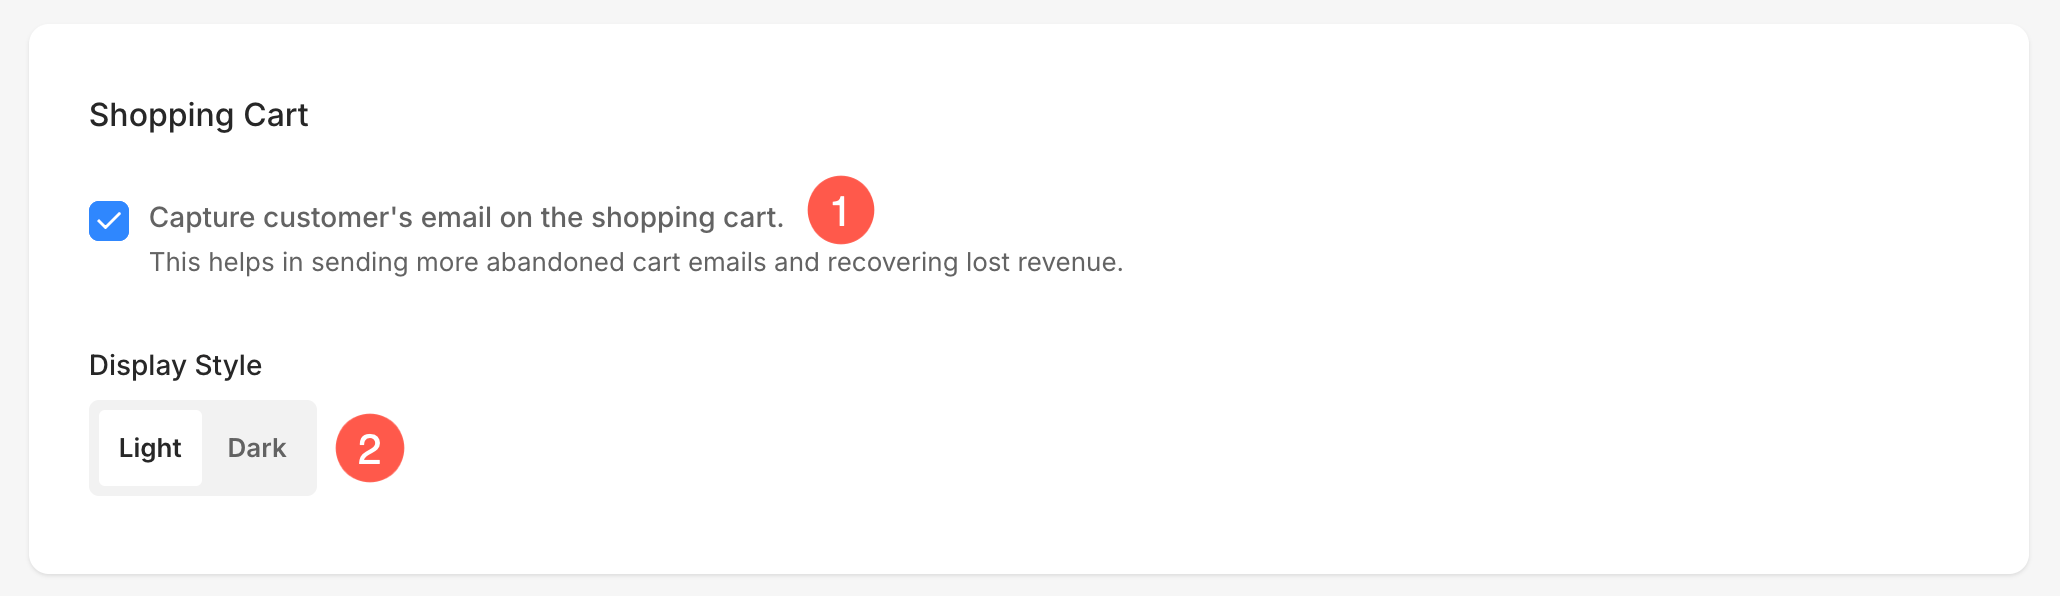
Shopping Cart Settings
Under your Client Gallery checkout settings, you can configure the behavior and appearance of the shopping cart using the following options:
- Capture Customer Email – Enable this option to collect the customer’s email address directly in the shopping cart. This is helpful for sending abandoned cart reminders and improving recovery of incomplete purchases.
- Display Style – Choose between a light or dark display style for your shopping cart interface. This setting applies to the floating cart, customer information page, and shipping & payment methods page, ensuring a consistent visual experience throughout the checkout process.
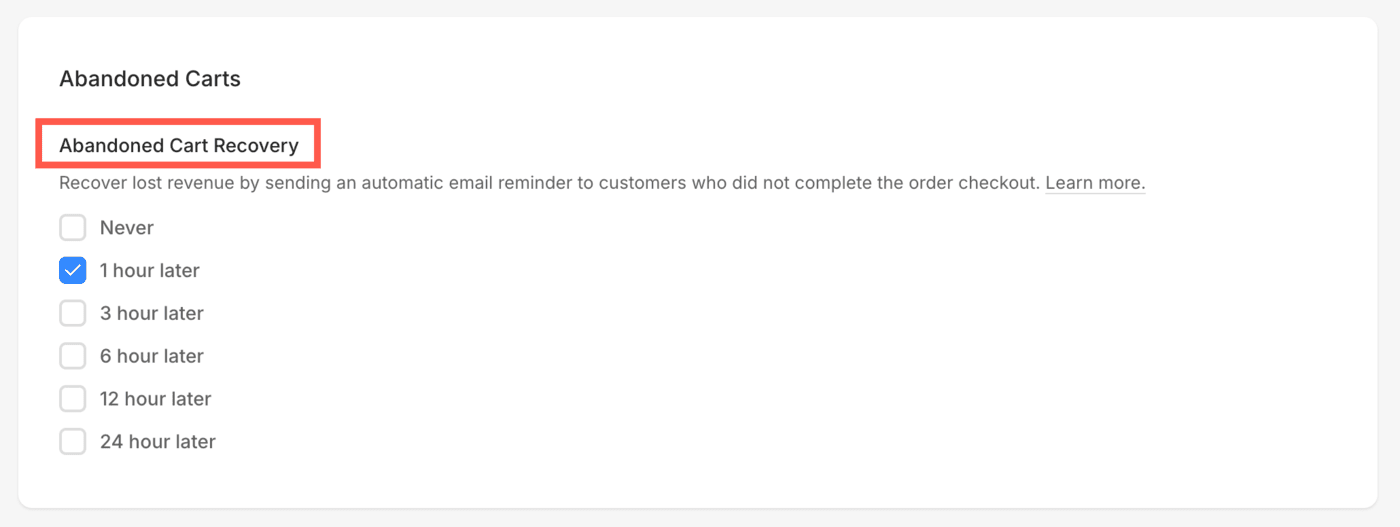
Abandoned Carts
- Abandoned Carts Recovery Email – The best way to recover abandoned carts is to set up an automatic email for customers, asking them to return and complete their last order.
If your store visitor abandons their order, send them an email reminder to complete their order. This functionality is available on the Business plan only.
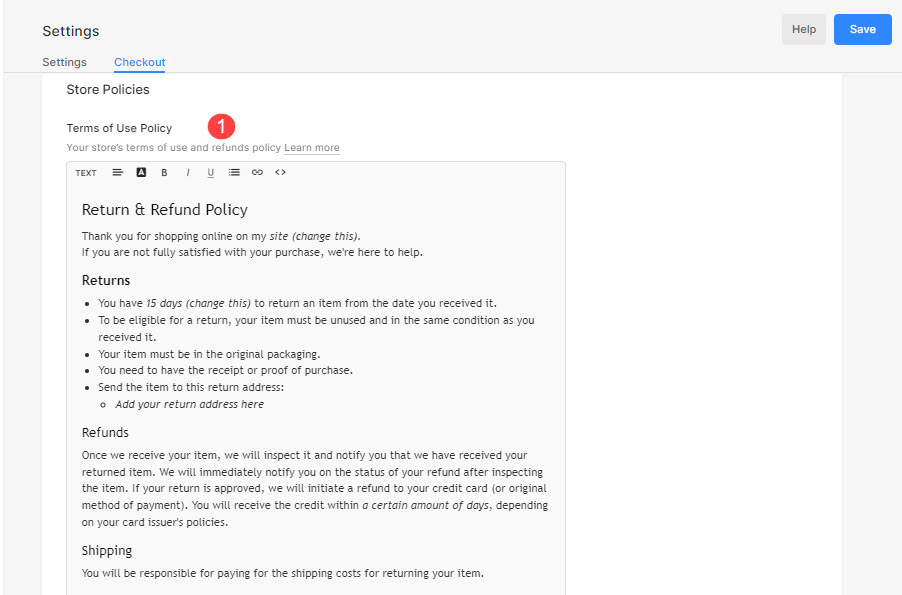
Store Text Templates
- Terms of use policy – Your store’s terms of use and refunds policy.
Also See: Specify terms of use policy.
- Order confirmation page message – This message will be shown on the order confirmation page.
Also see: Customize order confirmation messages. - Order confirmation email message – This message will be included in the new order confirmation email.

Order ID Format
- Prefix – Define the prefix for order numbers, which is the initial character added to all order numbers.
