Pixpa is an excellent platform for photographers and artists to showcase and sell their images online. Its user friendly interface and seamless integration provides you great opportunities to easily sell your images and reach a global audience.
In this article:
Ways to sell images
Pixpa provides you with four different ways to sell your images on your website. They are as follows:
- Ecommerce enabled Galleries: Ecommerce galleries are collections of images that are listed for sale. By using it, you can easily start selling your images as Prints or Digital downloads by following just a few simple steps. Learn more
- Pixpa’s dedicated Store: You can also use the dedicated store to sell images as prints and downloads from your website. Here each image will be treated as an individual product. This will have a different look and feel as compared to the ecommerce gallery store. Click here to know more.
- Client Galleries: You can sell images to your clients in the form of prints or digital downloads directly by using the client gallery feature. To know more, click here.
- Fotomoto: You can sell your images using Fotomoto as well which is integrated into the studio. Click here to learn more.

Sell images using Ecommerce Gallery
To sell your images using an E-commerce gallery, you’ll have to enable the “Sell Images” option from the dashboard of Store inside the studio. Once the “Sell Images” option is turned on, you can now add ecommerce enabled galleries to your website.
Configure the store settings:
The next step is to configure store settings. Few of the many options that you can manage from here are:
- Manage Business Information like business name, address, currency, etc. Learn more.
- Set up payment methods to receive payments on your Pixpa store. To know more regarding the payment methods and adding them, click here.
- Make changes to Store’s checkout options like minimum order amount, checkout page fields, abandoned cart recovery, order success message and mail, etc. Click here to know more.
To know more about configuring the store settings, click here.
Set up Fulfillment Methods: This is the process of completing and delivering the product that your customers have ordered. It may be in the form of Prints or Image downloads. Learn more.
Create Price Lists for Images: You need to create price lists for the images to sell them. Setting up price list involves two steps:
- Adding Categories: Group your products into categories to structure and filter your pricing sheet’s product catalog. Know more.
- Adding price list and product options: Add price lists based on your fulfillment method and create different product options. Click here to know more.
Add E-commerce Galleries to your Website: Once you are done with the above mentioned steps, you can now add ecommerce enabled galleries to your website where you will be uploading the images to sell. Here is an article on how to add ecommerce galleries to your website.
After adding the gallery, you can manage the settings like changing the price list, design and layout settings, SEO settings, etc.
Managing Orders: Here you will see all the orders placed on your ecommerce galleries. You can see the details of the orders, sales chart, manage payment status and fulfillment status, export orders as CSV files, etc.
To know more about managing the orders, click here.
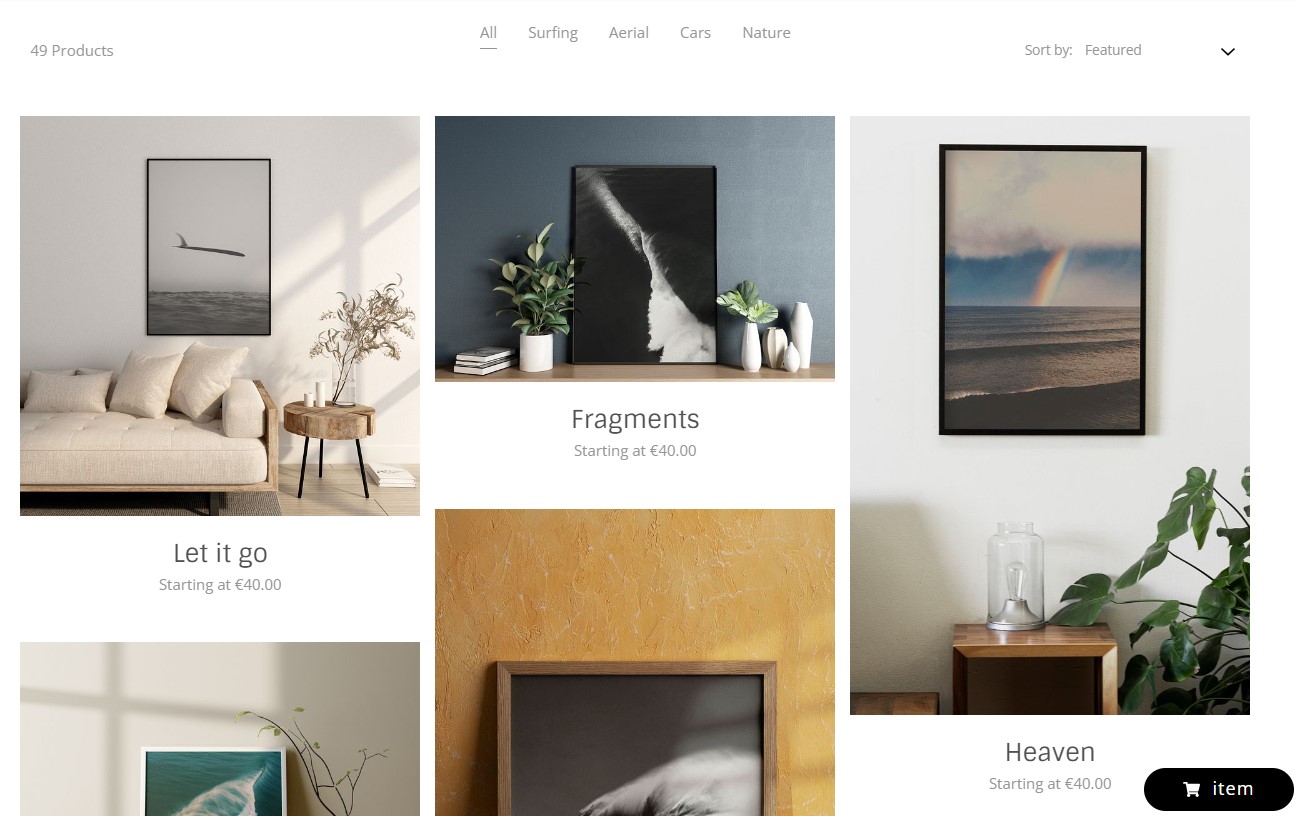
See E-commerce enabled gallery in action

Sell images using Store
With Pixpa’s online Store, you can sell download-ready digital content such as images, digital art, e-books, music, and more. For this you need to enable the “Sell Products” option from here. Know more about selling images through store.
Configure Store Settings: Once the store is enabled, you now need to configure the store settings. This step will be common as configuring store settings for ecommerce galleries.
Review Store Design: You can style the store pages from the design section of the store. There are three types of pages inside the store:
- Store Page: This is the page where all the products will be listed. Learn more.
- Product Page: The page where you see all the details of a particular product is the Product page.
- Category List Page: Products will be shown category wise on this page. Once you open a category, all the products belong to that category will be displayed. Know more.
Click here to know more regarding the design of the pages.
You also have the option to add a sidebar to your store and display the items according to your preferences. Learn more about sidebar.
Add Products to Store: To sell your images using the store, you will have to add them as “Digital Download” products from the Products section of the store. Click on “Add Product” button on the top right corner of the products page and then “Digital Download” button.
Few steps involved in adding /editing a digital product are:
- Title, Description, Visibility and adding sample images of the product
- Pricing of the product and defining Tax rules
- Uploading / Linking to the original Digital Product
- Specifying Info section, Categories and Tags
- Managing the Inventory
- Search Engine Optimization for the product
To know more about adding a product as digital download to store and customizing it, click here.
Discounts / Taxes
- You can create discount coupons for the images that you are selling. Your customers can apply those coupons while checkout and avail the discount. Learn more.
- You also have the option to apply taxes on the digital products and specify whether the tax is inclusive or exclusive of the product price. Know more about taxes.
Add Store Page to Website: You can easily add store pages to your website by clicking on the “Add Store Page to Website” button from the dashboard of the store. This way your website visitors can easily access your store/products and place orders.
You will get the following options while adding / editing the store page:
- Title and Visibility of the store page
- Type of the store page
- Featured image for the page
- Description and Tags for the page
Click here to know more about adding a store page to your website menu.
Managing Orders: Here you will see all the orders placed on Store. You can see details of the orders, sales chart, manage payment status and fulfillment status, export orders as CSV files, etc.
To know more about managing the orders, click here.
Sell images using Client Gallery
You can sell images as Prints or Downloads to your clients using Pixpa’s client galleries feature. Learn more.
Add albums and Galleries: You can easily add albums and galleries for your clients. Click here to know more.
Setup Fulfillment Methods: This is the process of completing and delivering the orders to the customers. Click here to know more.
Add Price Lists: It is a list of Print products, Merchandise, Self-fulfillment products, and Digital download options. You need to create price lists and add items into it in order to let the clients purchase the images in different forms. Click here to know more.
Price List Categories: You can categorize the items listed into the price lists using categories. These categories will be visible in the floating cart page that opens up while your customer proceeds to buy an image. Learn more.
Discounts / Shipping / Taxes:
- Discounts: You can create Discount Coupons for your clients that they can use while making purchases. Click here to know more.
- Shipping: You can make changes to your address and add various shipping rates so that your clients get multiple options regarding the shipping method. Learn more.
- Taxes: You can create multiple tax rates country wise using this option. You can also select if the pricing of the product is inclusive of taxes or vice versa. Learn more.
Checkout Options: You can manage options like Checkout page fields, Abandoned Carts, Store Policies, Order Success Message and Mail, etc. from here. Know more.
Payment Methods: You can set up your payment methods to accept the payments from clients / customers from here. Supported payment methods are Stripe and PayPal. You can also accept offline payment methods. PayUMoney is also supported for Indian customers only.
To know more regarding the payment methods, click here.
Orders and Order Status: You can view all your client gallery orders from here. You can also see the details of the customer like name, address, email id, phone number, etc. If you want to download the order invoices, or export orders as CSV, the same can be done from here.
Learn more on how to manage orders.

Sell images using Fotomoto
You can easily enable Fotomoto on your Pixpa website to sell images digitally or in the prints form. For this you will have to create an account with Fotomoto first.
Click here for a complete guide on how to enable and sell your images on your website using Fotomoto.
Fulfillment Methods
As you receive an order from your Client Gallery, you need to fulfill it. Based on the products present in the order, a few products may be automatically fulfilled and a few of them may need you to fulfill. Pixpa provides you with four different options for fulfilling the orders.
- Self Fulfillment: This is a manual process wherein you will be fulfilling the orders of the customers from receiving orders to printing and delivering. Click here to know more.
- Print Vendor Fulfillment: This is an automated process where you can choose to fulfil your orders using any lab of your choice. You’ll have to set up your Print Vendor for auto fulfillment of the orders. Know more.
- WHCC Lab Fulfillment: Pixpa has integrated White House Custom Colour (WHCC) lab that you can use for the fulfilment of your orders. Learn more.
- Digital Downloads: You can sell your images to your customers in digital form also wherein they get a download link to download images or albums in digital form when they make a successful order. You can also choose to approve the order. This way, the customers will only get the download link when you approve the order, even if they have made the payment. Know more.
To know more regarding the fulfillment methods, click here.
Related articles: