Pixpa’s Gallery Link platform enables you to create personalized mobile gallery apps for your clients. Share your work, build your brand, deliver added value, and impress your clients.
In this article
Add a Gallery Link
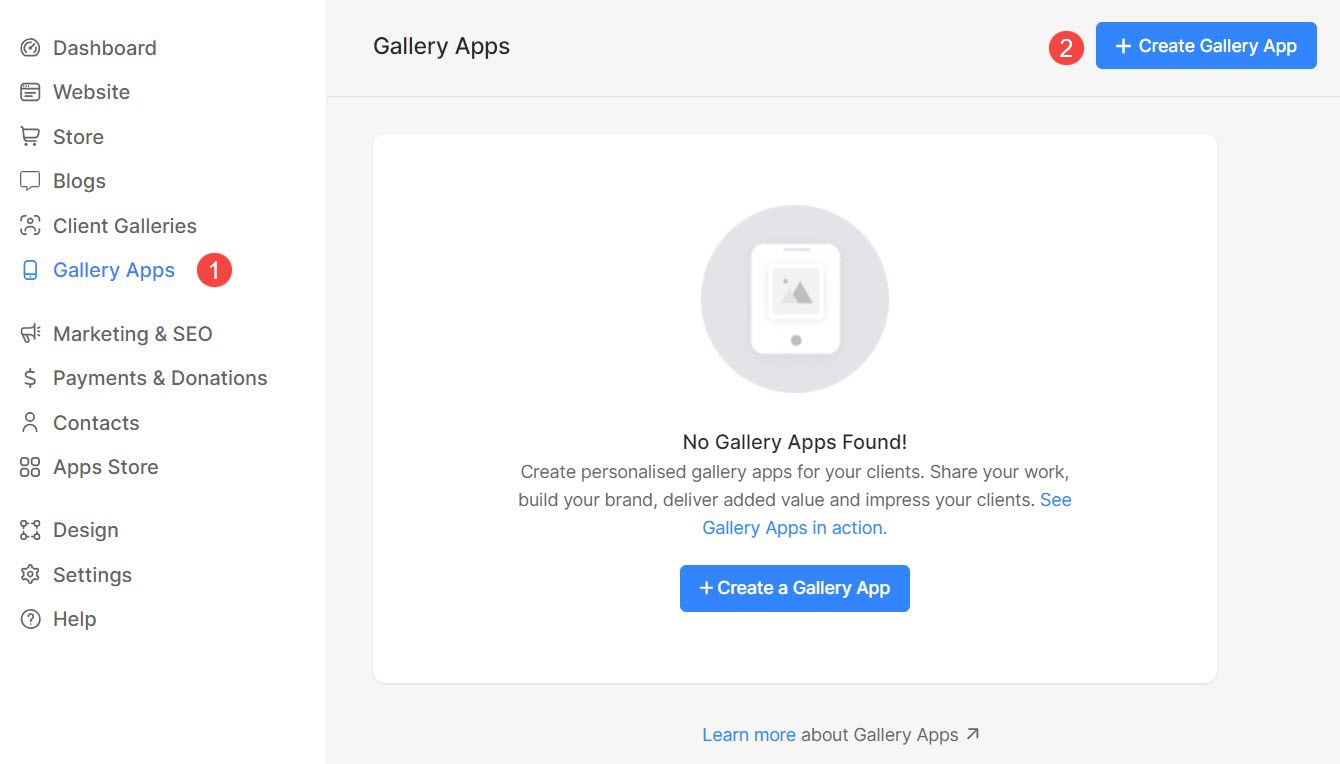
- In the studio dashboard, click on Gallery Links (1).
- Click on the + Create Gallery Link (2) button on the right top to add a new link.
- You’ll now see a popup where you can specify the Gallery link name (3) and then click on the Create Link (4) button.

Voila! Your link has been created and added to Gallery Links section. You can directly upload your images into it.
Add Images to a Gallery link
- Go to Gallery Links.
- Click on the link in which you want to add images.

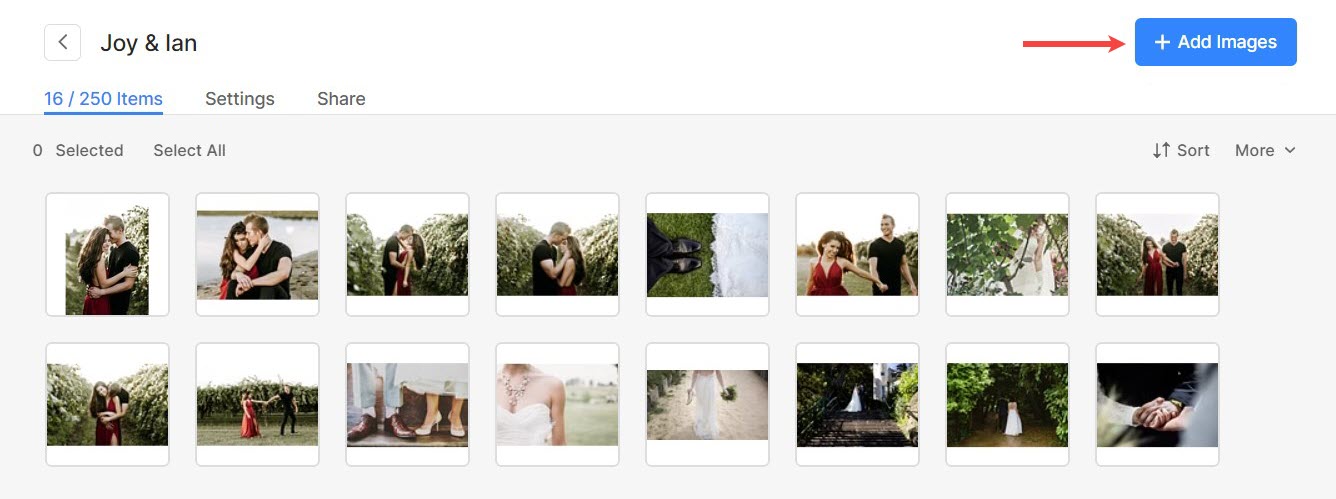
- You are now at the screen where you can add/view/edit/delete images.
- Click on the Add Images button.
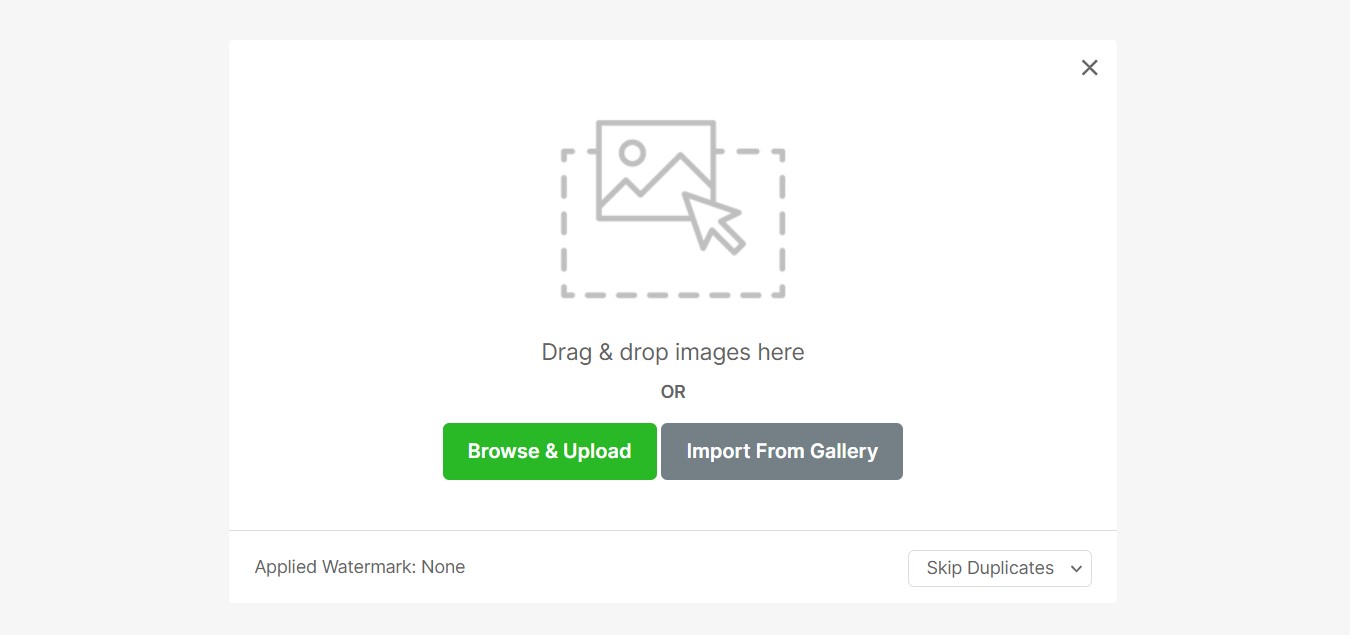
- Now, you’ll see a popup uploader.
- Click on the Browse and Upload button to select single or multiple images to upload to this gallery. You may also drag and drop your selected images here.
- You have the option to import the images from other galleries. Learn more.
The process of creating a gallery, adding and managing images is the same as public galleries on your Pixpa website.
Click here to know everything about gallery upload and manage functionality.
How many images can I upload in a Gallery Link?
The number of gallery links that can be created depends on your Pixpa plan. Click here to see all the plans.
You can add a maximum of 250 images in each gallery link.