You can easily group your products into categories to structure and filter your price list’s product catalog.
These categories will be visible in the floating cart page that opens up while your customer proceeds to buy an image. You can click on any category here to view the particular category products.
In this article:
- The Categories Page
- Add a New Category
- Edit a Category
- Assign Category to a Product
- View your Custom Category
- View Category Info
The Categories Page
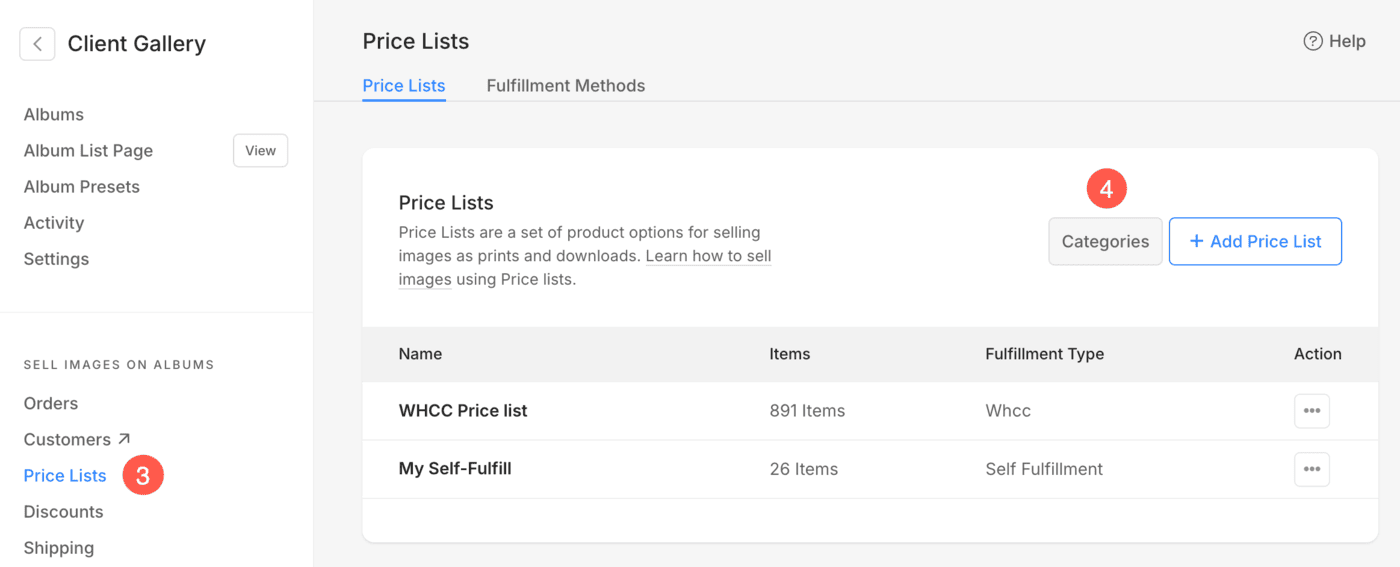
- From the Dashboard (1) of the studio, click on Client Galleries (2) section.

- Under the Price Lists (3) section, you will see a button from where you can add and manage the Categories (4).
Alternatively, you can also use Pixpa’s search option in order to navigate to the Price Lists section.
- Enter price list (1) in the Search Bar.
- From the related results, click on the Client Galleries – Price Lists option (2) under Studio Links.

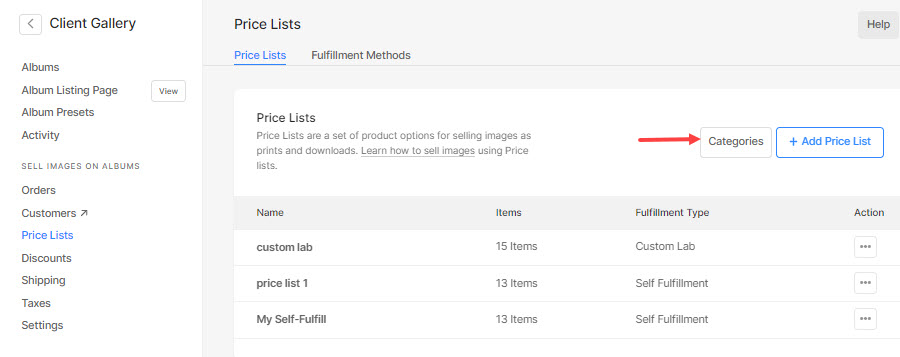
- You will now reach the Price Lists page (1).
- Click on the Categories button to visit the product categories.
Add a New Category
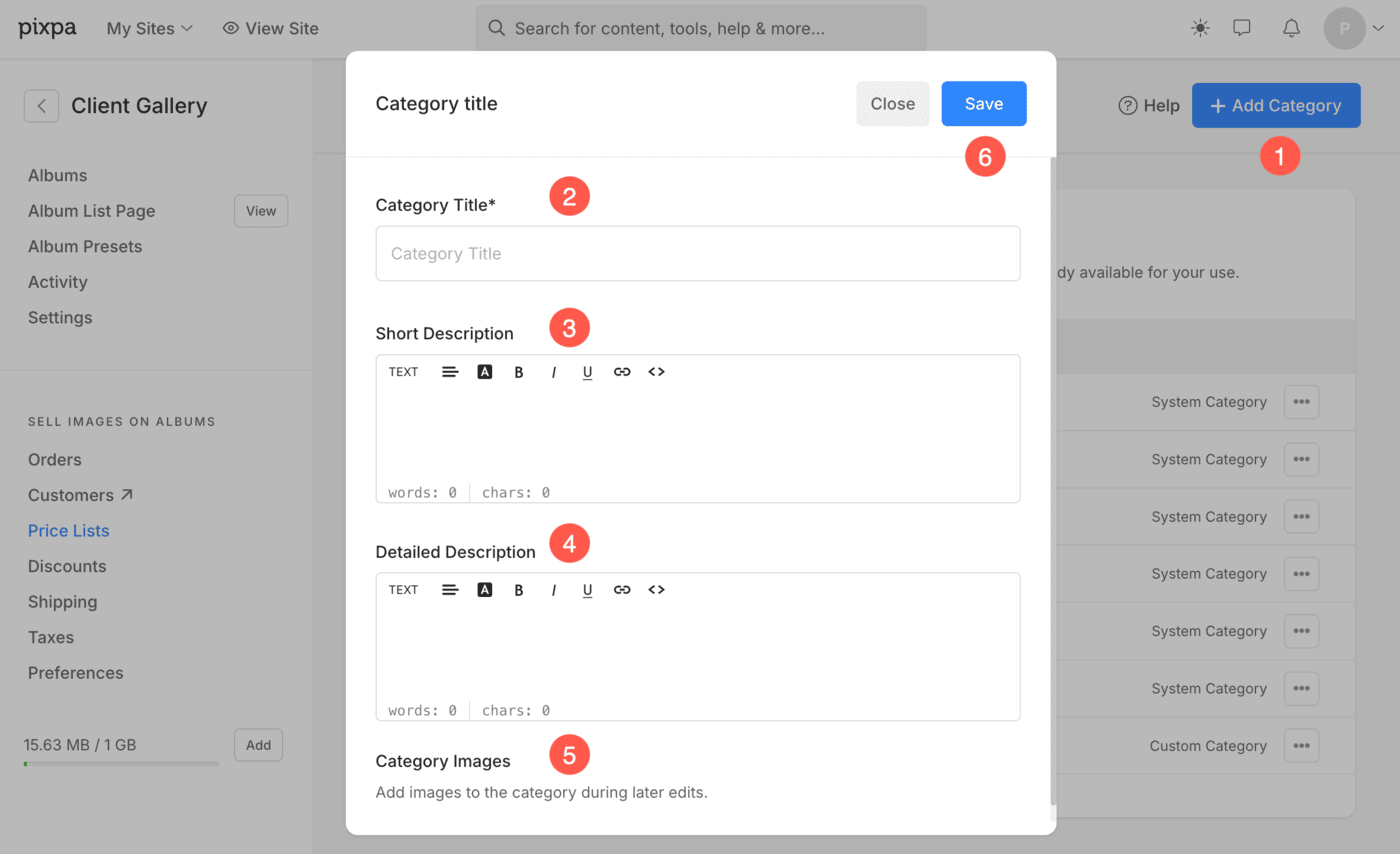
From the Categories section, click on the + Add Category (1) button to add a new custom category like tees, wallets, etc.
On clicking it, a pop-up will appear allowing you to add the following details:
- Add your Category Title (2).
- Enter a Short Description (3) for the category.
- Specify a Detailed Description (4) for the category.
- You can add Category Images (5) once the category is created.
- Save (6) the changes. Your new category will be created.
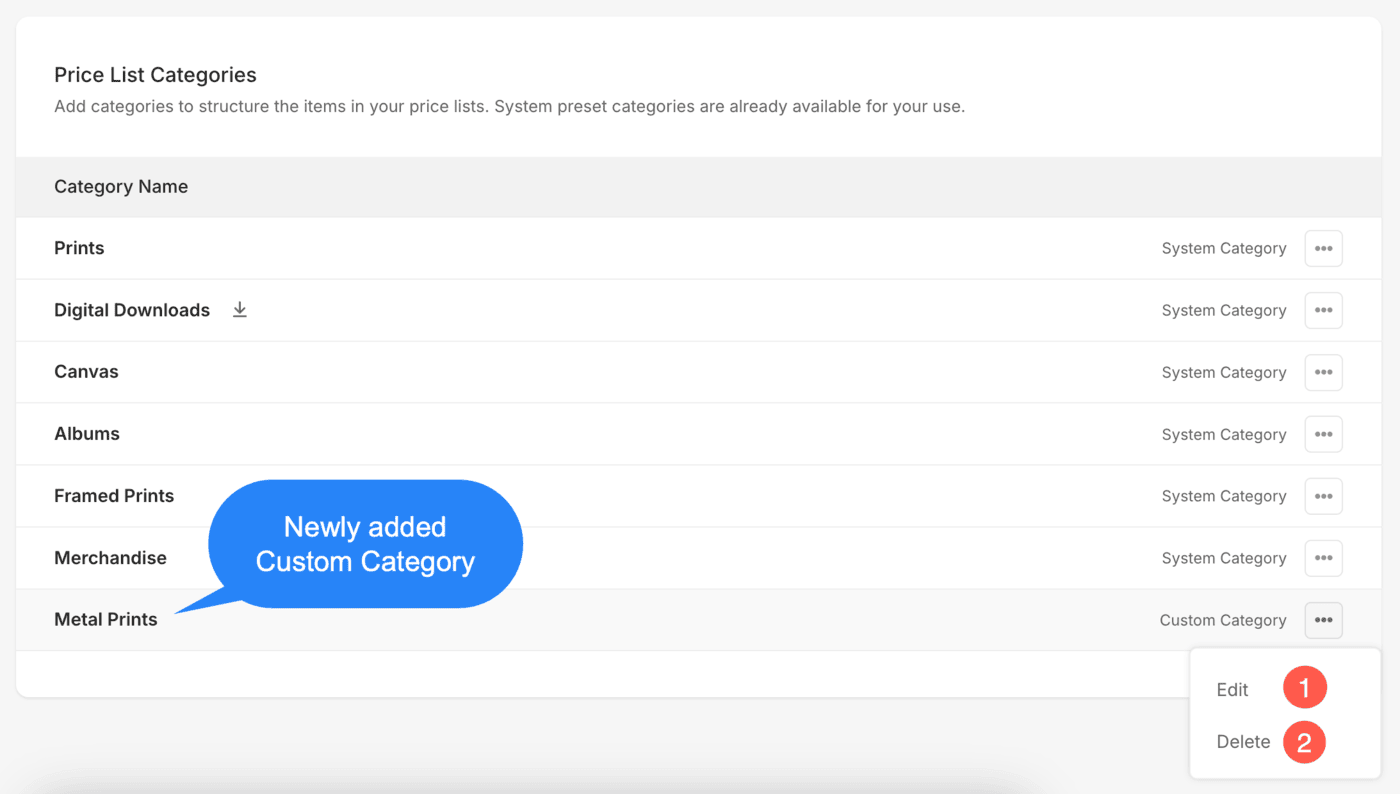
For example, we have added a new category named “Metal Prints”.
Edit a Category
- You will see your new category at the last.
- On the categories page, you can Edit (1) or Delete (2) any category that you have created while you can only Edit (1) the name of pre-defined (system) categories.
To edit a category, follow the steps mentioned below:
- From the Price List Categories (1) page, click on three dots (2) icon next to the specific category you wish to edit.
- A popup will appear from where you can Edit (3) the category.

Now, the category edit screen will pop up. From here, you can:
- Edit the Title (1) of the category.
- Add a Short Description (2) for this particular category.
- Add a Detailed Description (3) for the category.
- You can upload Category Images (4) from here. A maximum of 6 images can be uploaded.
- Click Save (5) button to apply and save the changes.

Assign Category to a Product
- At the time of adding a product to the price list, you would see a drop-down for the category. You would see your newly added custom category name in the list.
- Or go to the price list and edit the existing particular product where you want to add this new custom category.
- Just select the respective category for your product and hit Save to save your changes.

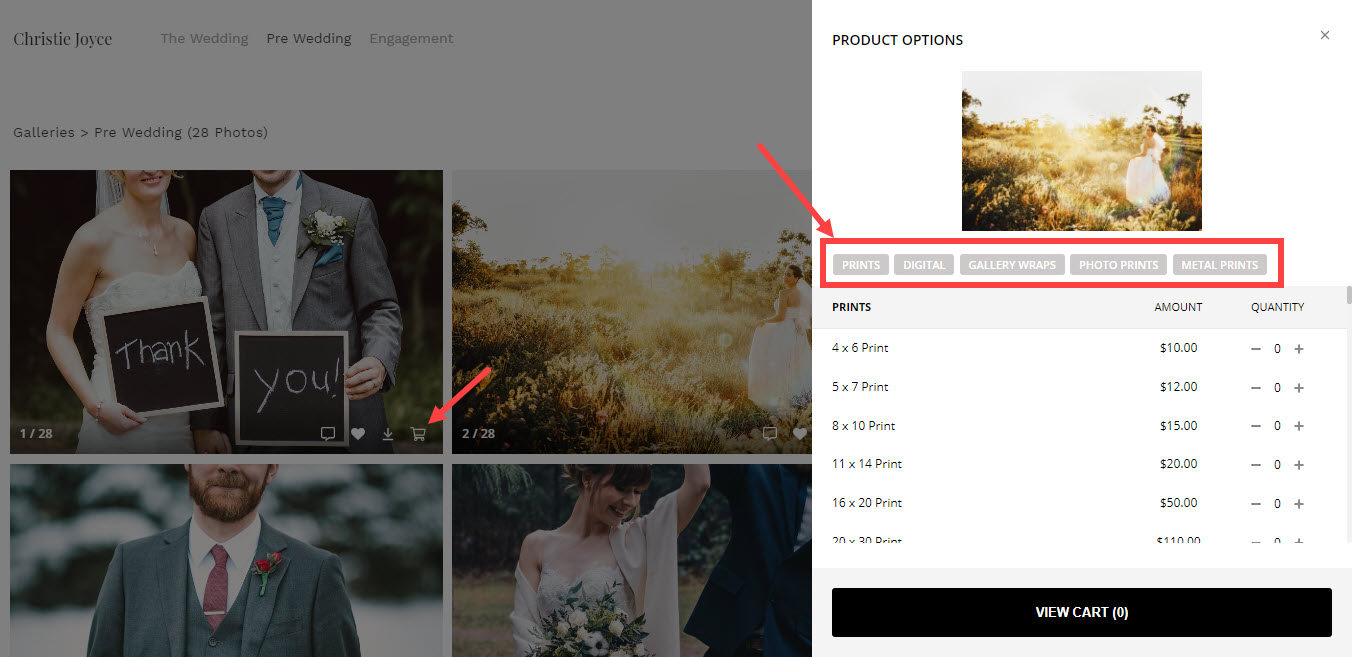
View your custom category
- You can view your custom category on the floating cart page.
View Category Information
The added category information will appear when clients purchase the images.
- Go to the gallery and click on Buy (1) button.
- The available product options will appear in a sidebar. Hover the cursor over the category and you will see an Info (2) icon. Click on it.
- All the information such as title, description, extended description, and images will be visible in the Product Info (3) window.
