You can create a FAQs page easily using the FAQs section on any page. Any FAQs related to your products/services/store/anything can be listed using this.
In this article:
- What is a FAQs List?
- Add an FAQs Section
- Add and Edit List Items
- Sequence List Items
- Delete List Items
- Change Section Layout
- Style Options
The FAQ section
If you are looking to add an FAQ page or add a section on any page where you can list your FAQs or Terms of use, you can easily do so using the FAQs section.
Add FAQ Section
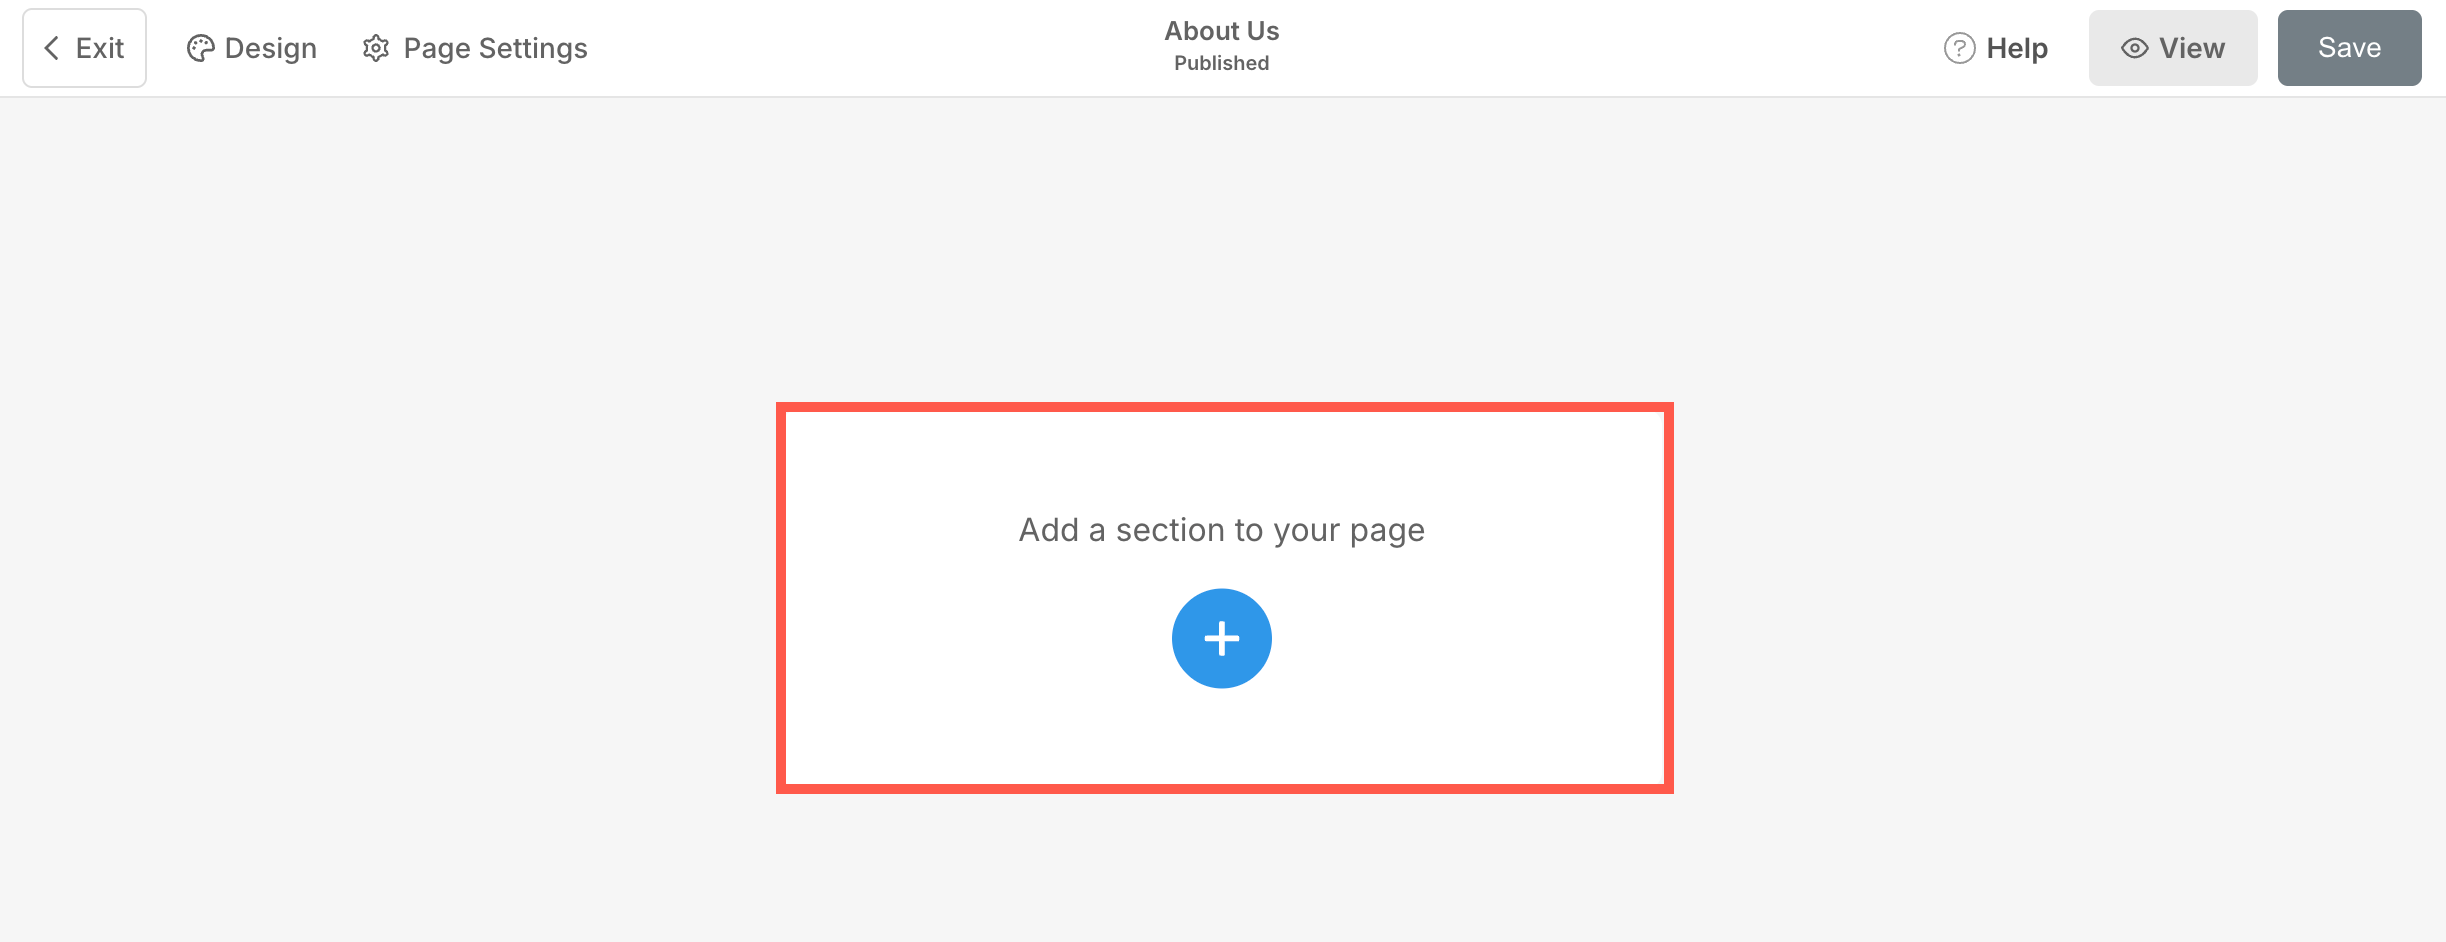
- A section can be added to a page. You can either add a section to an already existing page or create a new page within your website.
- On your page, click on the blue + icon to add a New Section to your page.
- You will now see the section categories on the left side.
- Scroll down and choose the FAQs Section (1) option where you can choose from the different layouts for the FAQs.
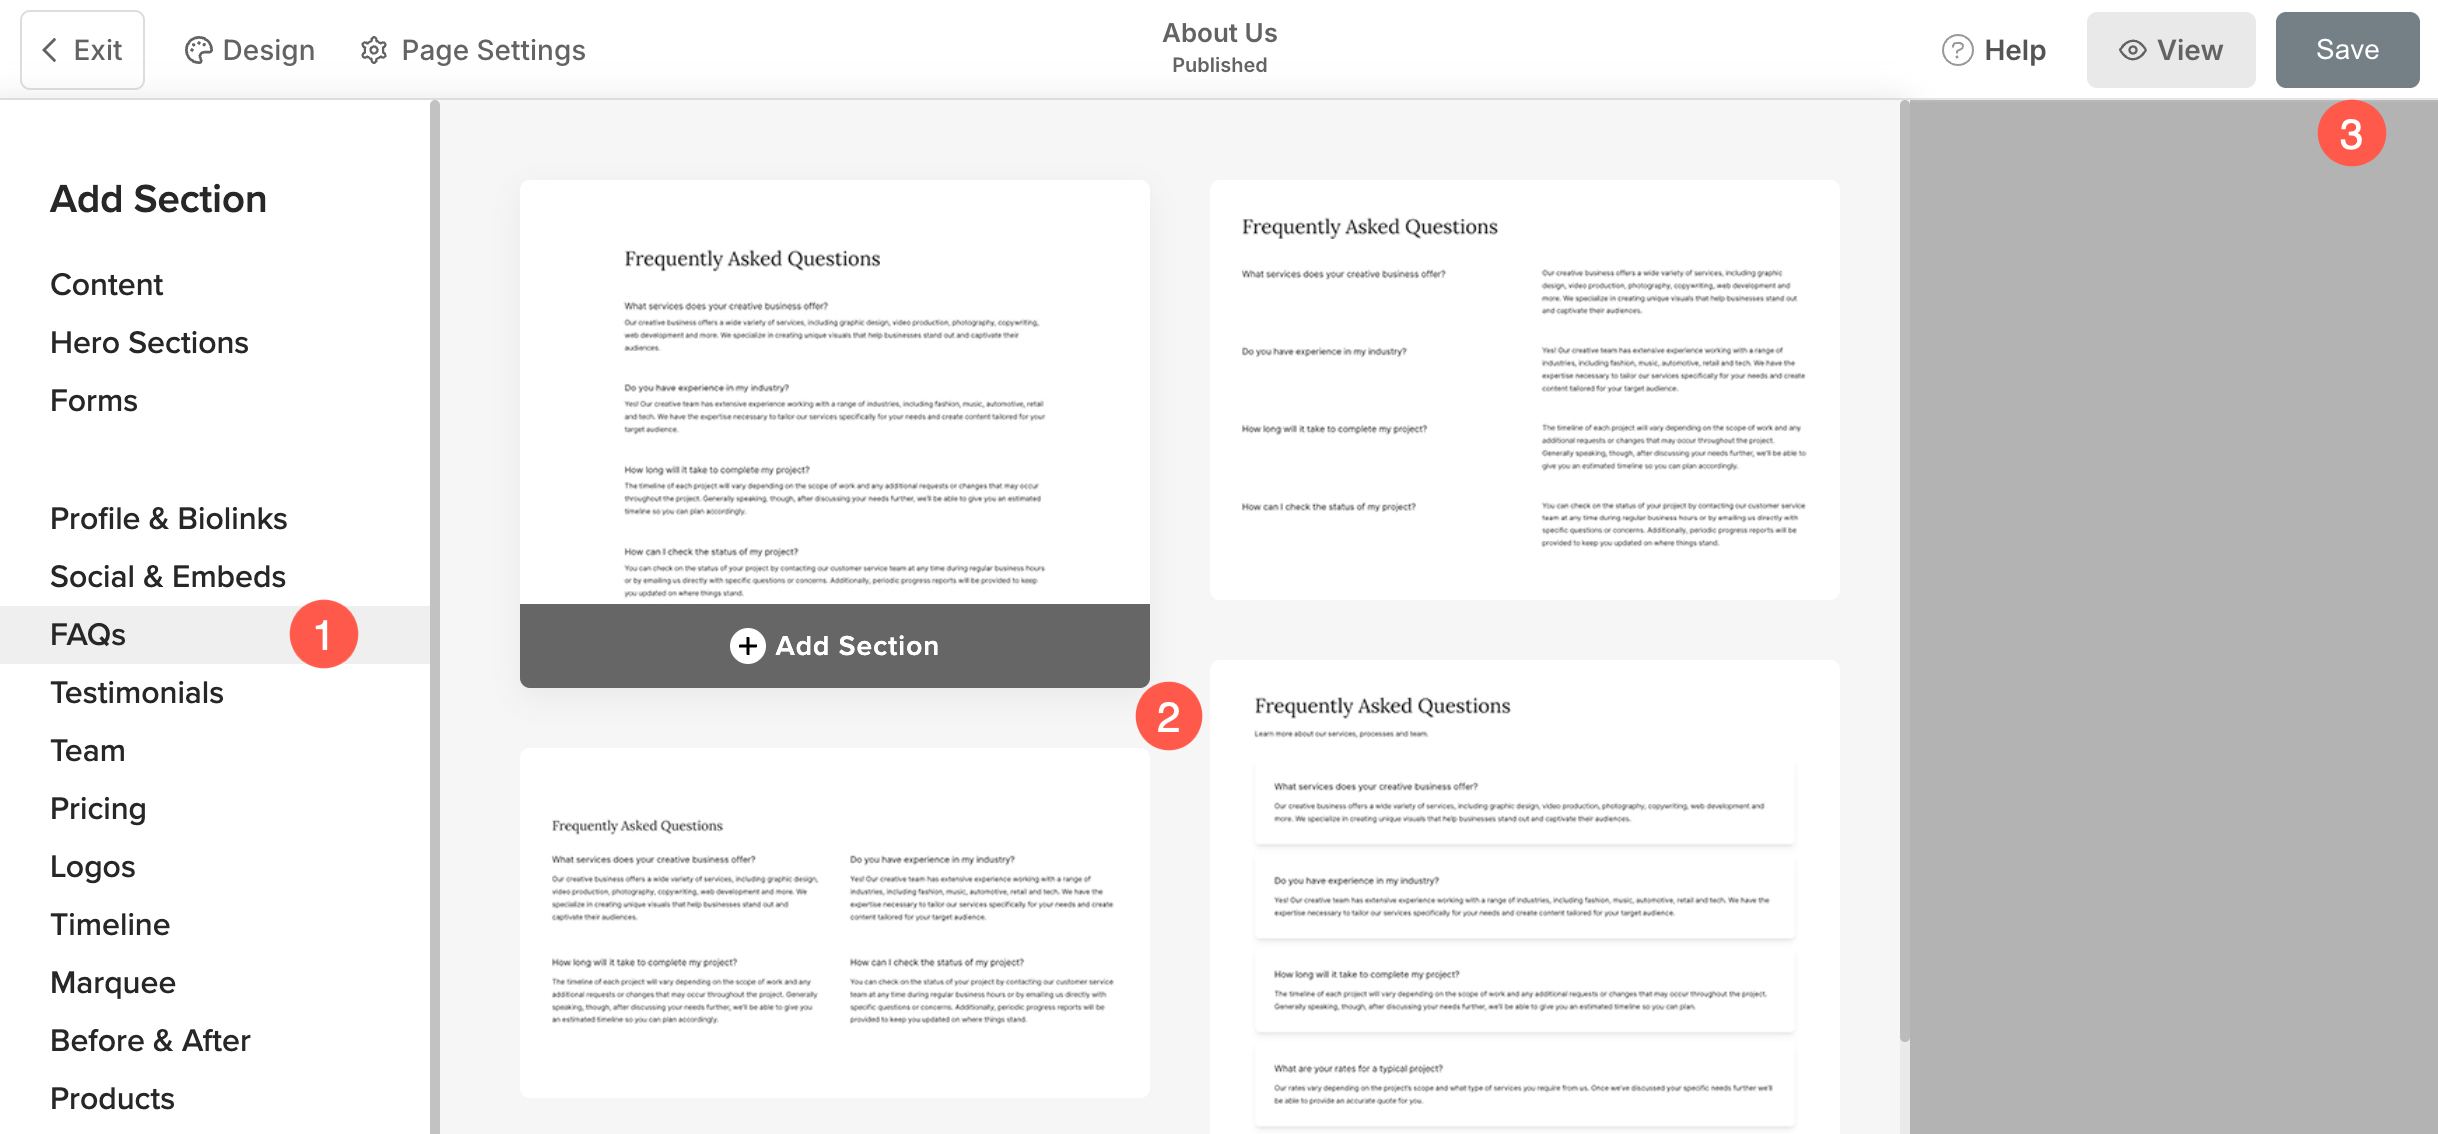
- Choose any section layout (2) and click on it to add it to your page.
- Save (3) the changes.
Add and Edit List Items
Add List Item
Once you have added the section:
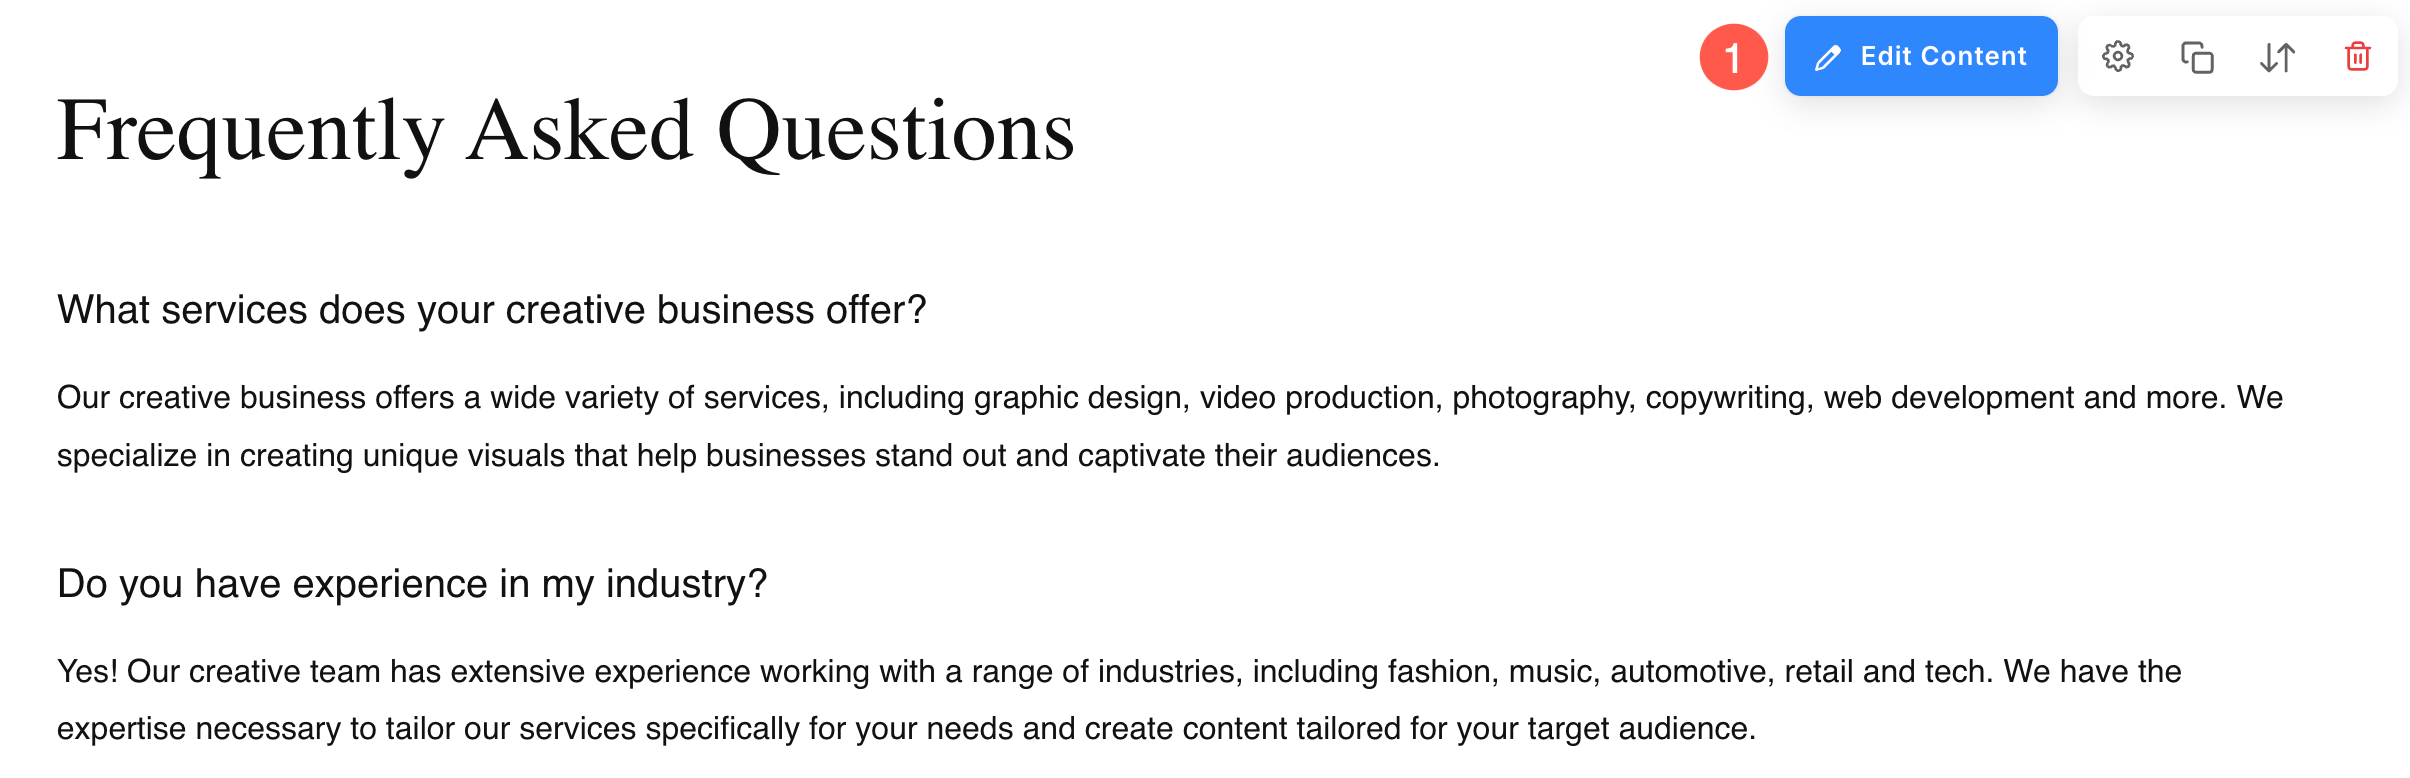
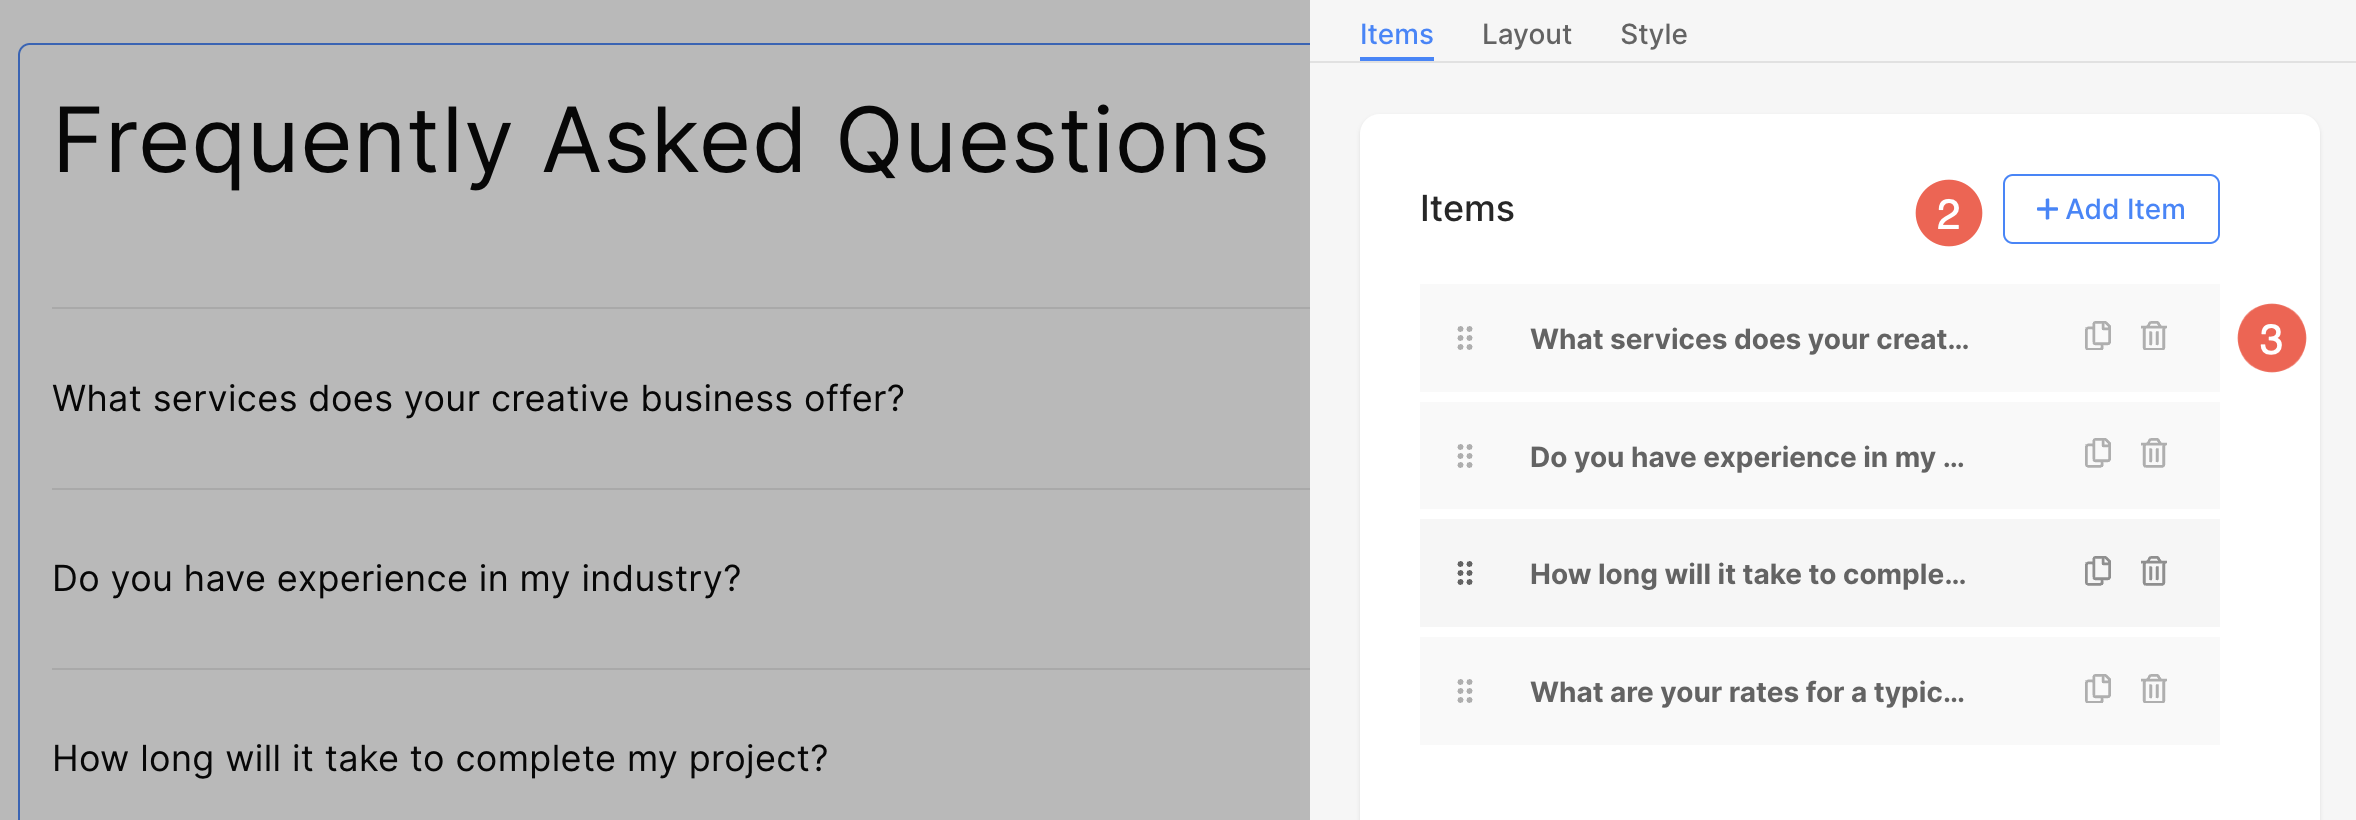
- Click on the Edit FAQs (1) button to open the FAQs panel.
- Click on the Add Item (2) button to add a new list item.
- You will have the option to duplicate and delete (3) the list items.
Edit Item
- Click on the list item that you want to edit.
- It will open the particular List item editing options.
- Add a Title (1) and Description (2) of the List Item.
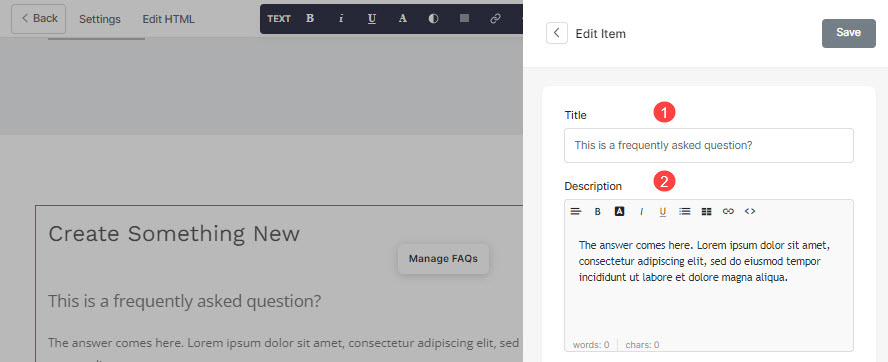
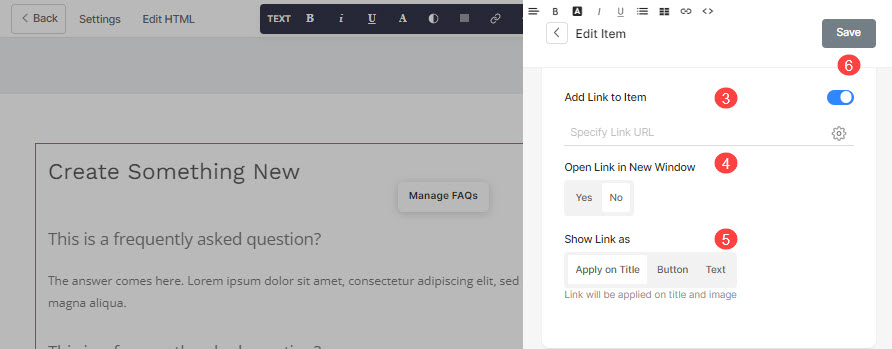
- Click on the Link Builder icon (3) to open the link builder to link the list item to any page.
- Set the Link to open in a new tab or in the same tab (4).
- Show the Link as (5) a button, link, or apply the link over the title. Learn more in detail.
- Save (6) your changes.
Sequence List Items
- You can easily drag and drop the list items to change the sequence.
Delete a List Item
Once you have added an FAQ, you can edit the same and also delete the list item and add a new one.
- Click on the Delete icon next to the FAQ list item.
- Then, click on the Delete button in the confirmation popup.
- Save your changes.
Section Layout
- Click on the Manage FAQs button to open the FAQs List editing panel.
- Choose the Layout option.
- Select the Layout for your section and save your changes.
Style FAQ Section
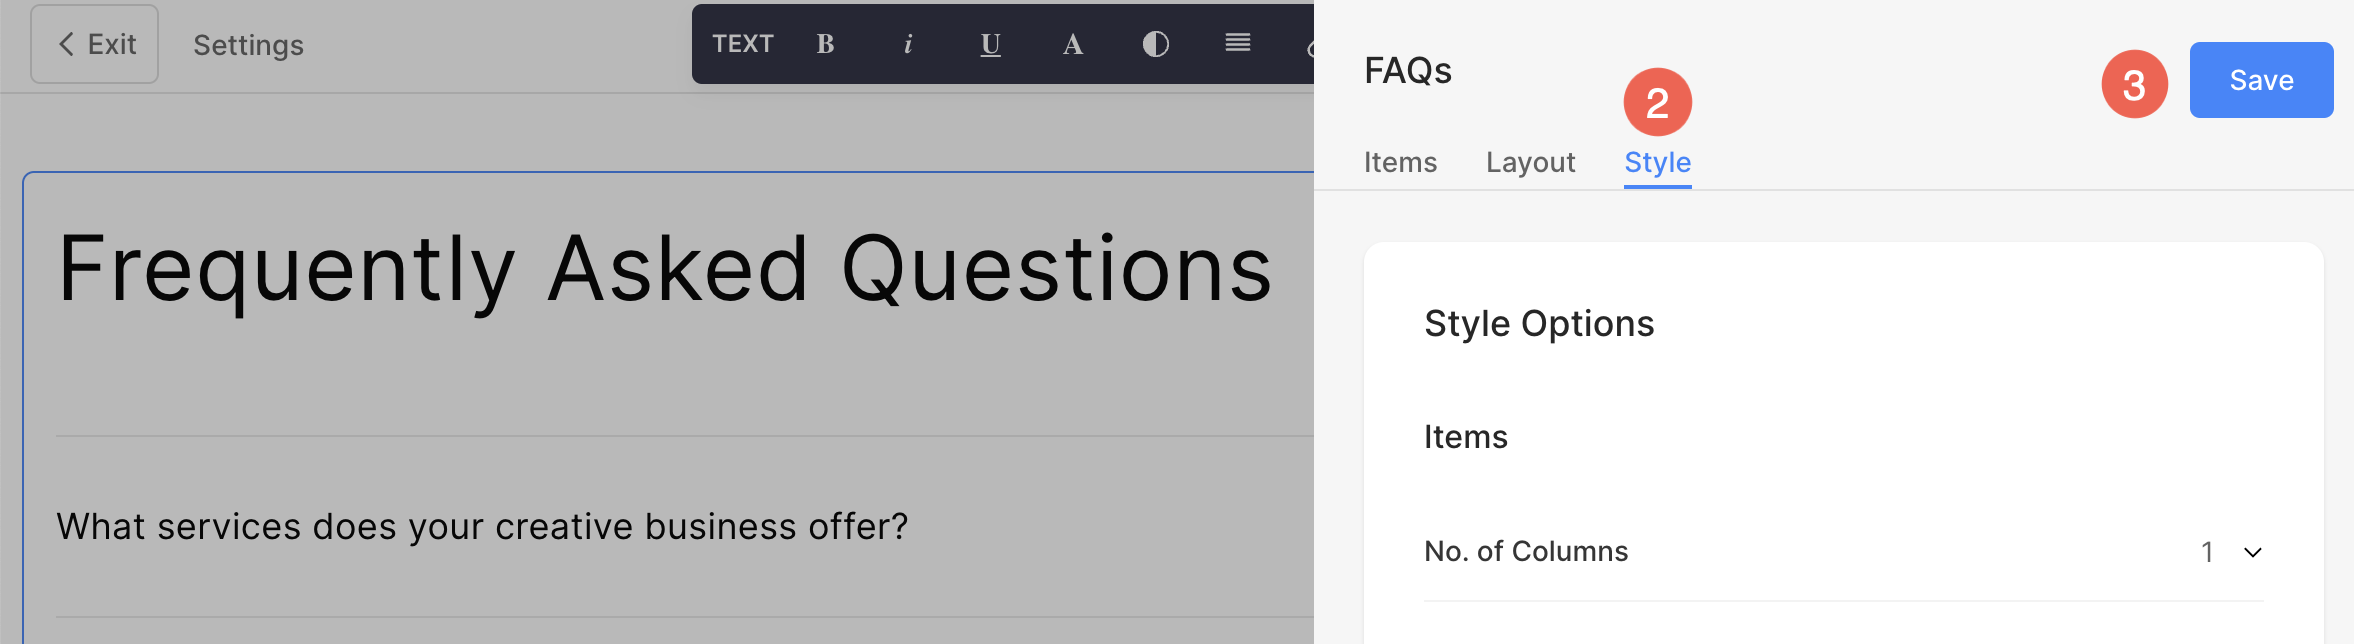
- Click on Edit FAQs (1) button to open the section’s editing panel.
- Choose the Style (2) option.
- Change the Style for the section elements and Save (3) your changes.
Under the Style tab, you will find following options:
- FAQ Items Options
- Text Size Options
- Spacing
- Section Headline
- Accordion Style Options
- Buttons & Links
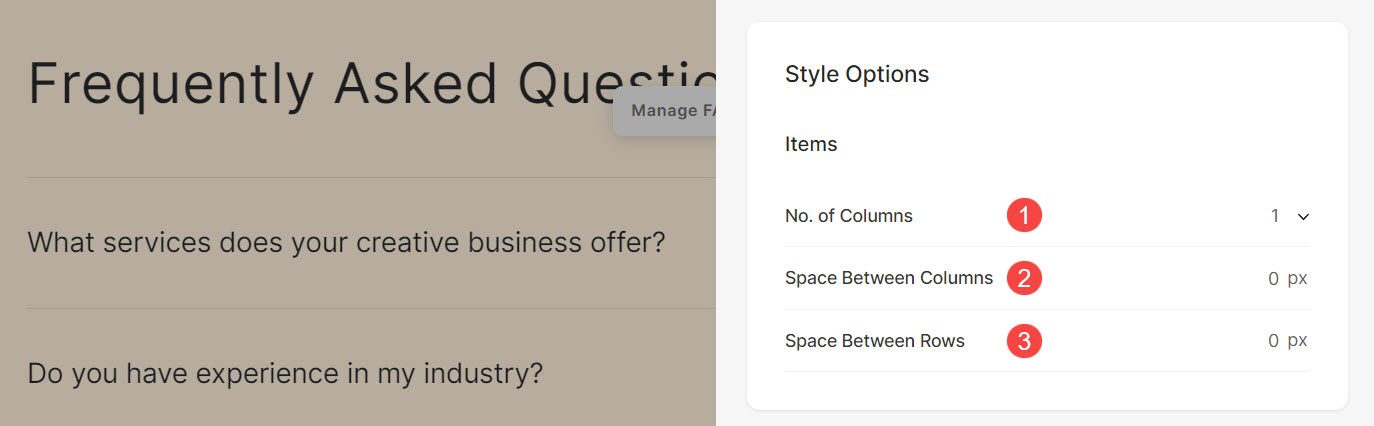
FAQ Items Options
- Set the Number of Columns for the items in FAQs section. You can specify up to 3 columns.
- Specify the Space Between Columns of the list items.
- Specify the Space Between Rows of the list items.
Text Size
- Click on the Change Text Style button to visit the Design section and manage your font sizes and styles.
- Set the Title font style for the list items of the section.
- Set the default Description font style for the list items of the section.
- Enable this option to animate any numbers present in the Title and Subtitle fields. When turned on, numeric values will appear with a dynamic counting animation, making them more visually engaging.

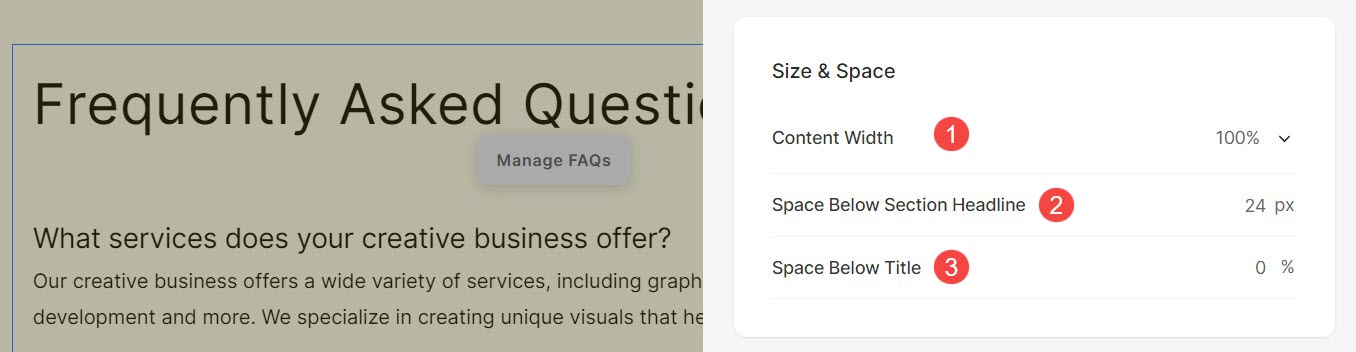
Spacing
- Set the Content Width within the section (in %).
- Specify the Space Below Section Headline (in px).
- Specify the Space Below Title of the FAQ section (in %).
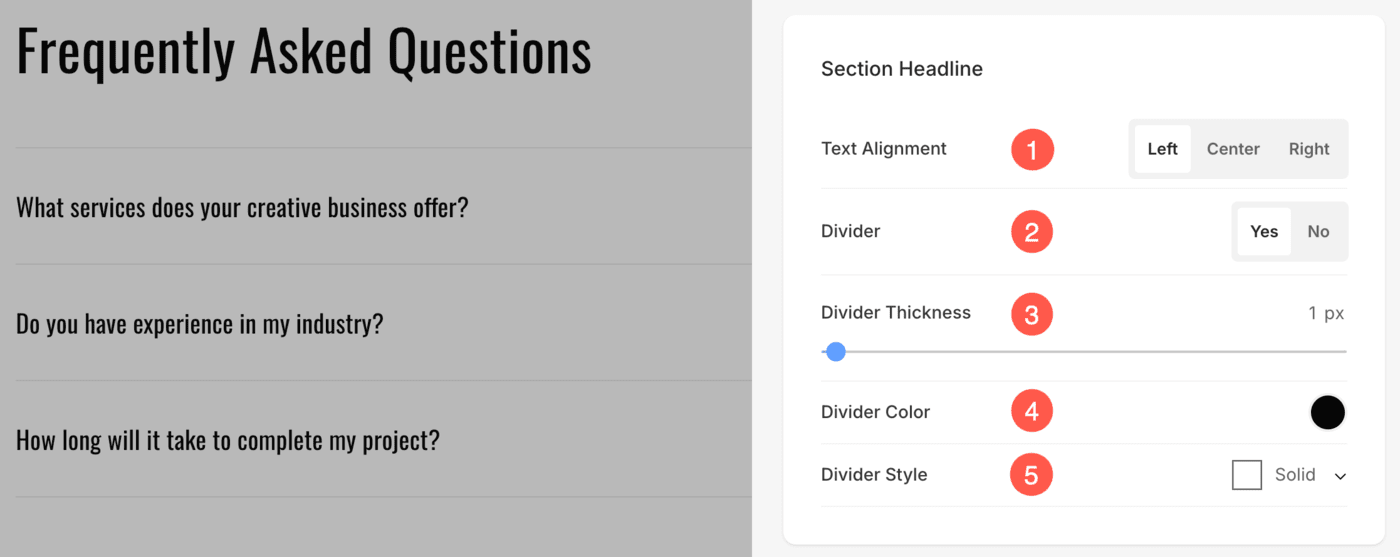
Section Headline
- Horizontally Align the section headline text. You can set it to Left, Center, and Right.
- Enable/Disable the Divider between the section headline and the section content.
- Set the thickness of divider (in px).
- Specify the Divider Color from color picker.
- Select a style for section headline divider.
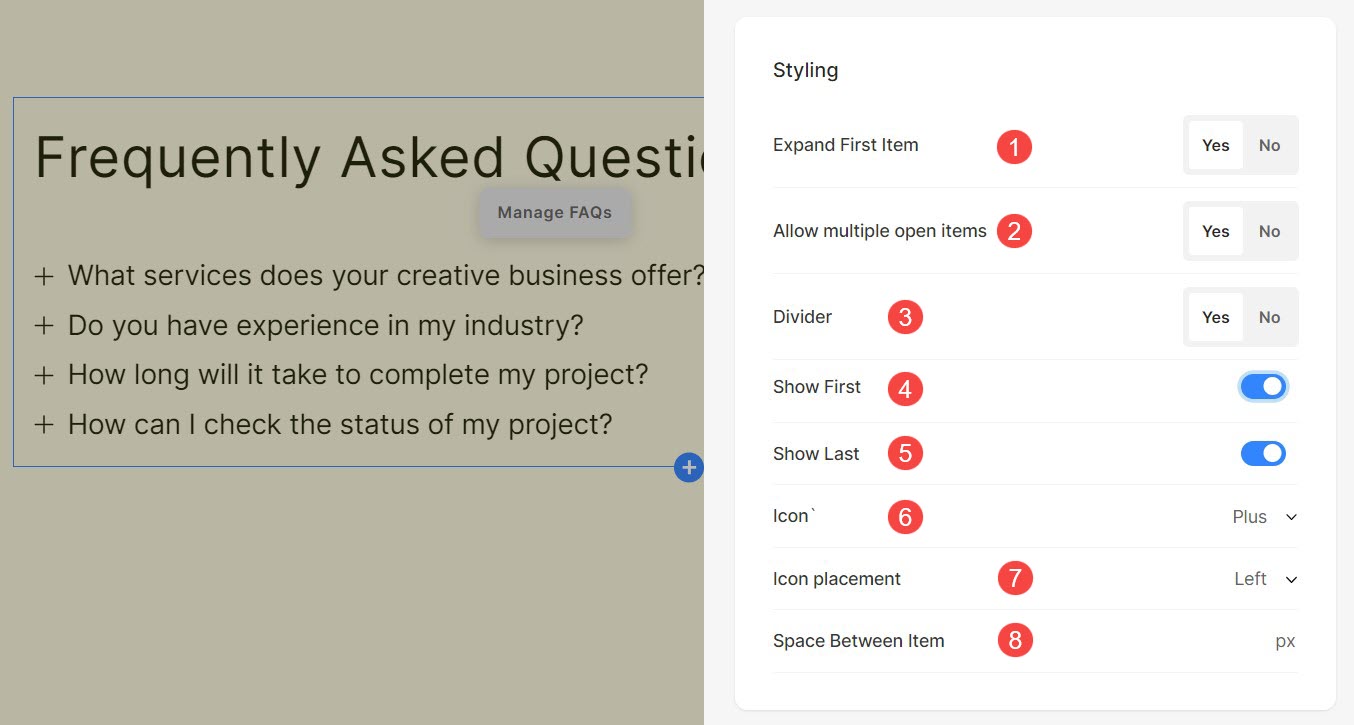
Accordion Style Options
- Specify whether the first item of the FAQ section shall expand automatically or not.
- When Allow multiple open items option is enabled, users can expand multiple accordions simultaneously.
- Display Divider between accordions of the FAQ section.
- Display a divider before the First item of the section. This option will be visible only when Divider is enabled.
- Display a divider after the Last item of the section. This option will be visible only when Divider is enabled.
- Select the Icon for items in FAQ section. You can choose to display an Arrow or a Plus icon.
- Specify the placement of icon. You can set it to the left or right side of the accordions.
- Specify the space between items of the FAQ section (in px).
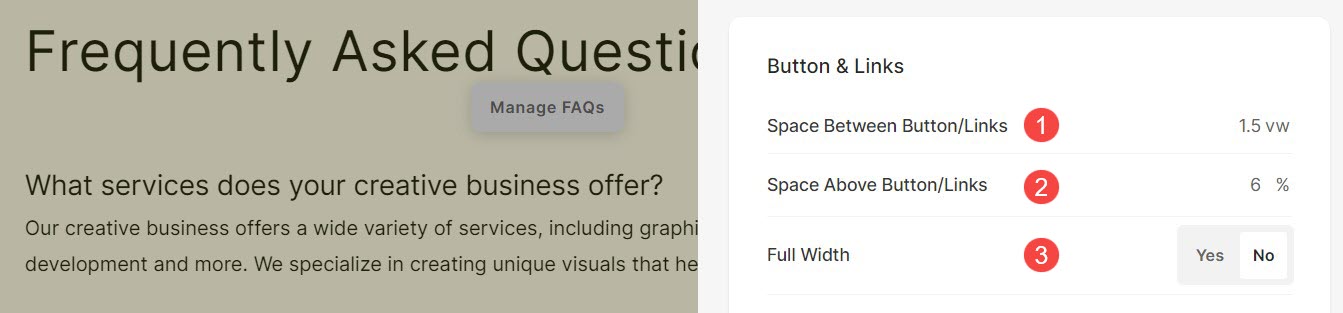
Buttons & Links
- Specify the Space Between Button/Links that have been added.
- Specify the Space Above Button/Links.
- Enable or disable the Full Width option for buttons.
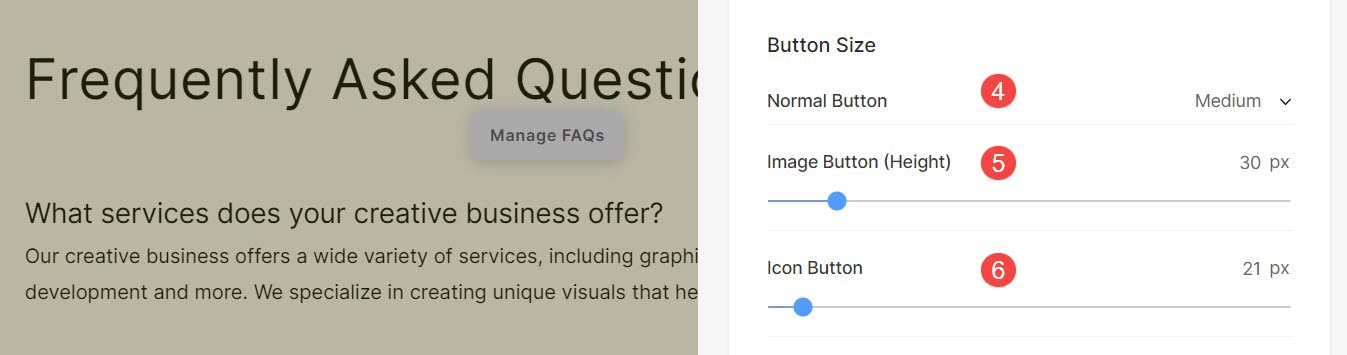
- Choose the size of the Normal Button that you have added in the Button/Links.
- Specify the height of the Image Button if you have added an image link in the Button/Links.
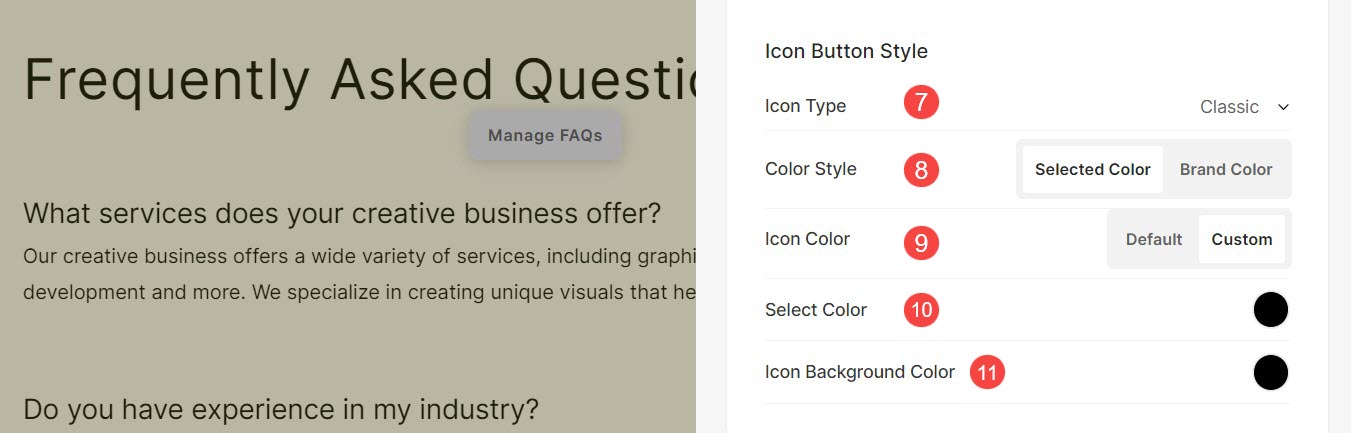
- Specify the size of the Icon Button if you have added a social icon in the Button/Links.
If you have added a social icon in the Button/Links , then:
- Choose the Social Icon Type/Shape.
- Choose the Social Icon Color Style. If you have chosen the Brand Color, then the icon’s brand color will be inherited.
- If you have chosen the Selected Color option above then, select Default option wherein, the default color of the icon will be inherited.
- If Custom option is selected, specify the color for icon.
- Specify the Social Icon Background Color.