Client gallery feature enables you to deliver your work to your clients easily and safely.
With Client Gallery section, you can showcase your preferred albums seamlessly on your website. This feature empowers you to craft a personalized albums page, providing full customization for those who prefer not to display the standard Album List page on their website.
In this article:
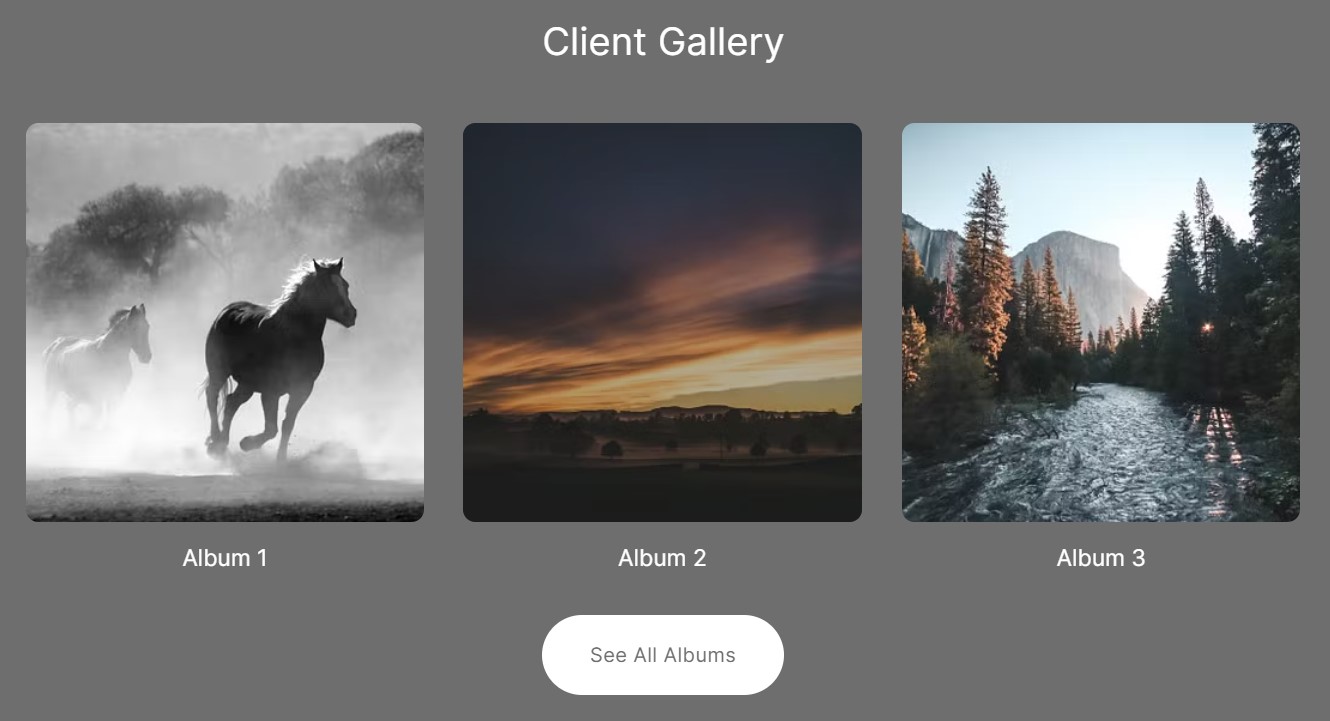
This is what a Client Gallery section looks like:
Add Client Gallery Section
- A section can be added to a page. You can either add a section to an already existing page or create a new page within your website.
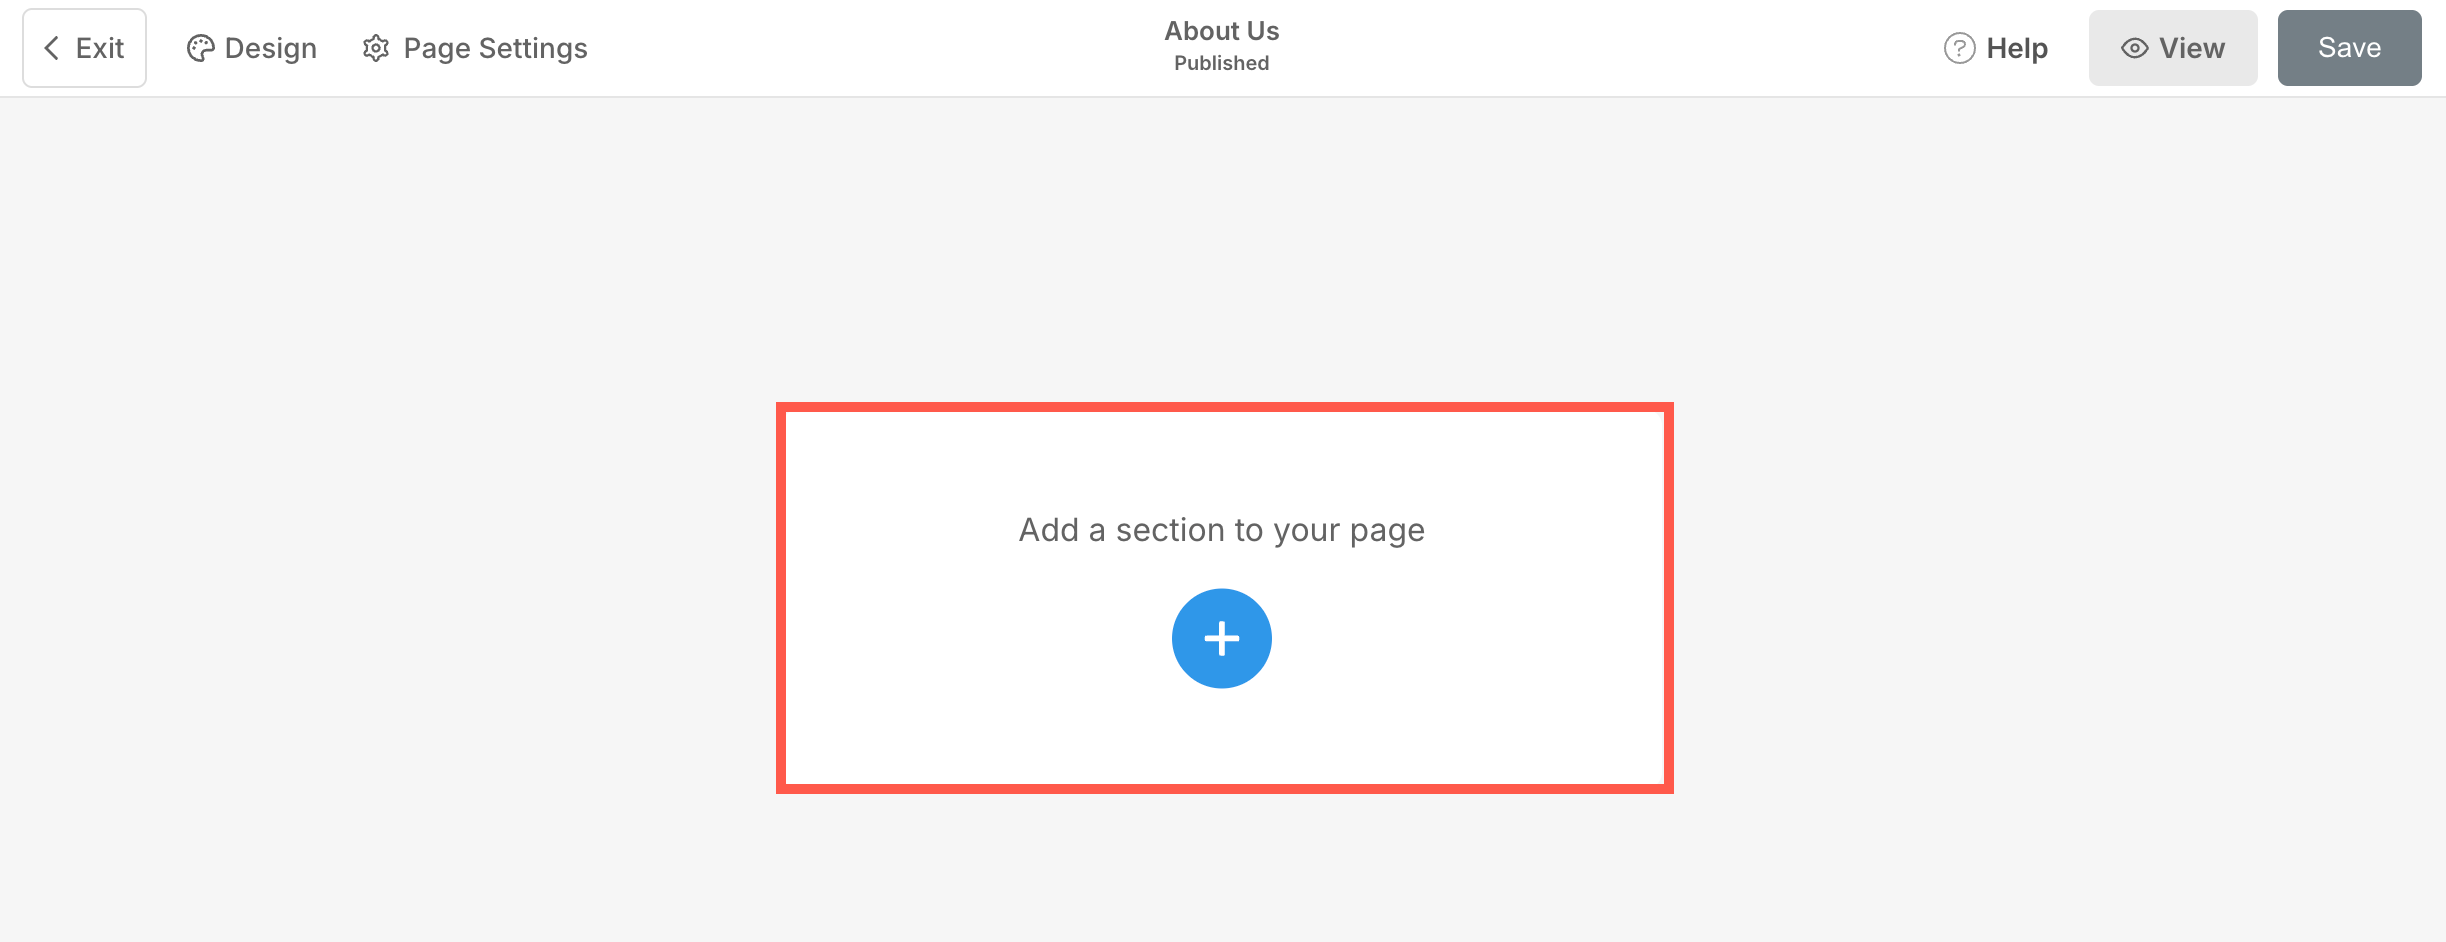
- On your page, click on the blue + icon to add a New Section to your page.
- You will now see the section categories on the left side.
- Scroll down and click on the Client Gallery (1) section.
- Choose your preferred layout (2) and click on it to add it to your page.

Client Gallery Section Settings
Once you have added the section:
- Click on the Manage Albums (1) button.
- Click on the Settings (2) tab to manage the Client Gallery section settings.
- After making the customizations, Save (3) your changes.

From Section settings, you can manage:
- Style Options
- Image Hover Settings
- Size & Space Options
- Text Settings
- Card Settings
- Section Headline
Style Options
- Choose to Show Albums in Rows and Columns or Carousel
- If you have chosen the Rows and Columns option, the albums will be arranged in rows and columns. In this case, you need to specify the number of rows and columns.
- If you have chosen the Carousel option, the albums will be presented as a slideshow.
- Choose the Image Crop for the album thumbnail images. You can set the images as Square, Circle, Horizontal, Portrait, and Original.
- With Corner Radius, define the curvature of the corners of thumbnail images (specified in pixels).
- Specify how to retrieve albums into the client gallery section. If New Albums option is selected, all the newly added albums will be displayed.
- This option will be visible only when Custom Selection is selected in the previous step. Click on the field and select your preferred albums from the dropdown.
- Set the Number of Columns for the client gallery section. You can choose from 1 to 10 columns.
- Specify the Space Between Columns of the album list.
- Specify the Space Between Rows of the album list.
- Choose the Content Order i.e., the thumbnail images of the album to be displayed first or the title of the album.
- Align the Content in the client gallery section. You can set them to be Left, Right, or Center aligned.

Shape Mask
- Shape Mask: Enable this toggle to apply a shape mask to the images in the Client Gallery section. Once enabled, the selected shape will visually clip the image into that form.
- Select Shape: Choose from various predefined shapes to apply to your images. This allows you to creatively stylize your content by displaying images in unique forms like rounded, diamond, drop, etc.
- Stretch: Enable this option to stretch the selected shape to better fit the image container. This ensures the shape fills the available space proportionally, enhancing visual alignment across different screen sizes.
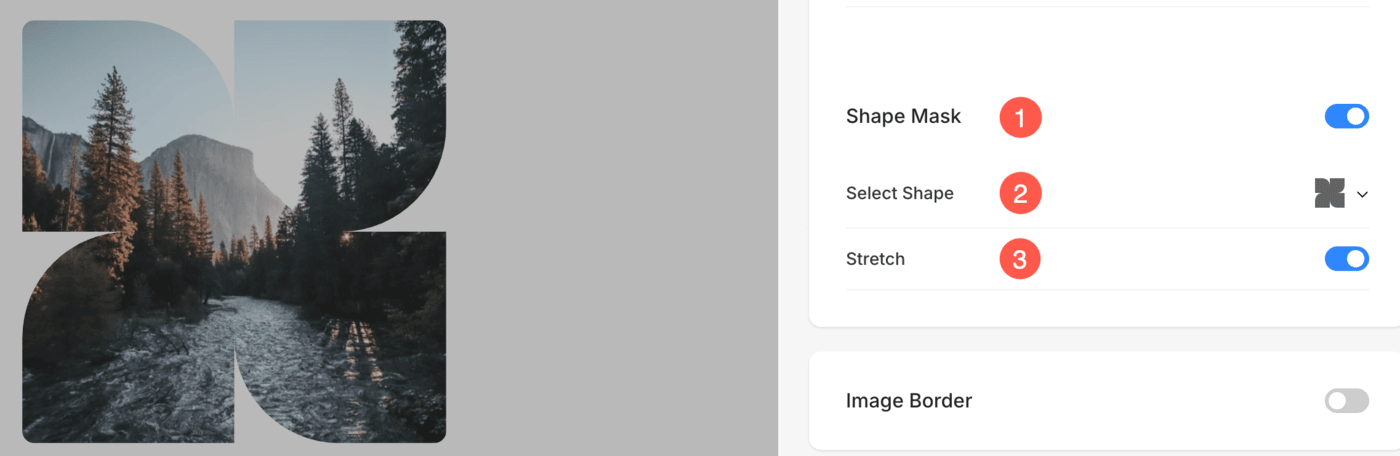
Image Hover Options
- Set the Base Hover Color and Opacity for the album list.
- Set the Elements color for the album list of the section.
- Choose to Animate the thumbnail images on hover by clicking on Yes.
- Choose an Animation Style for images when the cursor is hovered over them.

Size & Space Options
- Specify the Image Width for album thumbnails.
- Specify the Content Width for the album list.
- Specify the Space below Section Headline in px.
- Specify the Space below images of the album thumbnail (in %).
- Specify the Space below the titles of the albums (in %).
- Specify the Space below the Date of the albums (in %).

Text Settings
- Click on the Change Text Style button to visit the Design section and manage your font sizes and styles.
- Set the Title font style for the albums of the section.
- Set the Subtitle font style for the albums of the section.

Card Settings
- See how to manage cards.

Section Headline
- Specify a Headline for the client gallery section. Click here to learn more about how to use Pixpa text editor.

Manage Section Layout
To change the client gallery section layout, follow the steps mentioned below:
- Click on the Manage Albums (1) button.
- Click on the Layout (2) tab where you can choose from the list of layouts.
- Choose the layout (3) and Save (4) your changes.
