The Website section in Pixpa Studio enables you to create and manage the site menu. It gives you complete control over your site’s navigation and the way you want to structure your website.
Pixpa lets you create different types of pages to give you unmatched flexibility and control over the structure of your website.
In this article
Add a Menu Item
You can add menu items in two different types:
Add Menu Items to Header menu
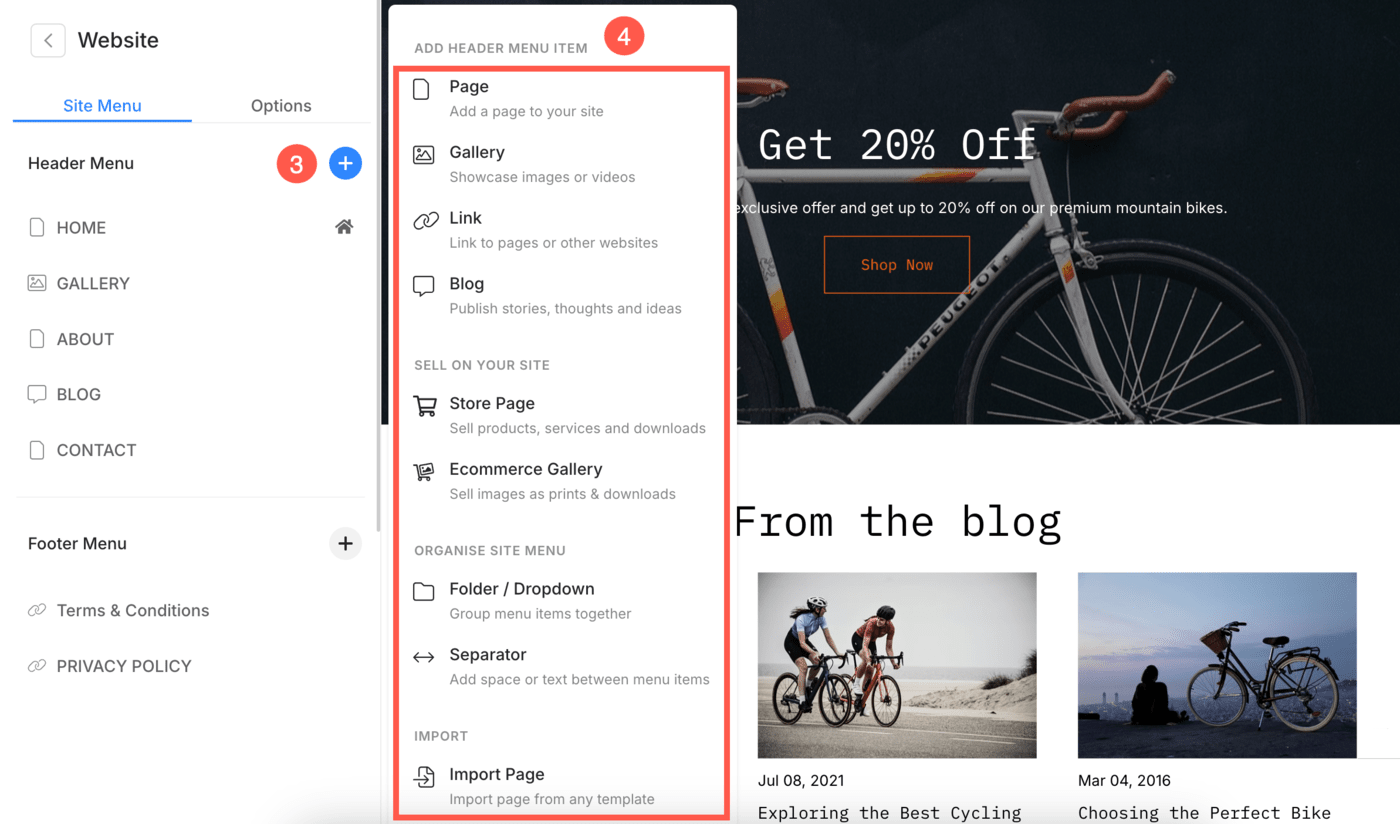
- From the Dashboard (1) of the studio, click on the Website (2) section.

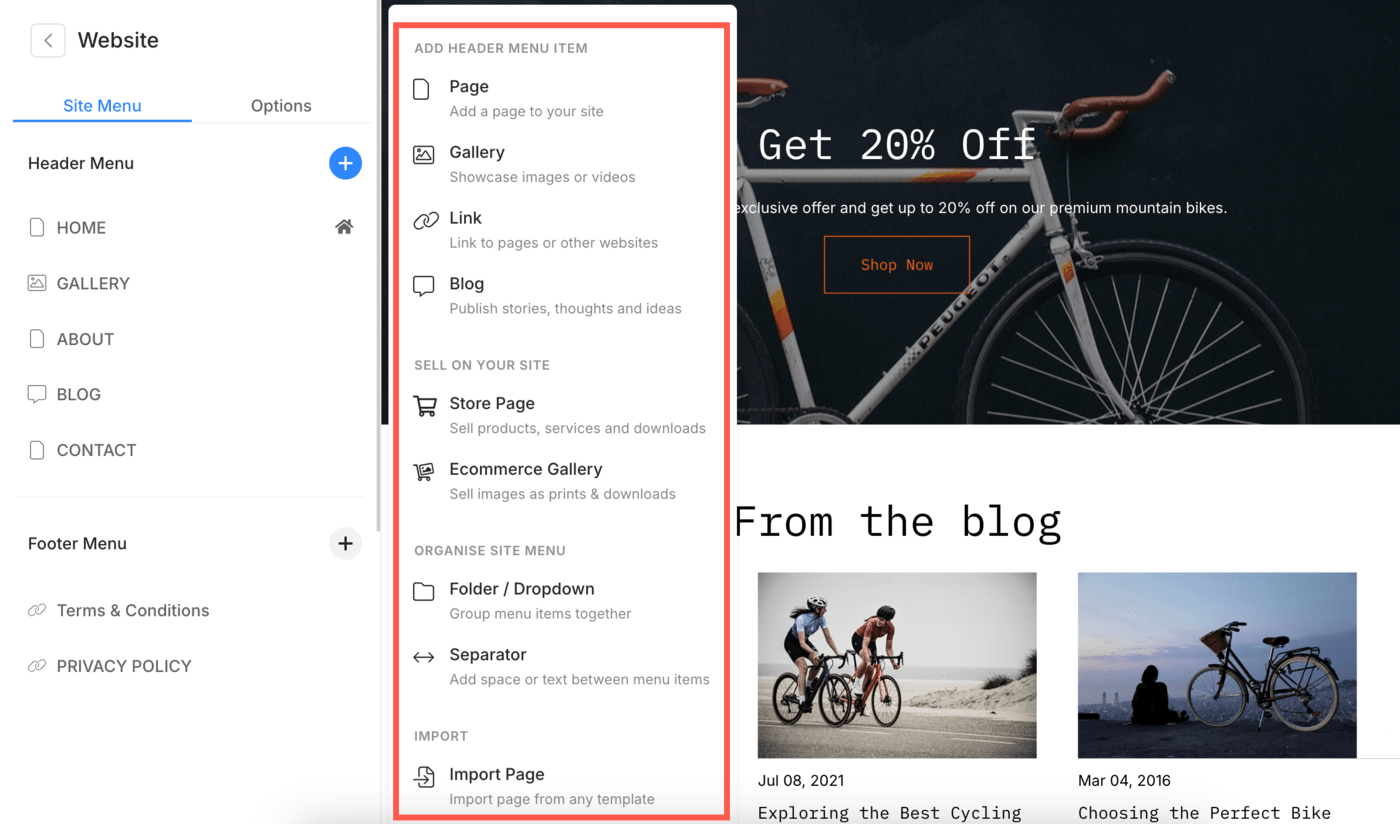
- Here, you will see a + Plus (3) icon next to the Header Menu heading.
- Clicking on it will open a Sidebar (4) from where you can add different menu items to your website’s header menu.
Add Menu Items to Footer menu
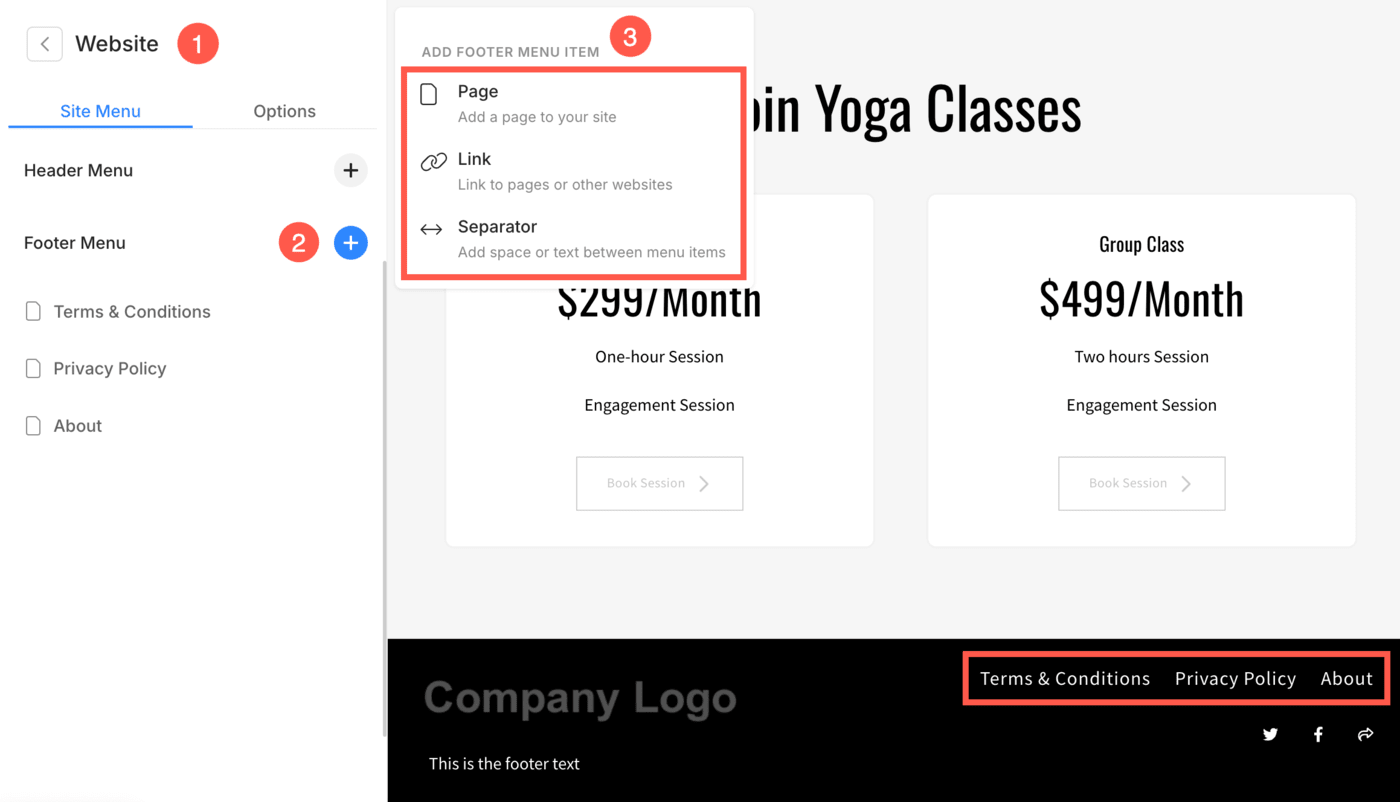
- From the Website (1) section, click on + Plus (2) icon next to the Footer Menu heading.
- You will see a Sidebar (3) from where you can add different menu items to your website’s footer menu.
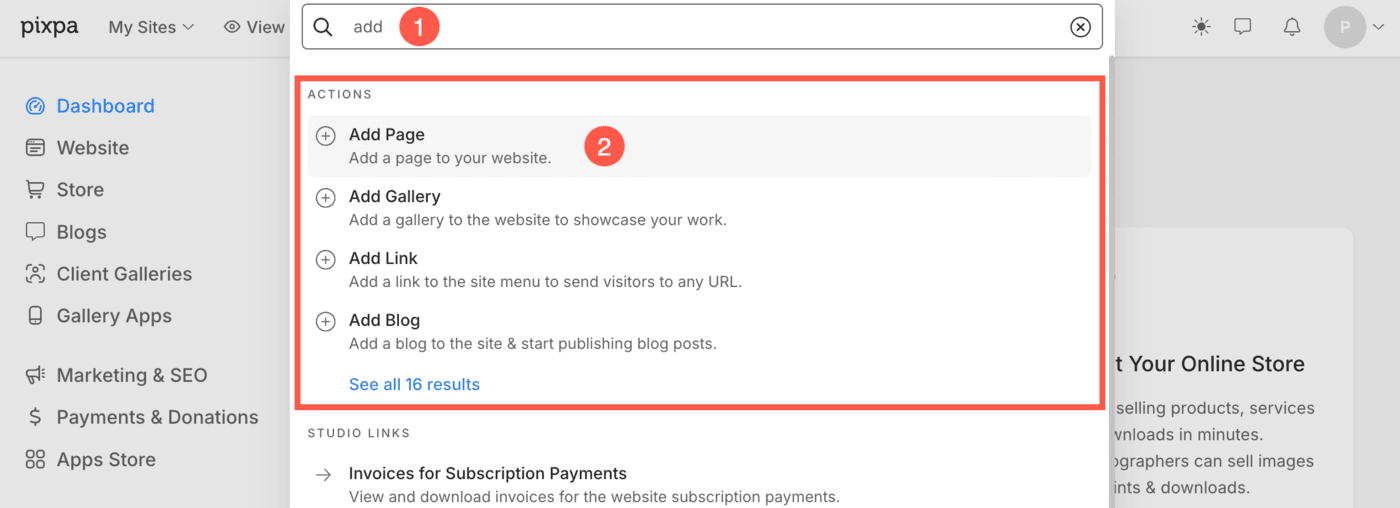
Alternatively, you can use Pixpa’s search option to add menu items.
- Enter add page/gallery/link/blog (1) in the Search Bar. You will see the related results.
- Click on the respective option (2) under Actions.
- This will open up a popup window that lets you choose different types of menu items for your website.
- You can click on any one option to proceed further.
Edit Menu Item
You can easily edit, delete, and manage the settings of the menu item.
- Go to the Website (1) section and hover on the menu item you need to edit and click on the three vertical dots (2) icon next to it.
- You will see a few quick links from where you can edit the content, go to settings, or hide/delete the page easily.

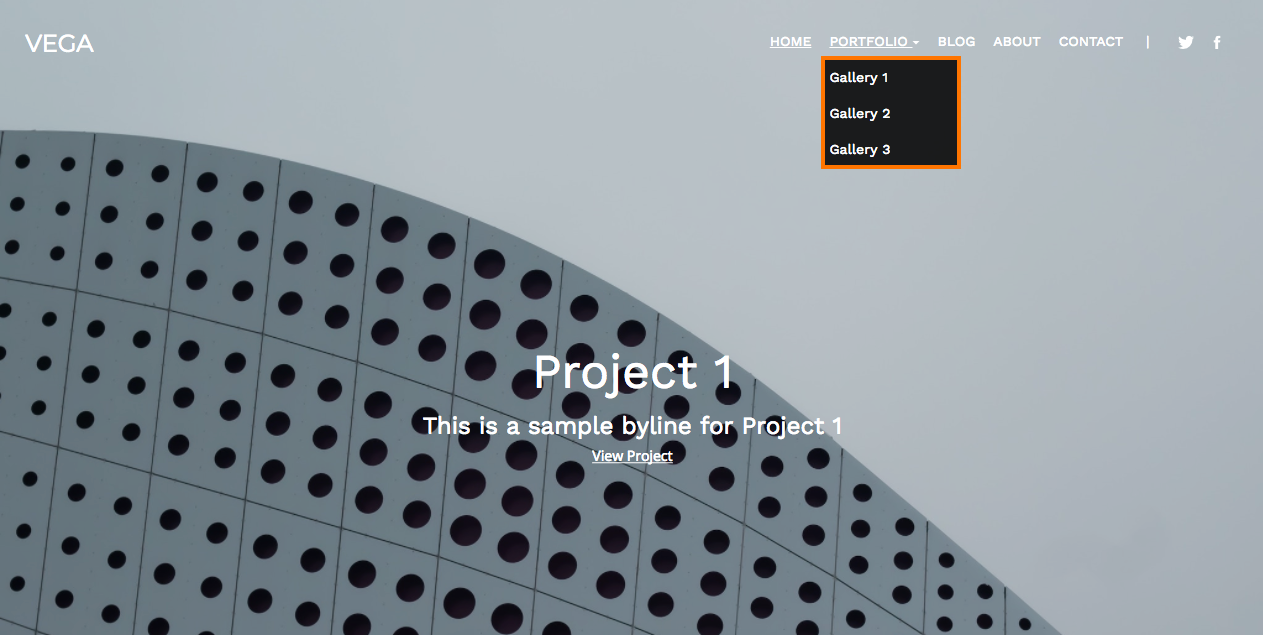
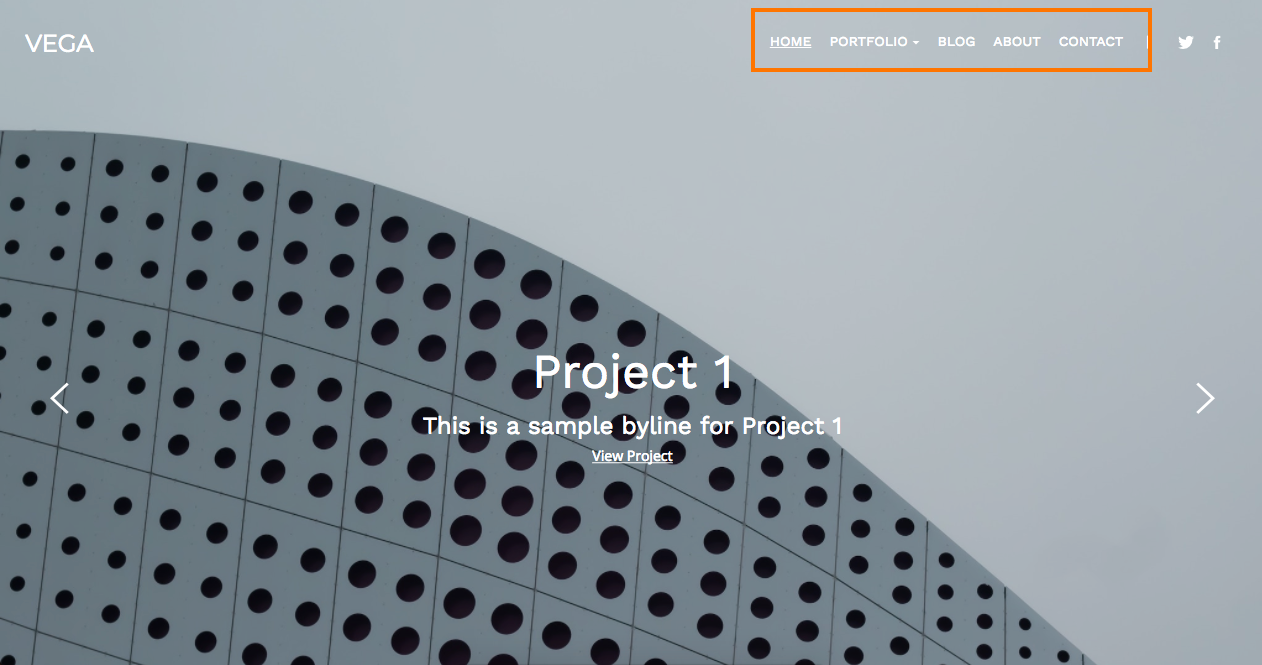
Primary Links (Root/Top-level Links)
All links that you add on the top level (same level as your website home) are Root Level Links. This forms the primary navigation for your website and is visible directly in your site’s header.
Sub-links / Dropdown Menu
Dropdowns, Folders, and Blogs enable you to add a second level of content to your website.
The content items that you add under/within Dropdowns, Folders, and Blogs are called Sub-Links. They are accessible one level down from the site’s primary navigation.