Categories can be used to organize your blog. Your website visitors can easily navigate to the blog posts they are interested in.
There may be several topics you would write about in your blog. For example, Jack is a wildlife photographer and also blogs about his experiences in the wild.
Since he has shot several tigers, lions, and giraffes (with a camera, of course), he will categorize his posts into three categories, namely ‘Tigers’, ‘Lions’, and ‘Giraffes’.
You can assign the categories to the blog posts individually or in bulk too.
In this article:
Add a Blog Category
- From the Dashboard (1) of the studio, click on the Blogs (2) section.
- Click on Manage Blog (3) button next to the blog wherein, you want to add the category.

- Click on Blog Categories (4) option.
- Now you will see a + Add Category (5) button from where you can add new categories for this particular blog.
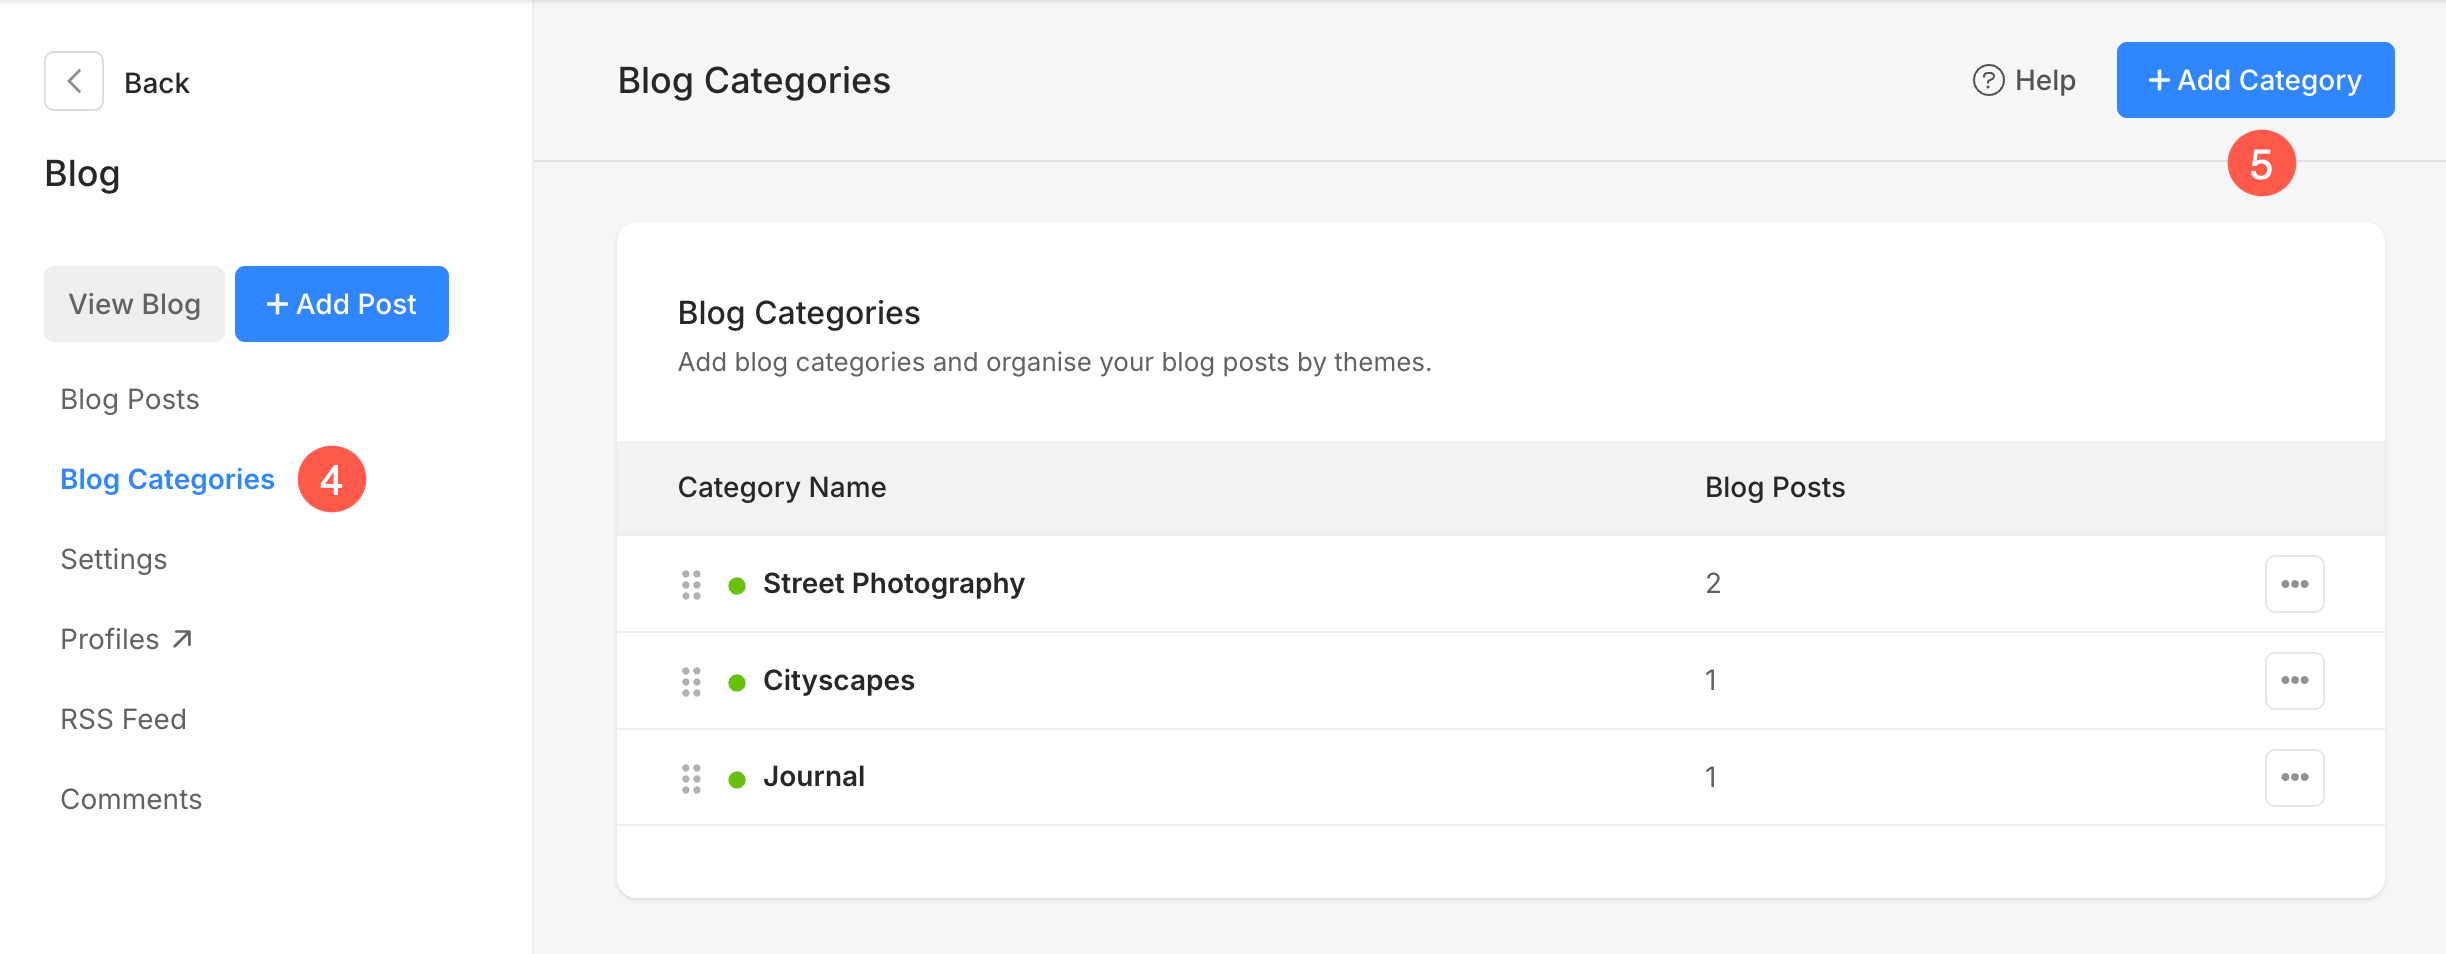
Blog Categories Overview
Blog Categories help you organize your blog posts by themes or topics. You can easily add, manage, and assign categories to your blog posts for better organization and discoverability.
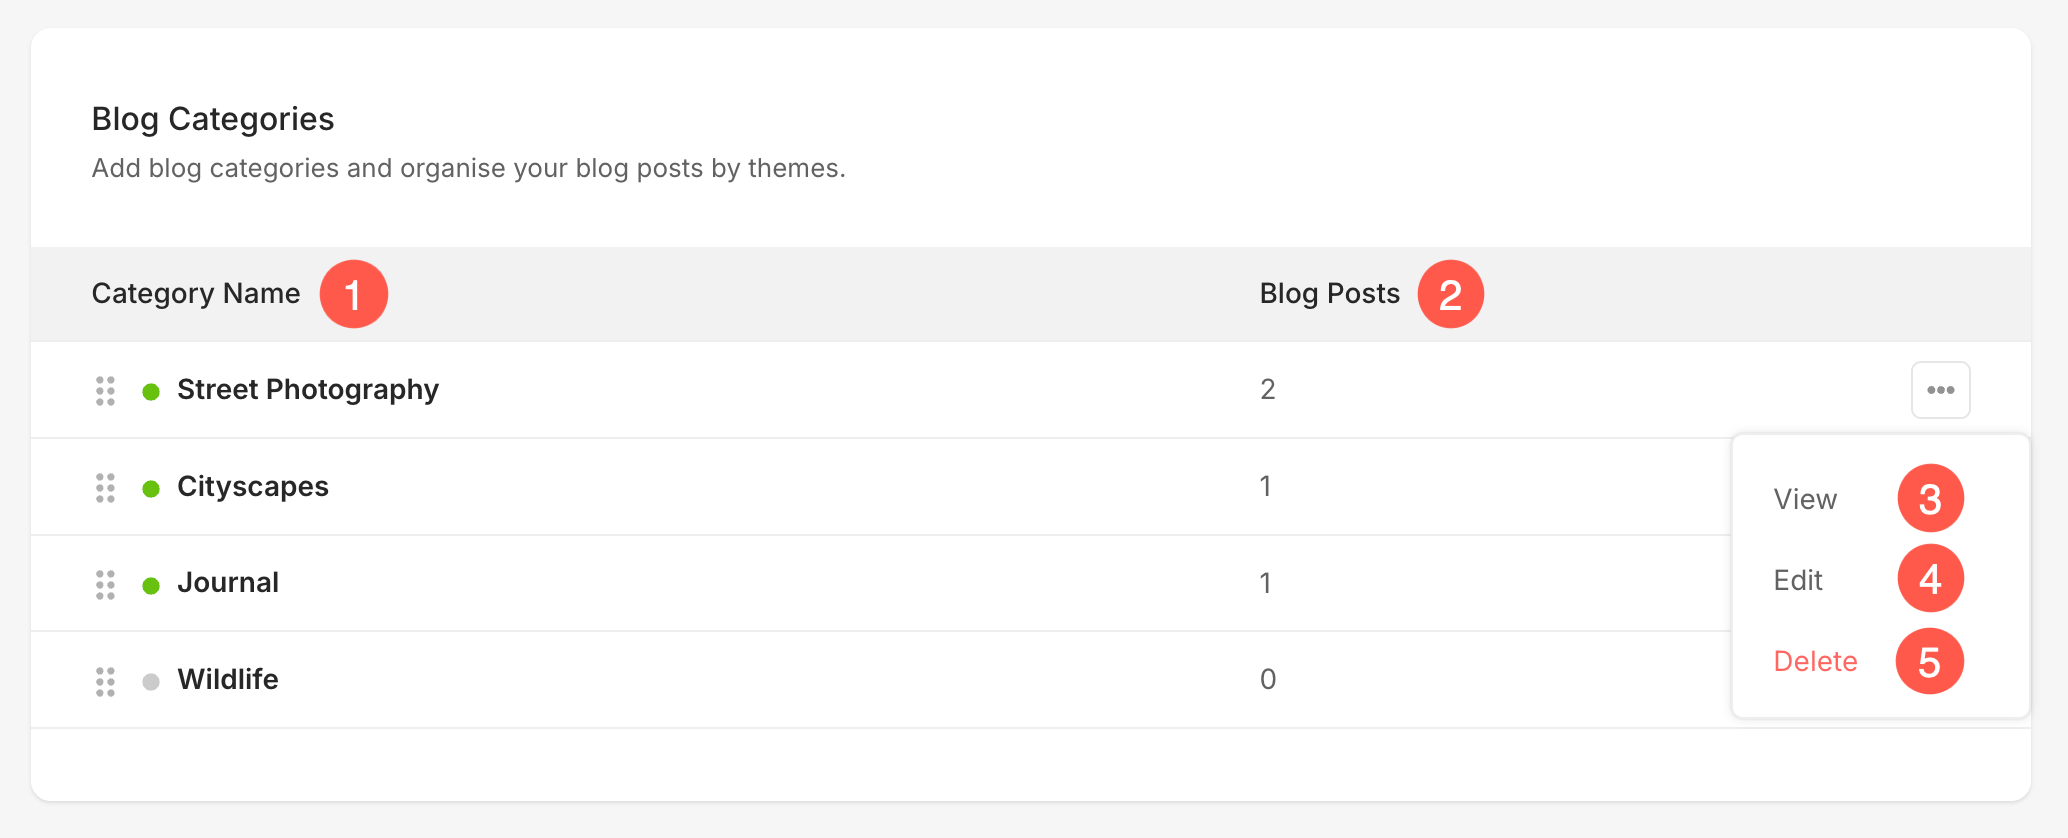
- Category Name – This column lists all the blog categories you’ve created. Each category is displayed along with a status indicator — a green dot means the category is active and visible on your blog, while a grey dot means it’s hidden. You can also drag and drop categories using the handle icon to resequence them, allowing you to control the order in which they appear across your blog or category listings.
- Blog Posts – This column shows the number of blog posts assigned to each category. It helps you quickly identify how frequently a particular category is being used.
- View – Clicking this option lets you view all blog posts assigned to that particular category.
- Edit – This allows you to edit the selected blog category. Learn more.
- Delete – You can use this option to permanently remove a blog category. Note that deleting a category will not delete the blog posts associated with it. They will simply become uncategorized.
Edit a Blog Category
After clicking on the + Add Category / Edit button, you will see the following options:
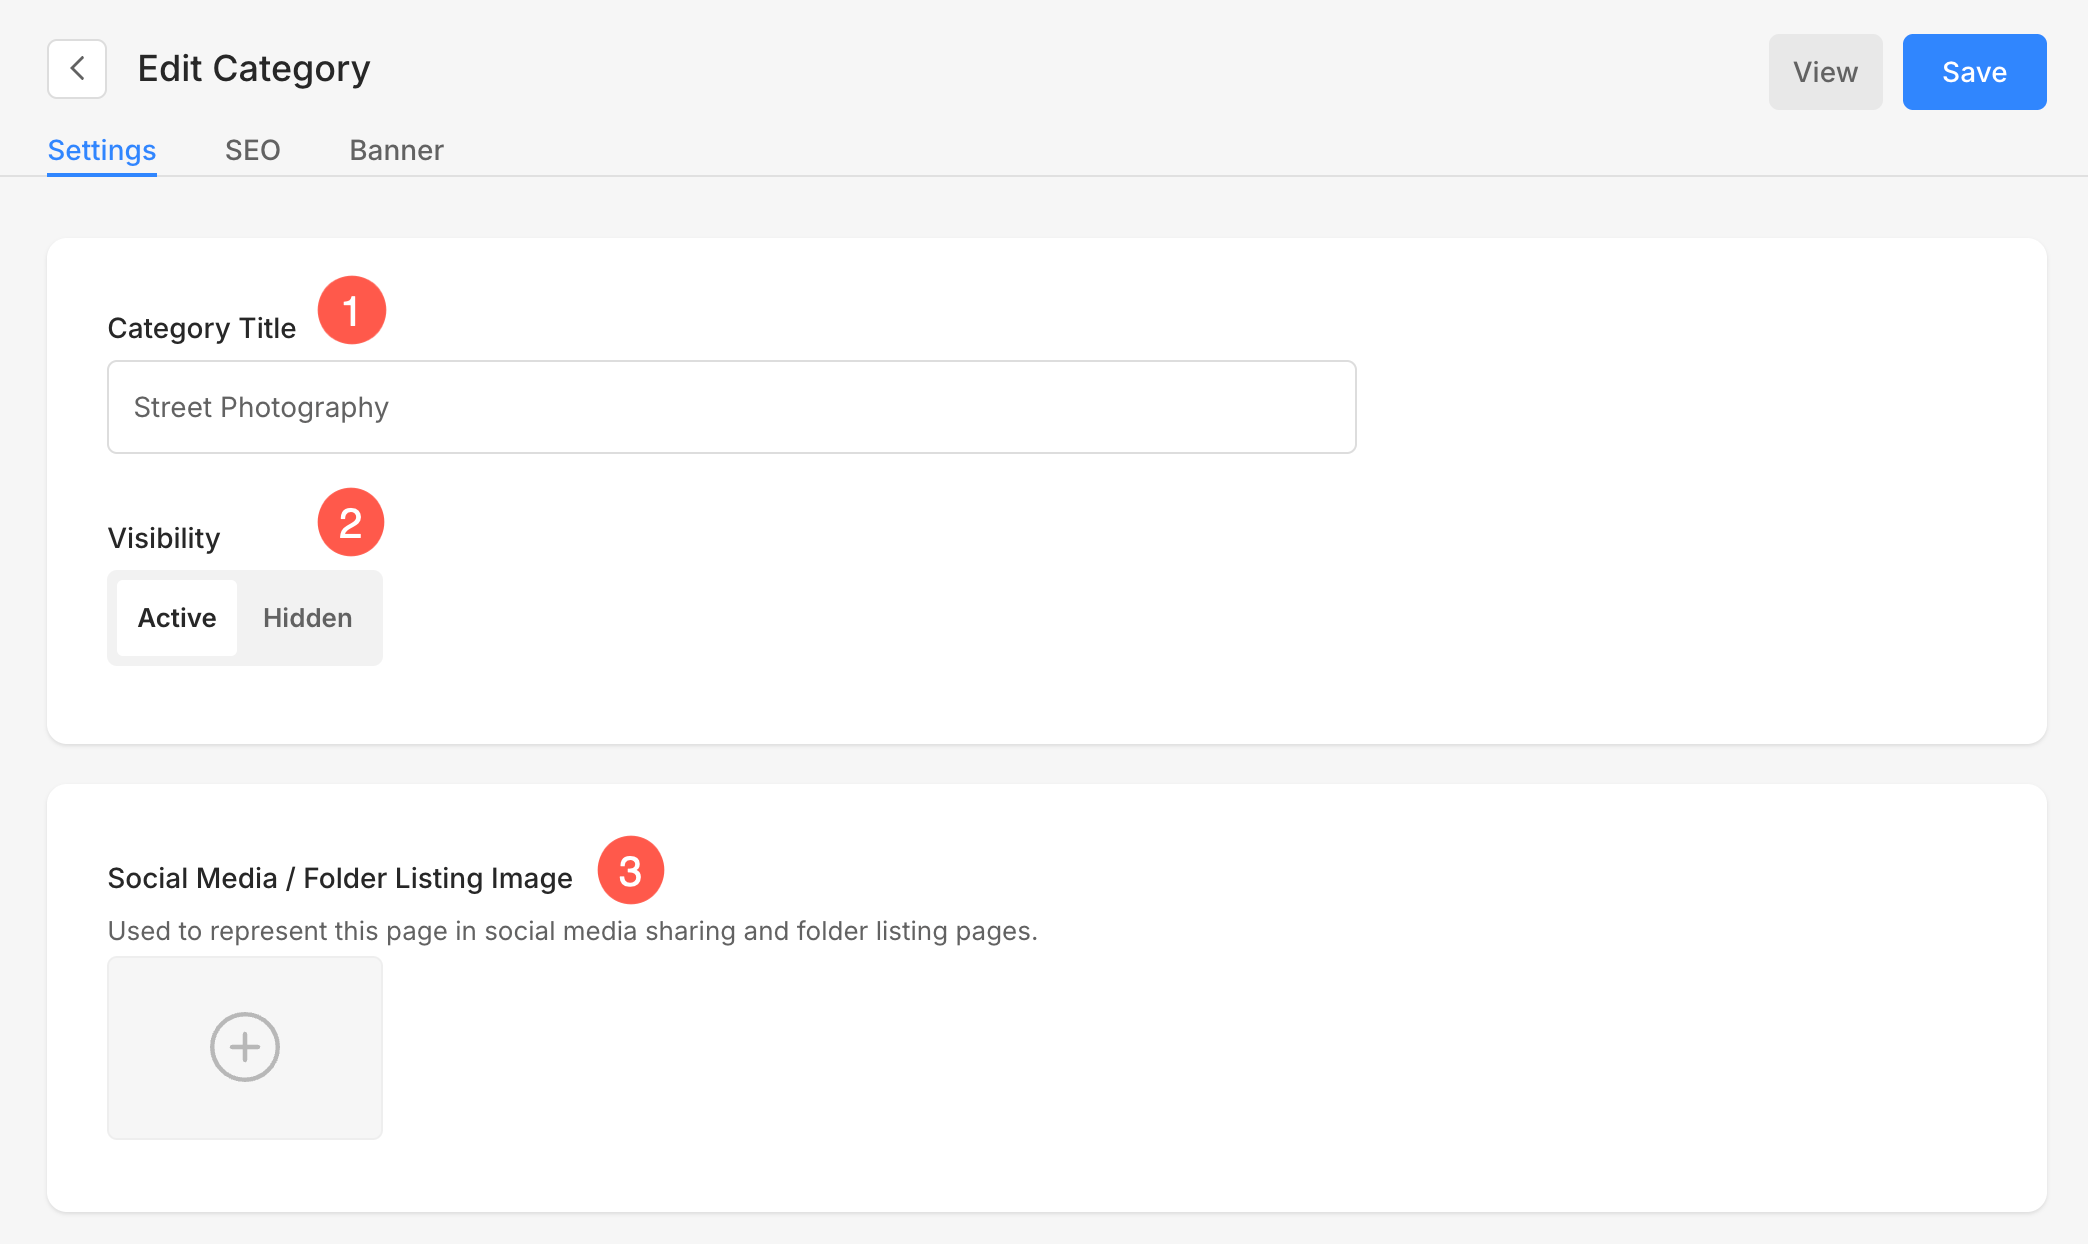
- Category Title – This is where you can enter or update the name of your blog category. It helps in organizing your blog posts under relevant themes or topics for better navigation and clarity.
- Visibility – Choose whether the category is Active (publicly visible) or Hidden (not shown on the website). Hidden categories won’t appear in the category list for visitors, but you can still assign posts to them internally.
- Social Media / Folder Listing Image – You can upload an image here that represents the blog category when shared on social media or displayed in folder listing pages. This helps enhance visual branding and user engagement across platforms.
- Search Engine Optimization – Specify SEO metadata for this category. It will override the website’s main SEO data.
Also See: Add SEO metadata for your website, gallery, and page
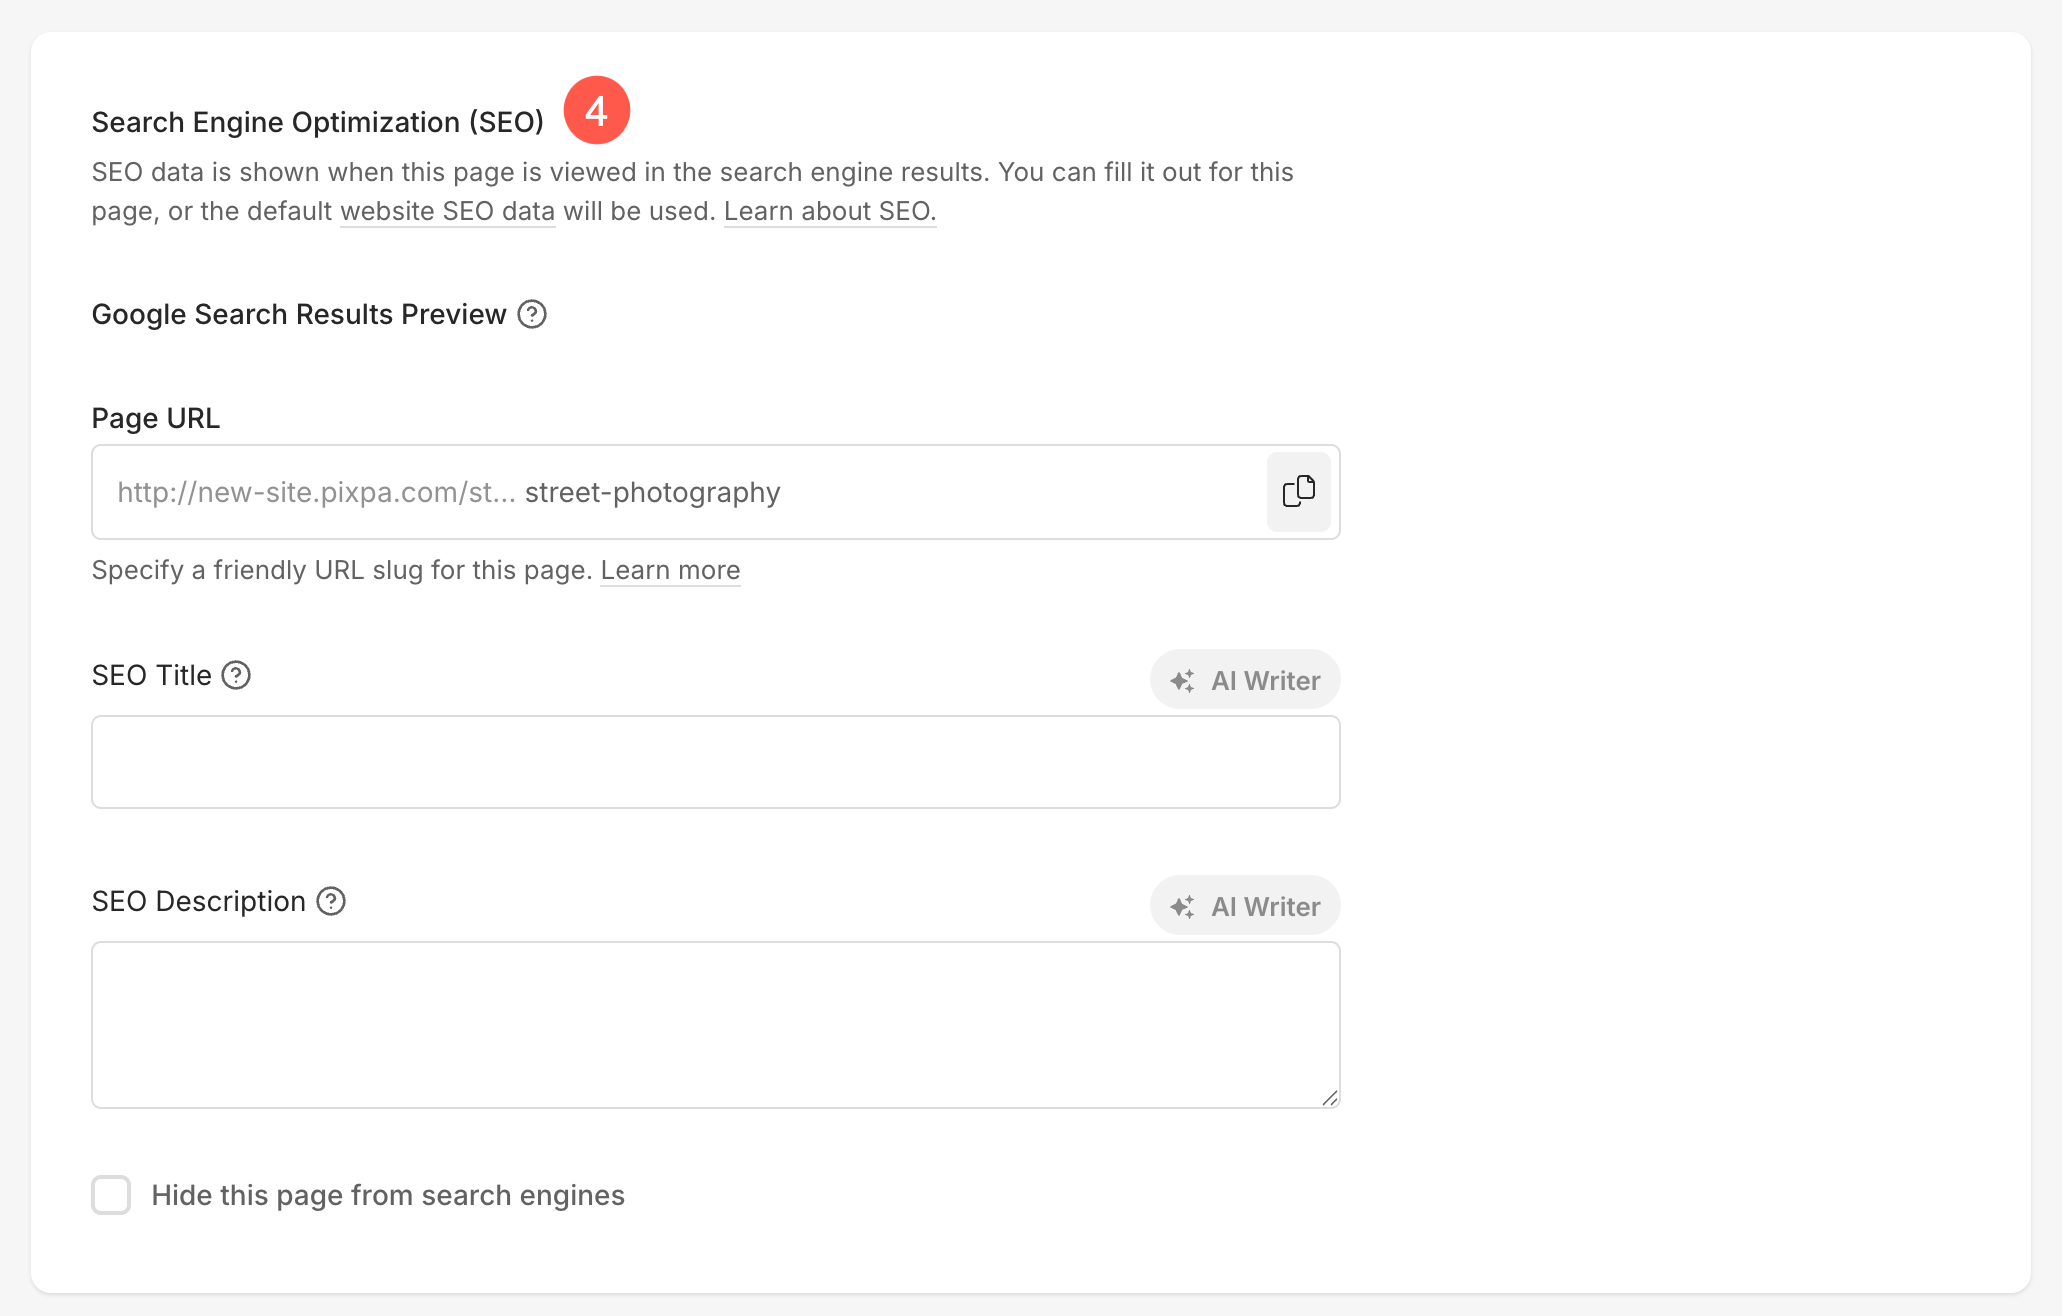
- Google Search Results Preview shows you the SEO data as visible in case of search results.
- Page URL – Manage the URL for this category. This is automatically created based on your category title but you can customize it as well.
- SEO Title – Appears in search results and browser tabs (55-70 characters)
- SEO Description – Describe your business and the purpose of this page (50 – 300 characters)
- Hide this page from search engines – Enable this button to hide this category from the search engine.
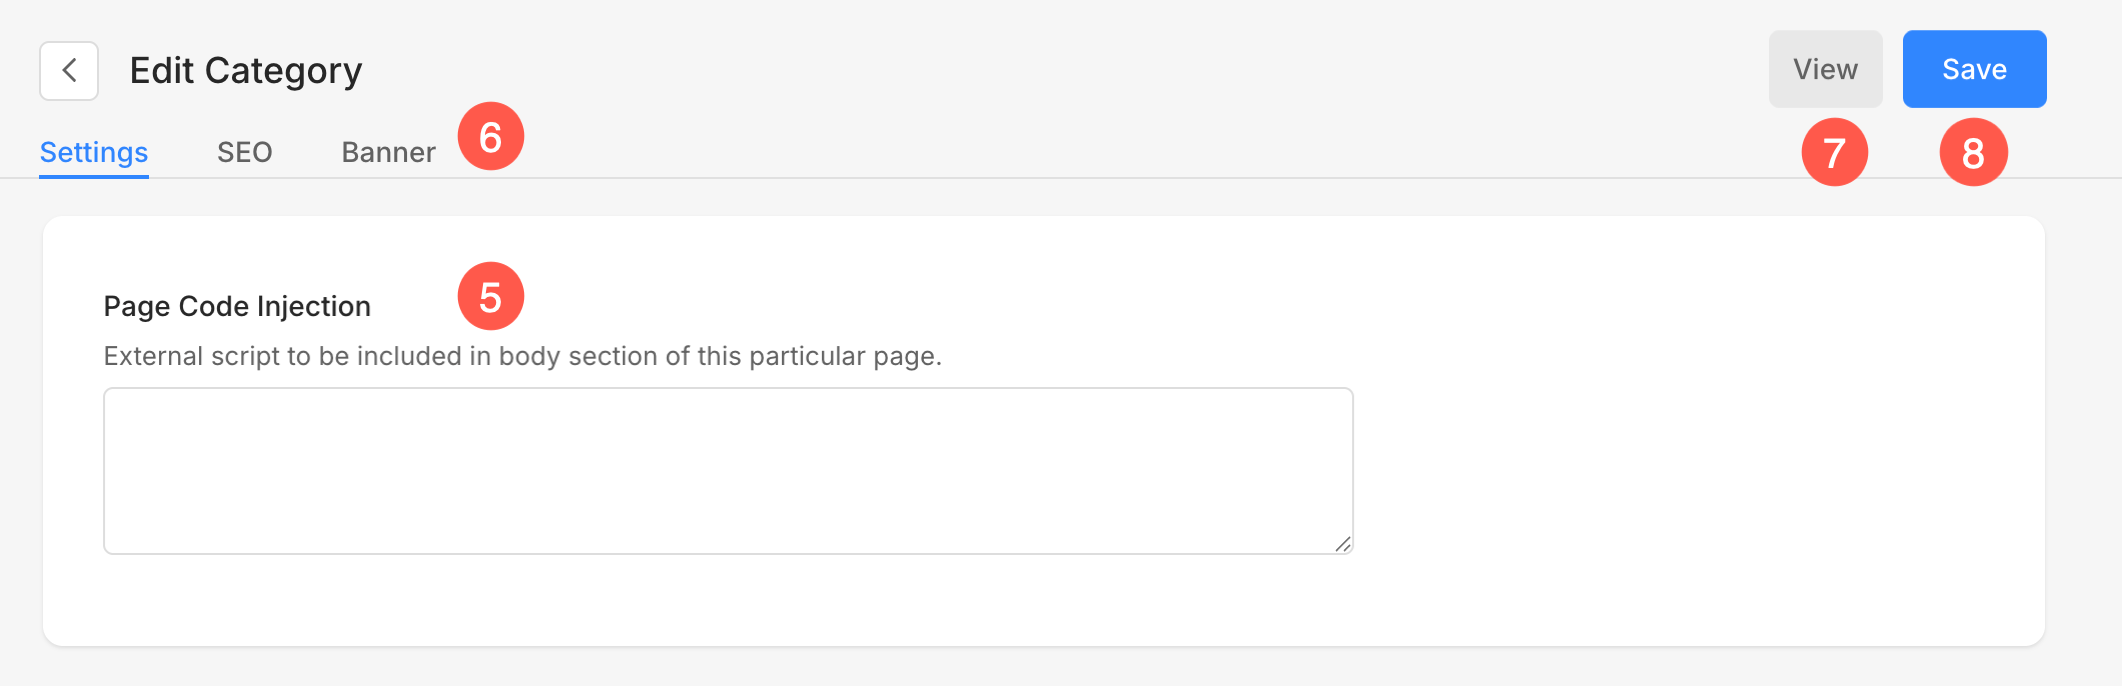
- Page Code Injection – Insert any external code which will be included in the body section of a category page.
- Banner – Used to show a full-width banner on the top or bottom of a category.
- View – Click here to check this category on your live website.
- Save – Click on the Save button to save all your edits.