Pixpa has an extremely flexible and versatile method of enabling you to filter products and assign them to categories. This is done by using keywords that we call Tags.
In this article:
Add tags to the products:
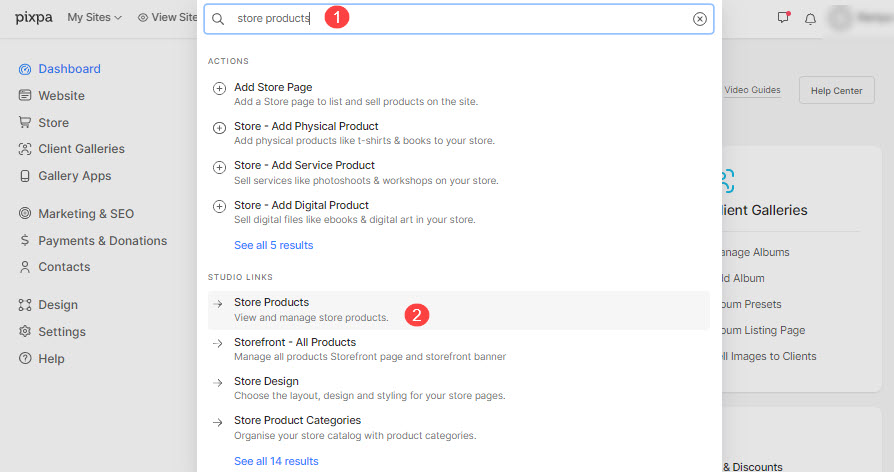
- Enter store product (1) in the Search Bar.
- From the related results, click on the Store Products option (2) under Studio Links.

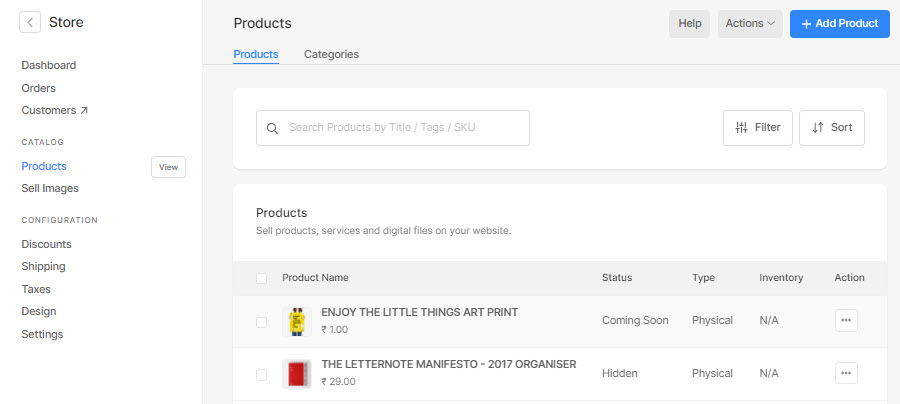
- On this page, you would see the listing of all the products. Click on any product now.

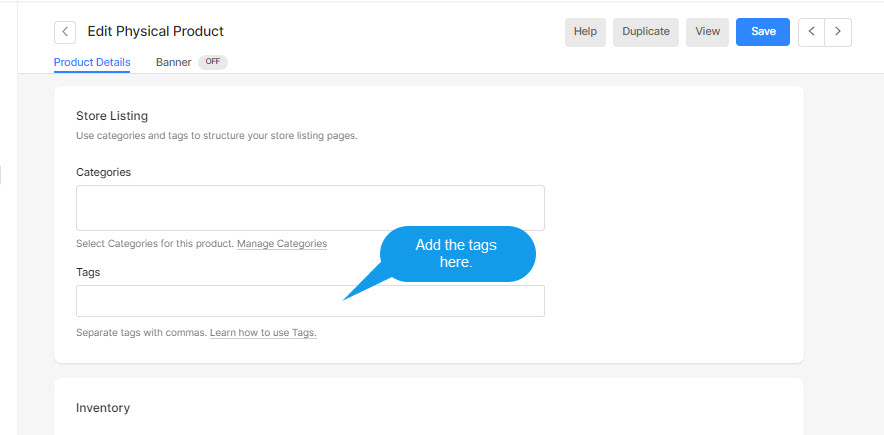
- On the product edit page, scroll down to see the Tags option.

- Add your tags separated by a comma here.
- As you start typing, you would see the list of earlier used tags as well.
See how to add tags here:
Advantages of Tags:
-
Tag cloud
When using the Store sidebar, you can enable the tag cloud wherein all the tags you have created will show up. Here, each tag will be clickable, and hitting on each of them will filter out the products of that particular tag.
Also Check: Using Sidebar.
-
Website Search
Once the tags are added to the products and enabled the website search over your website, the tags can be used to find the products.
-
Store page
Add the store page to your website menu based on tags. Then the storefront page will show only the products with a certain tag.
If you want to show products of each tag on different pages, you can create multiple tag-specific store pages.
Also Check: Add Store to your site menu.
