The pages are made up of fully editable sections that will be vertically arranged. These sections in turn consist of snippets.
Using the easy drag and drop snippets you can easily customize your sections.
In this article:
Add a snippet to a section
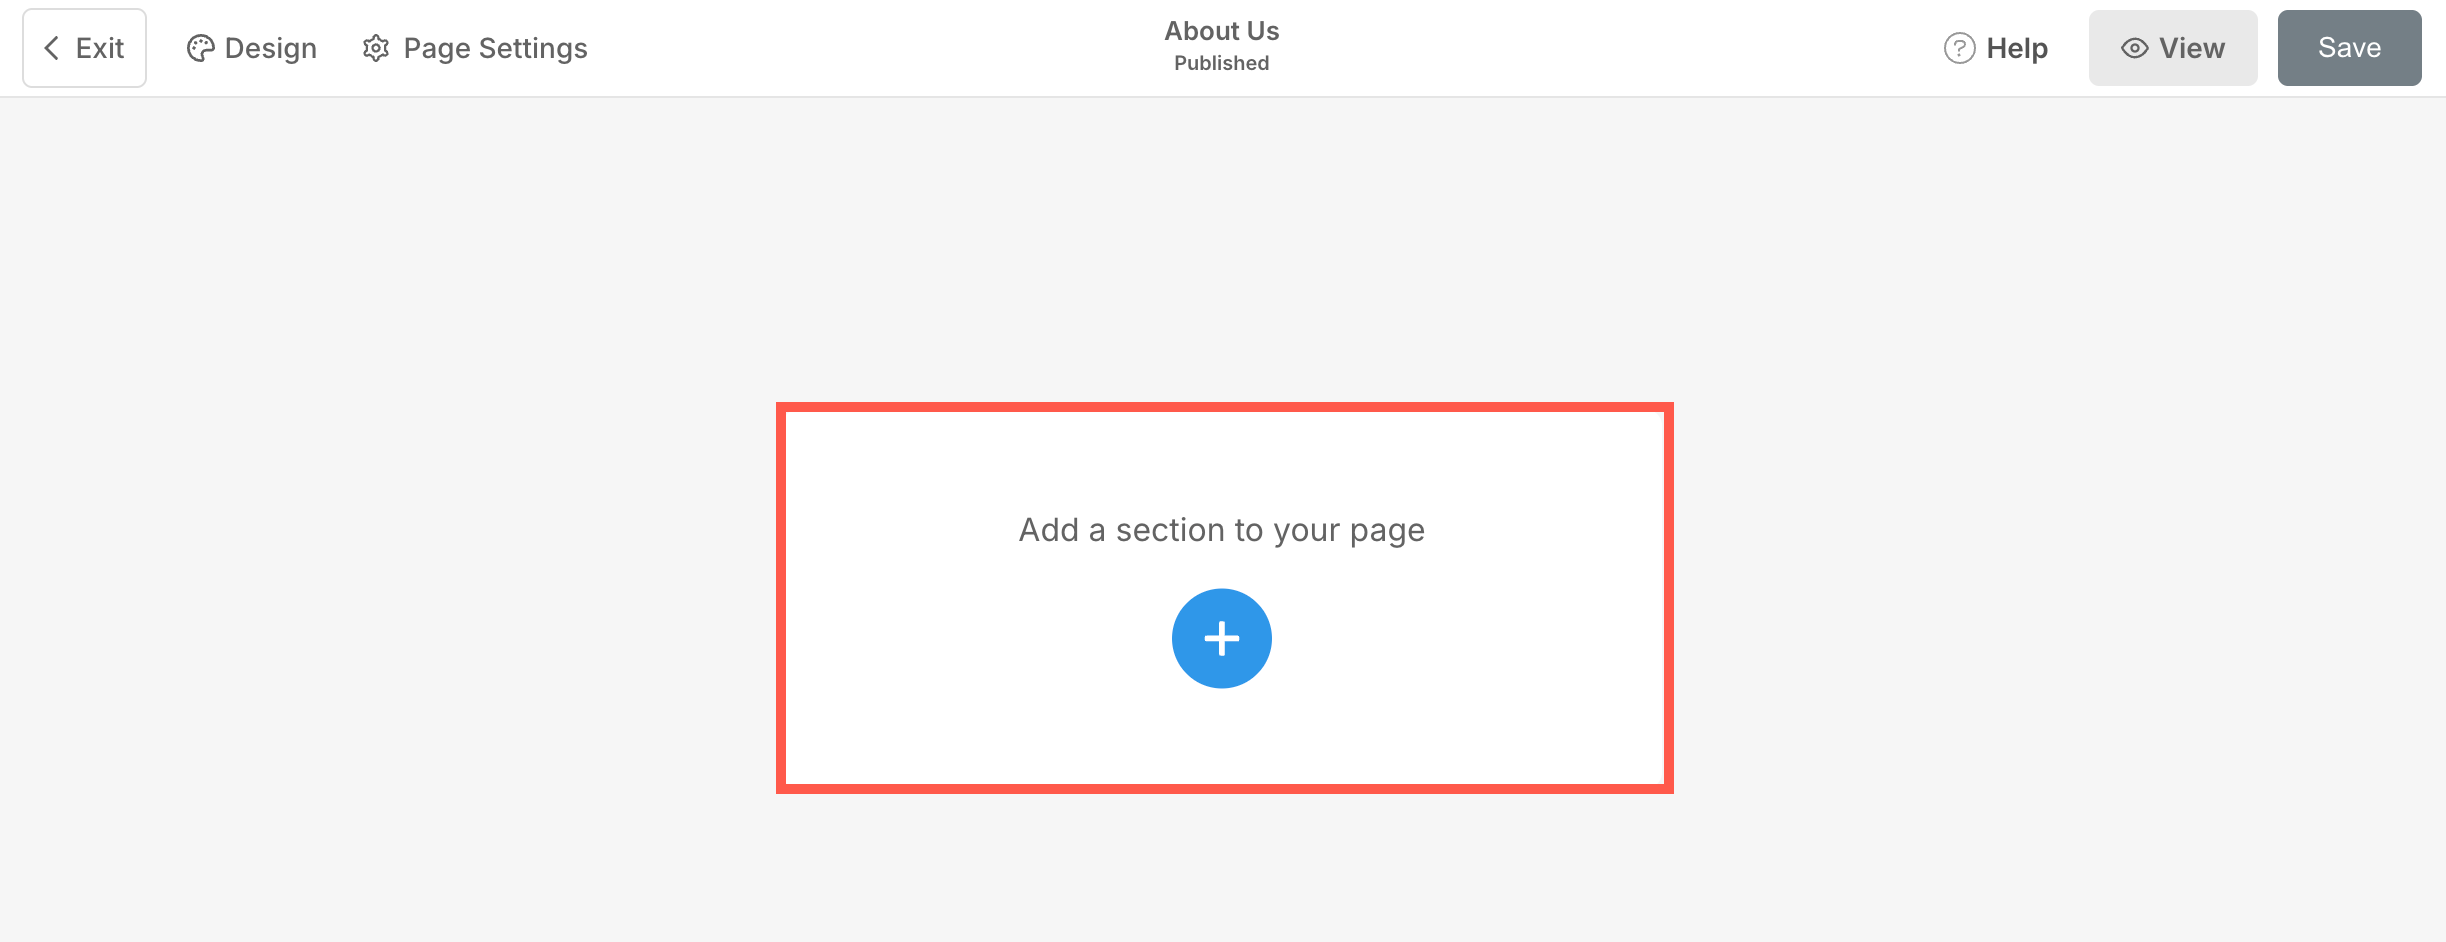
- In order to add a snippet, you need to add a Basic section layout. Click on Plus (+) button to add the section.
- You will now see the section categories on the left side.
- Choose the Hero Sections (1) category and click the Headline (2) tab.

- From the available layouts under the Headline section, scroll to the bottom and select the layout marked in the screenshot.

- Section will be added to the page. Now click on + Click to Add Content (3) button.
- A popup will open from where, you can add different snippets to the section. Select any snippet to add it.

Snippet Editing Elements
Once you have added a snippet, you have customization options for the snippet:
- Highlighted snippet element you are currently working on.
- Drag and drop the entire snippet to change the position of the snippet. You can also drag a snippet from one section to another using the drag tool.
- Duplicate the snippet.
- Element tool to enable/disable the snippet elements editing options.
- Delete the entire snippet.
- Add more content within the snippet.
- Duplicate the highlighted snippet element.
- Move the highlighted content up.
- Move the highlighted content down.
- Delete the highlighted content.
