Pixpa allows you to categorize your website content effectively using tags. These tags function like keywords that describe your pages and are useful for improved navigation, enhanced search functionality, better content organization, and more.
In this article:
What are tags?
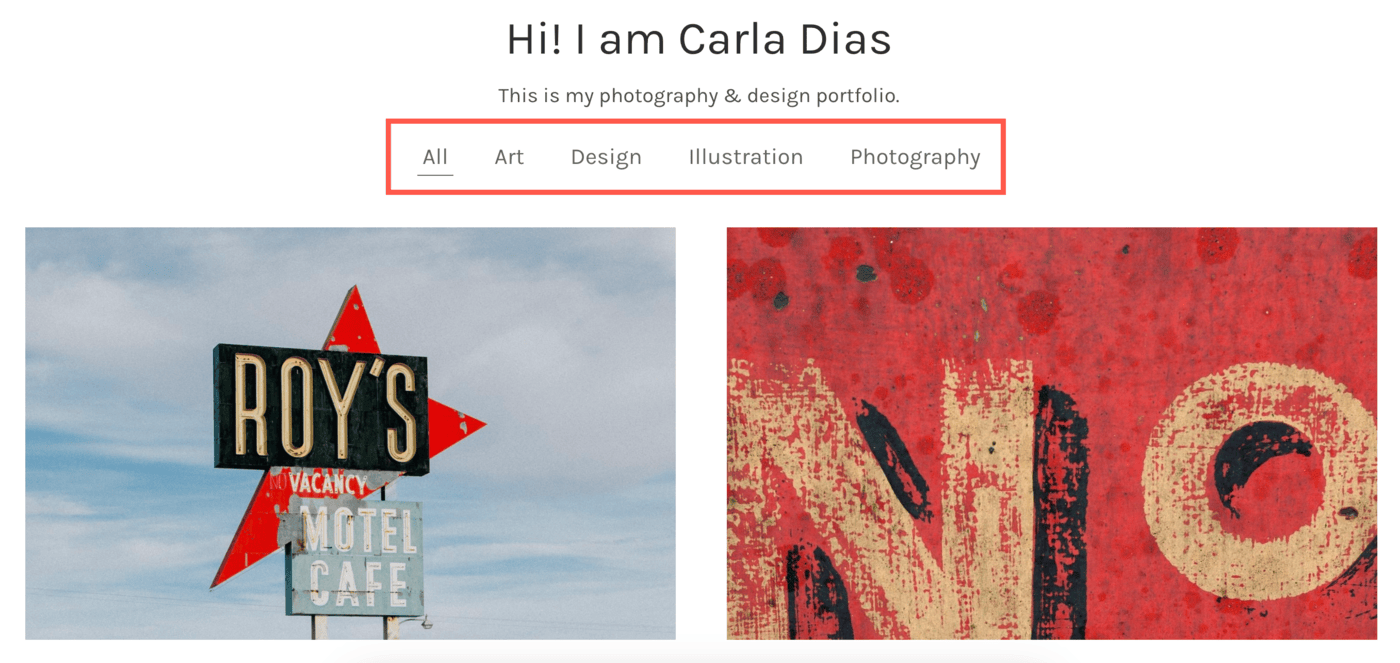
Tags in Pixpa are keywords or labels that you assign to different elements of your website to categorize and organize your content. Here’s why tags are essential:
- Improved Navigation: Tags help your visitors easily find related content.
- Enhanced Search: When your website has a search bar, tags make it easier for users to locate specific pages or items.
- Content Organization: Use tags to group similar content, such as blogs, galleries, or products, under one label.
Tags are versatile and can be applied to pages, products, galleries, blogs, and more.
How to add tags
Adding tags in Pixpa is simple. Follow these steps:
- Navigate to the Section: Go to the specific section where you want to add tags (e.g., Pages, Store, Client albums and galleries, Blogs, etc.).
- Open the Item: Click on the page, product, gallery, or blog where you want to add tag.
- Find the Tags Field: Under the Settings menu, look for the “Tags” field.
- Enter Tags: Type your tags, separated by commas. For example: Photography, Portfolio, Nature.
- Save Changes: Click “Save” to apply the tags to your item.
Repeat these steps for any other item you wish to categorize.
Review tags section-wise
You can manage and utilize tags across several sections of Pixpa. Below are the sections where you can review all the tags:
Website Section
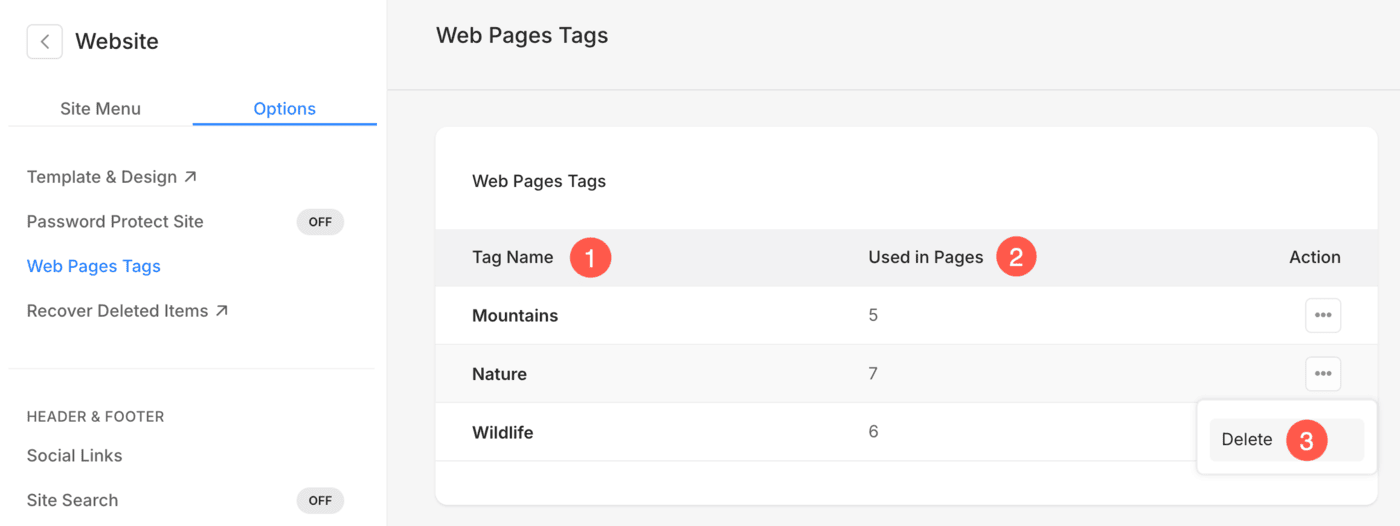
In order to see the list of all the tags that have been added under the Website section, follow the steps mentioned below:
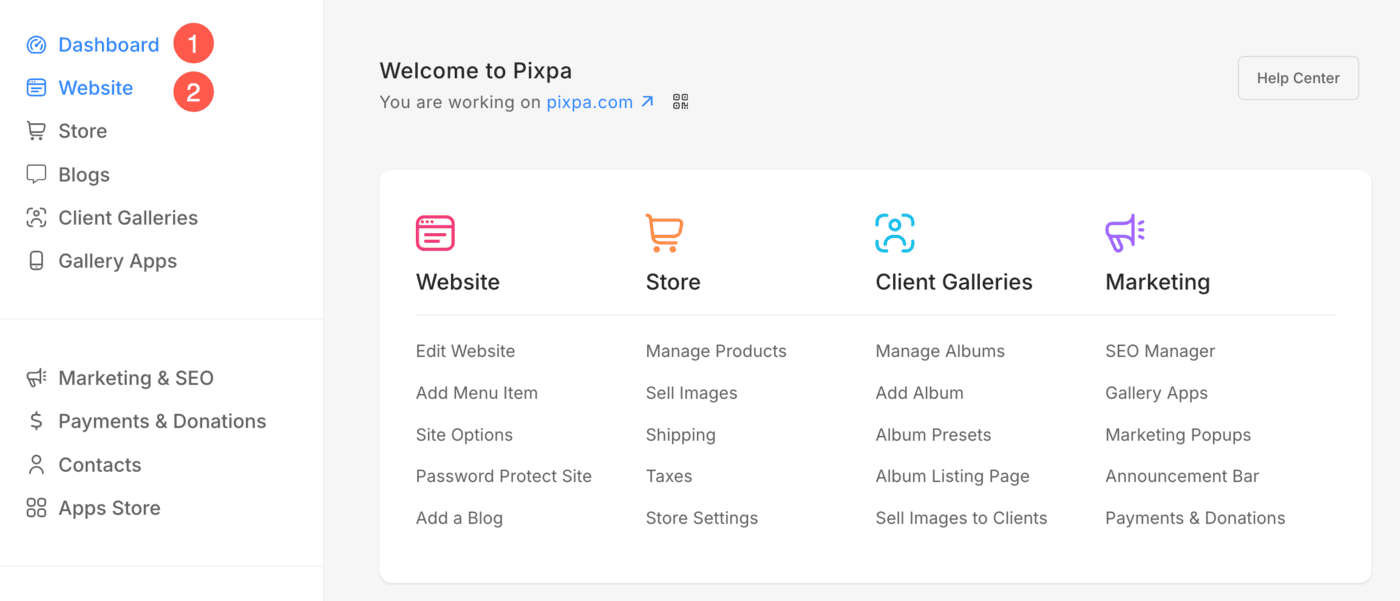
- Click on Options (3) tab where you will find Web Pages Tags (4) option.
- Click on it to open the Web Pages Tags (5) page.
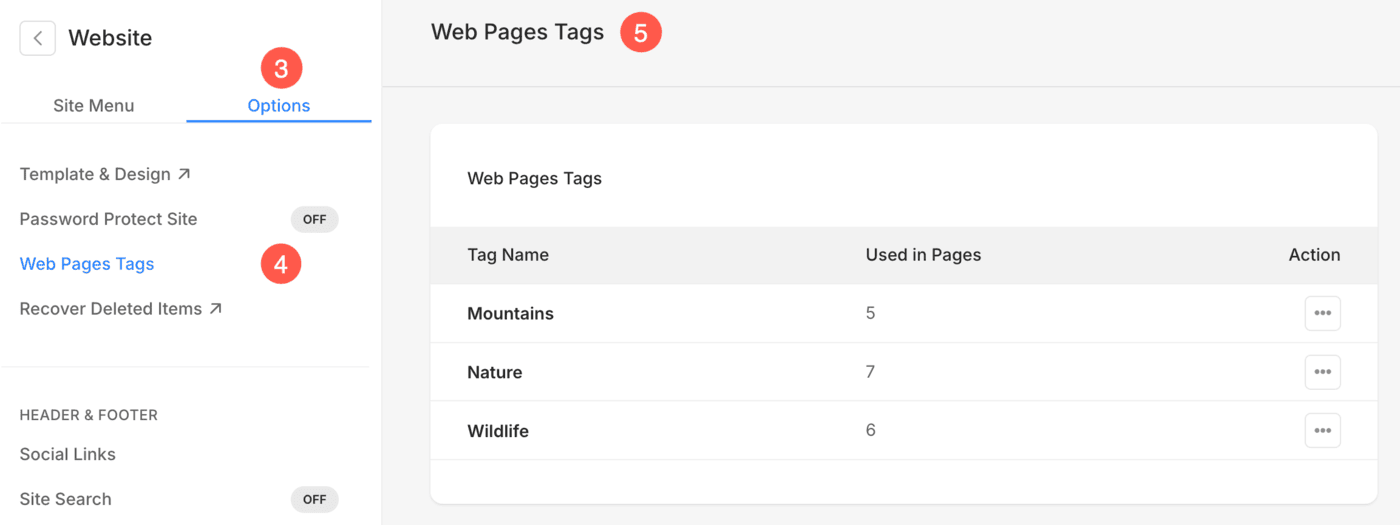
From here, you can:
- Check the name of the Tag.
- See the number of times each tag is used on pages.
- Delete the tags by clicking on the three dots icon.
Store Section
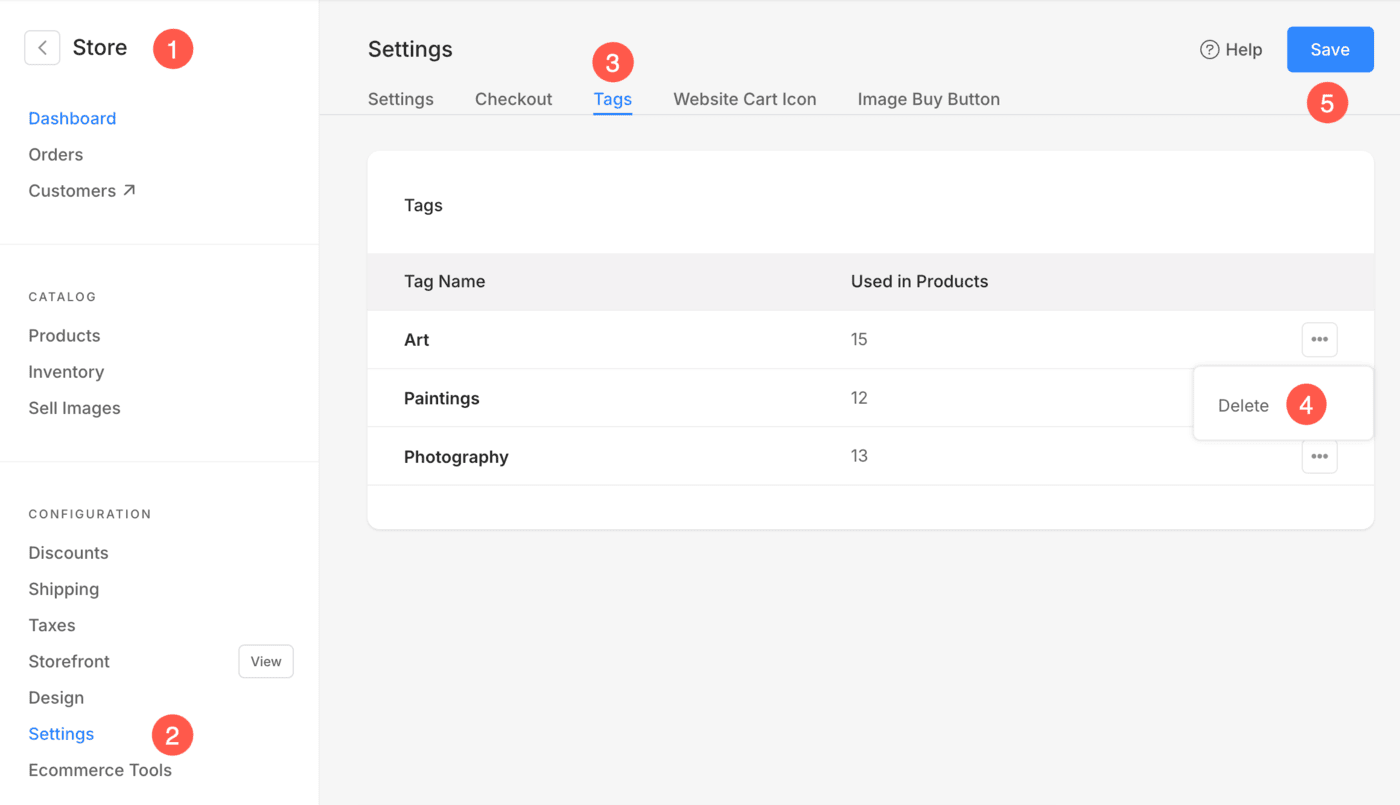
- Under the Store (1) section, click on Settings (2) option.
- Go to the Tags (3) tab where you will see all the tags added to the products.
- From here, you can Delete (4) the tags.
- Press the Save (5) button to apply and store the changes.
Client Galleries
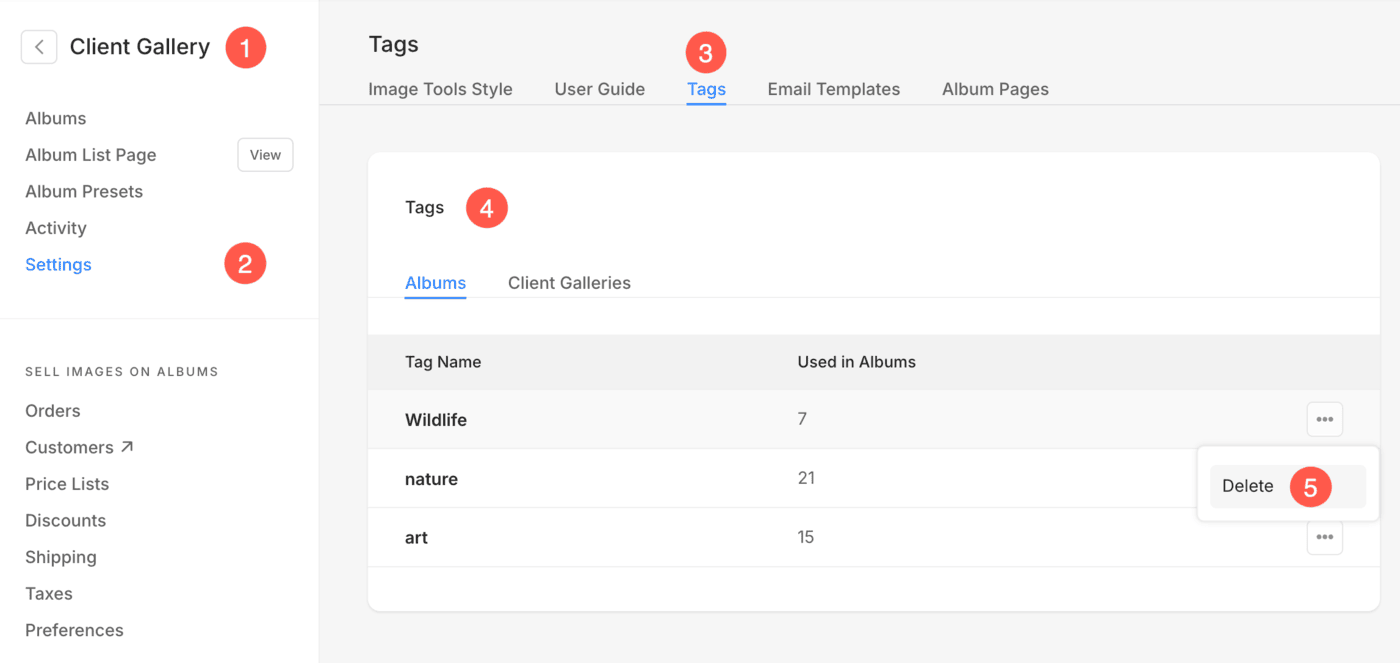
- Under the Client Galleries (1) section, click on the Settings (2) option.
- Go to the Tags (3) tab where you will see all the tags added to different Albums and Galleries (4).
- From here, you can Delete (5) the tags.
Blogs
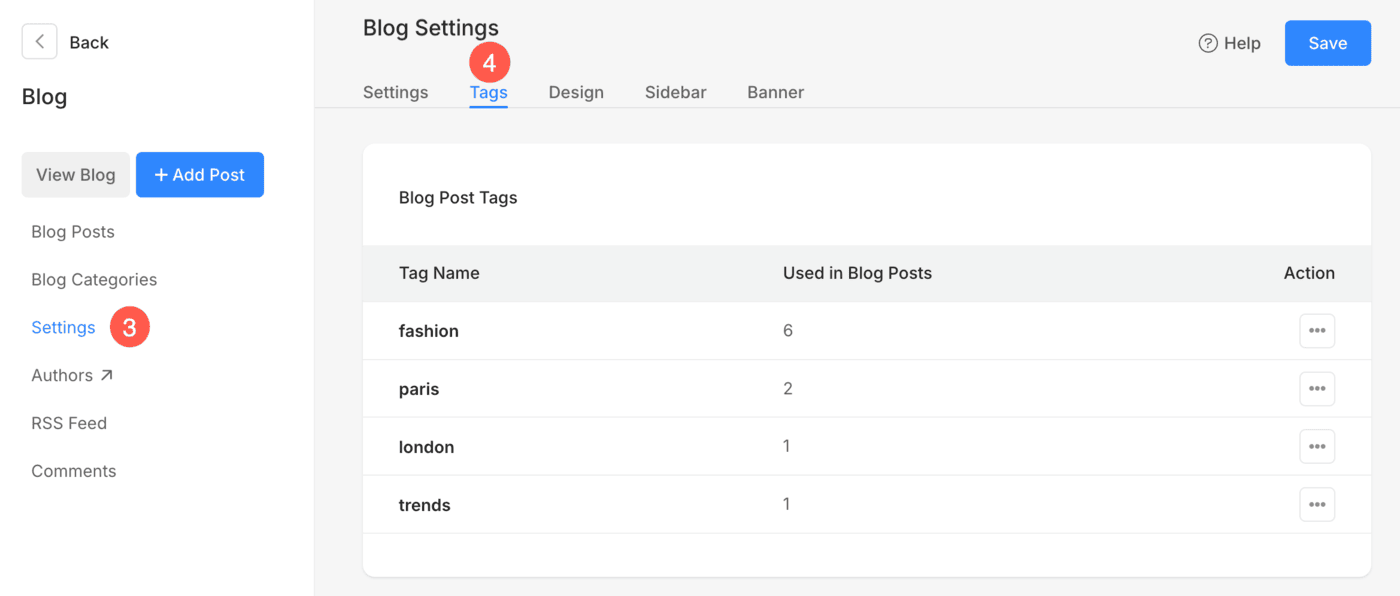
- Under the Blogs (1) section, click on Manage Blog (2) option.

- The Blog Posts page will open up. Click on the Settings (3) option and then Tags (4) tab.
- From here, you can review and delete the tags.
