The footer is the site element that resides at the bottom of your site. This is the most searched area for essential information like social icons, copyright information, and contact details.
In this article:
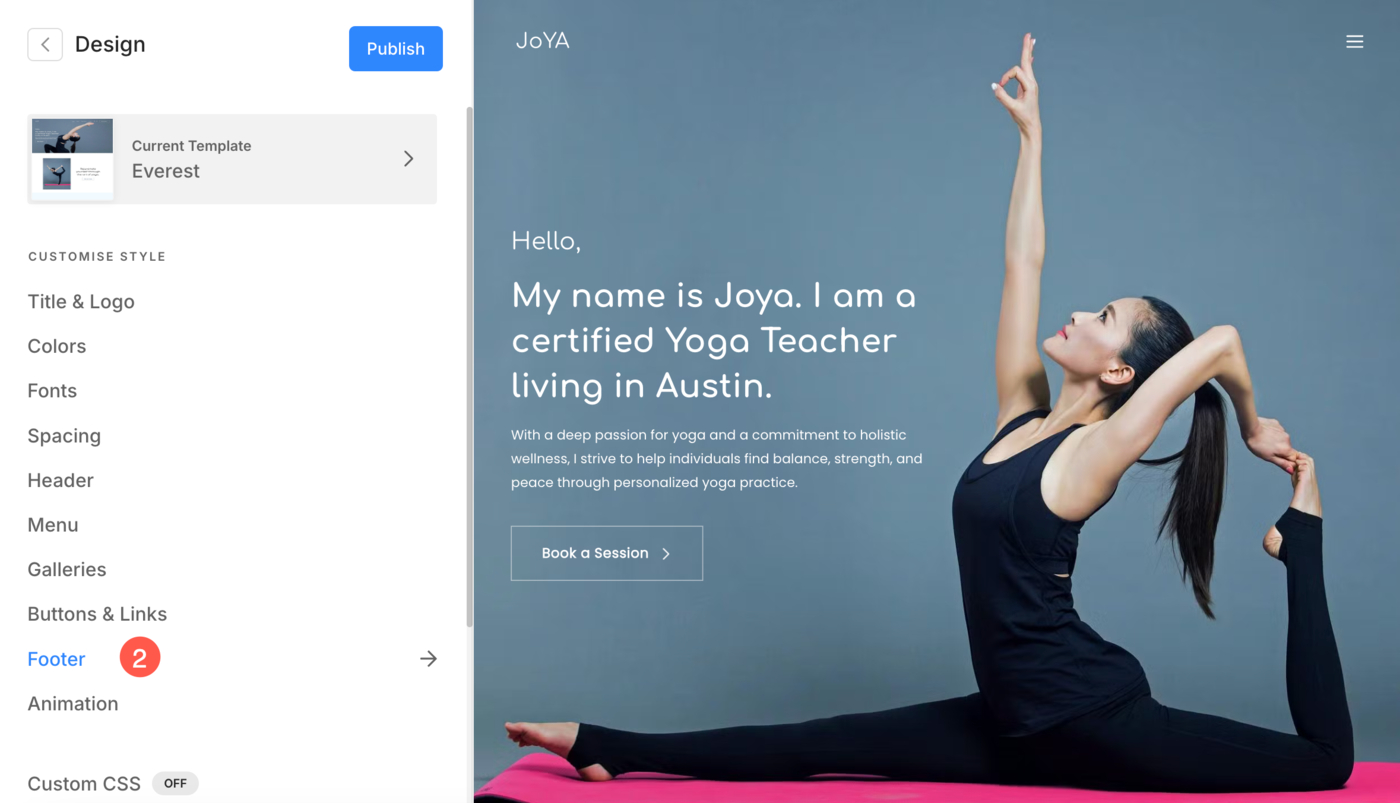
You can manage the Footer styling from the Design (1) section.

Once you are inside the Design section, click on Footer (2) tab.

Alternatively, you can also use the studio’s search option.
- Enter Footer (1) in the Search Bar.
- From the related results, click on the Design – Footer (2) option.

Footer
Footer is the bottommost section of your web pages that typically contains important information such as copyright information, contact details, etc.
From here, you can:
- Show Footer: Toggle the switch to enable or disable the footer.
- Layout: Choose the footer style for your website.
- Width: Set the width of your website’s footer.
Full Width: Footer will cover the entire available width without leaving any space sidewise.
Site width: It can be specified in the Design section. You can specify a fixed width here. It will display the footer by adhering to the fixed width specified. - Padding – Vertical: Manage the spacing vertically (top and bottom) to your website footer (specified in vh).

Footer Layout
Pixpa provides you option to choose from multiple footer layouts to suit your website’s style and needs.
These layouts include options for adding various elements such as social media links, contact information, copyright text, site logo and title, and additional navigation links.
The footer styles look this way:

Footer Logo
The footer logo is a small version of your main logo placed at the bottom of your website. The Style 2 of footer layout gives you the option to upload a footer logo.
- Logo: Upload the footer logo from here. Once you have uploaded the logo, you can also manage the logo cropping by hovering the cursor over the logo.
- Desktop: Specify the size of the footer logo for desktop devices.
- Mobile: Specify the size of the footer logo for mobile devices.

Footer Text
- Footer Text: From here, you can specify the footer text separately for your website’s footer. This generally includes contact information, links to important pages, branding information, etc.

Copyright Text
Your website’s footer area can hold important information that may not find the right place in any other part of the website. This often includes copyright text, privacy links, terms of use, affiliate / partner sites, etc.
- Text: Specify the Copyright / Footer text for your website from here. You can also manage the text alignment, style and link footer text.

See how to link the footer text:
Footer Border
- Border: Enable or disable the border of footer by toggling the switch.
- Thickness: Specify the thickness of the border (specified in pixels)
- Position: Set the position of footer border. You can choose border for All sides, Top and Bottom, only Top and only Bottom.
- Style: Select a preferred Border Style from the footer.

Social Icons
- Size: Specify the size of the social icons displayed in the footer (in px).
- Spacing: Set the space between different social icons (in vw).
- Color: Select the color for the social media icons. You can choose between the Menu Color and Brand Color.
The menu color will use the color set for the menu links in the main menu category, and the brand color will use the original brand color of the social media icons.

Back to Top Button
If you have a very long page then scrolling to the top may take time. You can add a back to top button in your website to quickly scroll to the top navigation of your website.
From here, you can:
- Status: Enable or disable the back-to-top button on your website from here.
- Style: Set the back-to-top element style from here. You can choose between dark, and light.
- Button: An example of back to top button.

Prefooter
- Pre-footer: Check the current status of Pre-footer, whether it is active or not, from here.
- Manage Prefooter: You can manage the Prefooter of your website from here.
Also see: Add a pre-footer to your website.

Footer Menu
The footer menu in Pixpa, like the header menu, allows you to organize and display important links at the bottom of your website. It provides easy navigation to key pages, home, contact information, about page, etc.
In order to create menu items for footer, follow the steps mentioned below:
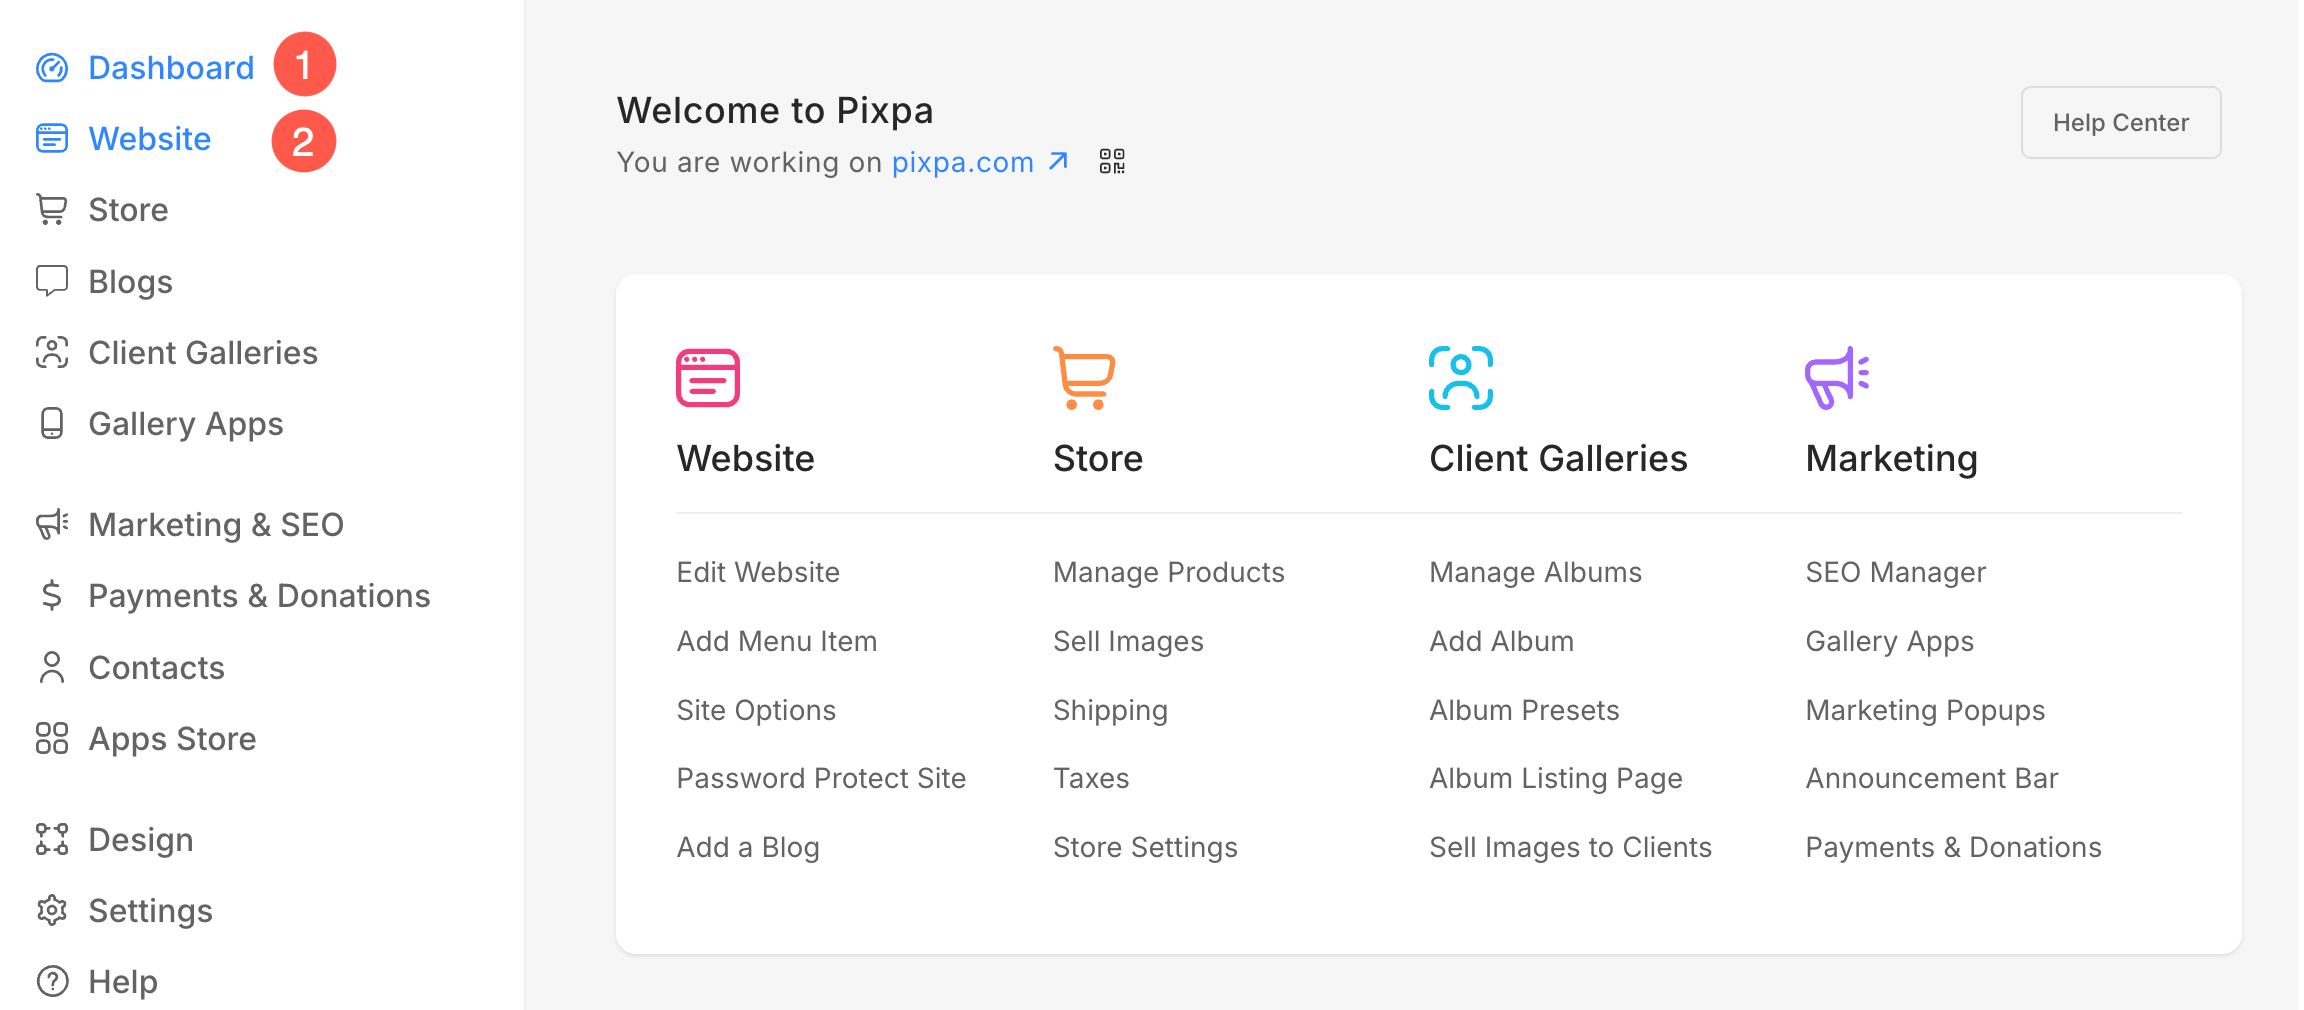
- From the Dashboard (1) of the studio, click on Website (2) section.

- Under the Site Menu (3) tab, you will see Footer Menu (4) heading.
- Click on the + Plus (5) icon from where, you will see different menu items (6) that you can add to the footer of your website.

Footer Colors and Fonts
- From the Dashboard (1) of the studio, click on Design (2) section.

Footer Colors:
- From the Design section, click on Colors (3) option.

- Scroll to the bottom where you will see Advanced Edit (4) option. Click on it.

- From here, you can manage the color of Footer Background (5), Footer Border (6), Footer Text (7), and Footer Menu Hover (8) color.
- Finally, hit the Publish (9) button to save the changes.

Footer Fonts:
- From the Design section, click on the Fonts (3) option.

- Scroll to the bottom where you will see Advanced Edit (4) option. Click on it.

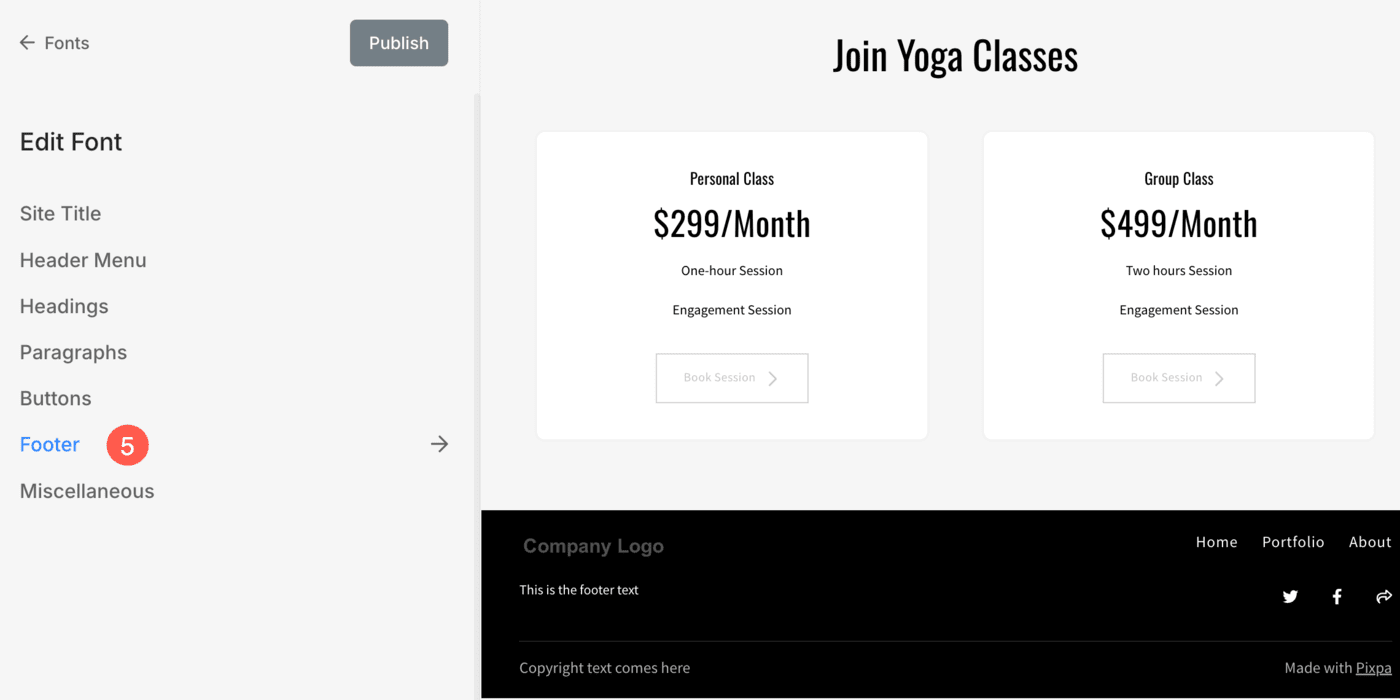
- Click on the Footer (5) option.

From here, you can:
- Select a Font (1) for the items under the footer.
- Specify the Font Weight (2). You have 3 options – Normal, Light, and Bold.
- Specify the Text size (3) of the footer text.
- Set the size of Menu items (4) (if added) inside the footer.
- Specify the size of Site Title for Desktop (5) within the footer.
- Specify the size of Site Title for Mobile (6) within the footer.
- Specify the space between the letters (7) of the footer text.

