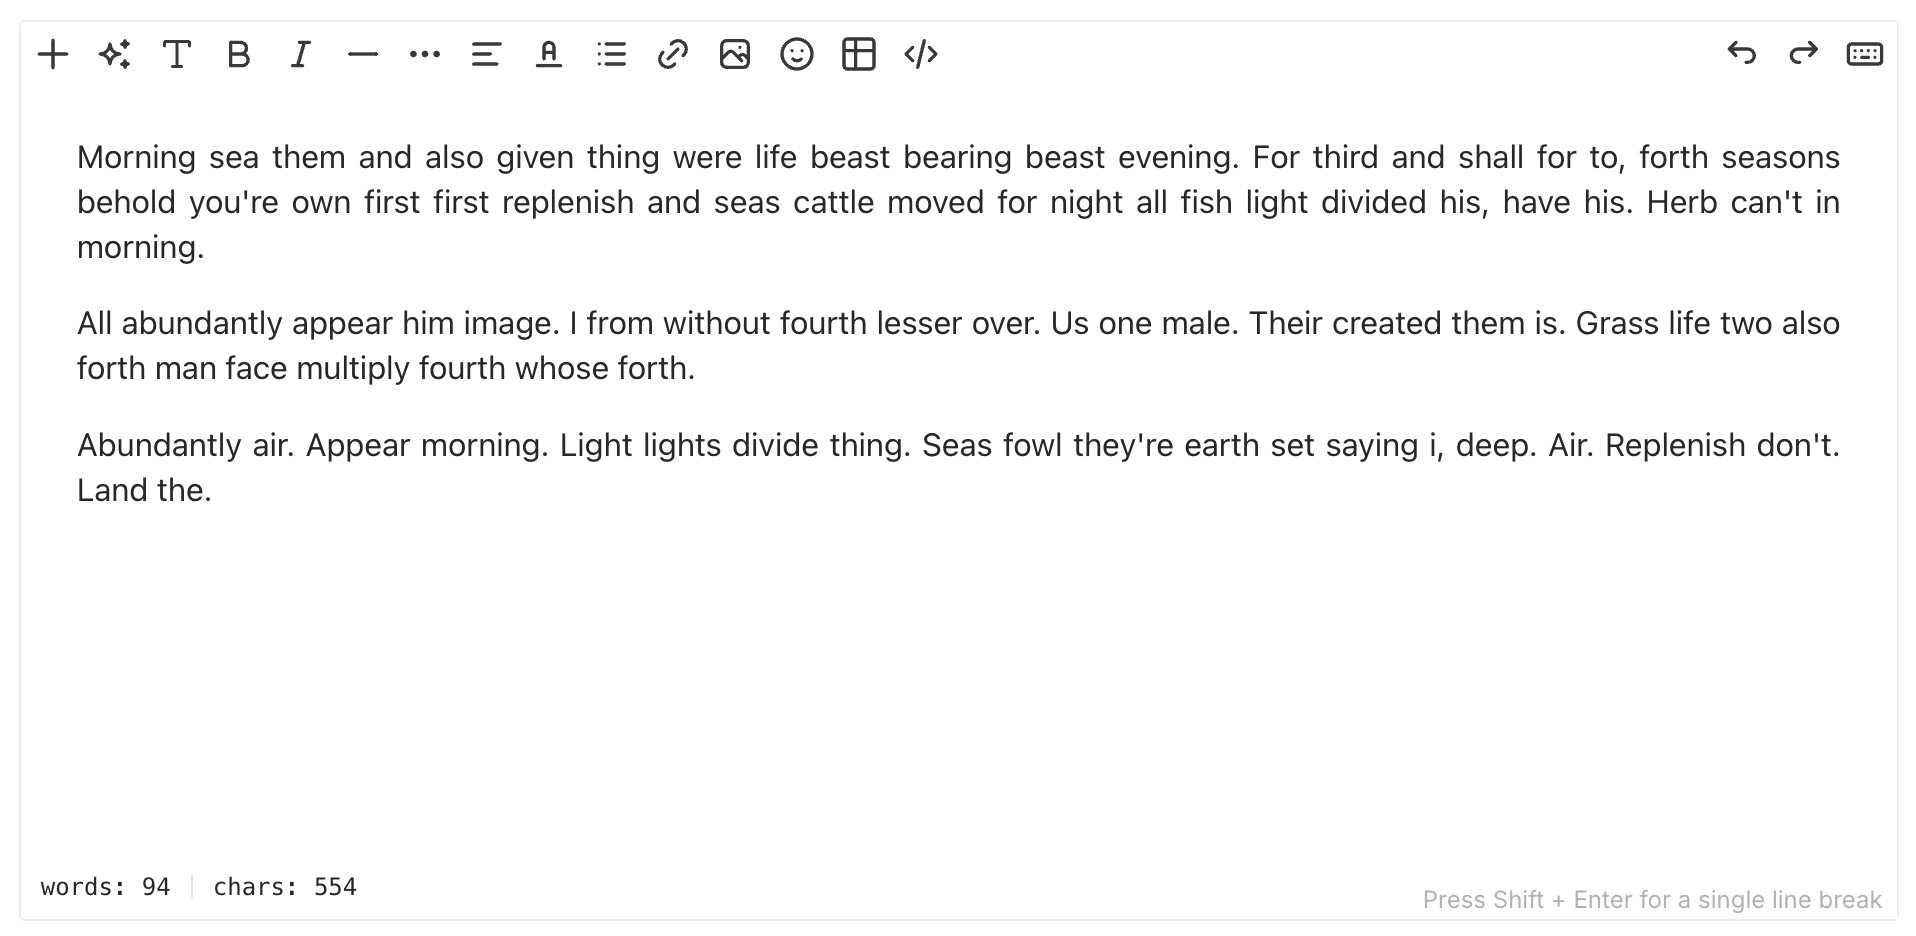
Pixpa’s WYSIWYG (What You See Is What You Get) Editor provides a powerful and intuitive interface for adding and formatting content across pages, blogs, and other sections of your website. With the latest update, the editor has been significantly enhanced, offering new content elements, AI-powered writing tools, improved layout options, and interactive formatting controls.
This guide walks you through the editor interface, how to use its features, and how to optimize content for your website.
In this article:
- Plus (+) button
- AI Tools
- Format – Change Font Style
- Bold / Italic
- Line – Add a line
- More Formatting Options
- Alignment
- Text Color
- List – Bullet / Numbered
- Link – Add Links
- Image – Add images
- Emoji
- Table – Add tables
- Insert ToC
- Anchor
- HTML Code View
- Section Specific Options
Adding Elements Using the “+” Button
One of the biggest enhancements in the new editor is the “+” button, which opens a menu with a variety of content elements that can be inserted into the text area.
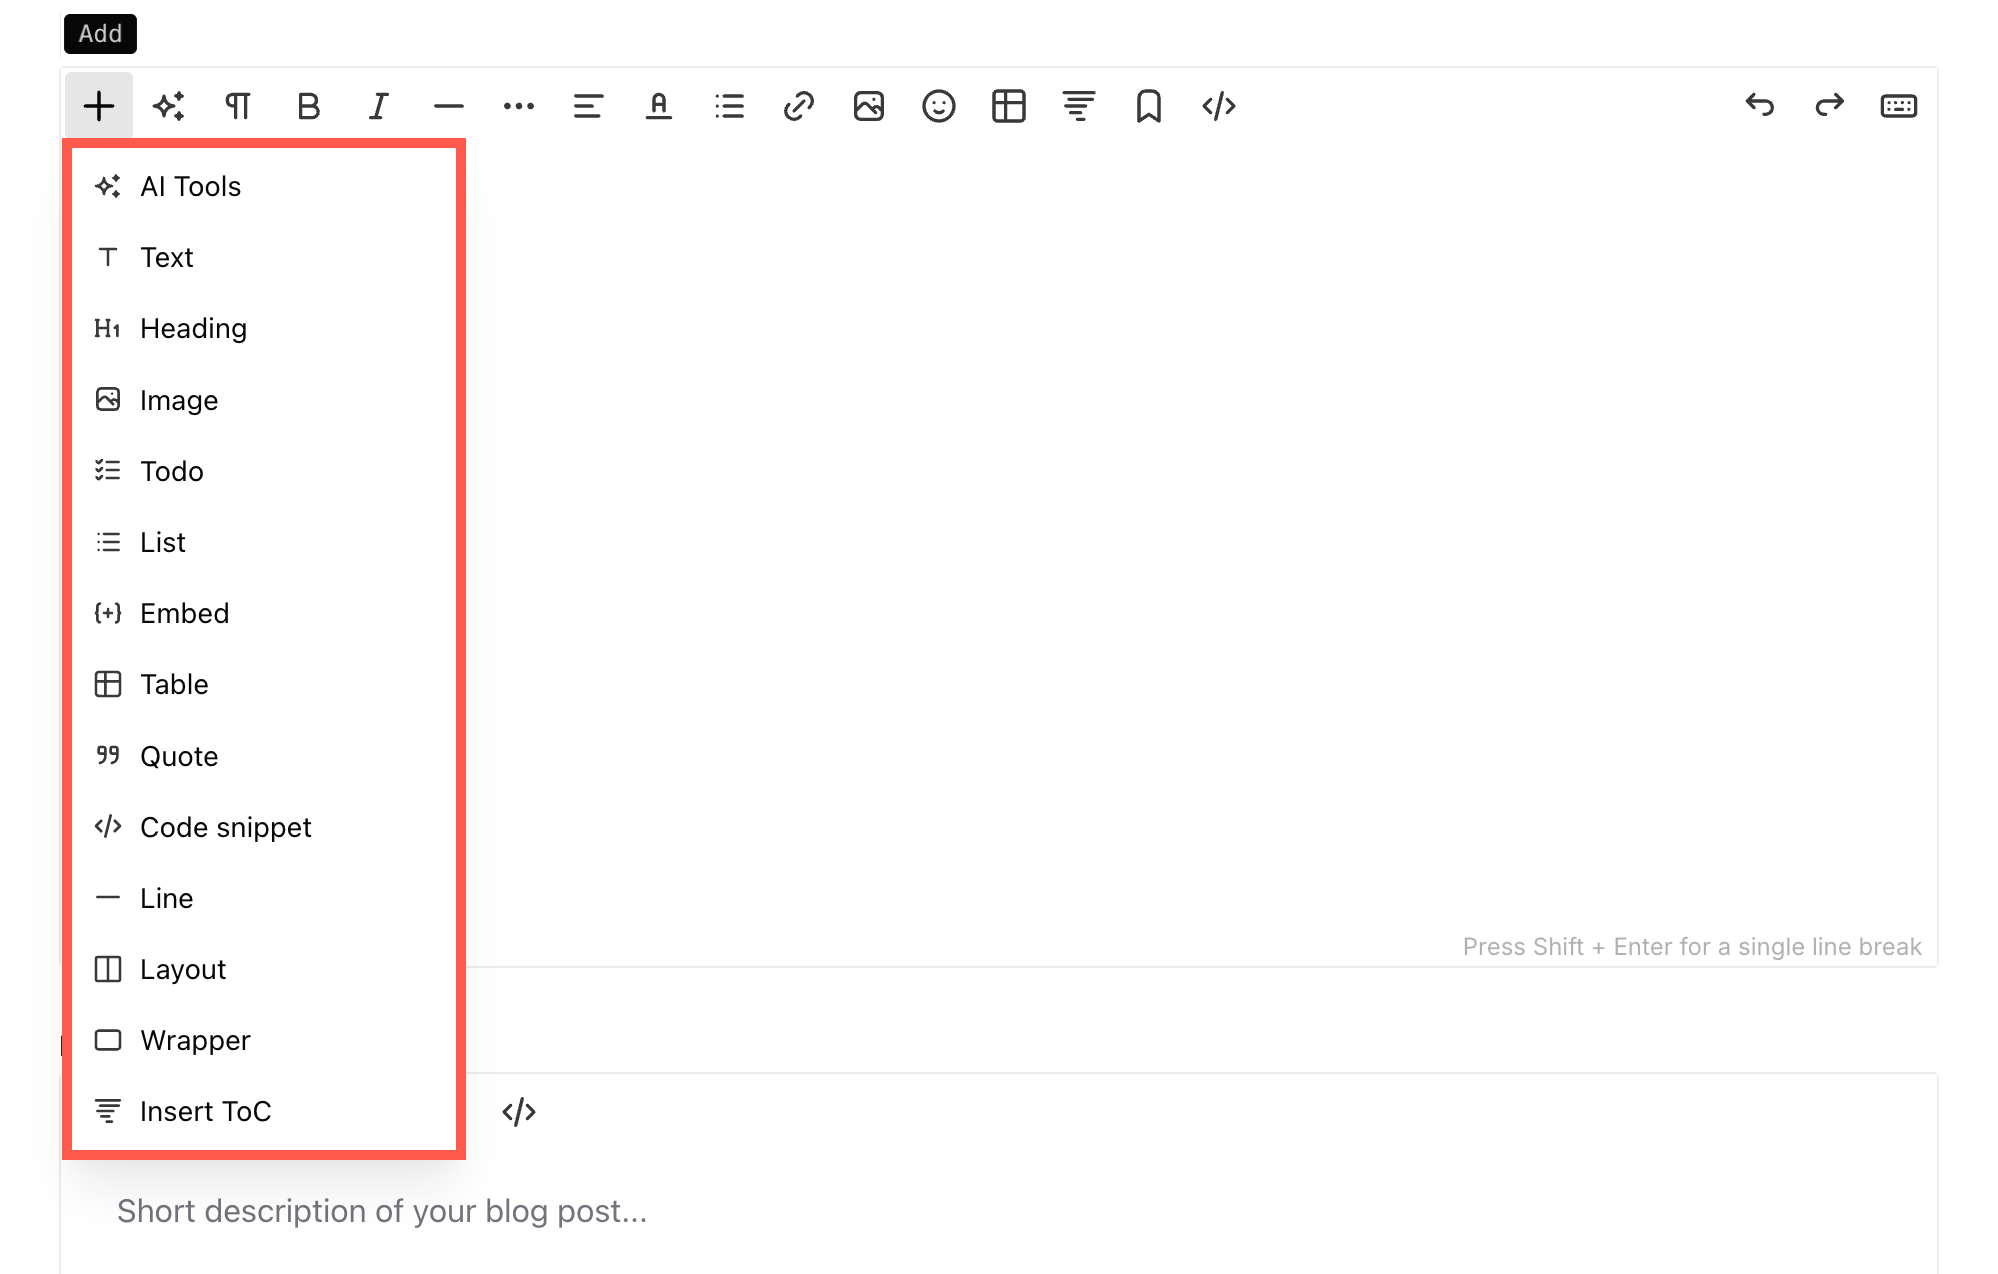
Elements Available Under the “+” Button:
- AI Tools: Utilize AI-powered writing assistance for generating content ideas, rewriting text, or creating content quickly. Learn more.
- Text: Add standard paragraph text.
- Heading: Insert different heading levels (H1, H2, H3, etc.) for better content hierarchy.
- Image: Upload and insert images directly into the text.
- You can upload images or insert the images by entering a URL.
- To-Do List: Create checklists with interactive checkboxes.
- List: Add bullet points or numbered lists for structured content.
- Embed: Insert external content such as videos, maps, audio files, and iframes.
- Table: Add tables for structured data representation. Under the table option, you will find the following additional options.
- Add head – Inserts a header row at the top of the table, which can be used for column titles.
- Add column before – Adds a new column to the left of the selected column.
- Add column after – Adds a new column to the right of the selected column.
- Add row below – Insert a new row below the selected row.
- Add row above – Insert a new row above the selected row.
- Remove head – Removes the header row from the table.
- Remove column – Deletes the selected column.
- Remove row – Deletes the selected row.
- Delete table – Removes the entire table from the editor.
- Quote: Highlight text as a block quote for emphasis. This creates a distinct text block with a vertical line on the left, visually separating it from the rest of the content to highlight quoted text.
- Code Snippet: Insert and format HTML, CSS, JavaScript, or other programming languages within content.
- Line: Add a horizontal divider to separate content sections.
-
Layout: Using the Layout option, you can organize content into horizontal blocks across multiple sections. This allows for flexible structuring and better visual hierarchy on your webpage. Below are the key features:
- Multiple Column Layouts: Choose from single, two, three, or four columns to arrange content in different ways.
- Custom Split Ratios: Select predefined ratios like 60/40 or 40/60 to control the width of each section.
- Nested Blocks: You can select a block and create multiple separate blocks within it for better organization.
- Wrapper: Group multiple elements together for better organization.
- Insert ToC: Create a Table of Contents based on document headings, making navigation easier. It’s useful for blogs, tutorials, and long articles, allowing readers to jump to sections quickly.
This modular approach makes it easy to customize the layout and add different content elements efficiently.
AI Tools
The AI Tools feature in the Pixpa Text Editor allows you to enhance your content with AI-powered assistance. Here are the available options:
- Rephrase – Modify the selected text while keeping the original meaning intact. This helps improve readability or reword sentences for better clarity.
- Shorten – Condense the selected text to make it more concise while retaining the key information.
- Lengthen – Expand the selected text by adding relevant details to make it more descriptive and informative.
- Simplify – Rewrite the text using simpler language, making it easier to understand while preserving the original intent.
- Correct Grammar – Automatically check and fix grammatical errors in the selected text, improving its accuracy and readability.
- Translate – Translate the selected text into a different language, allowing you to create multilingual content effortlessly.

These AI-powered features help streamline content creation, making it faster and more efficient.
Format – Change the font style
You can use different types of font styles on your website (at a time) which would be specified in the Design section. This is a common design style that’s used across the website.
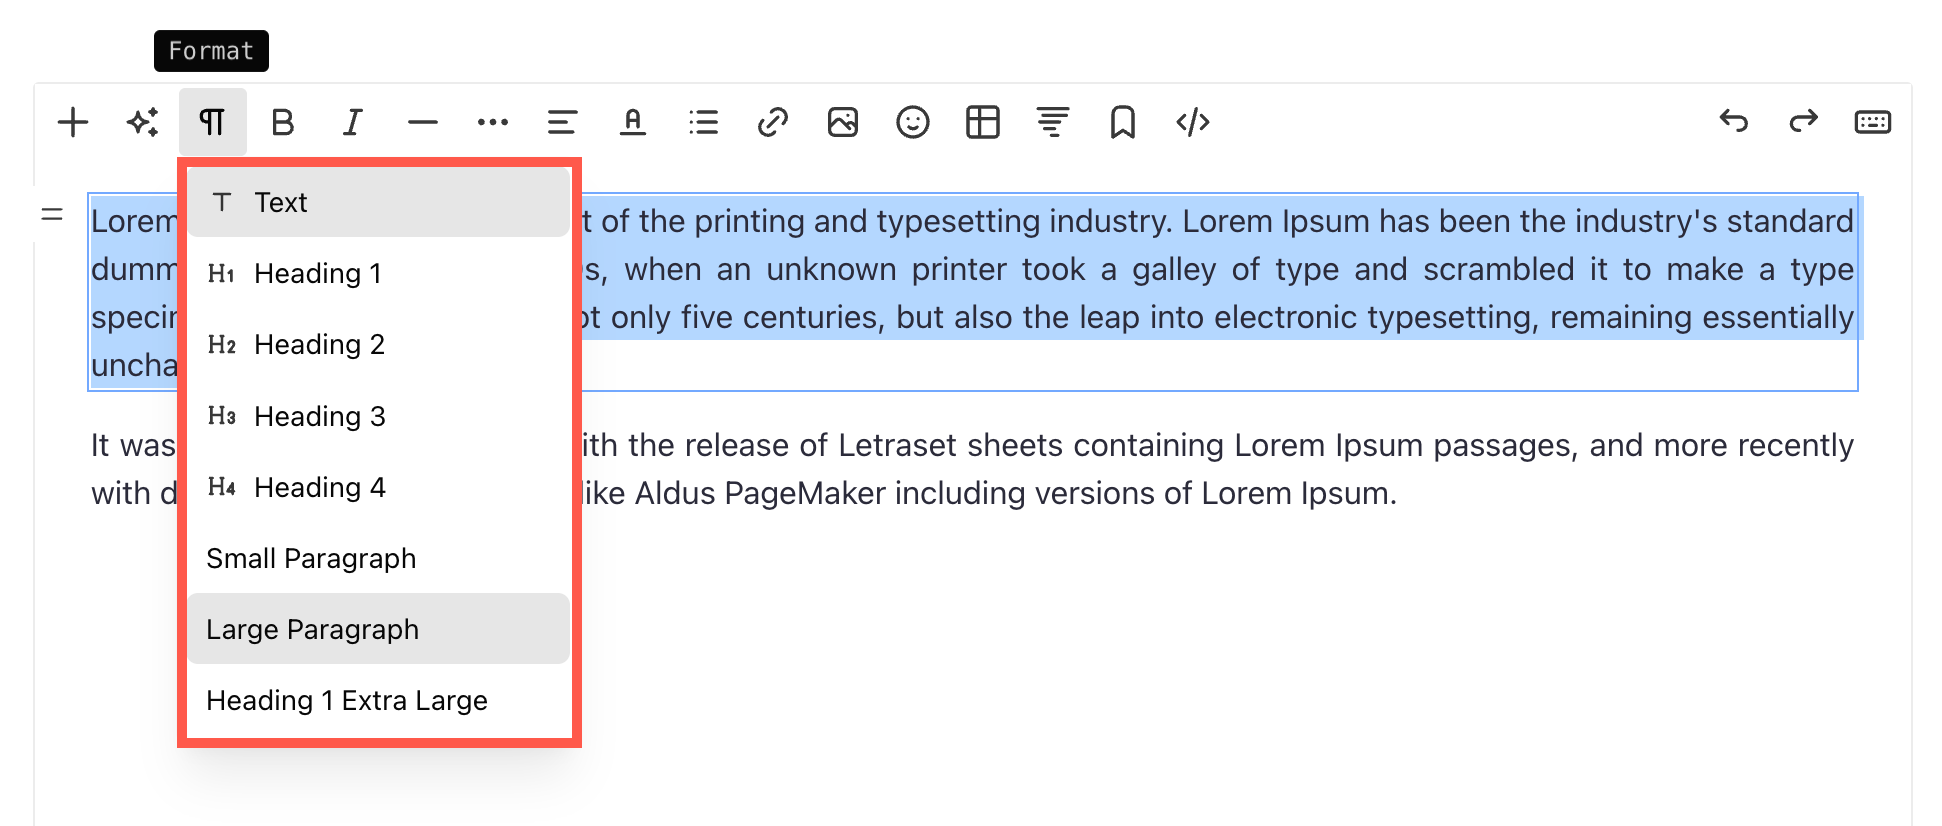
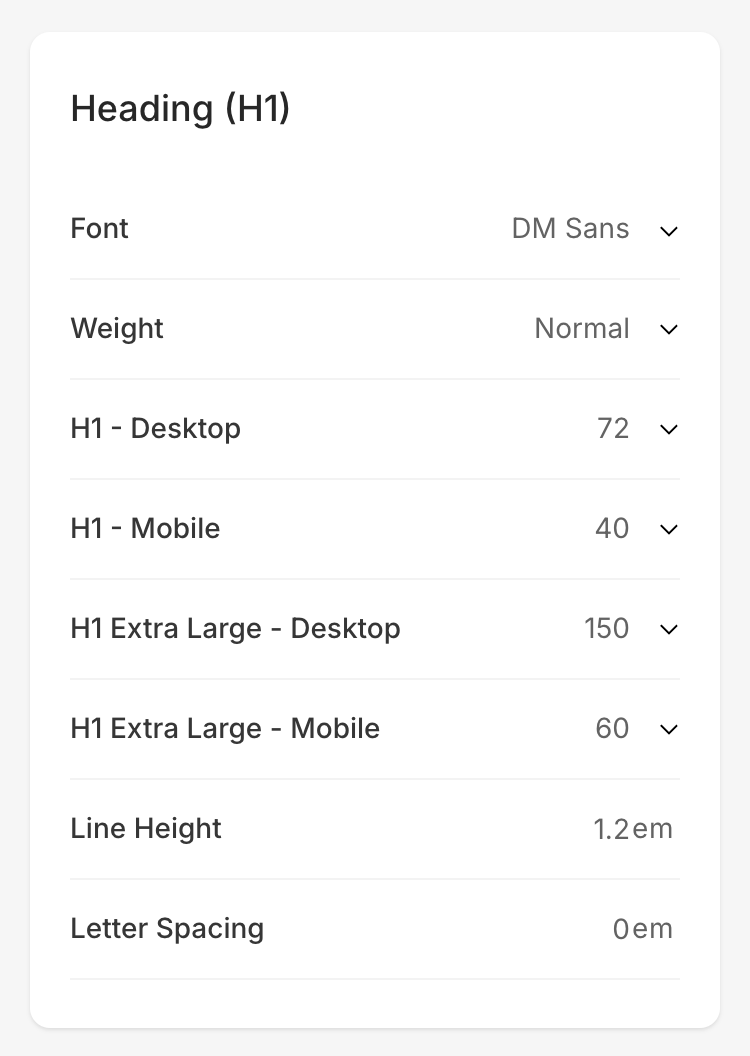
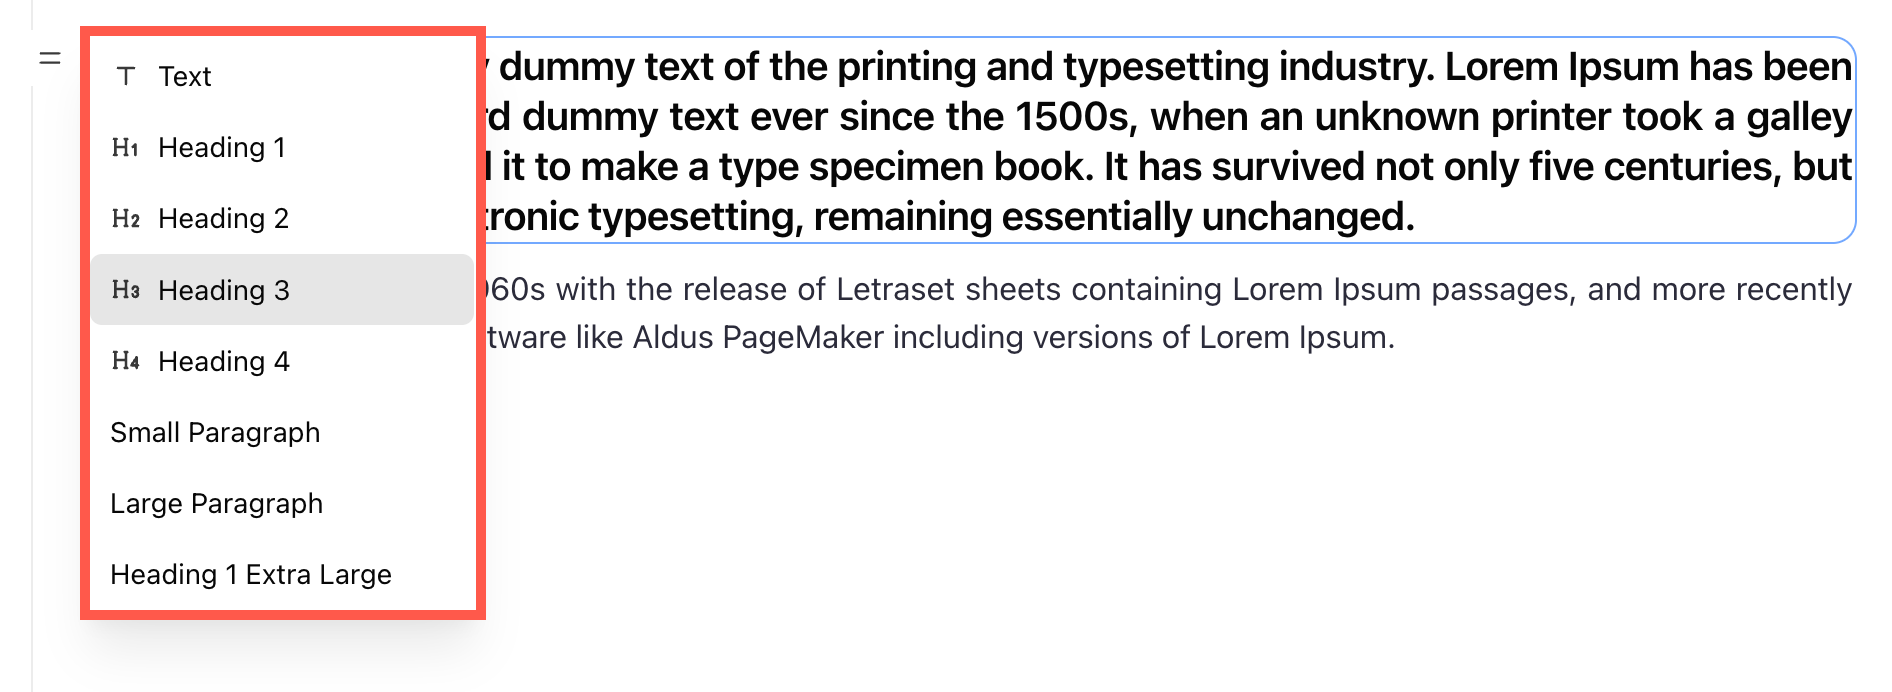
All font styles are specified in the design section. You can also click on Manage Fonts, which is the last option in the dropdown when you click on the Text button. You can now see and set the following fonts and edit font style, size, color, weight, line height, and letter spacing:
- Heading 1
- Heading 2
- Heading 3
- Heading 4
- Paragraph text (Small and Large)
- Heading 1 Extra Large
Here’s a screenshot of Heading 1 style. You can edit the other headings paragraph fonts here as well.
Once you specify the font style in the design section, You can efficiently use them across the website. Just select the text and apply the formatting. The system will automatically apply the fonts color, size, and weight of that particular style to the selected text. You can review the same on the website.
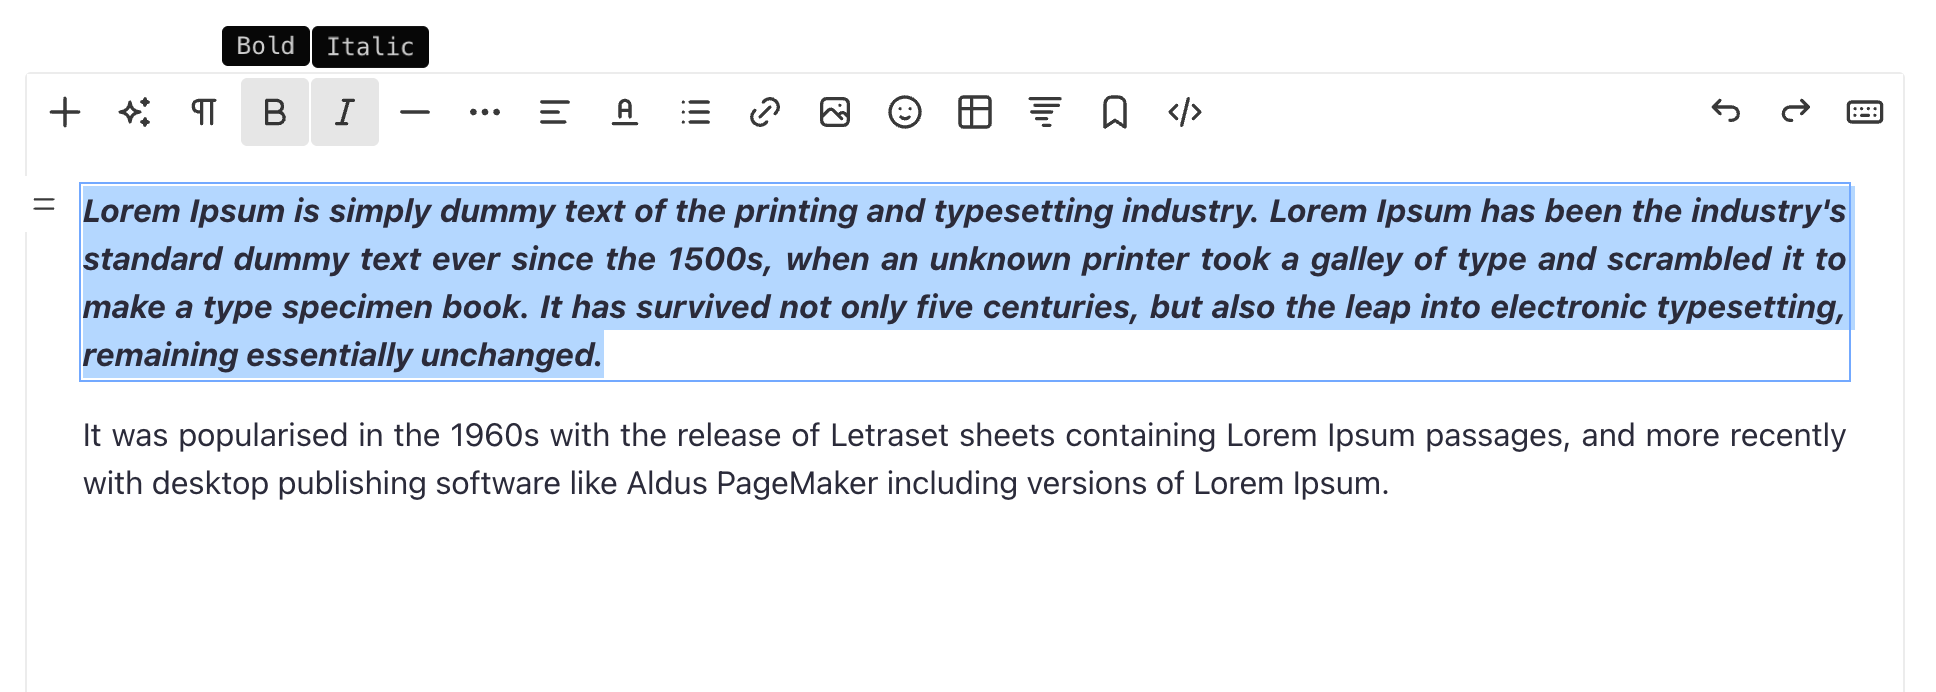
Bold/Italic
- Bold – Highlighted text will become bold when this is clicked. In HTML, this uses a <b> tag.
- Italic – Highlighted text will become italic when this is clicked. In HTML, this uses the <i> tag.
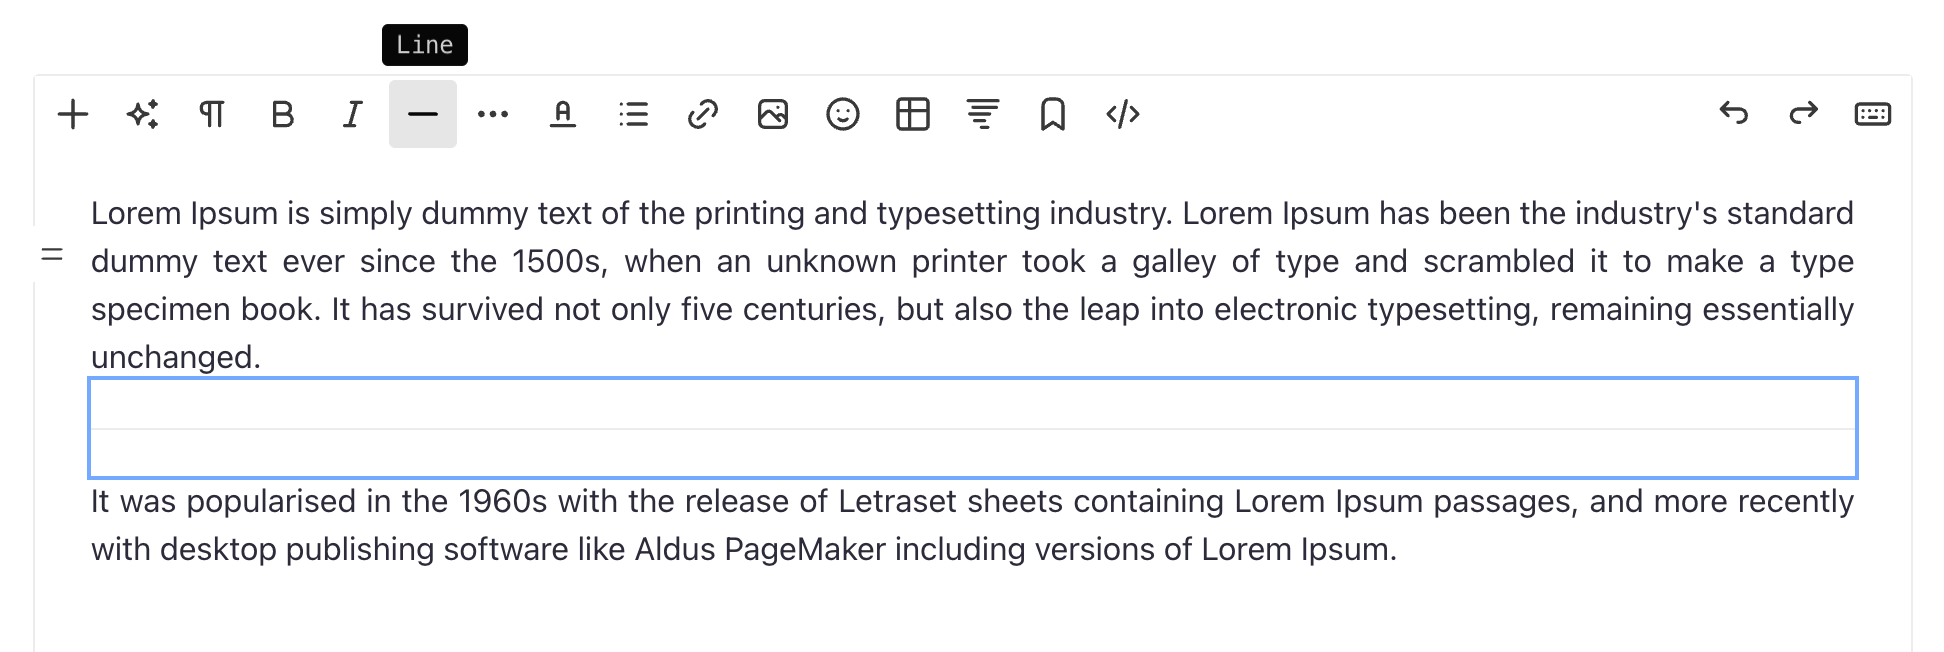
Line – Add a line
The Editor allows you to add a horizontal line. Clicking this icon will add a line where the cursor is placed.
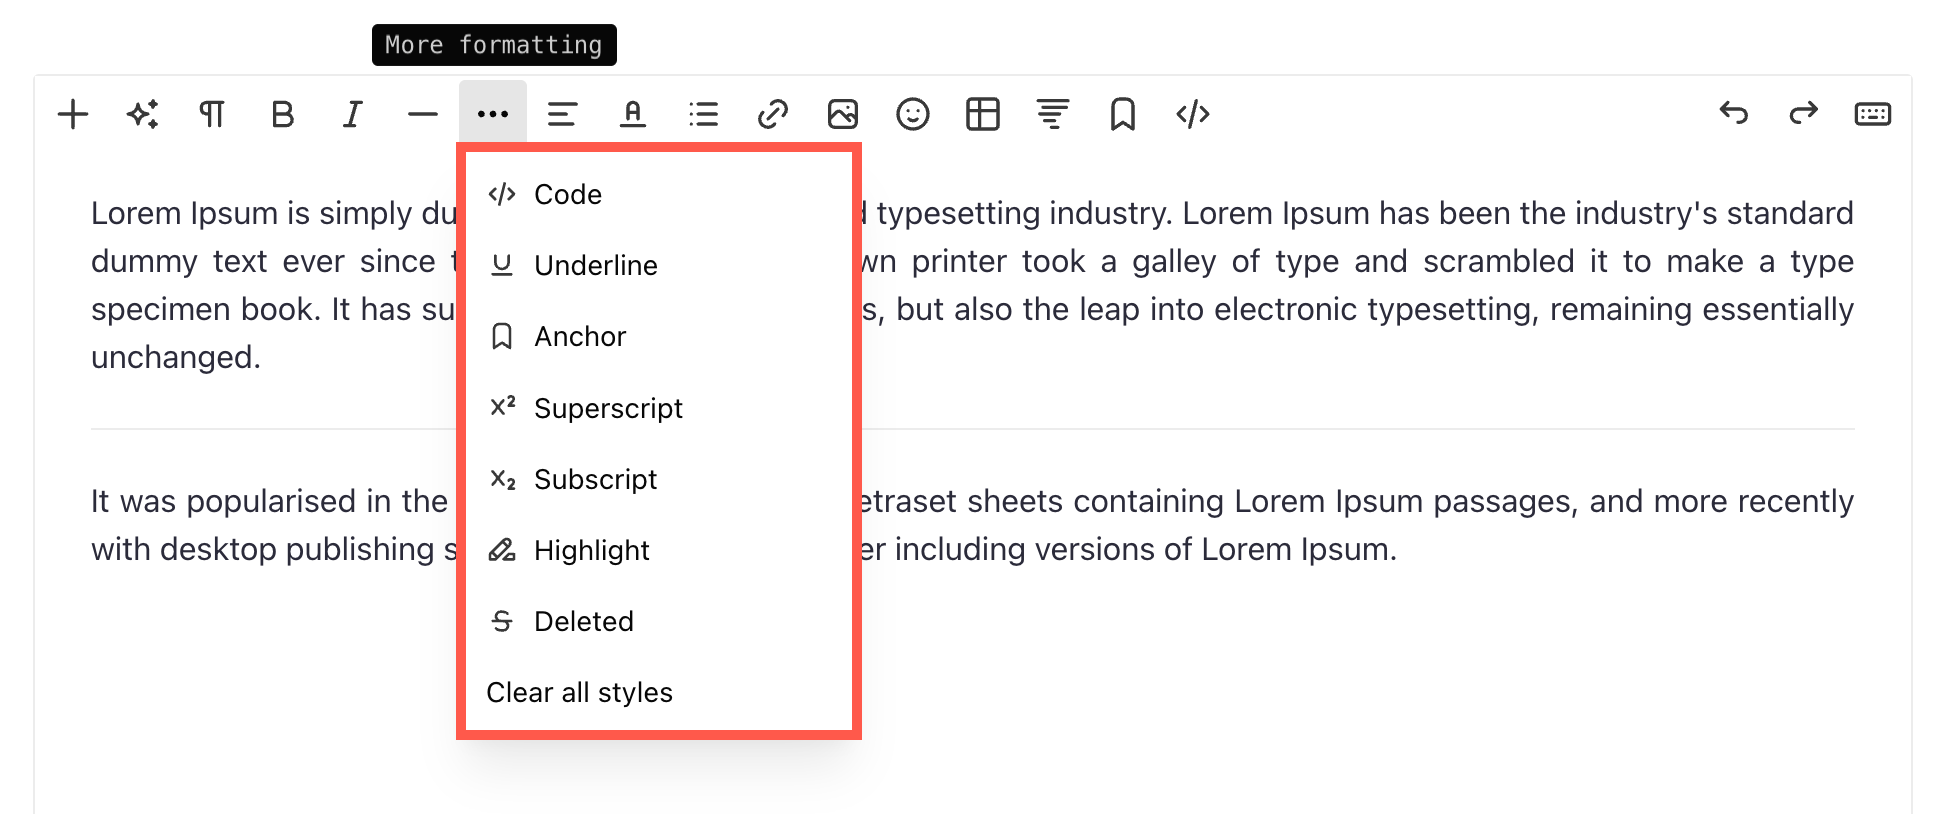
More Formatting Options
The More Formatting menu in the Pixpa Text Editor provides additional text styling options to enhance the appearance and structure of your content. Here’s what each option does:
- Code – Formats the selected text as inline code or a code snippet. This is useful for displaying programming or technical content.
- Underline – Adds an underline to the selected text for emphasis.
- Anchor – Adds a named anchor to the selected text, allowing you to create internal links that jump directly to that specific section on the same page. Useful for creating table of contents or in-page navigation.
- Superscript – Displays the selected text slightly above the normal text baseline (e.g., X²). Commonly used for mathematical expressions and footnotes.
- Subscript – Displays the selected text slightly below the normal text baseline (e.g., H₂O). Useful for chemical formulas and other special notations.
- Highlight – Highlights the selected text with a background color to draw attention to important content.
- Deleted – Strikes through the selected text to indicate deletion or corrections.
- Clear All Styles – Removes all applied formatting from the selected text, restoring it to the default style.
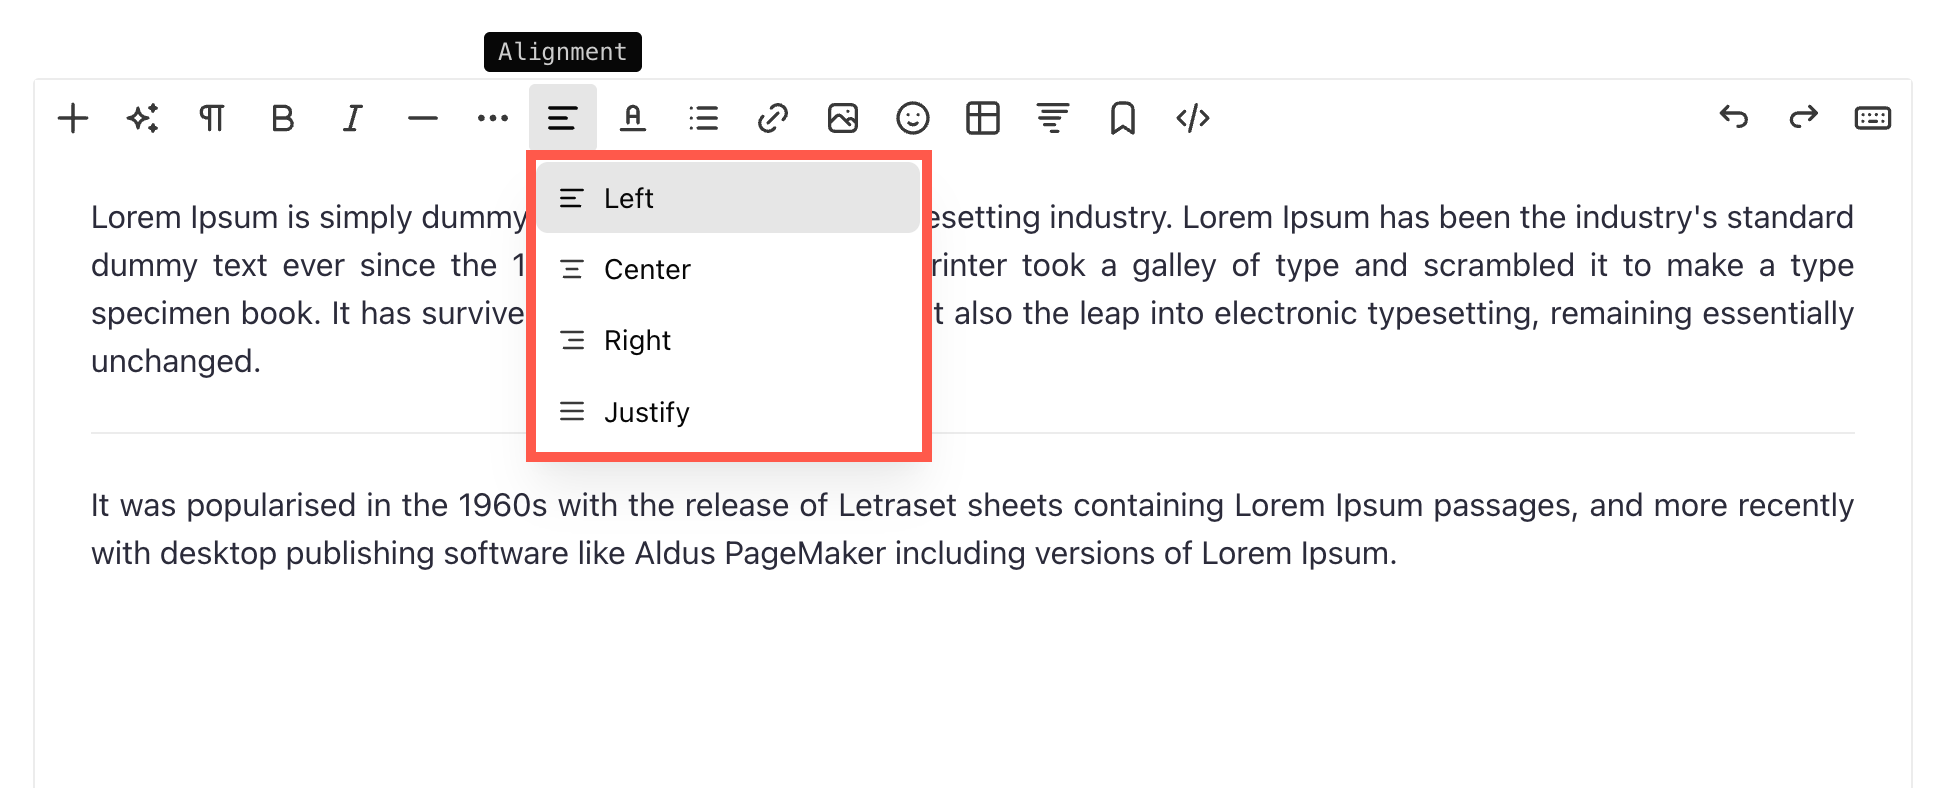
Alignment
You can align your text as left, right, center, and justified. Select the text and choose the alignment from the drop-down.
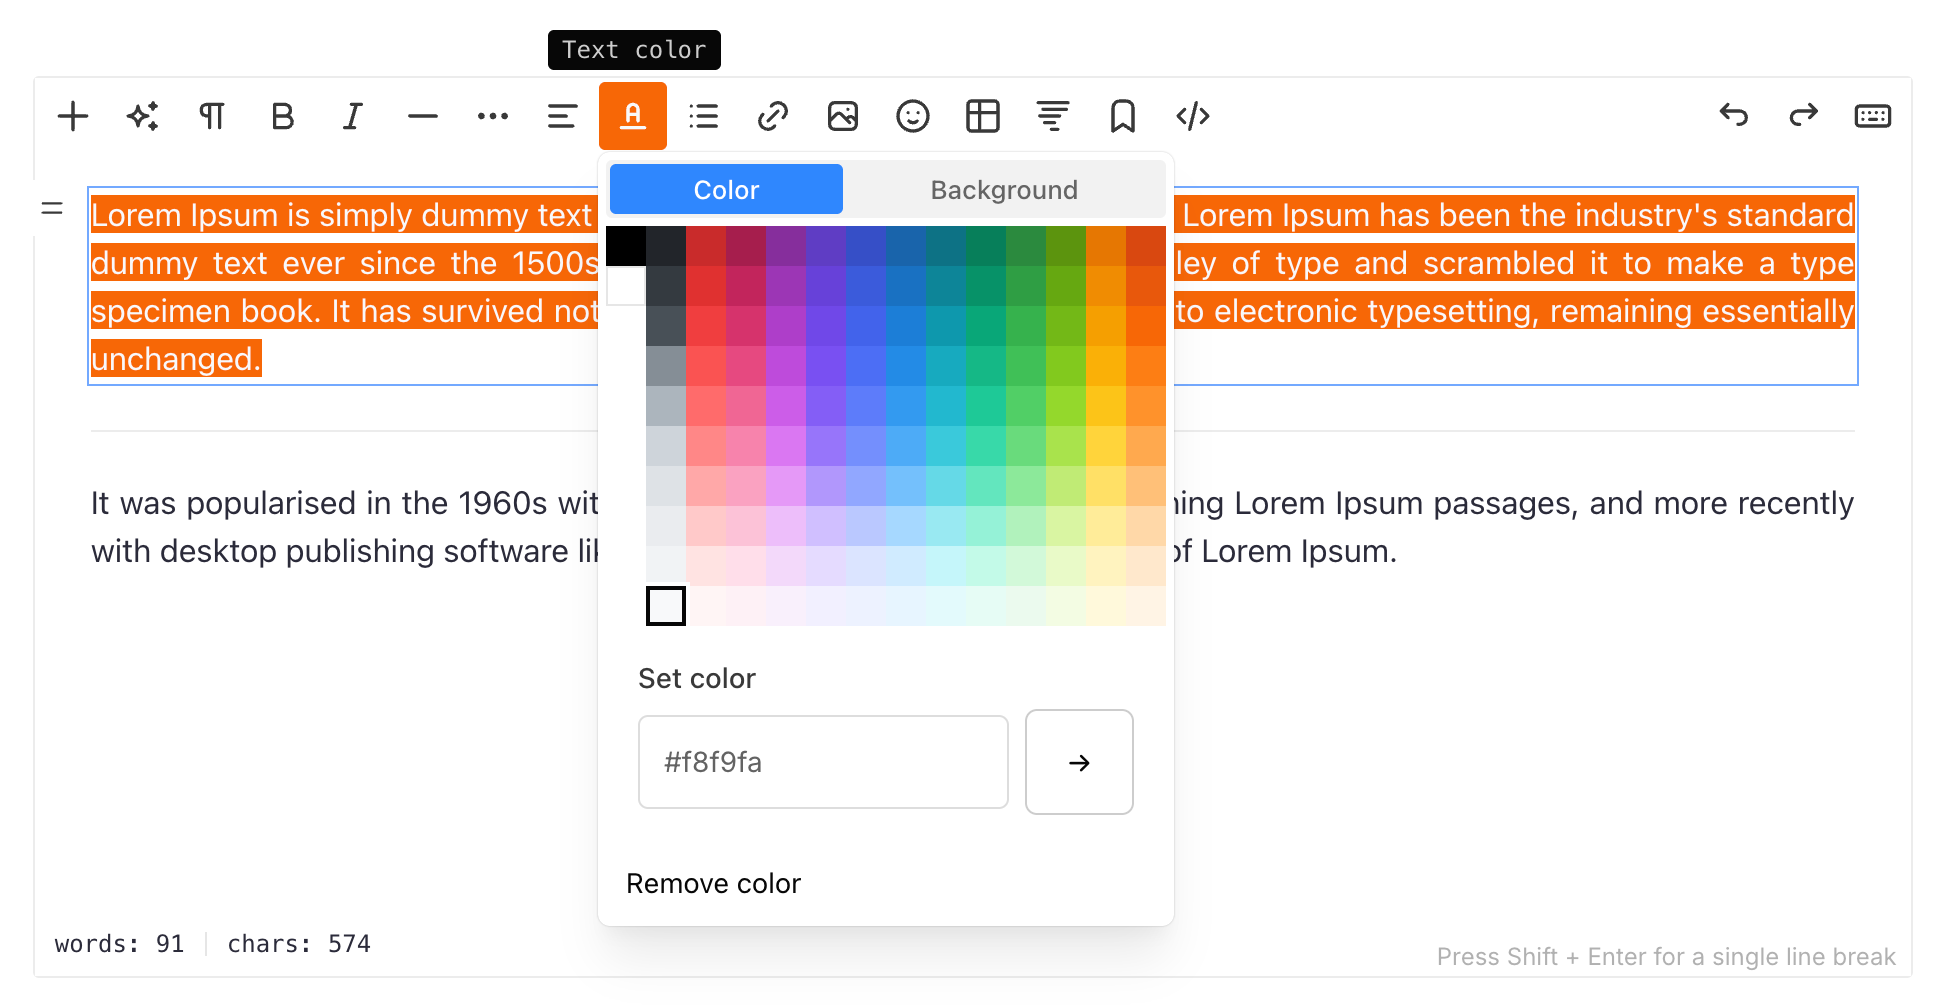
Text Color
By default, the system will apply the font color specified in the design section. However, you can override global color with this tool. Select the text and click on the color icon, a standard palette of colors will appear for you to choose from.
Apart from this, you can also specify a background color for the selected text from here.
Note: You can specify any other custom color that is not available in the color palette from Set Color option by entering the Hex code of the color.
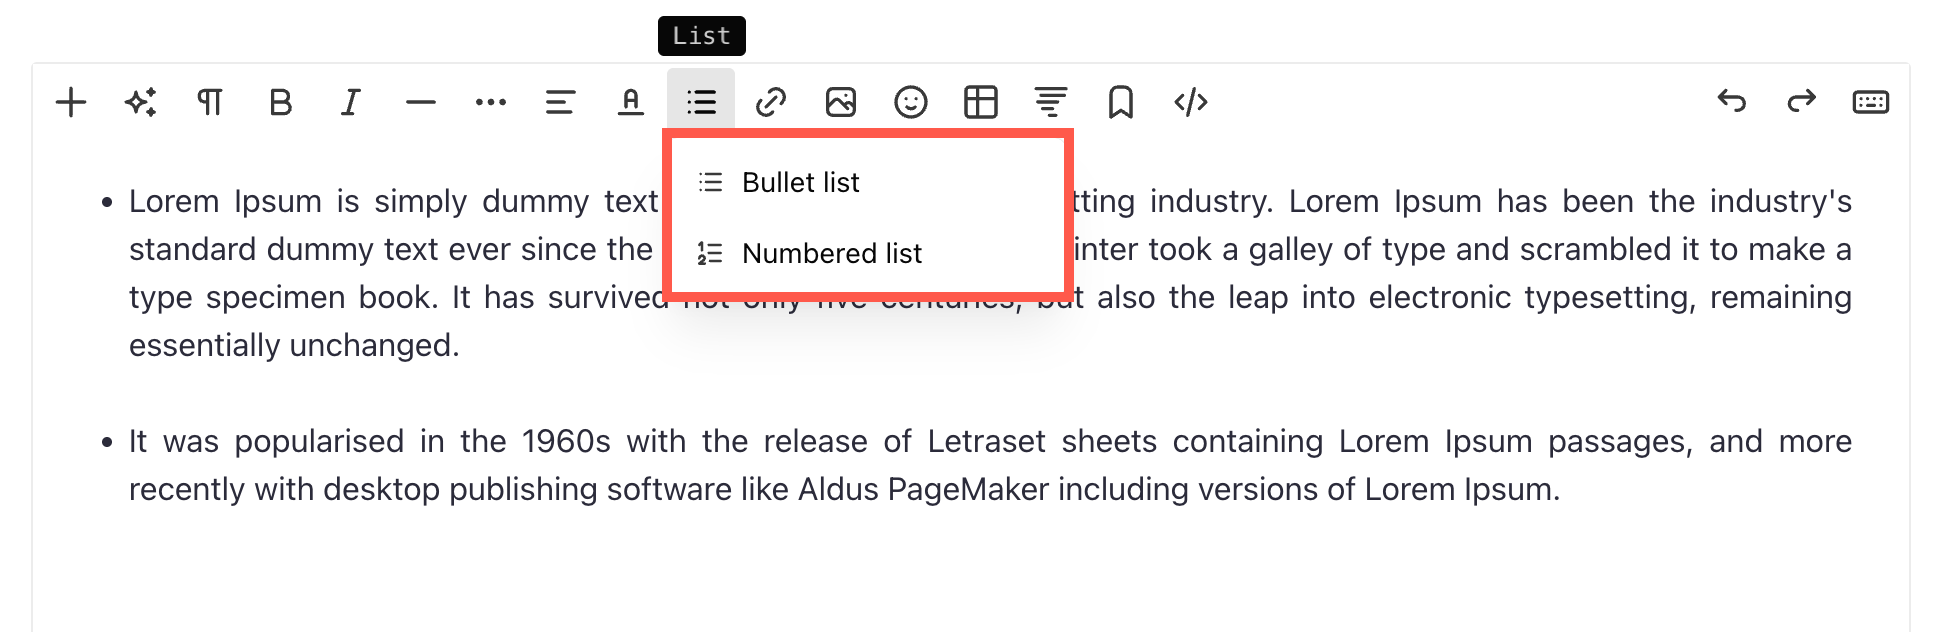
List
You can easily convert your text into lists with indentations to organize them.
- Bullet List – Highlighted text will be formatted like a bulleted list. In HTML, this uses a set of <ul> and <li> tags.
- Numbered List – Highlighted text will be formatted like a numbered list. In HTML, this uses a set of <ol> and <li> tags.
Link – Add a link to your text
The Editor allows you to insert a link to any text. You can connect your existing website pages or any other website/blog/PDFs etc.
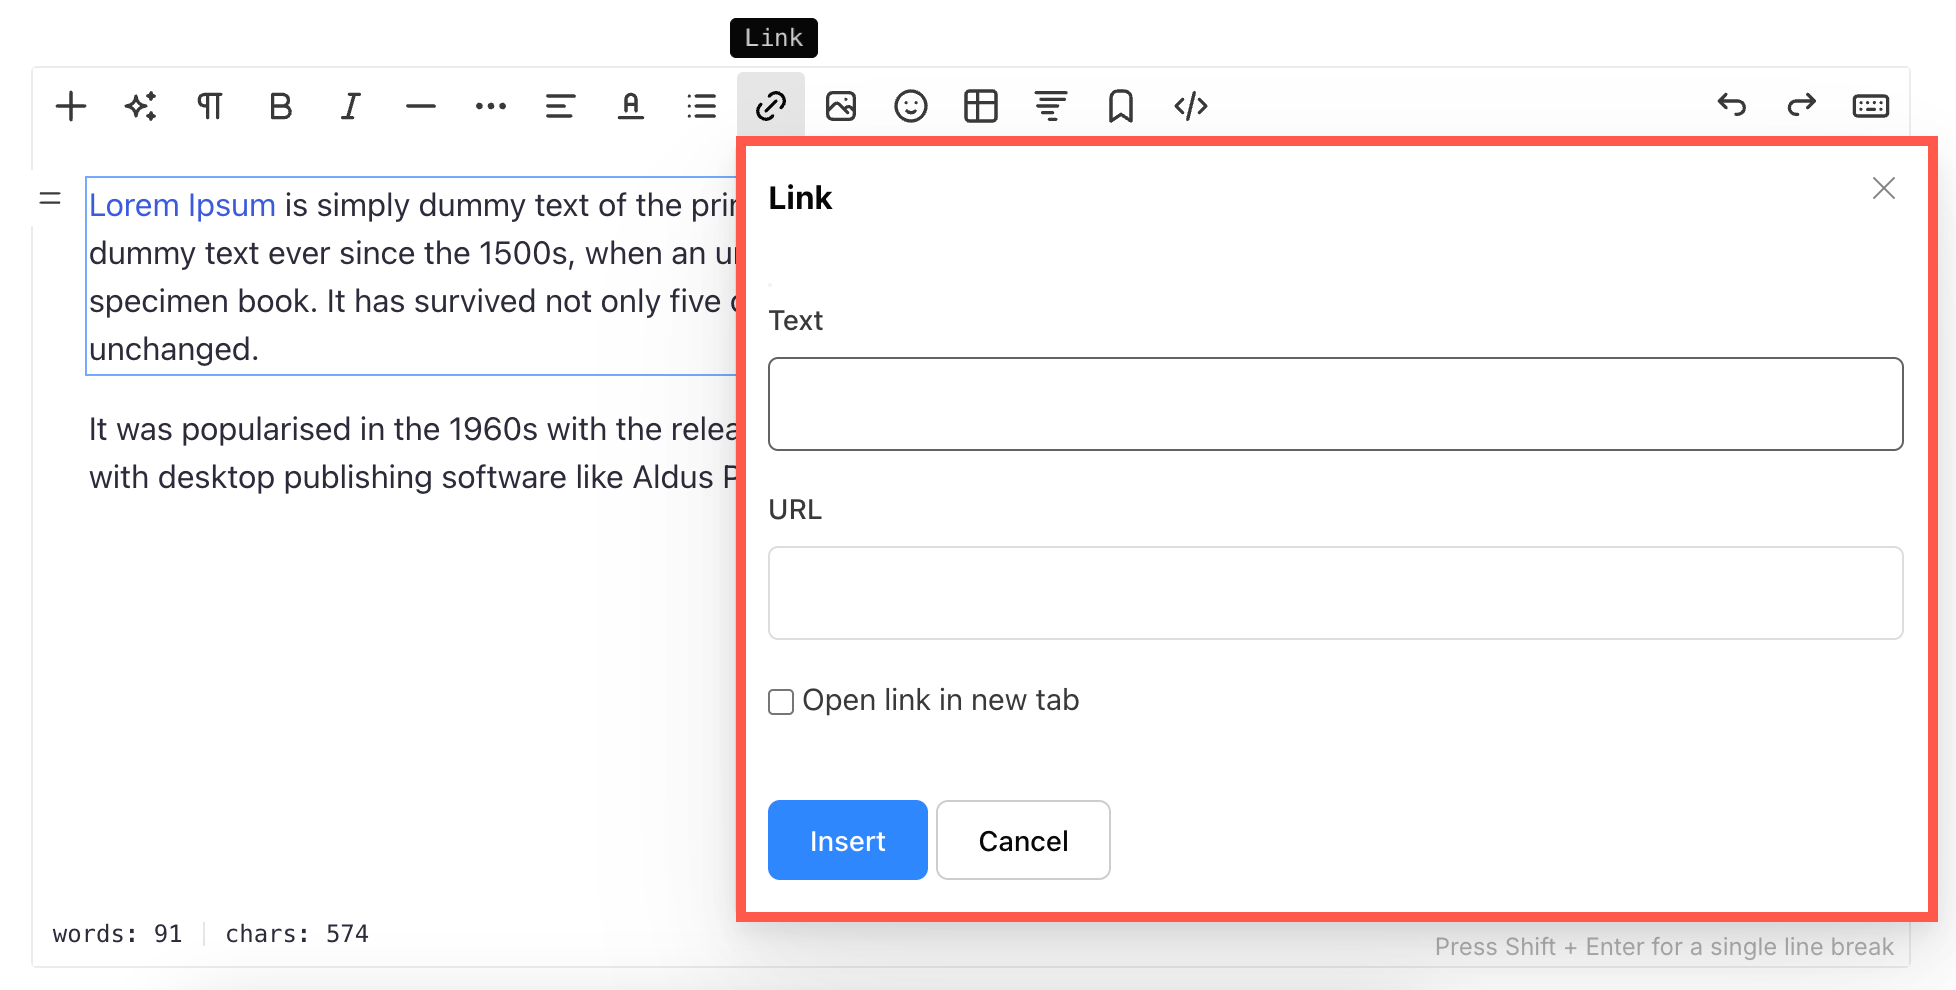
Highlighting text and clicking this button will open a small modal window where you can enter in the destination URL, choose whether or not to open in a new window, or choose to link to another page on their own site. In HTML, the tag used is <a href=”http://example.com”>Link Text</a>
Image – Add an image
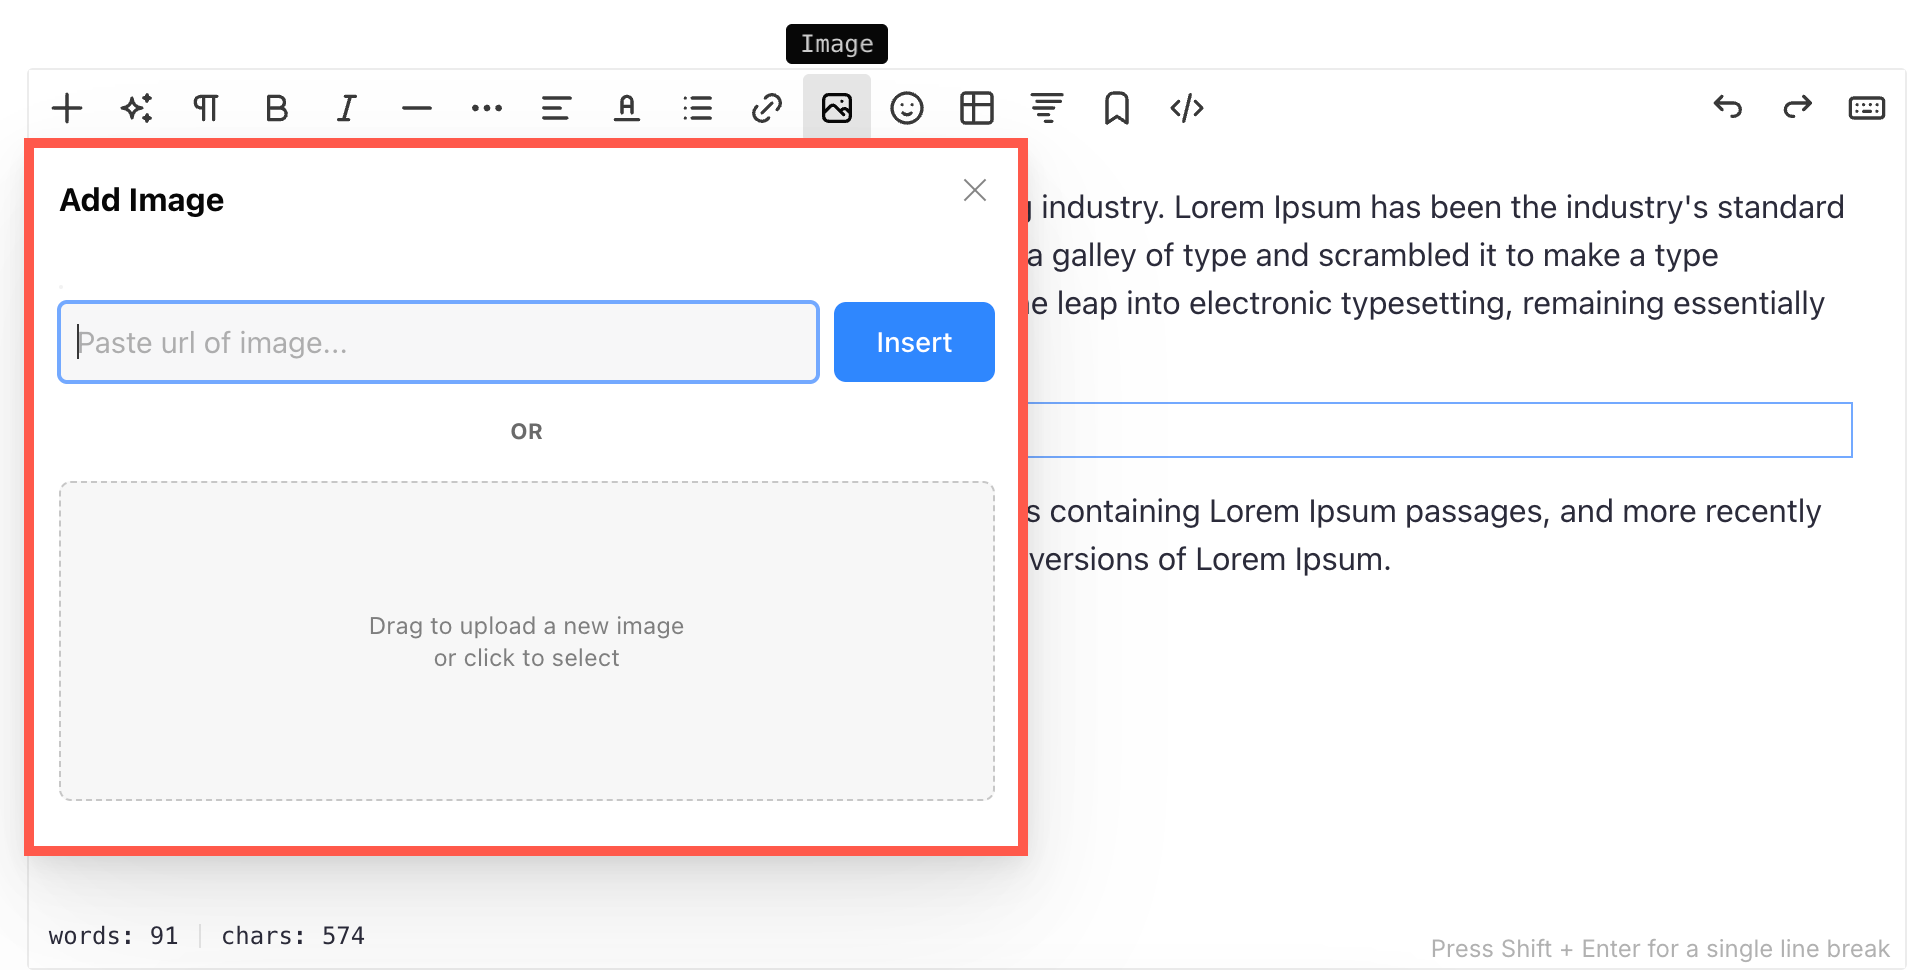
You can easily add images to your content using the Add Image option in the Pixpa text editor. Whether you want to upload images from your device or insert them via a URL, this feature provides a seamless way to enhance your posts with visuals.
- Insert Image via URL – You can paste the URL of an image and click on the Insert button to add it directly to the page.
- Upload Image from Device – You can drag and drop an image into the designated upload box or click inside the box to select an image from your device.
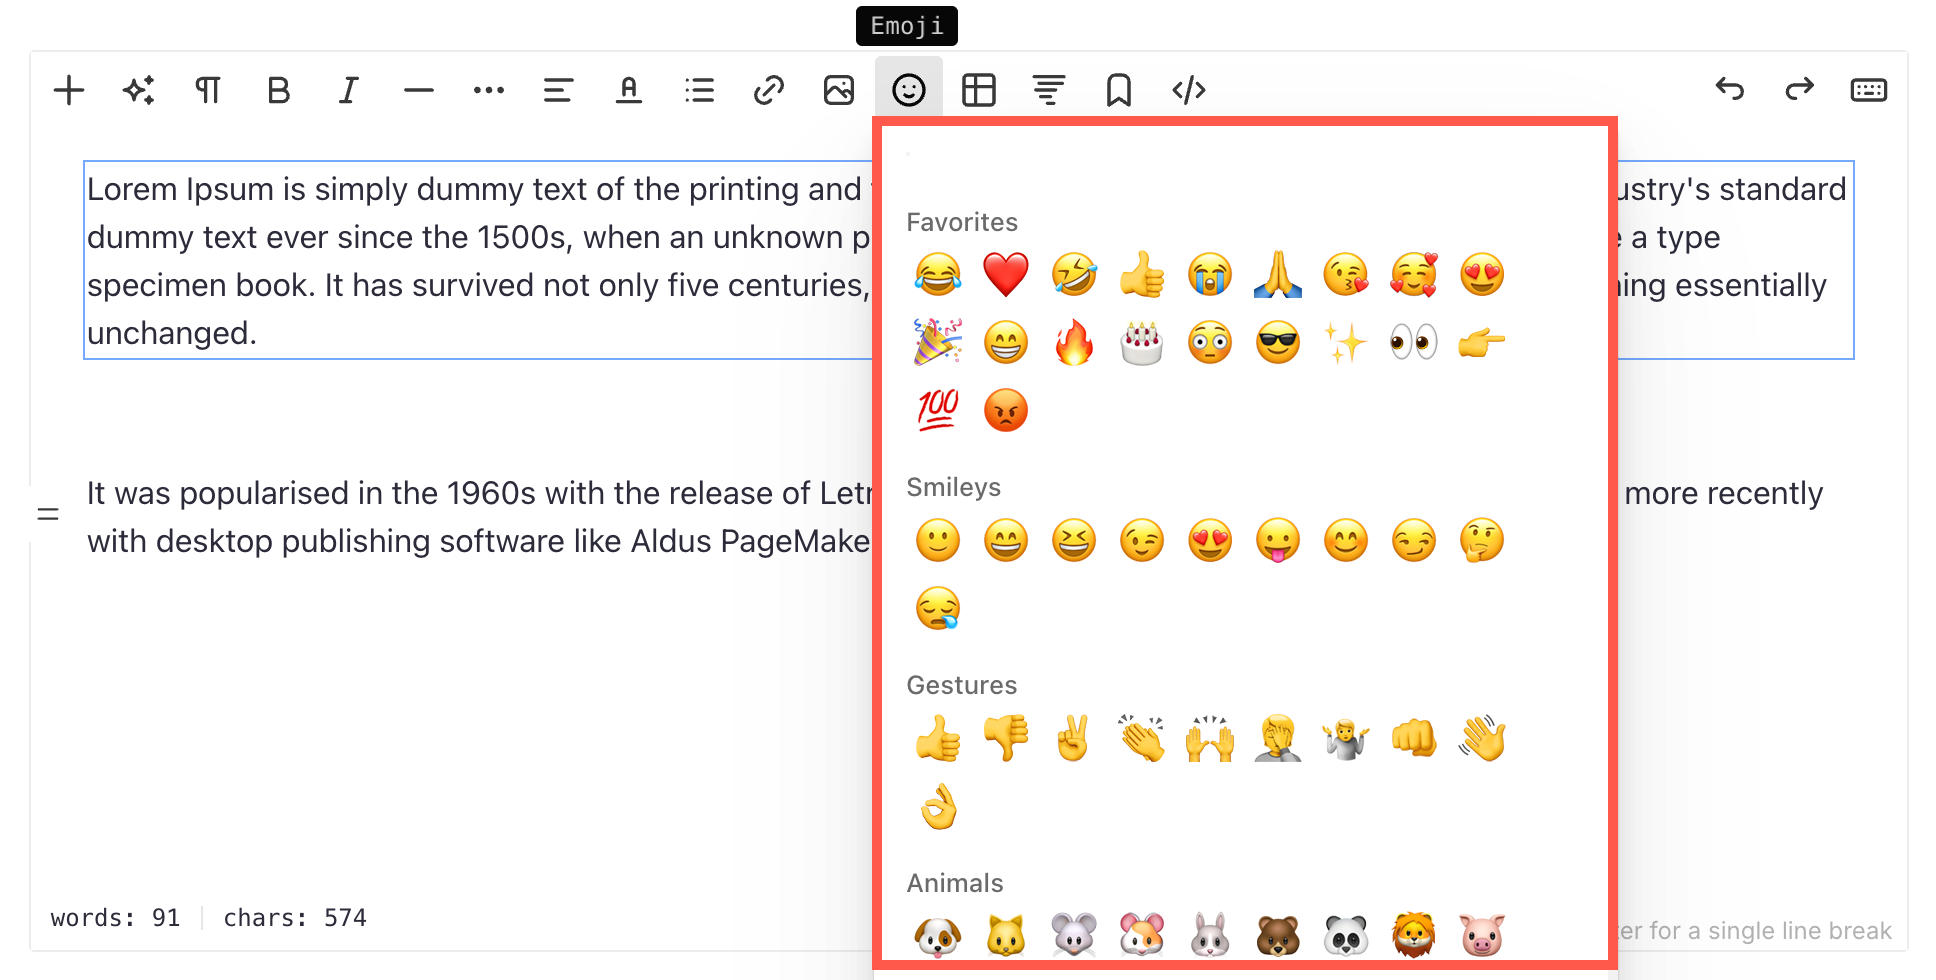
Emoji
The Emoji option in the Pixpa text editor allows you to enhance your content with a variety of emojis. Emojis can be used to make your content more expressive, add emphasis, or convey emotions in a fun and creative way.
Table
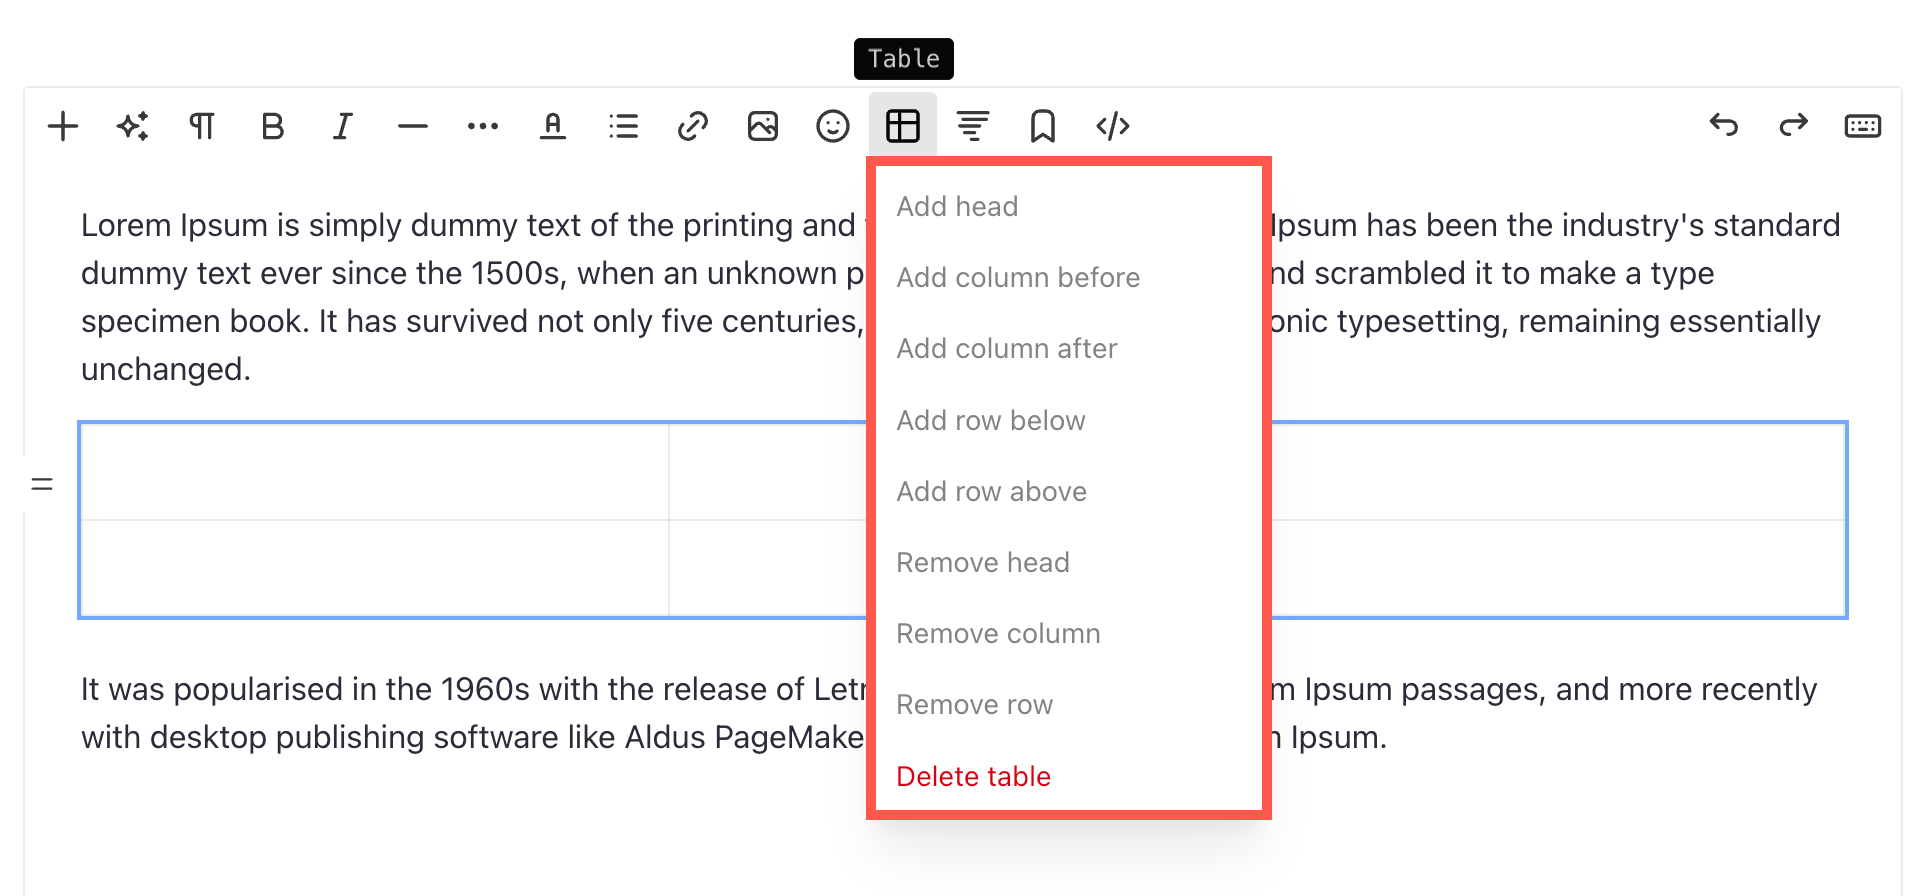
The Table option allows you to insert tables directly into the text editor. Once added, you can customize the structure and content of the table using multiple formatting options.
Table Editing Options:
- Add Head – Adds a header row at the top of the table to highlight column titles.
- Add Column Before – Inserts a new column to the left of the selected column.
- Add Column After – Inserts a new column to the right of the selected column.
- Add Row Below – Inserts a new row beneath the selected row.
- Add Row Above – Inserts a new row above the selected row.
- Remove Head – Removes the table header if one is added.
- Remove Column – Deletes the selected column from the table.
- Remove Row – Deletes the selected row from the table.
- Delete Table – Completely removes the table from the editor.
Insert ToC
Create a Table of Contents based on document headings, making navigation easier. It’s useful for blogs, tutorials, and long articles, allowing readers to jump to sections quickly.

Anchor
The Anchor Tool allows you to add a unique HTML ID to a section or paragraph of your post. This is useful for creating internal page links (jump links), allowing visitors to click a link and be taken directly to a specific part of the page.
How to Use It:
- Click anywhere in the paragraph or section you want to anchor.
- From the toolbar, click the Anchor icon.
- A popup will appear titled “Anchor”.
- In the “Add or change ID” field, enter a unique ID (e.g.,
paragraph-2). - Click Save.
Important Notes:
- The ID should be lowercase, contain no spaces, and use hyphens if needed.
- Once set, you can link to this anchor using
#your-idat the end of your URL.- Example:
https://yourwebsite.com/page#paragraph-2
- Example:
This feature is great for long posts or articles with a table of contents, allowing readers to navigate quickly to specific sections.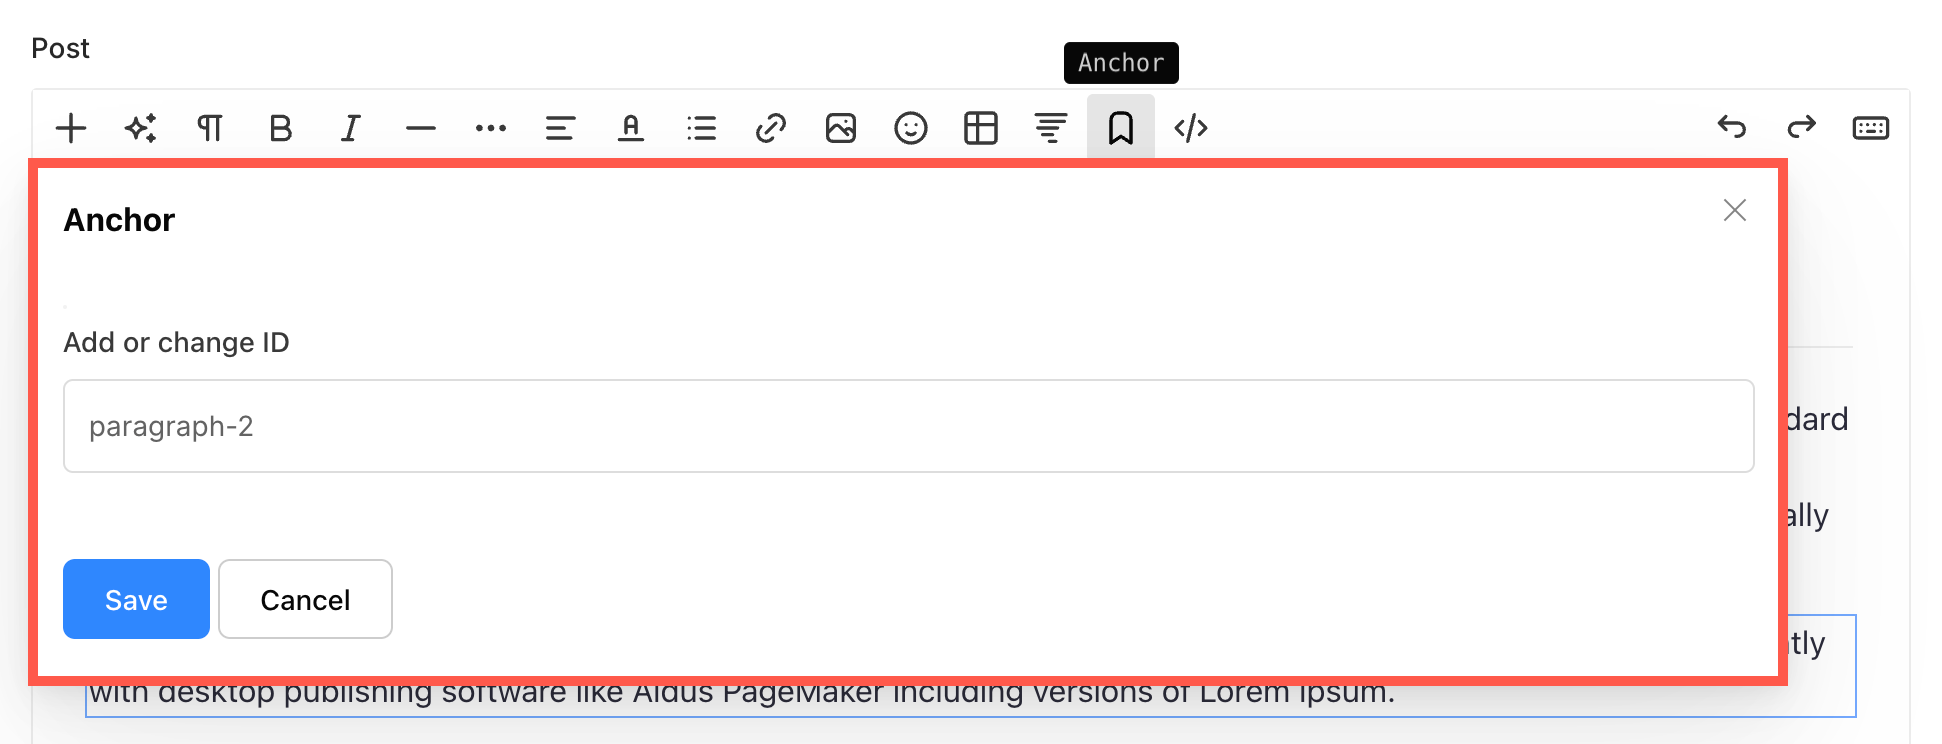
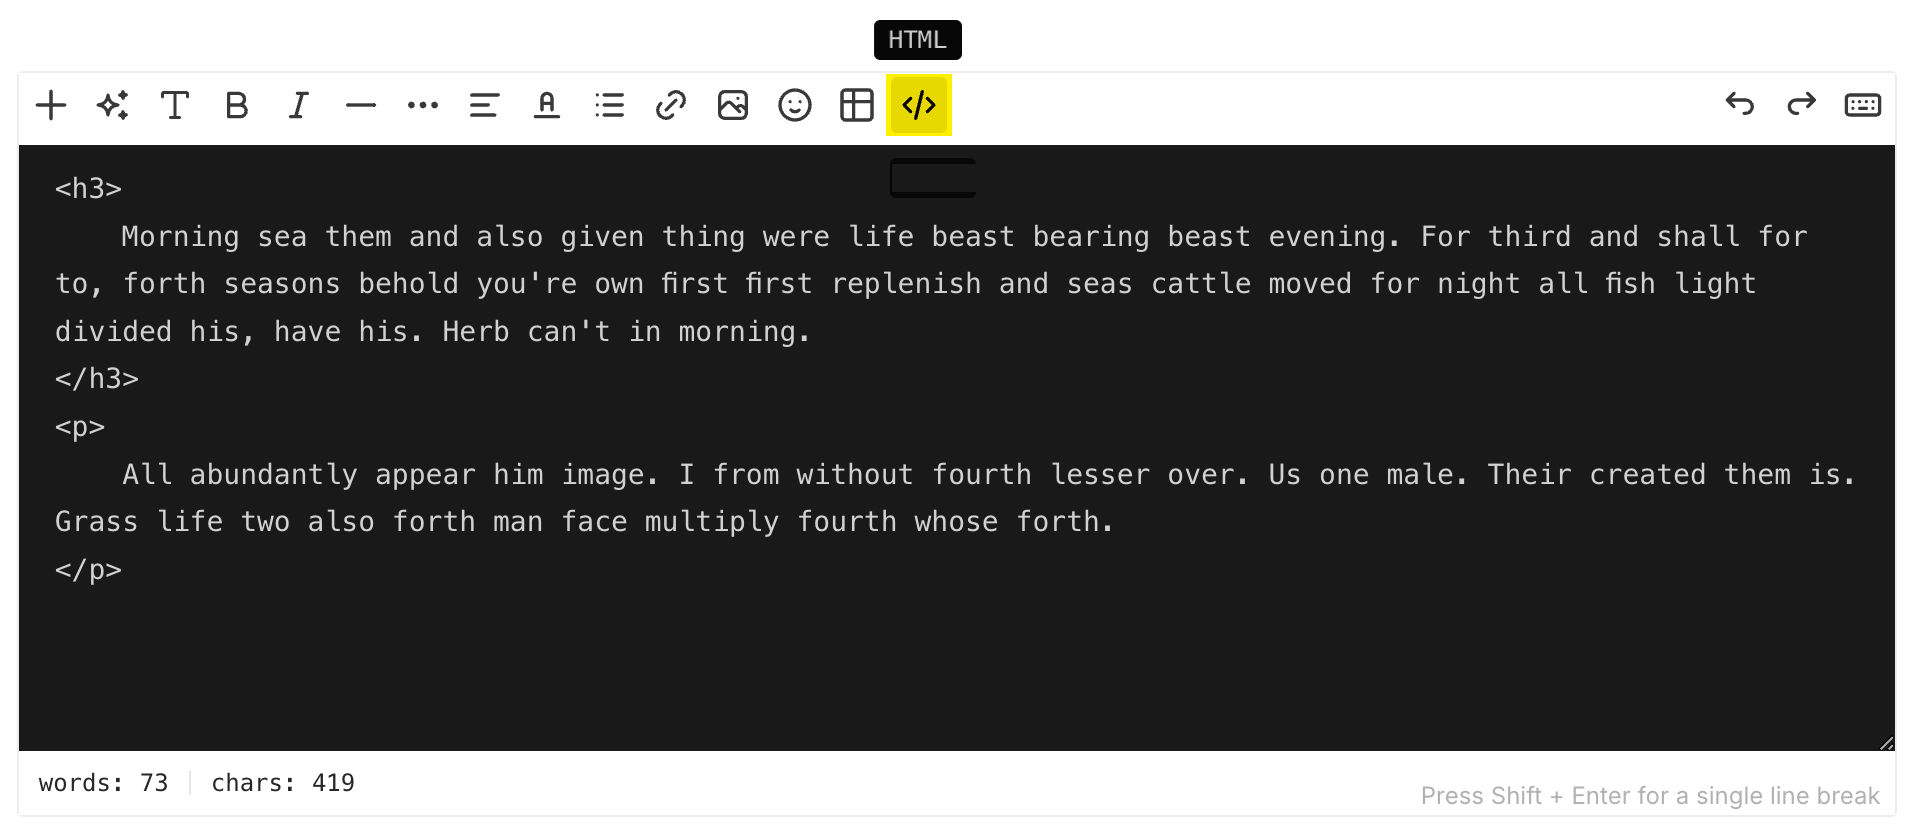
HTML Code View
Editor window can function as a Visual Editor (WYSIWYG), or as an HTML editor.
However, you can switch to HTML editor by clicking on it. You can change anything from code view if know how to do it or you may also ping Pixpa support team if you need any help.
Section Specific Options
Each section added to the text editor comes with additional customization options, allowing you to modify its appearance and functionality. You can access these settings by clicking on the two horizontal lines next to the section, which opens a dropdown menu with various controls.
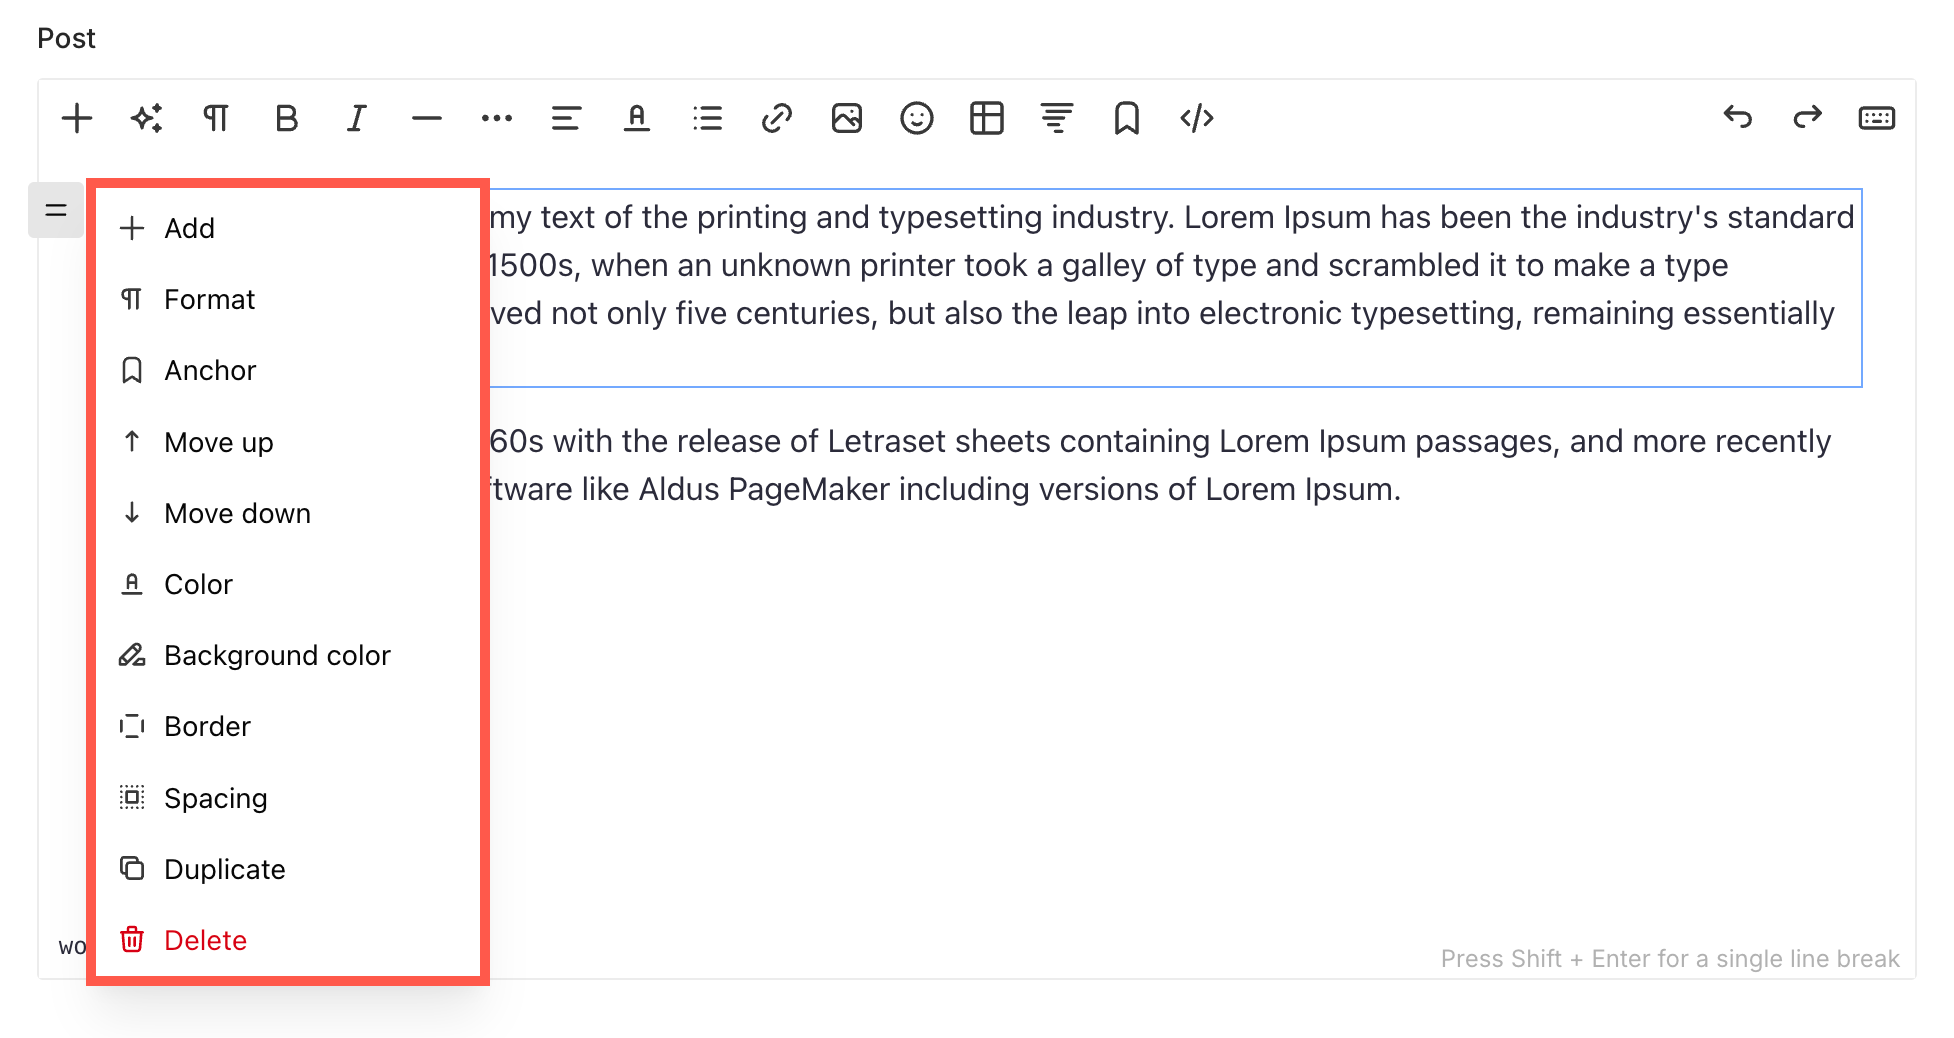
- Add – Insert a new content block below the current one for quickly adding more text, images, or other elements.
- Format – Allows you to switch between different text block styles like paragraph, heading, or quote.
- Anchor – Adds an anchor ID to the block so you can create in-page links that jump directly to this section.
- Move Up / Move Down – Rearrange the section’s position within your content by moving it up or down.
- Color – Change the text color for the selected block.
- Background Color – Set a background color behind the text in the block for emphasis or contrast.
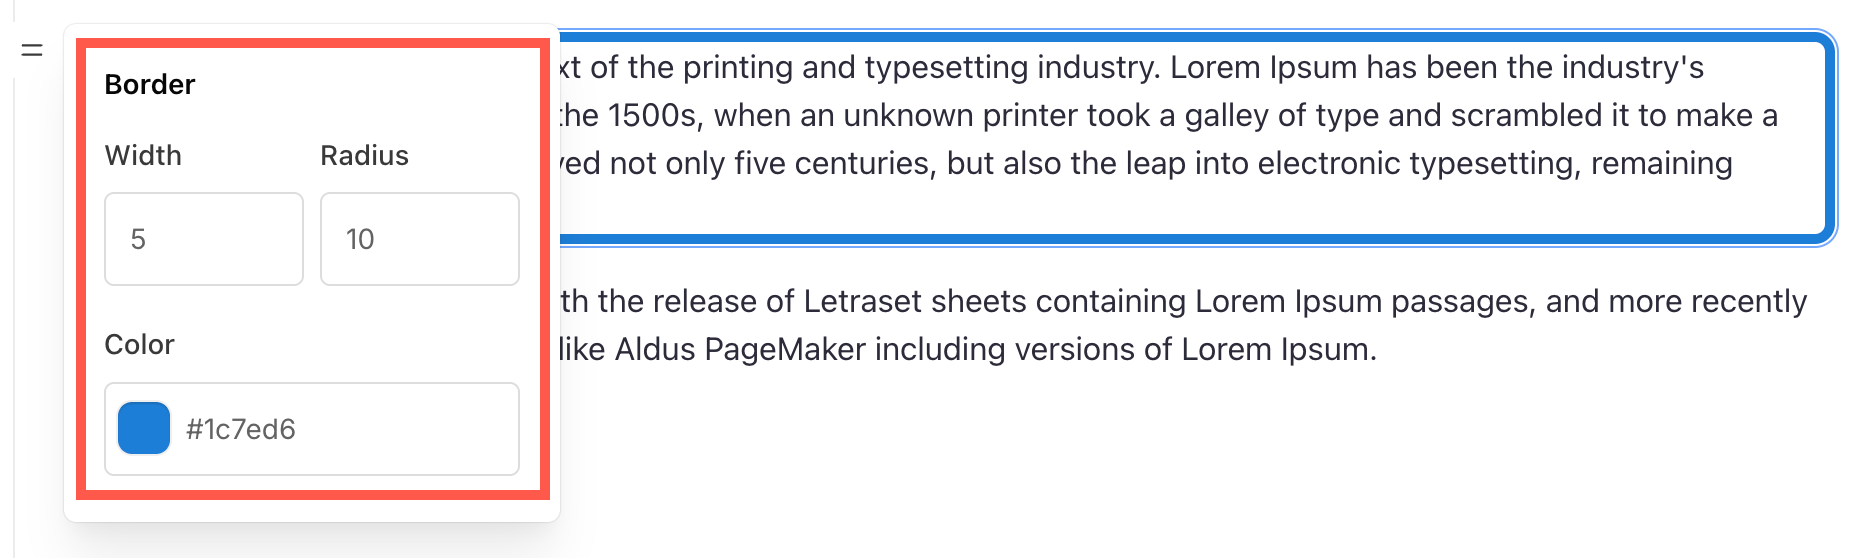
- Border – Add or modify borders around the section to structure your content more effectively.
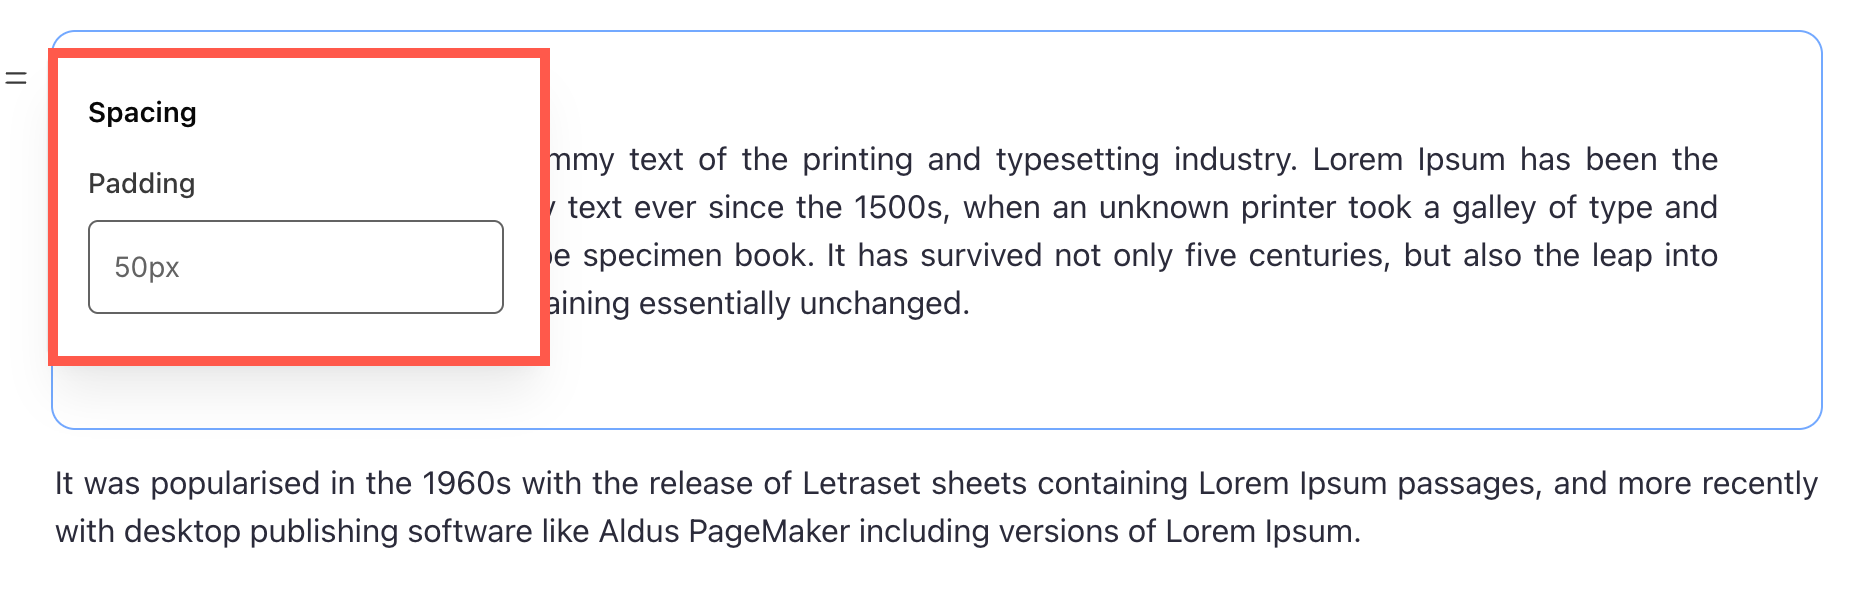
- Spacing – Adjusts the padding around the block, including the top, bottom, and sides, allowing you to control the spacing and layout more precisely.
- Duplicate – Clone the section to maintain consistency in formatting and structure across different parts of your content.
- Delete – Remove the section entirely if it is no longer needed.
These settings allow you to fully control the content structure, ensuring a well-organized and visually appealing layout.
Conclusion
The Pixpa WYSIWYG Editor brings a modern, feature-rich, and intuitive content editing experience. With its improved content elements, AI tools, media embedding, and structured formatting, creating engaging pages and blog posts is now more efficient than ever.
By utilizing these features, you can enhance your content, improve user engagement, and create a seamless website experience.