Pixpa allows you to change the layout of the product listing page and product detailed page. Do check out the below links to see the difference between them:
Apart from the layout, you can manage the grid spacing of the products, default product listing order, product listing, and sorting options, product images, product Title/Metadata Font, and many other options.
Manage the Product Listing page design:
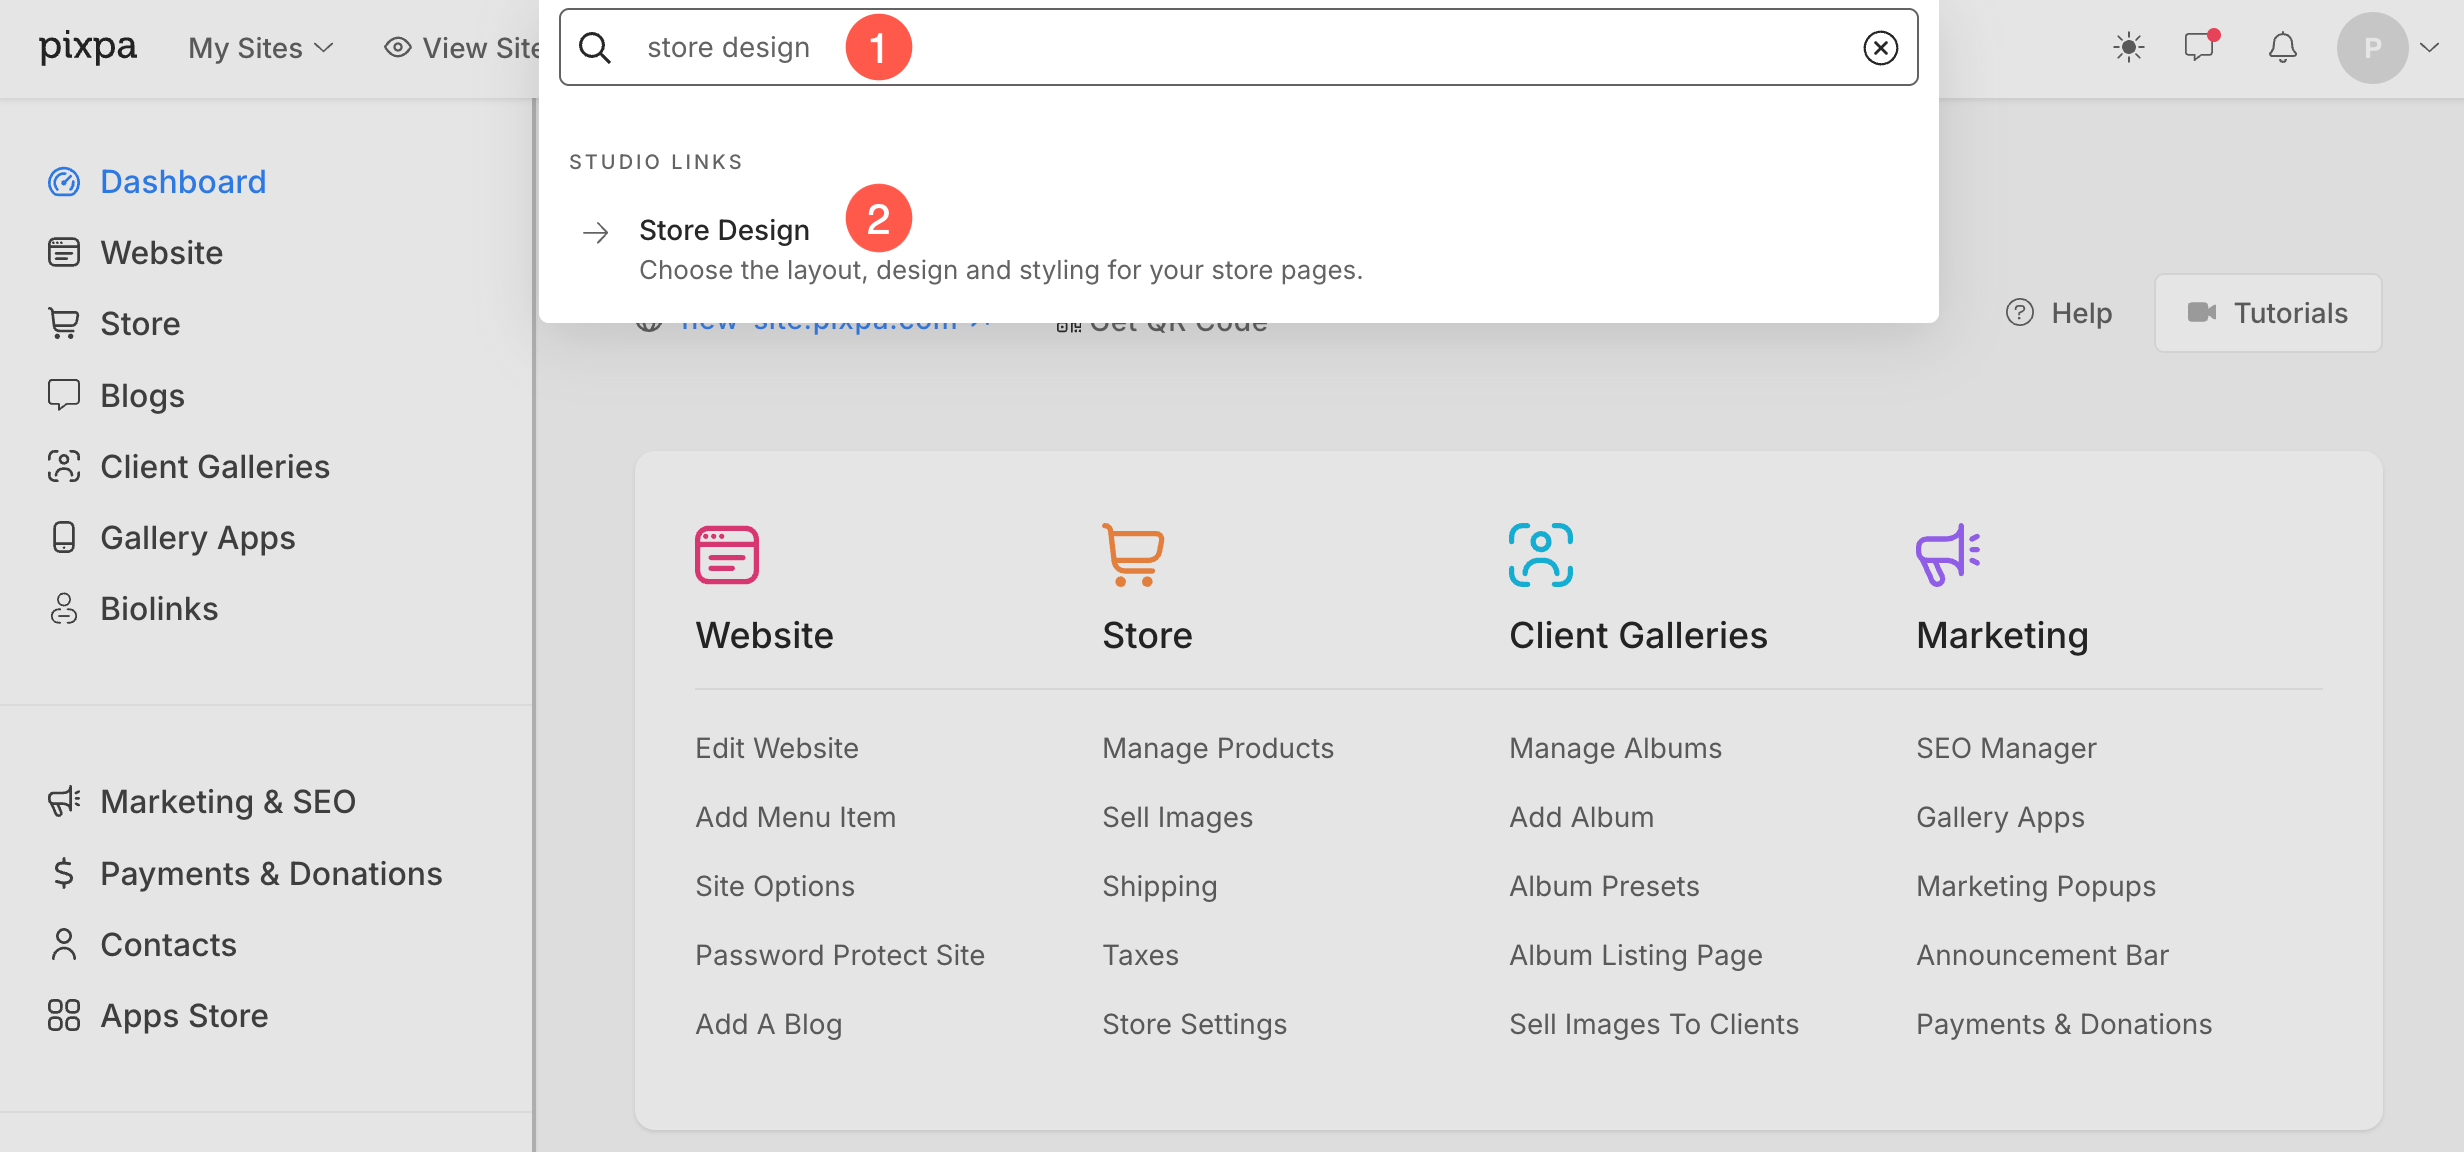
- Enter store design (1) in the Search Bar.
- From the related results, click on the Store Design option (2) under Studio Links.
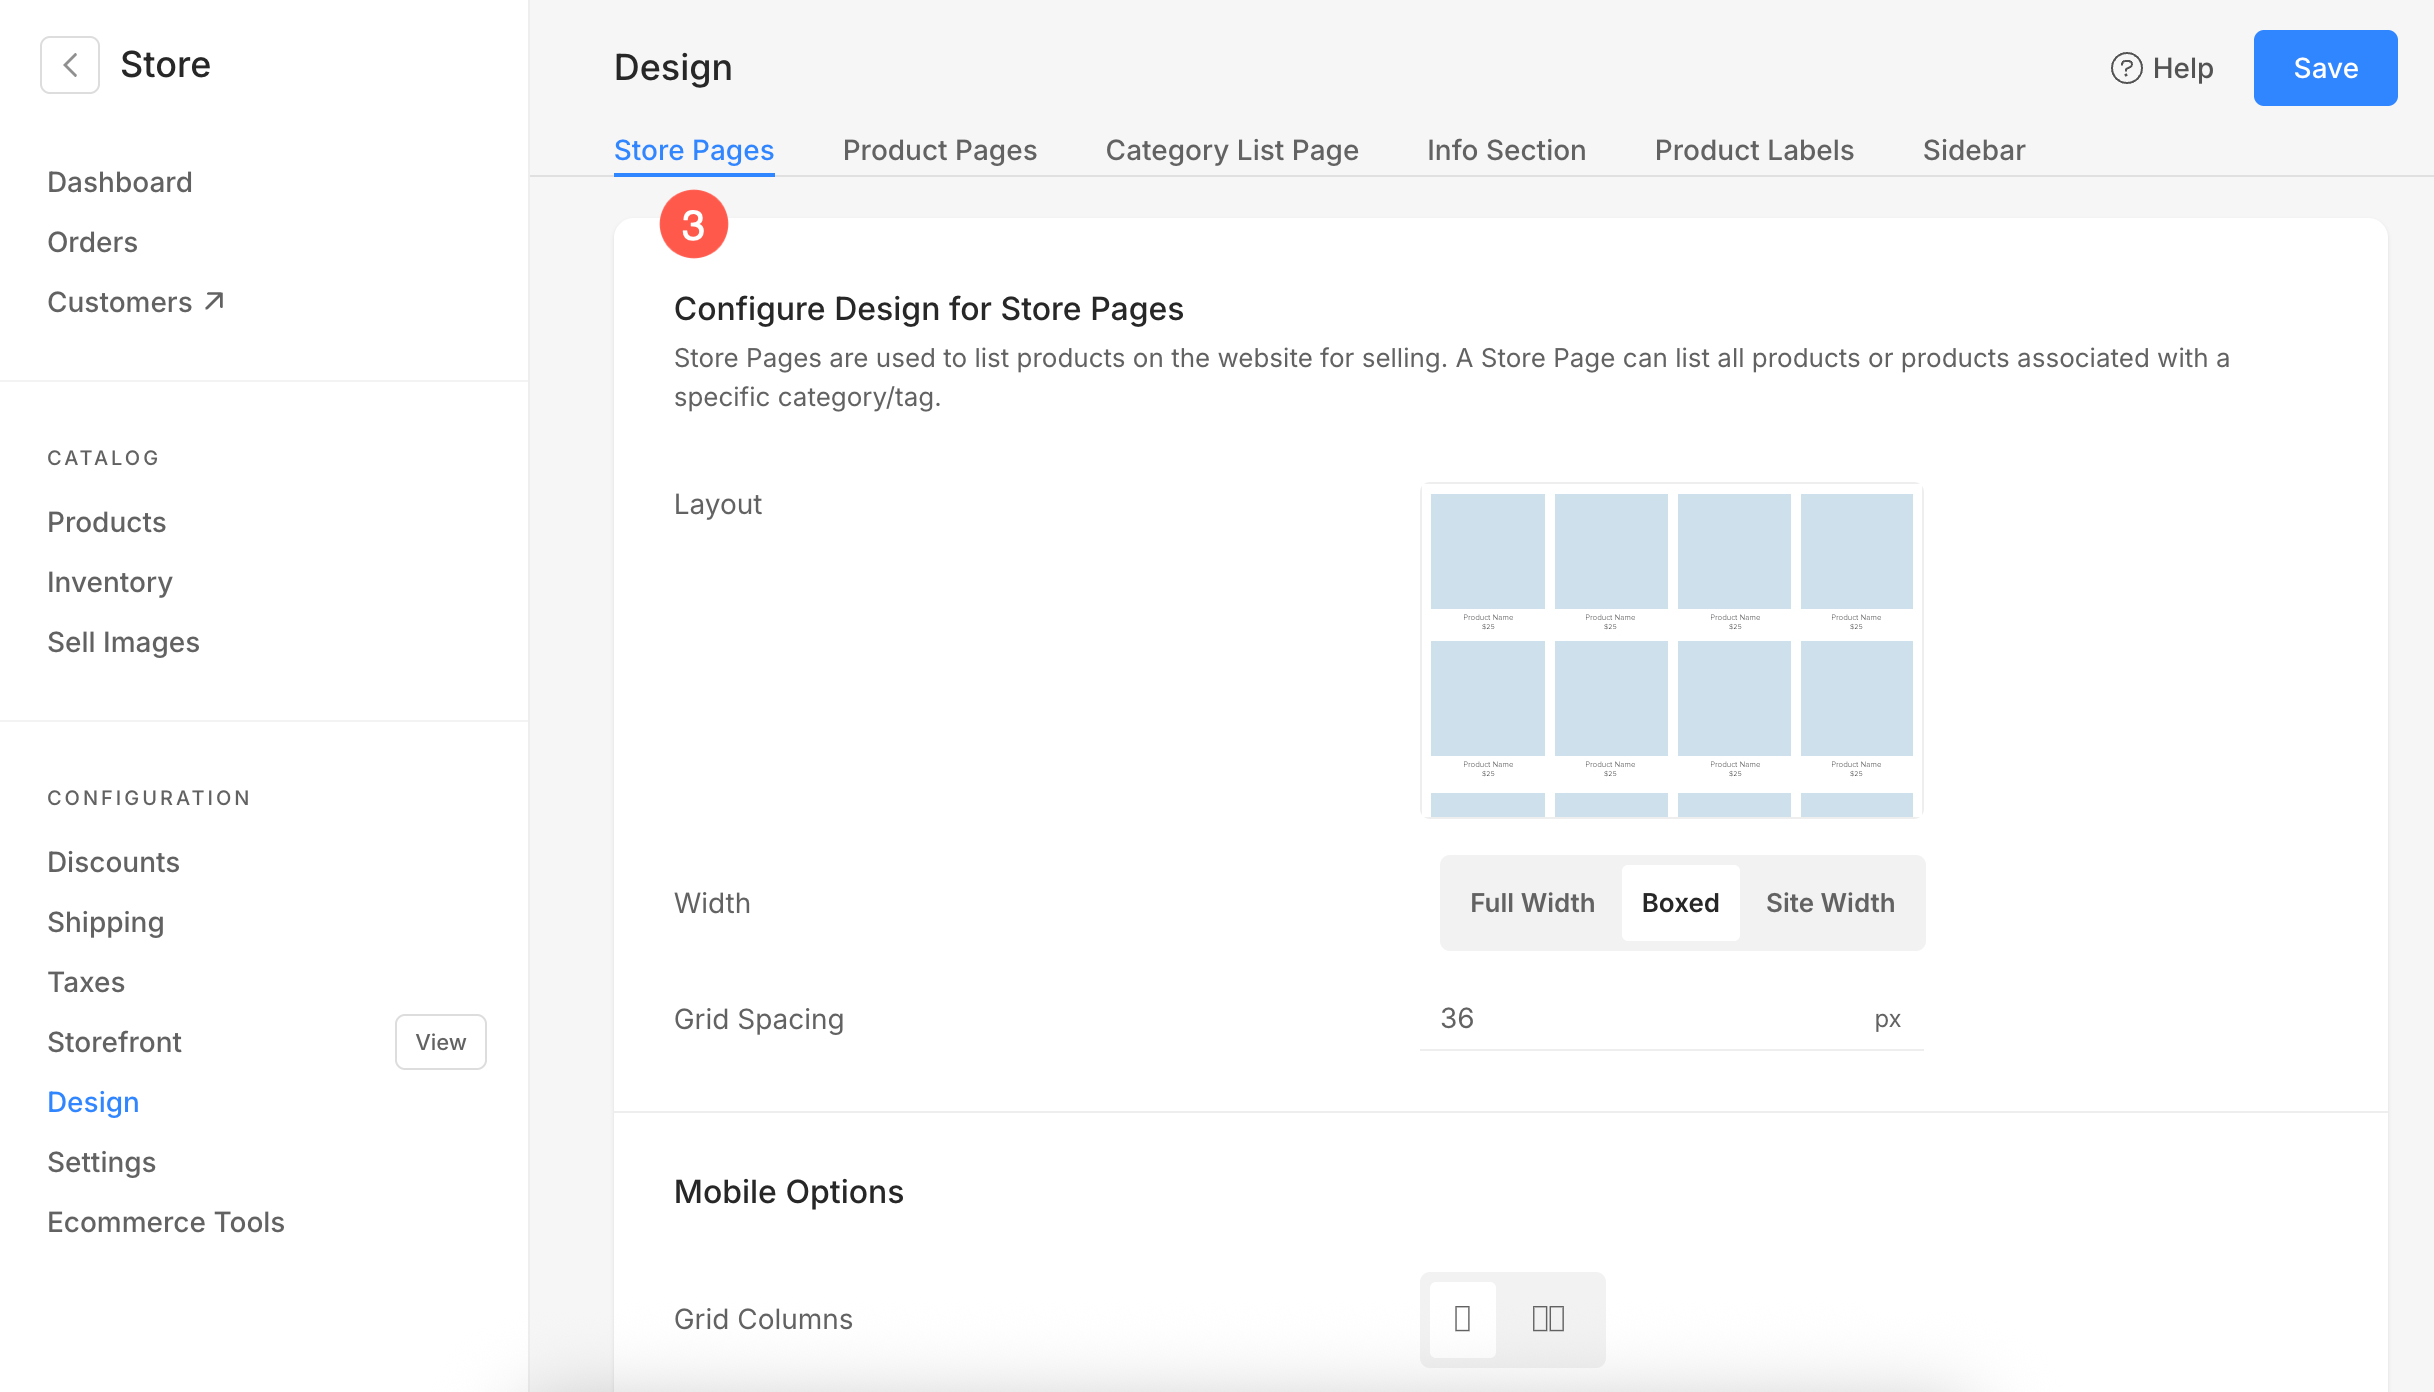
- Now, from the Store Pages (3) tab, you would see the design options for the product listing page.
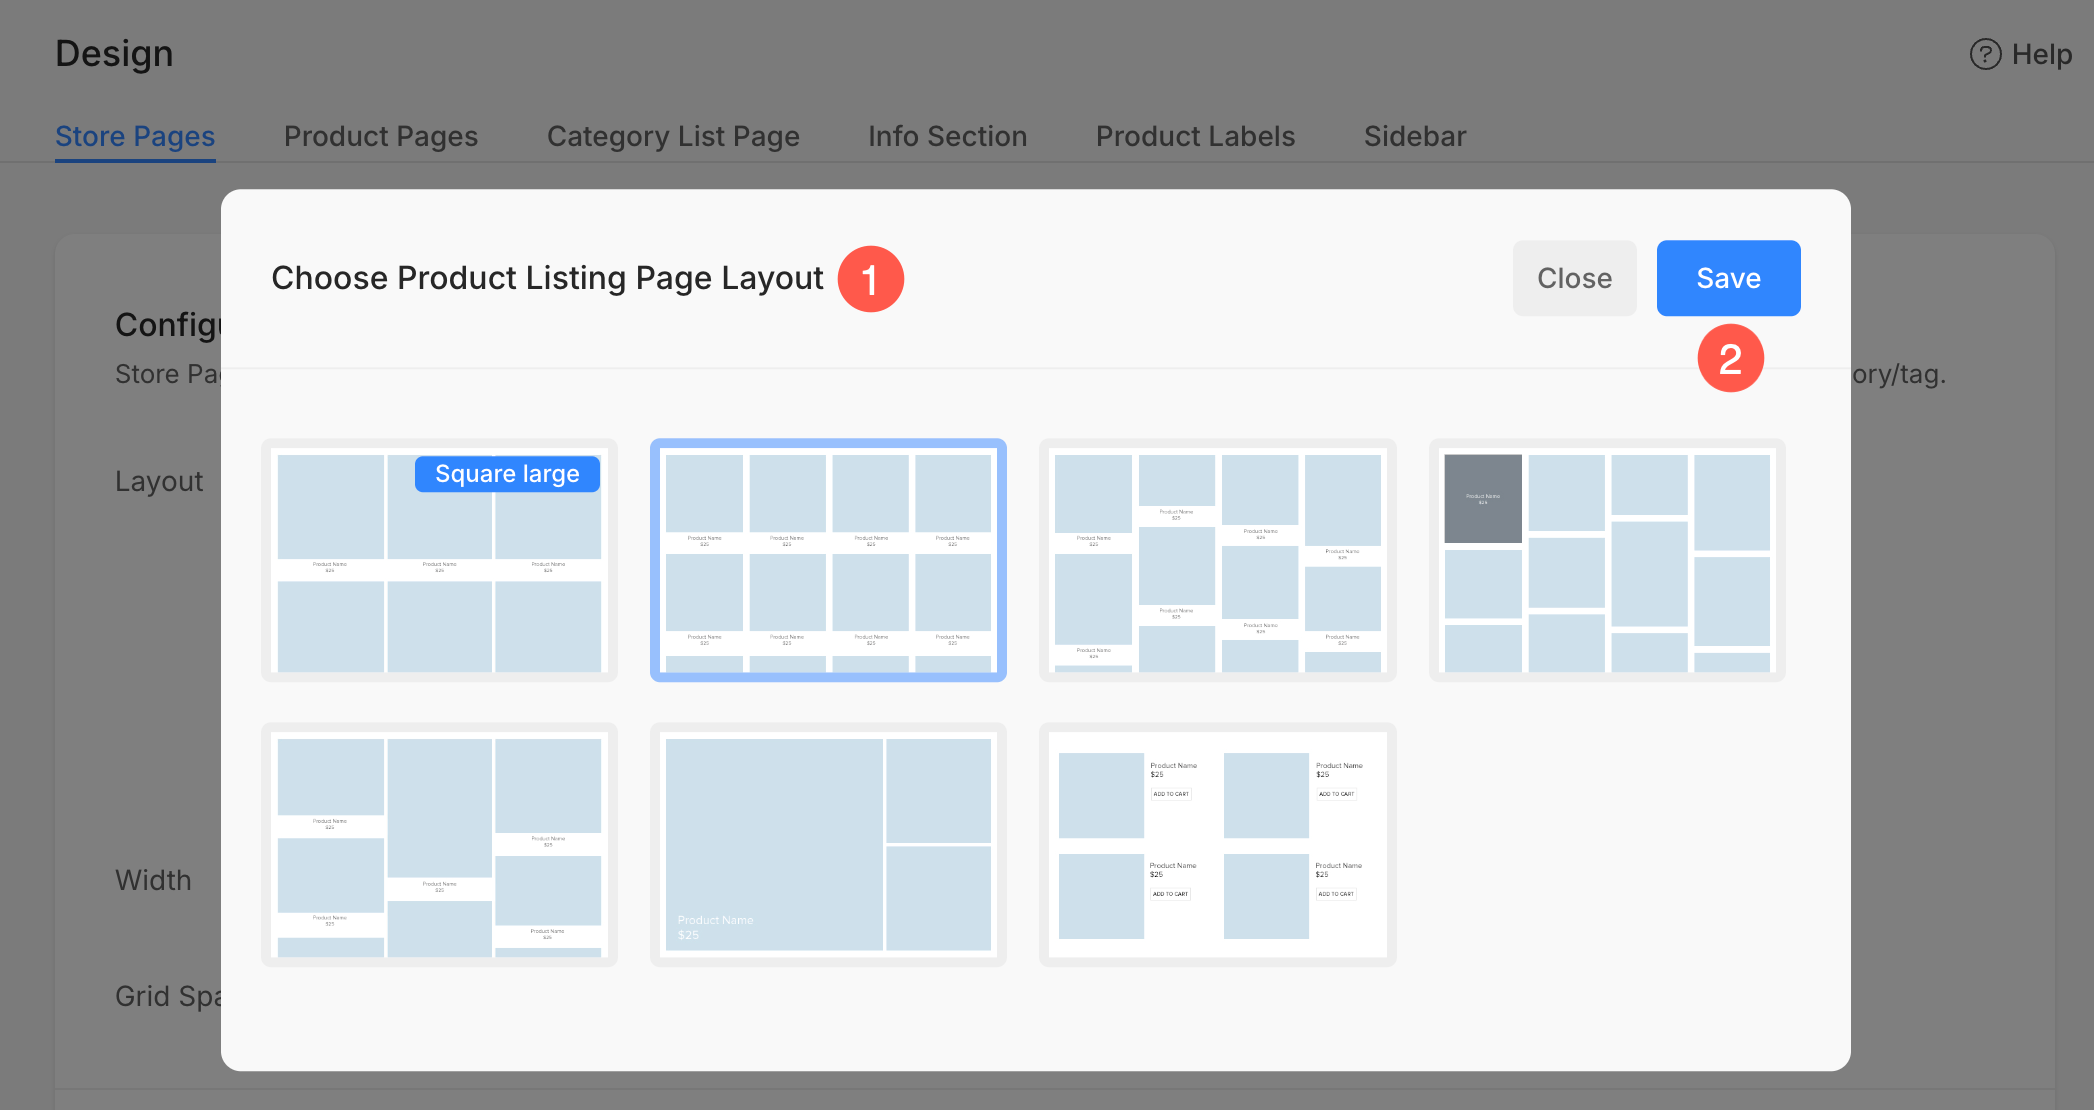
This would take you to the layout page, from where you can choose the layout for your product listing page.
The available options here can be categorized as:
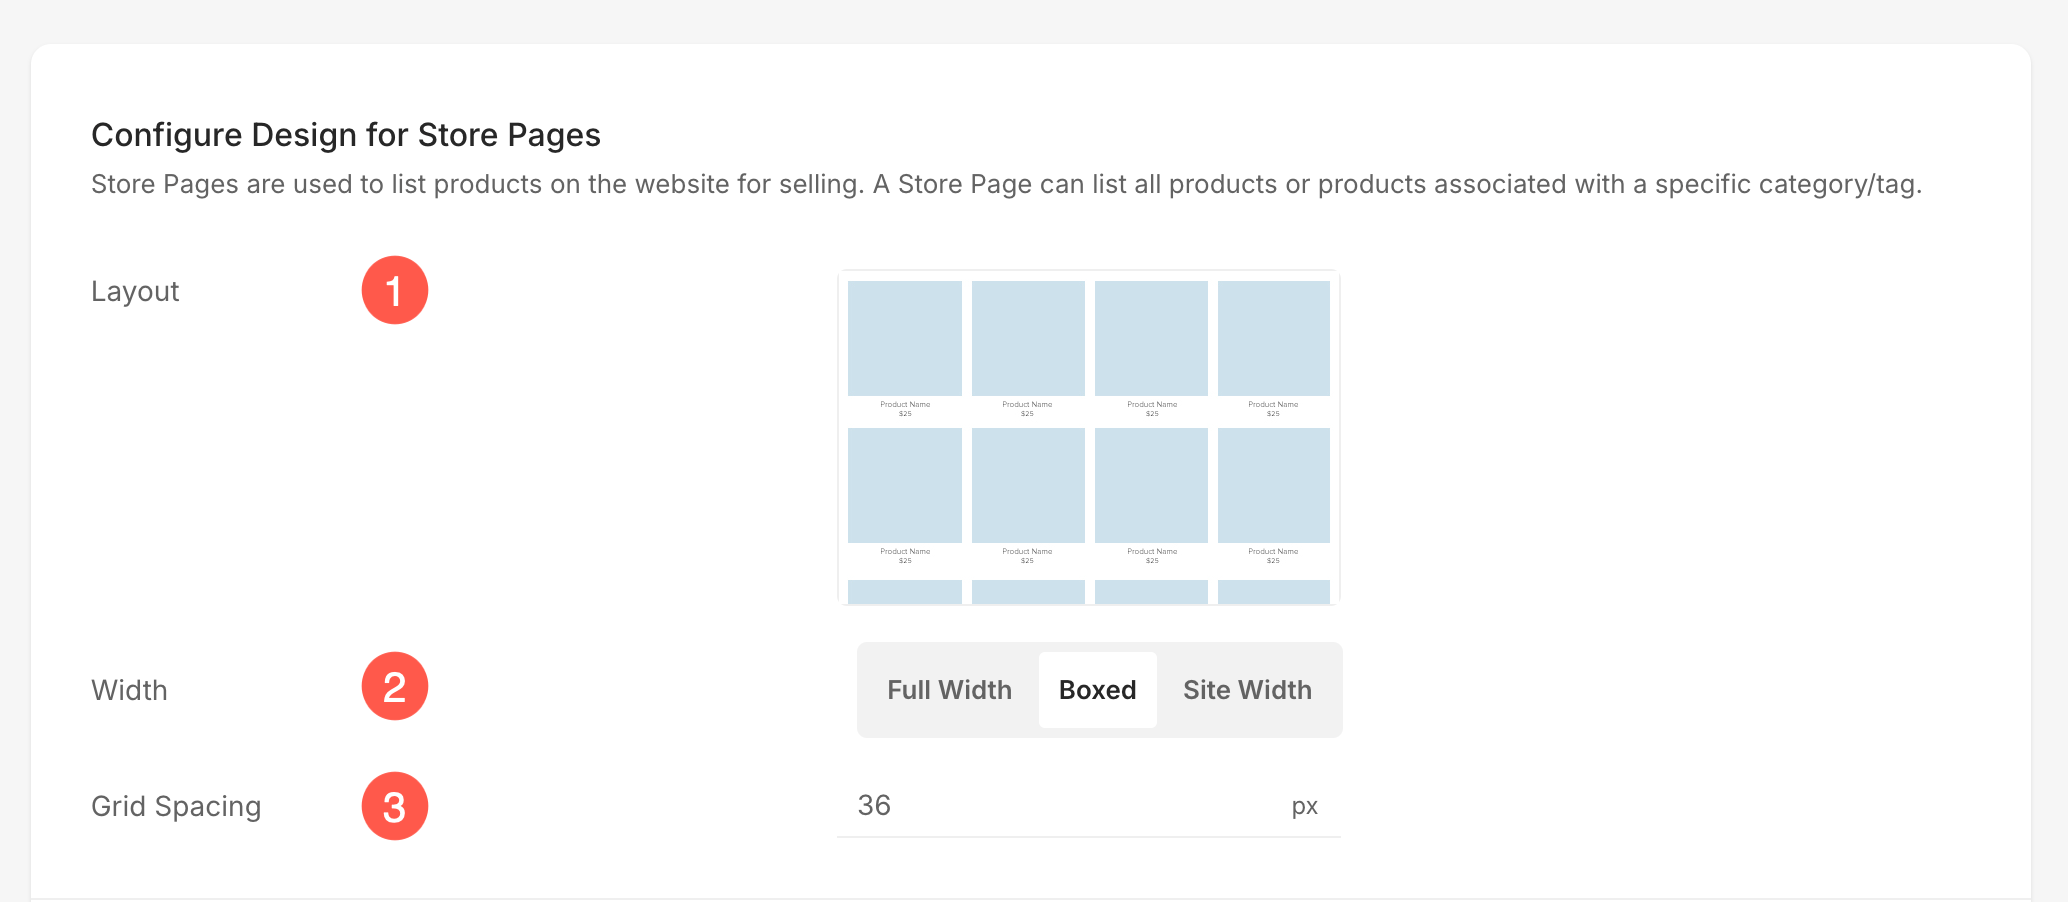
Configure Design for Store Pages
- Layout – Choose the layout for the product listing page (1) and hit the save (2) button.
- Width – Choose the width of the product listing page.
- Grid Spacing – Manage the spacing between the products on the product listing page.
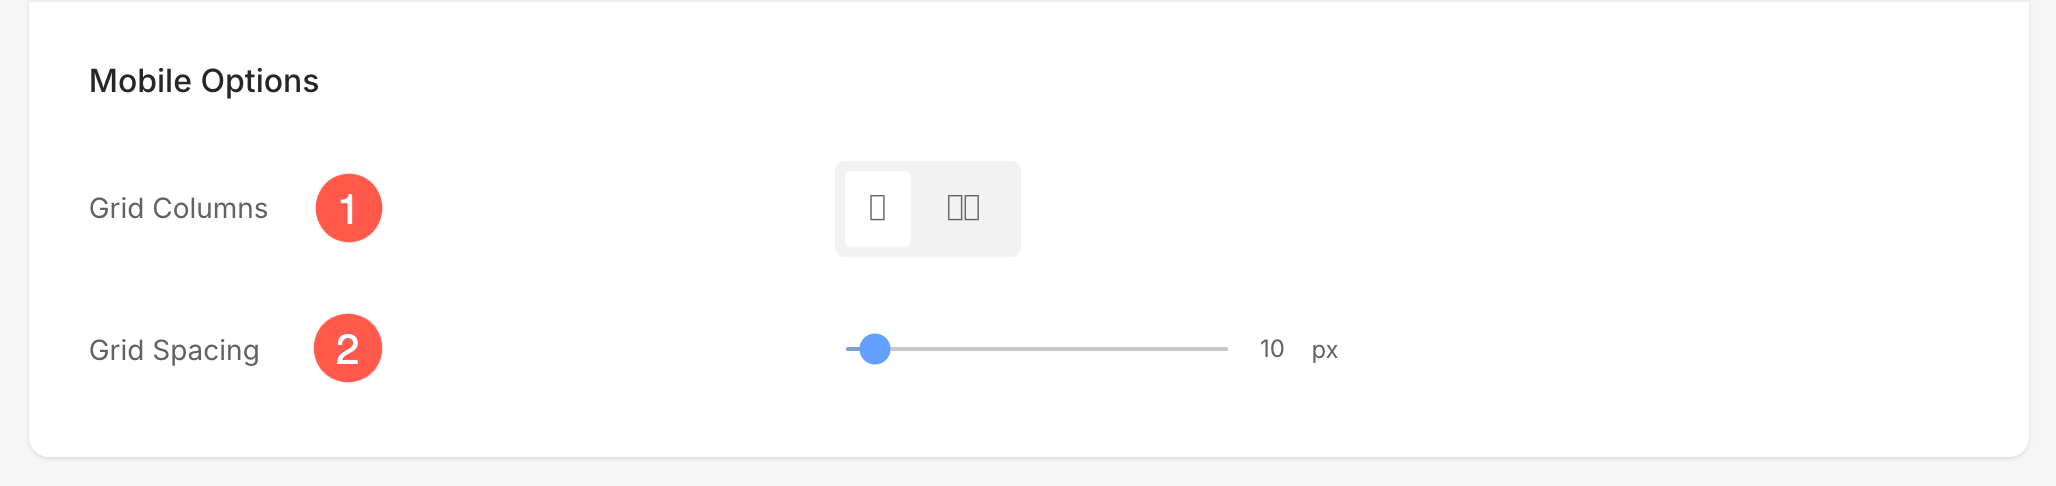
Mobile Options
- Grid Columns – Choose the number of grid columns in the product listing page for the mobile view.
- Grid Spacing – Specify the grid gutter/spacing for the mobile view.
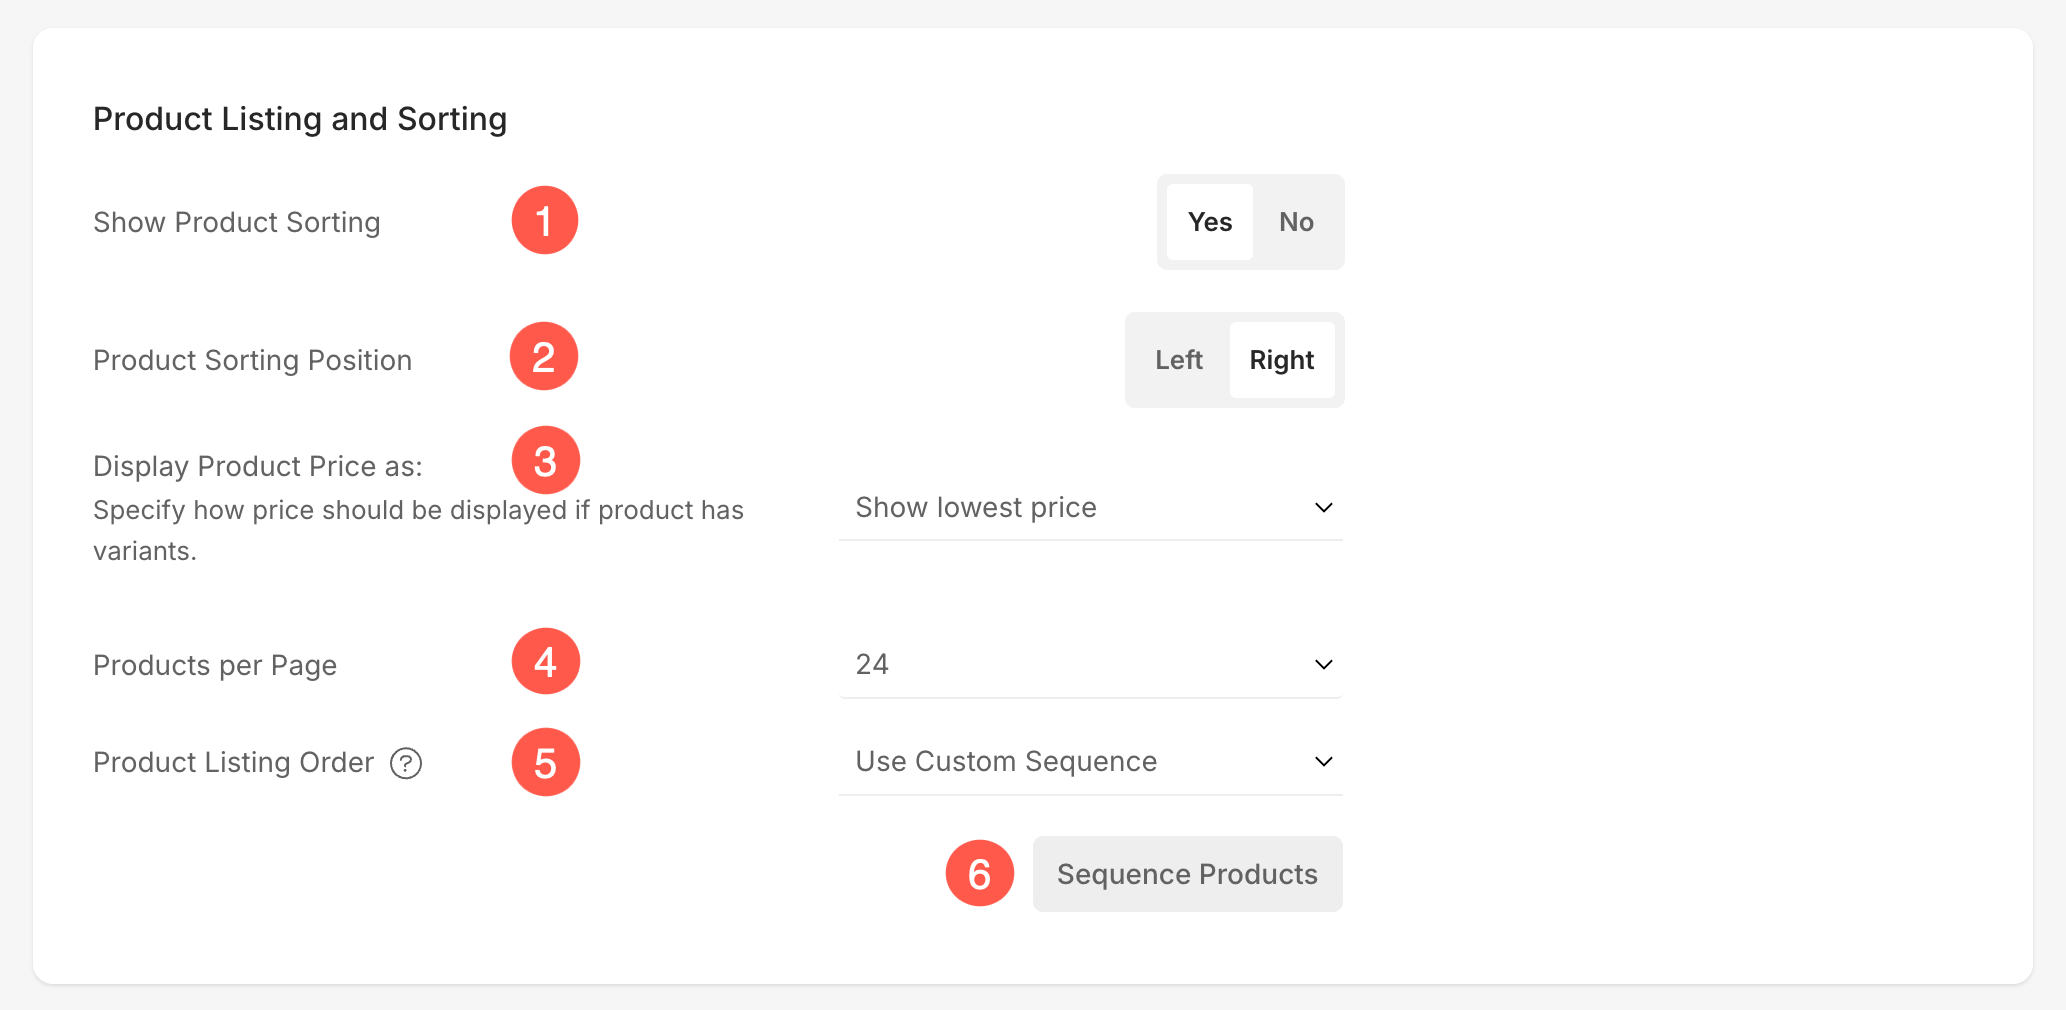
Product Listing and Sorting
- Show Product Sorting – Choose whether the sorting option appears on the product listing page.
- Product Sorting Position – Specify where the sort option appears on the product listing page.
- Products Per Page – Choose how many products appear on a page. You can choose from 12, 24, 36, and 48.
Product Images
- Image Aspect ratio – Choose the image aspect ratio for the product images. It would not be applicable for the Square Block layout.
- Show Flip Over Image – Enable this if you want the next images of the product to appear when someone hovers over the first image.
- Rounded corners – Specify a value to make the product images rounded at corners.
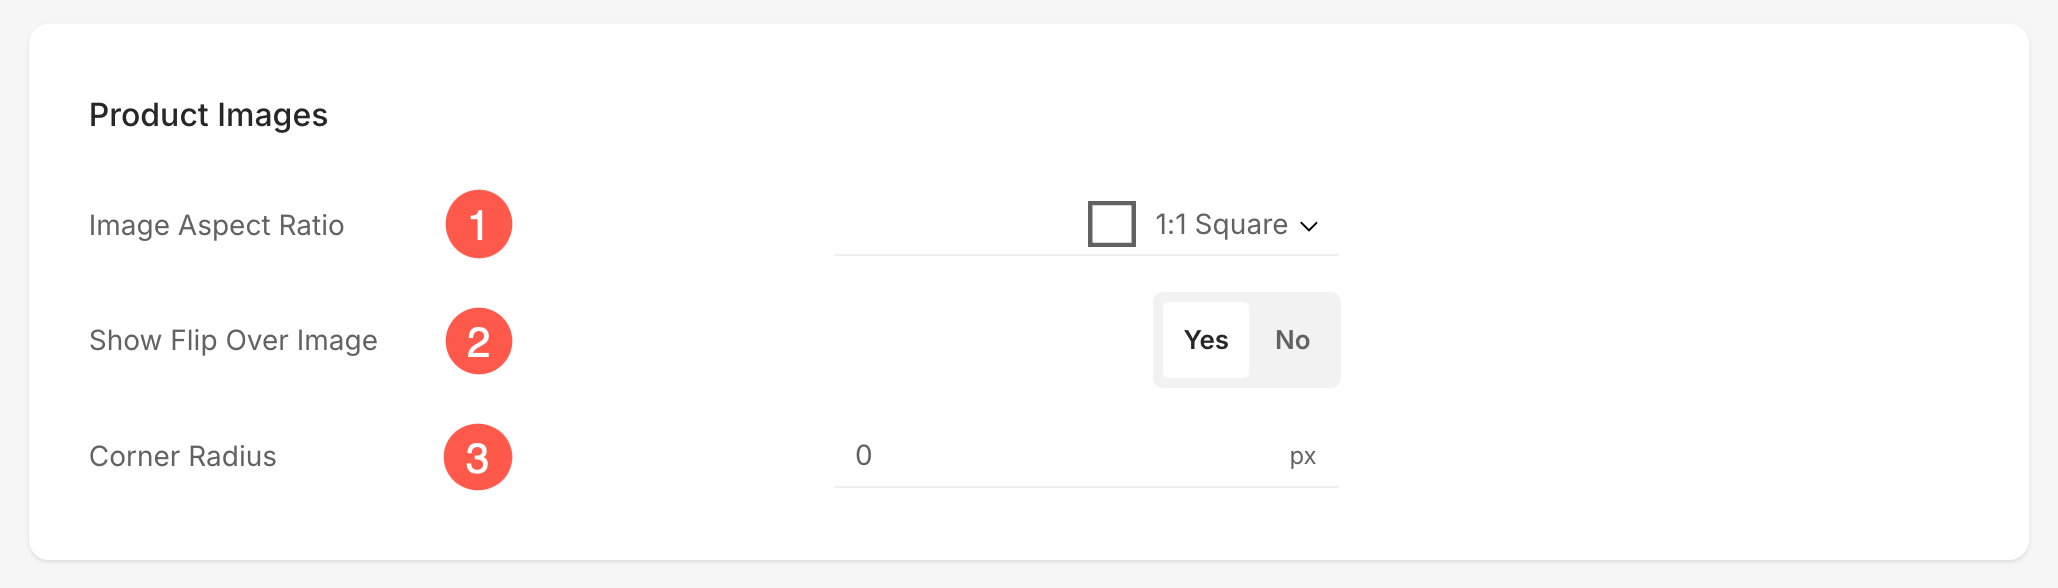
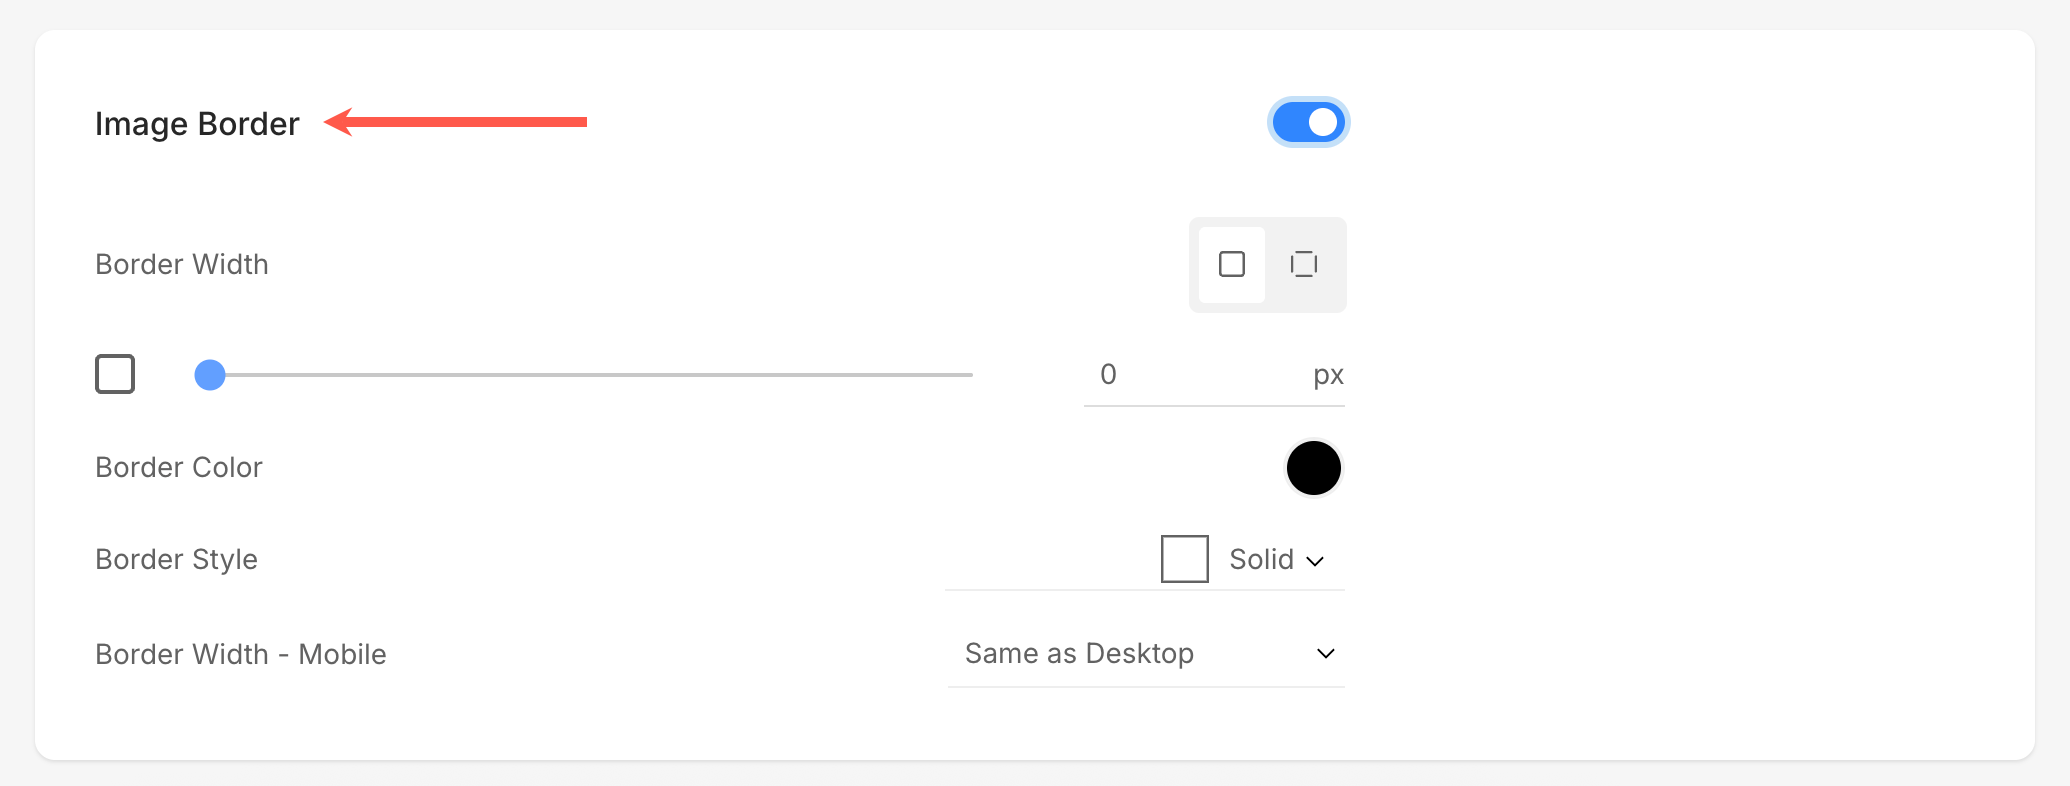
Image Border
- Display border around the product images. Learn more.
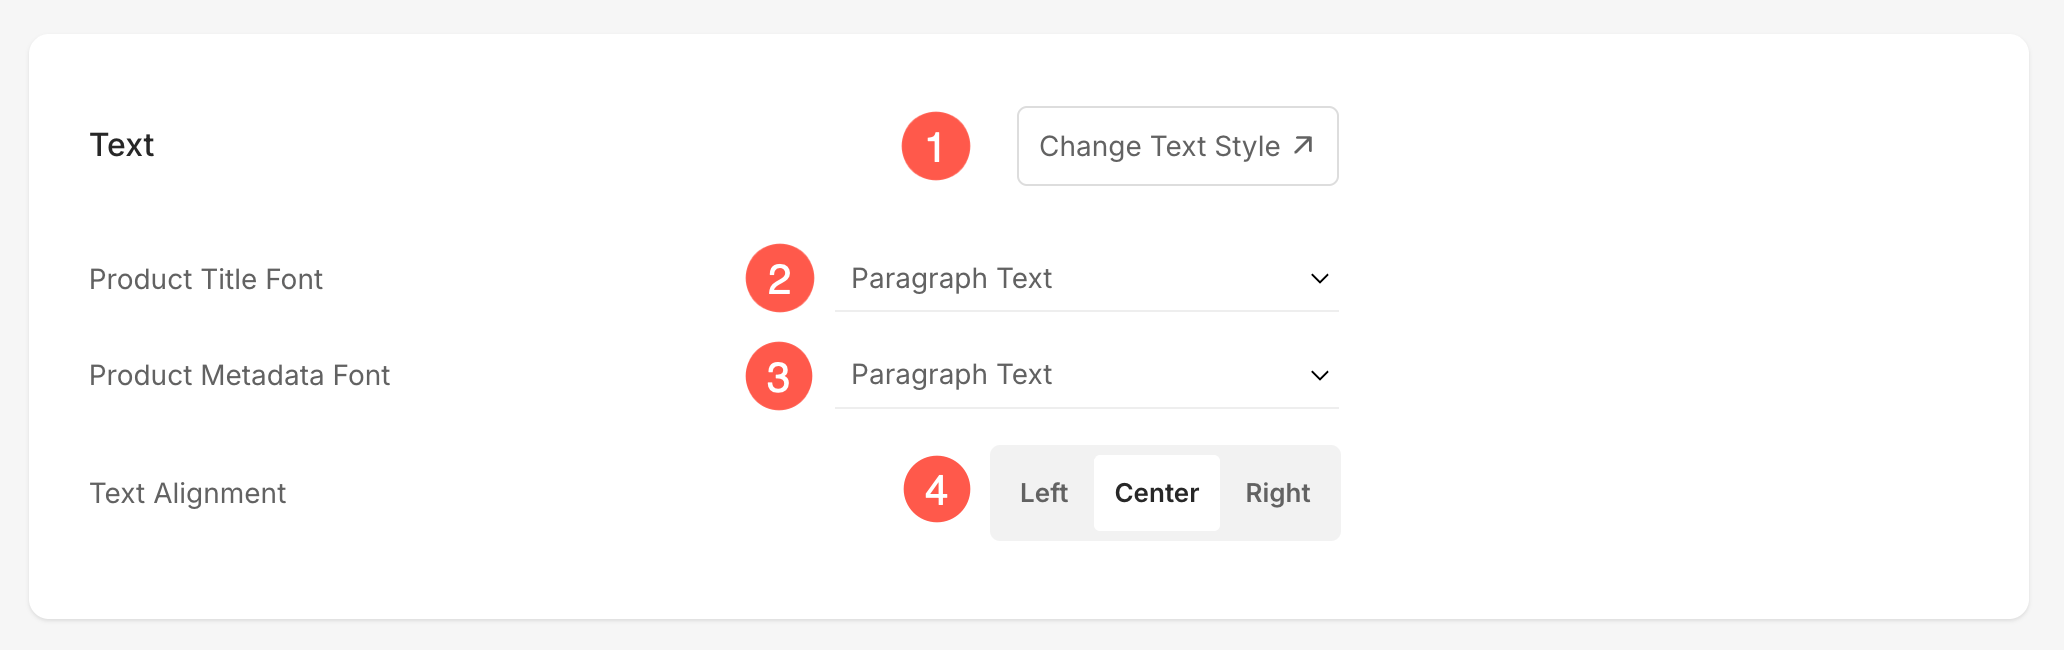
Text
- Change Text Style – Click on this button to customize the fonts used on your website.
- Product Title Font – Choose the font (H1, H2, H3, H4, P, P (large), & P (small)) for the product title.
- Product Metadata Font – Choose the font for the text other than the product title on the product listing page.
- Text Alignment – Choose the alignment (left, center, & right) for the text.
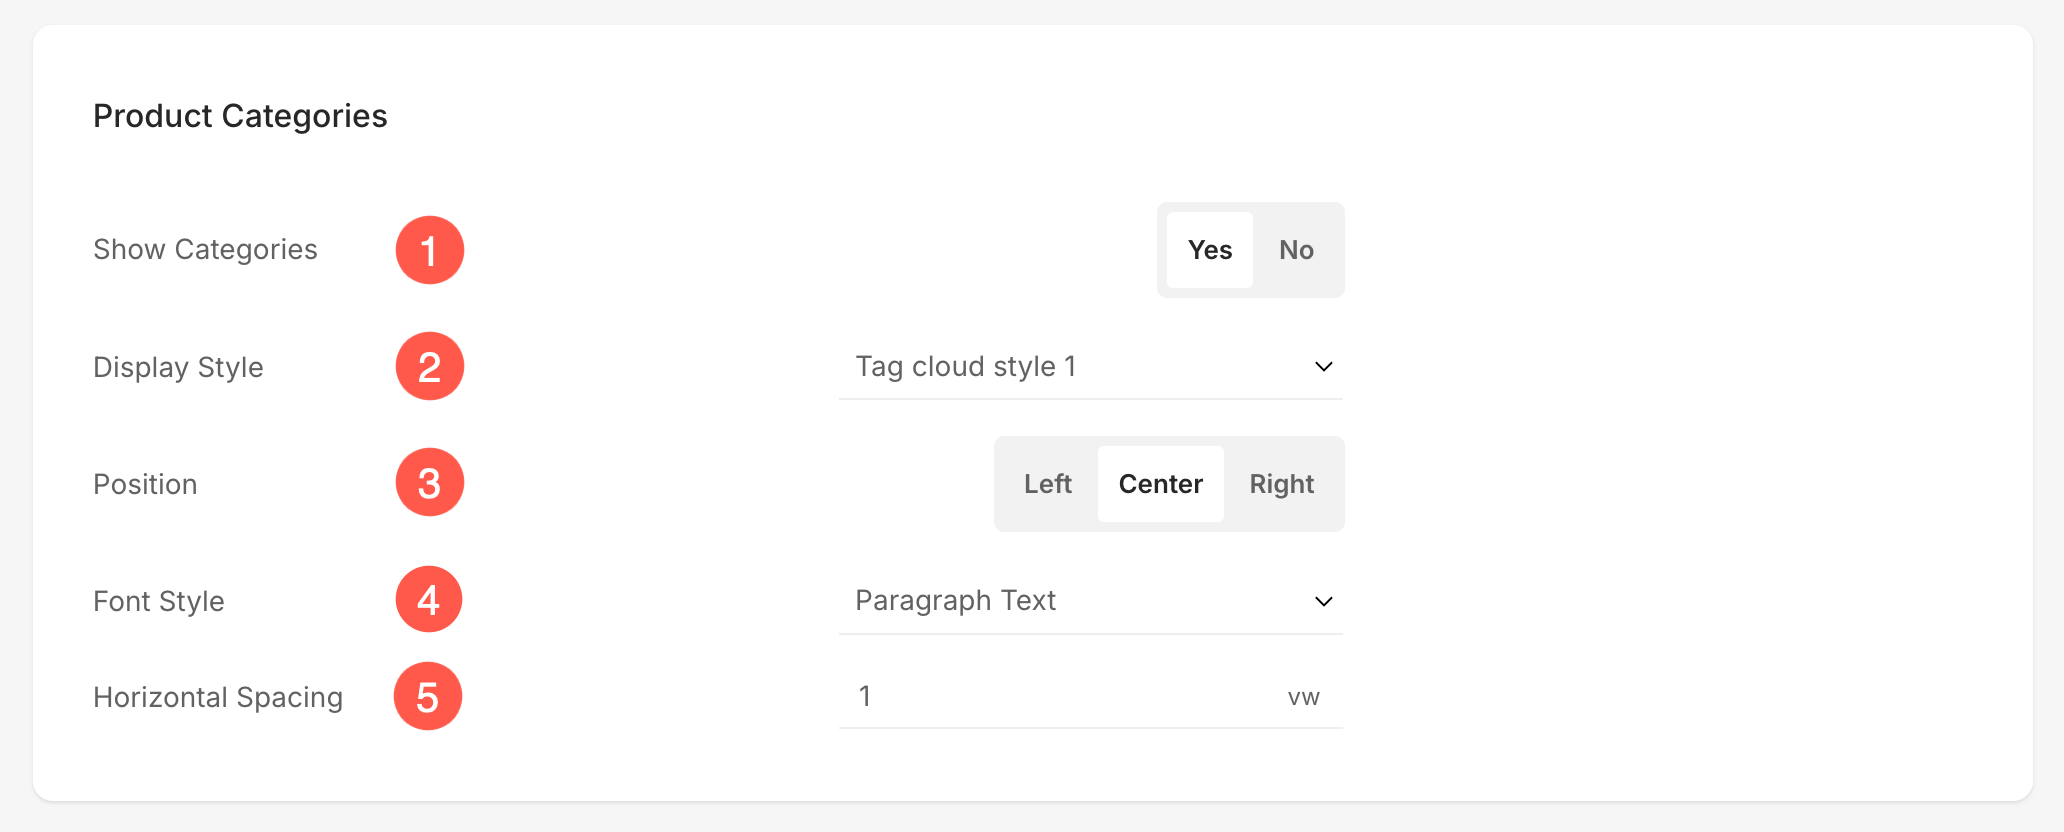
Product Categories
- Show Categories – Choose whether the categories appear on the product listing page.
- Display Style – Choose the display style for product categories. You can choose from Tag cloud style 1 & 2, and dropdown.
- Position – Choose where the product categories appear.
- Font Style – Choose the font for the product categories.
- Horizontal Spacing – Specify the space between the product categories.
Hit the Save button to save your changes.
That’s it. Your chosen style will be applied to your store’s product listing pages.