Pixpa offers a versatile image border feature that allows you to enhance your website’s visual appeal by adding borders around images.
With a range of border styles, colors, and thickness options, you can customize your images and create a cohesive look for your website, enhancing the overall aesthetics and user experience.

In this article:
Navigate to Border Options
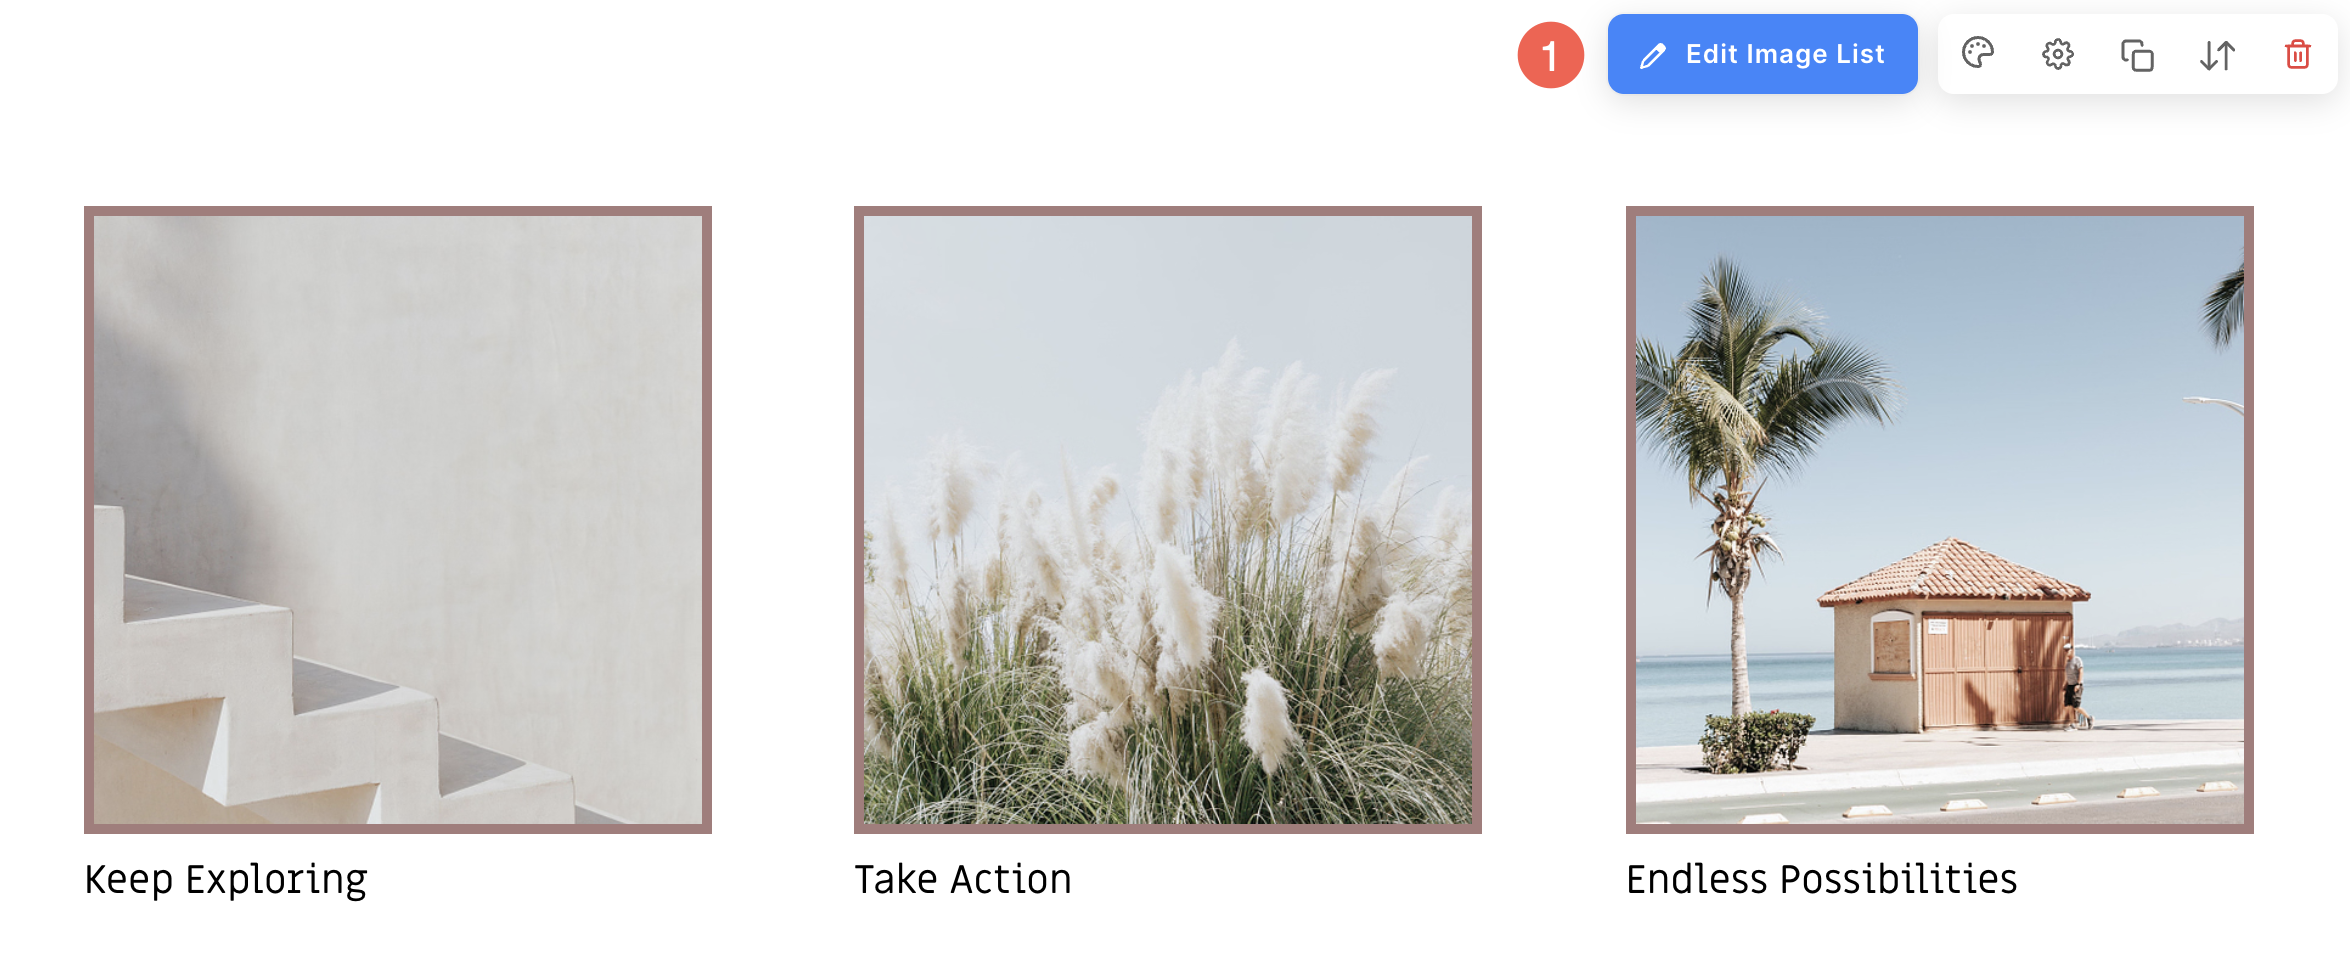
- To customize the border of images inside a section, click on Edit Section (1) button.
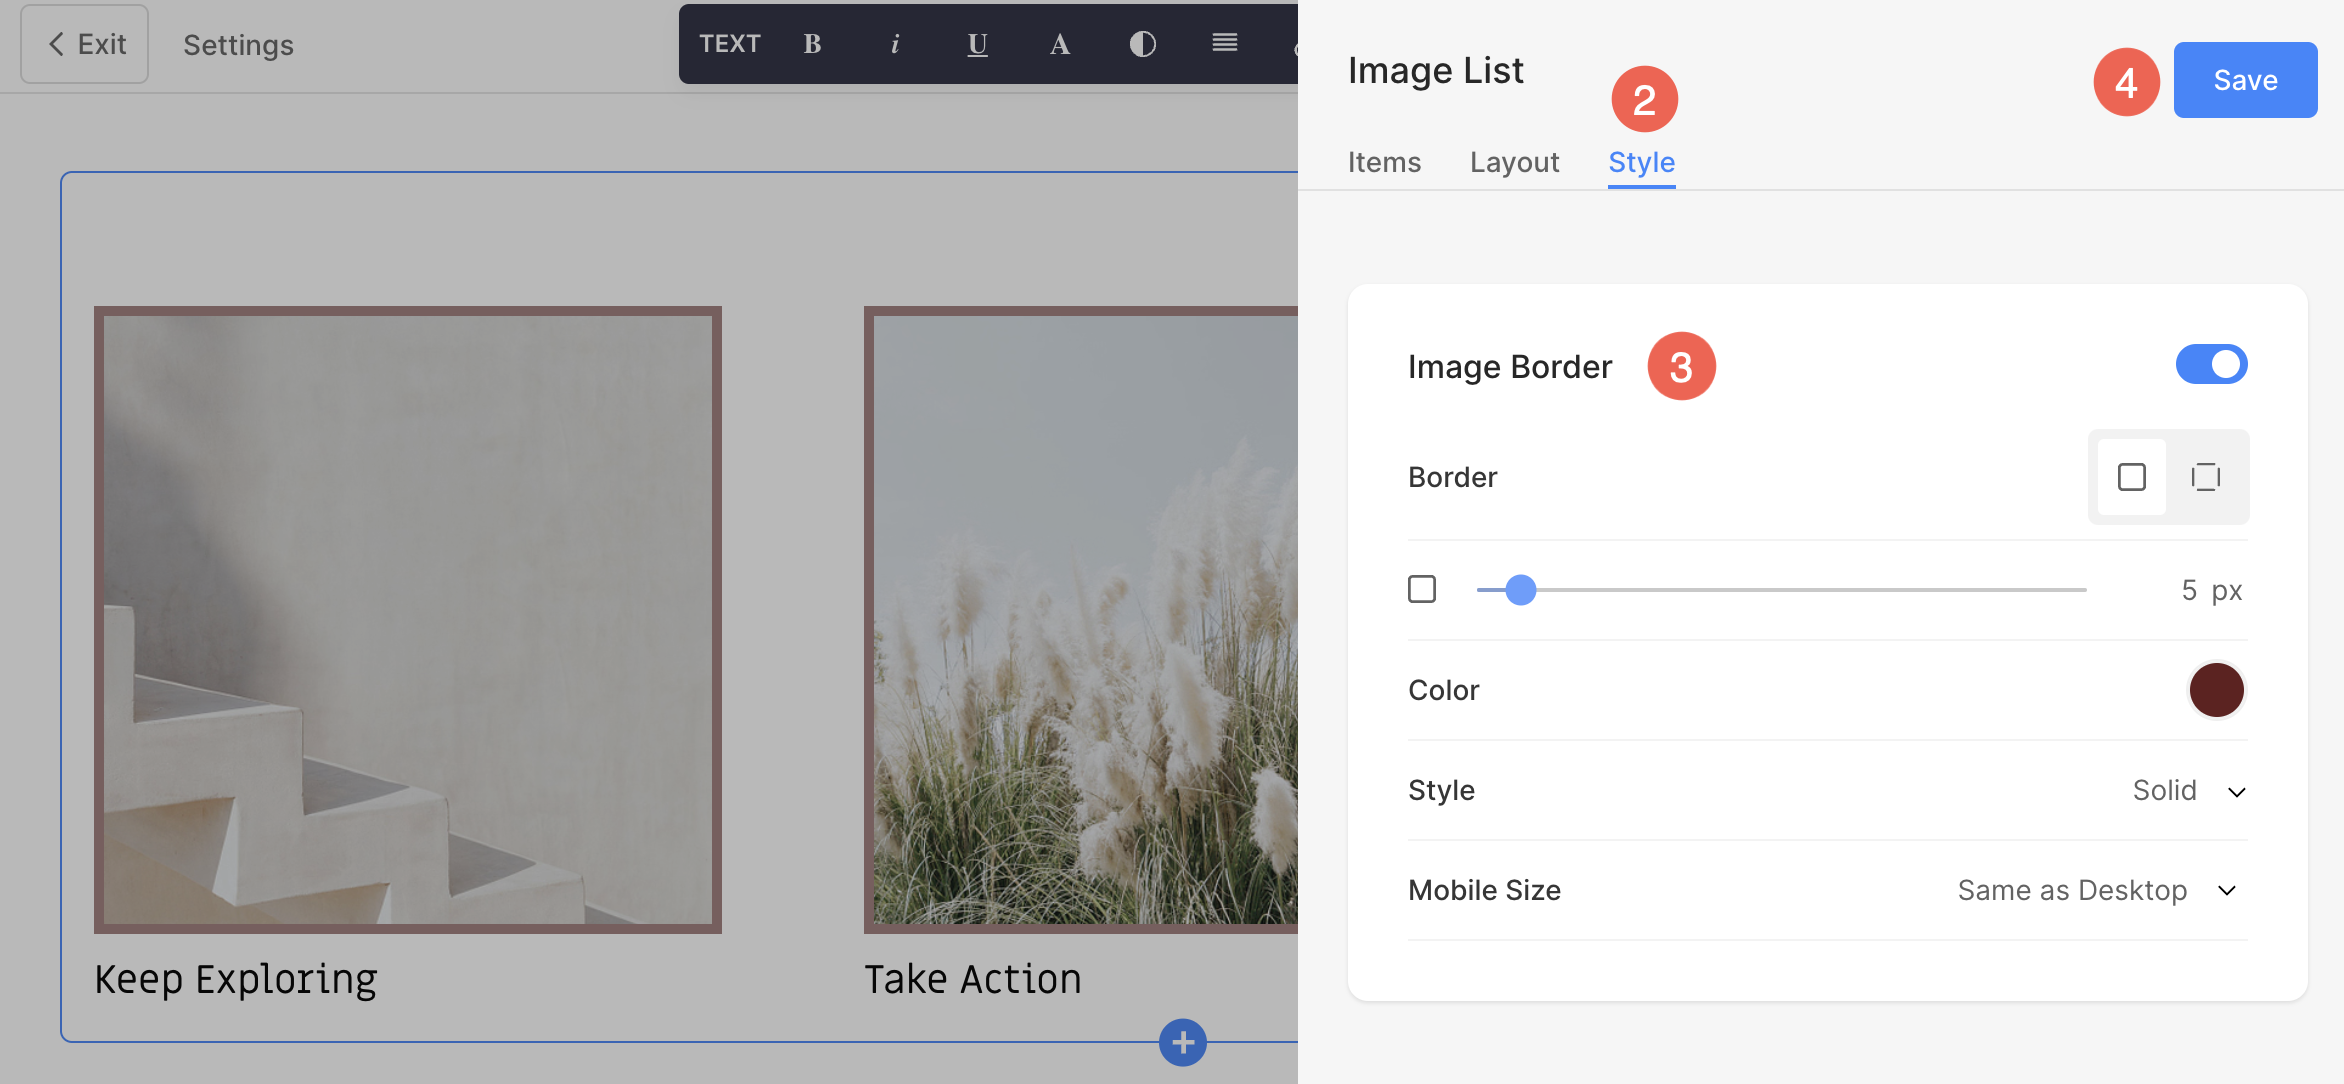
- From the editing menu, click on Style (2) tab.
- Make the Image Border (3) customizations and Save (4) the changes.
Customize Image Border
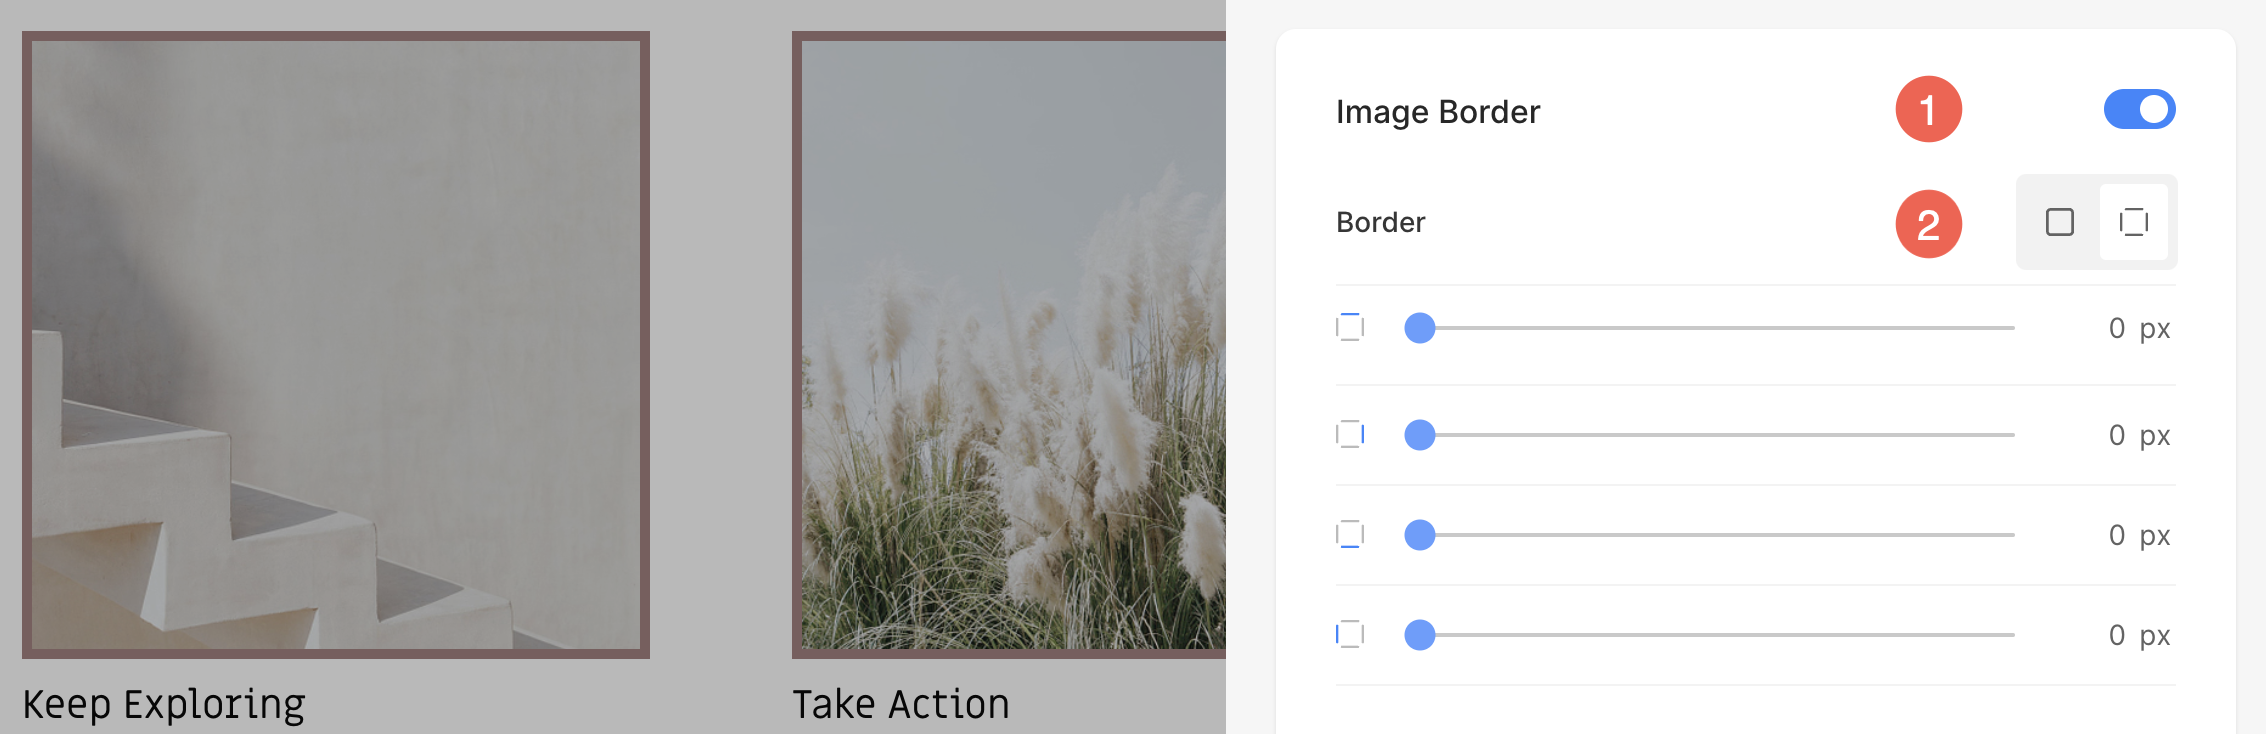
Enable Border for Images
- Enable / Disable the border around the images by switching the toggle.
- Choose to have a common border on all sides of images or you can specify the borders separately for each side.
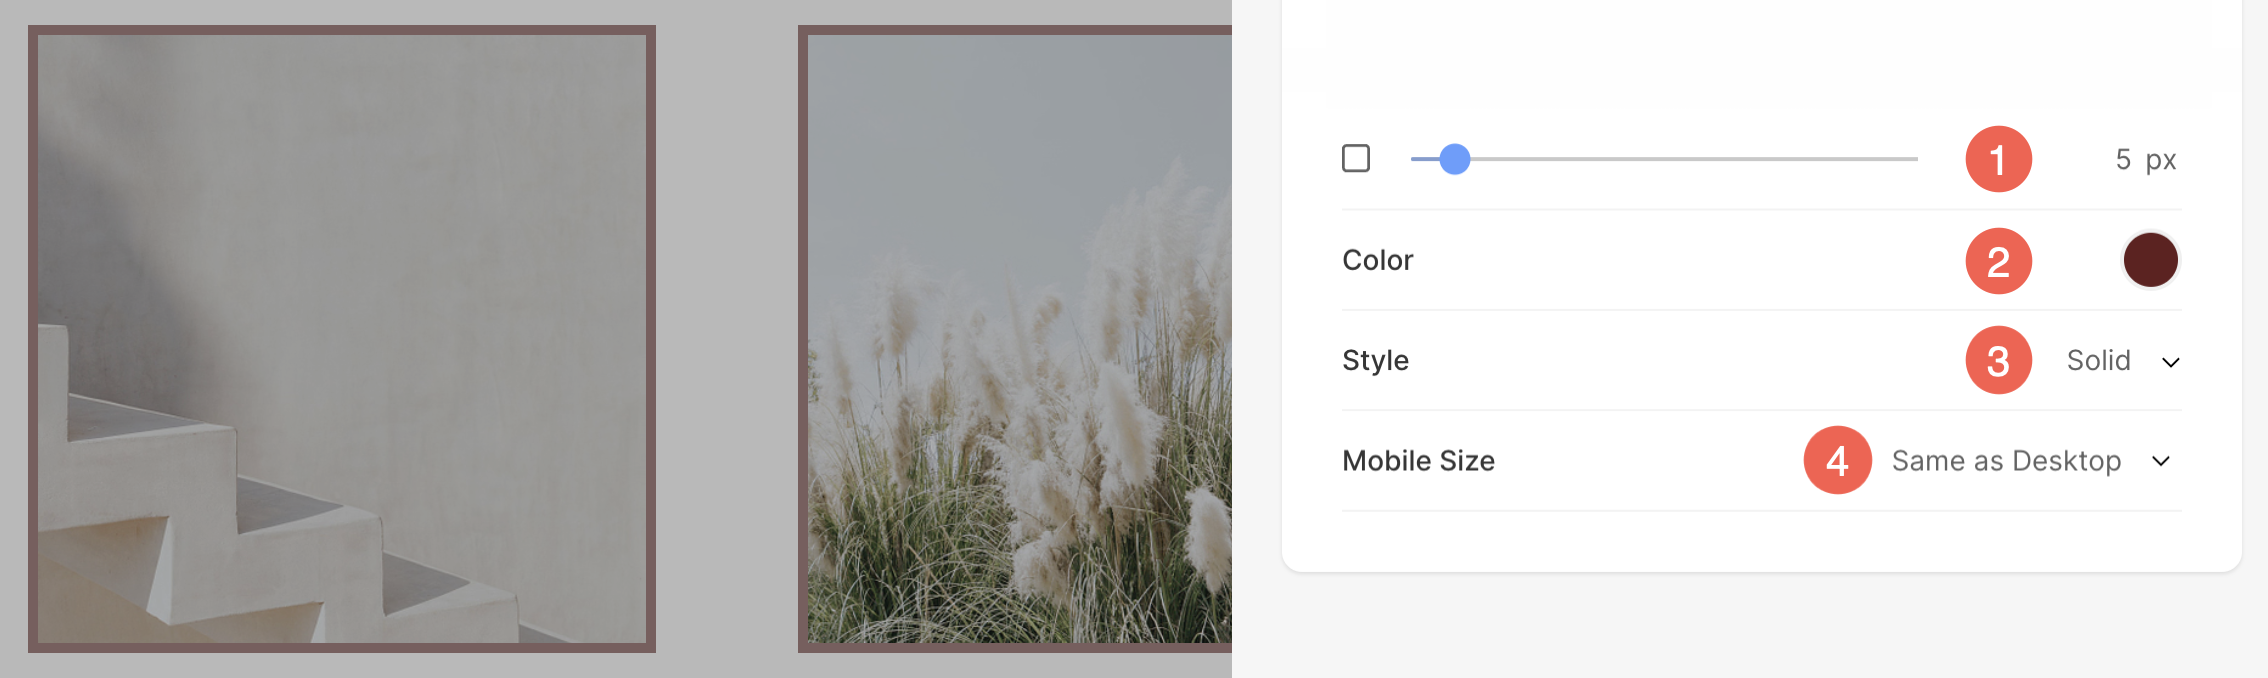
Style Image Border
- Specify the width of the border. If it is set to 0, then the border will not appear. If you have selected individual borders in the previous step, you will have the option to specify border width for each side.
- Select the Border Color from color picker. You can also adjust the Opacity of the border color.
- Select a preferred Border Style from the dropdown.
- Determine the border width for mobile devices, aligning it with the width chosen for desktop.
Find Image Border Option here
Pagebuilder
Within the page builder, you will find Image Border option under Style tab in all the Dynamic sections.
Click here to know more about different types of sections.
Folder
You can find border options within Pixpa under the folder design settings. To navigate to the design options and customize your image borders, follow the steps outlined below:
- Click on the Three Dots (1) adjacent to the folder name.
- Open the Settings (2) and click on Design (3) tab.
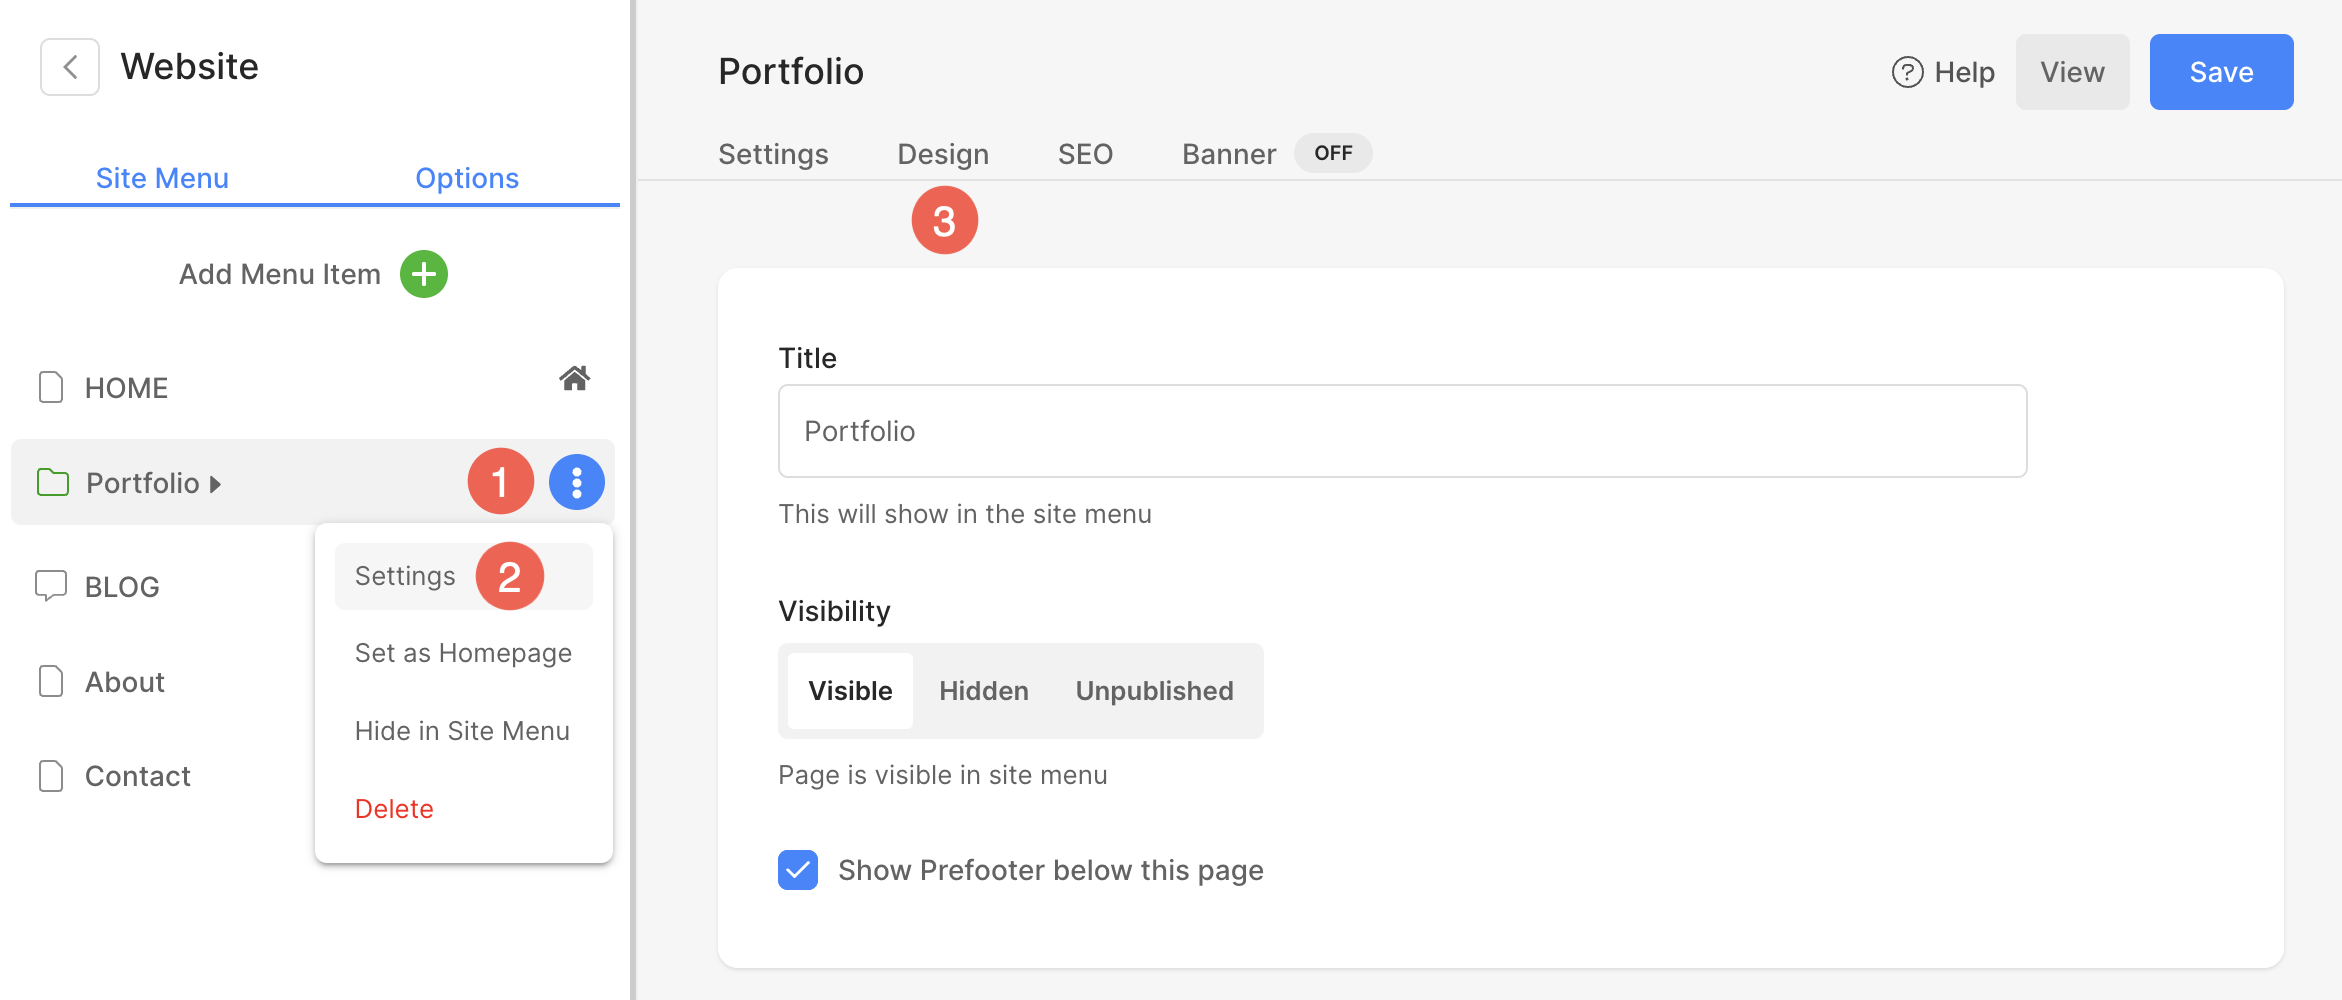
- A sidebar will appear from where you can manage the Image Border (4) options.
- After making the customization, Save (5) the changes.

Gallery
Borders can be applied to the images inside Website galleries. Follow the steps mentioned below to find the border options within gallery:
- Hover the cursor over the gallery menu item and you will see Three Dots (1). Click on it.
- From the options, click on Manage Images (2).
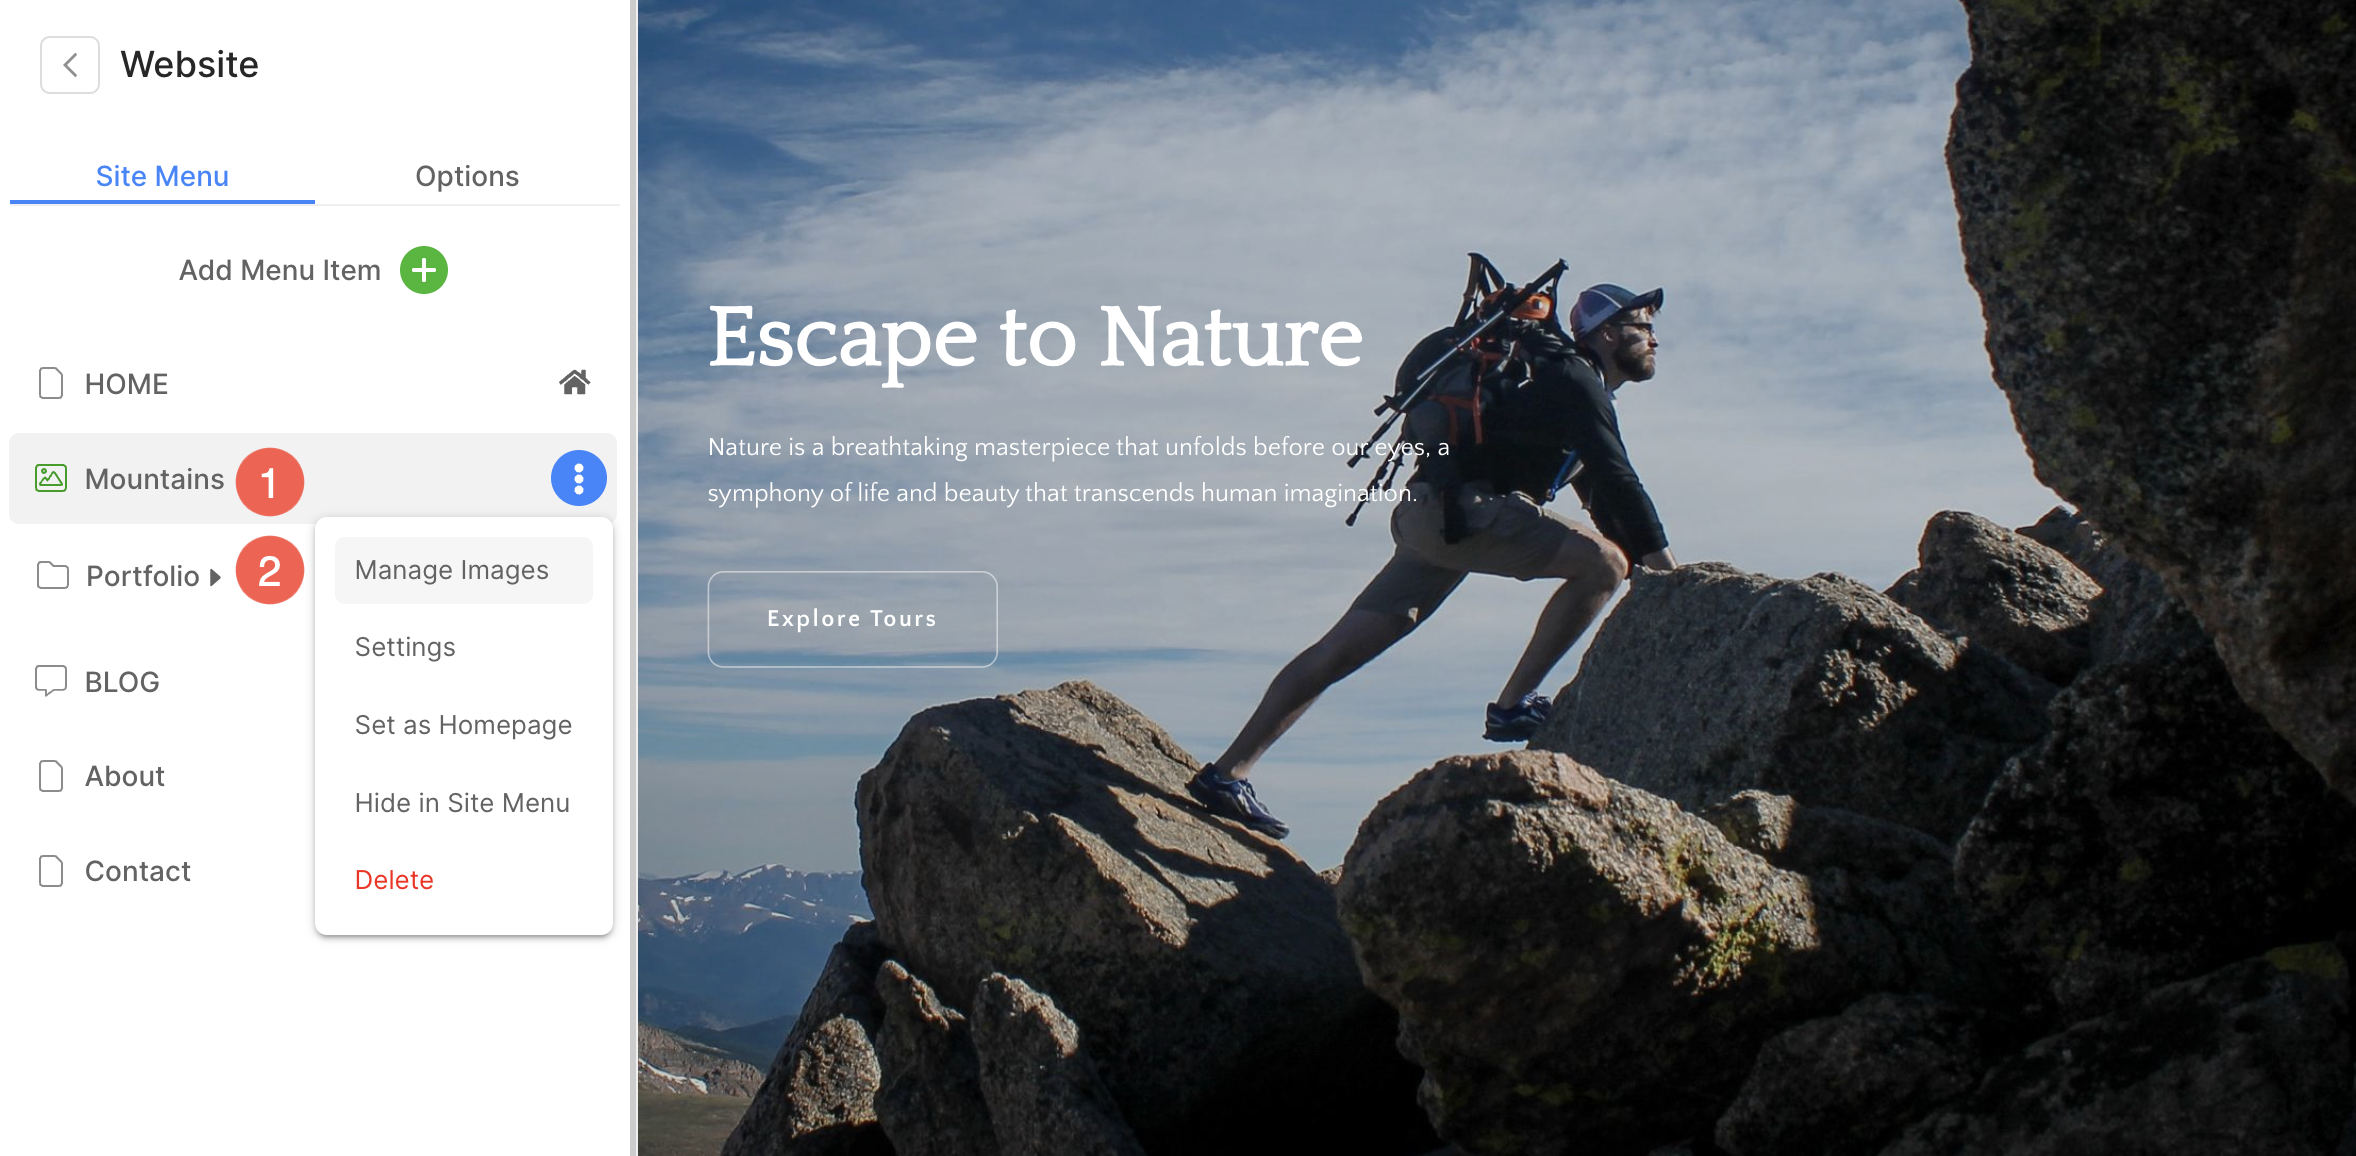
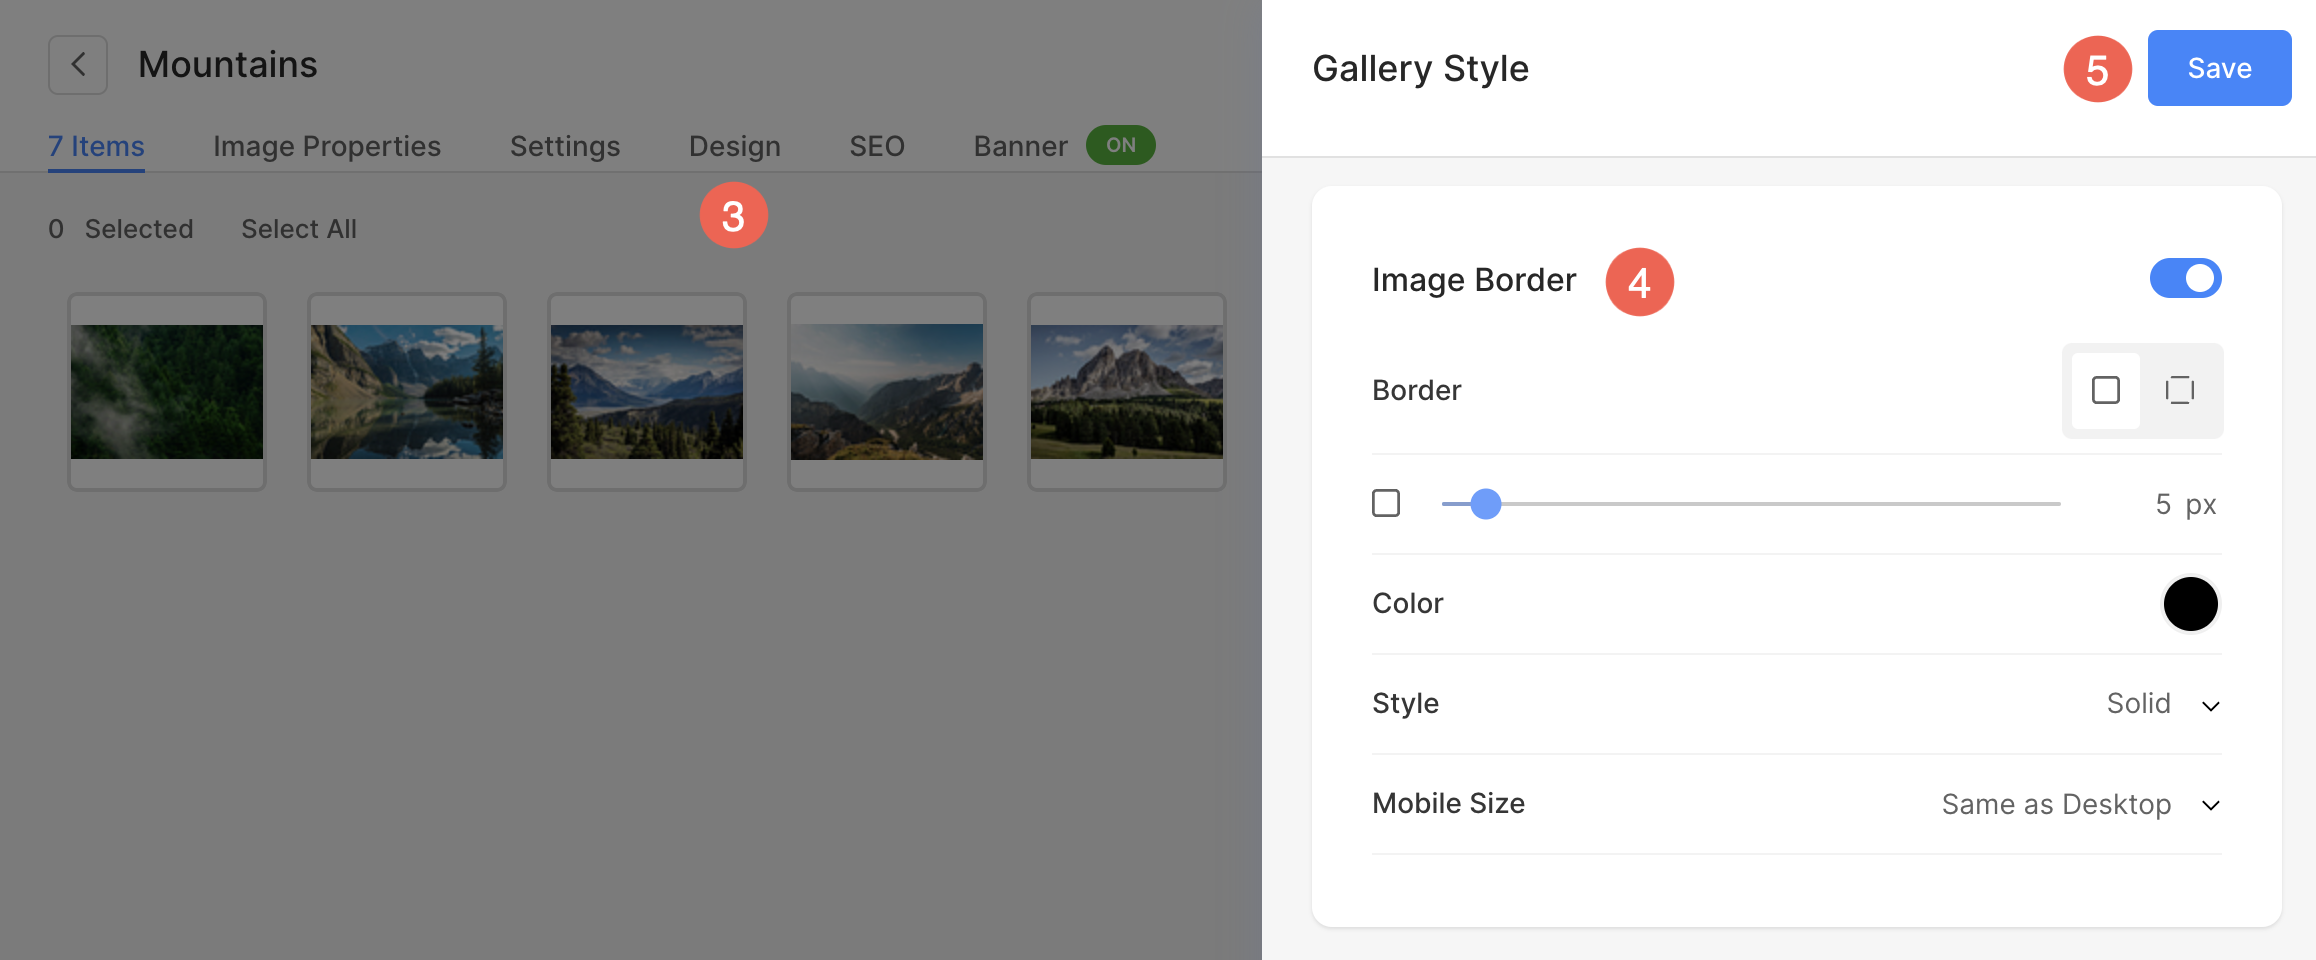
- From the gallery, click on Design (3) tab.
- A sidebar will appear where you can scroll to the Image Border (4) options.
- After making the customization, Save (5) the changes.
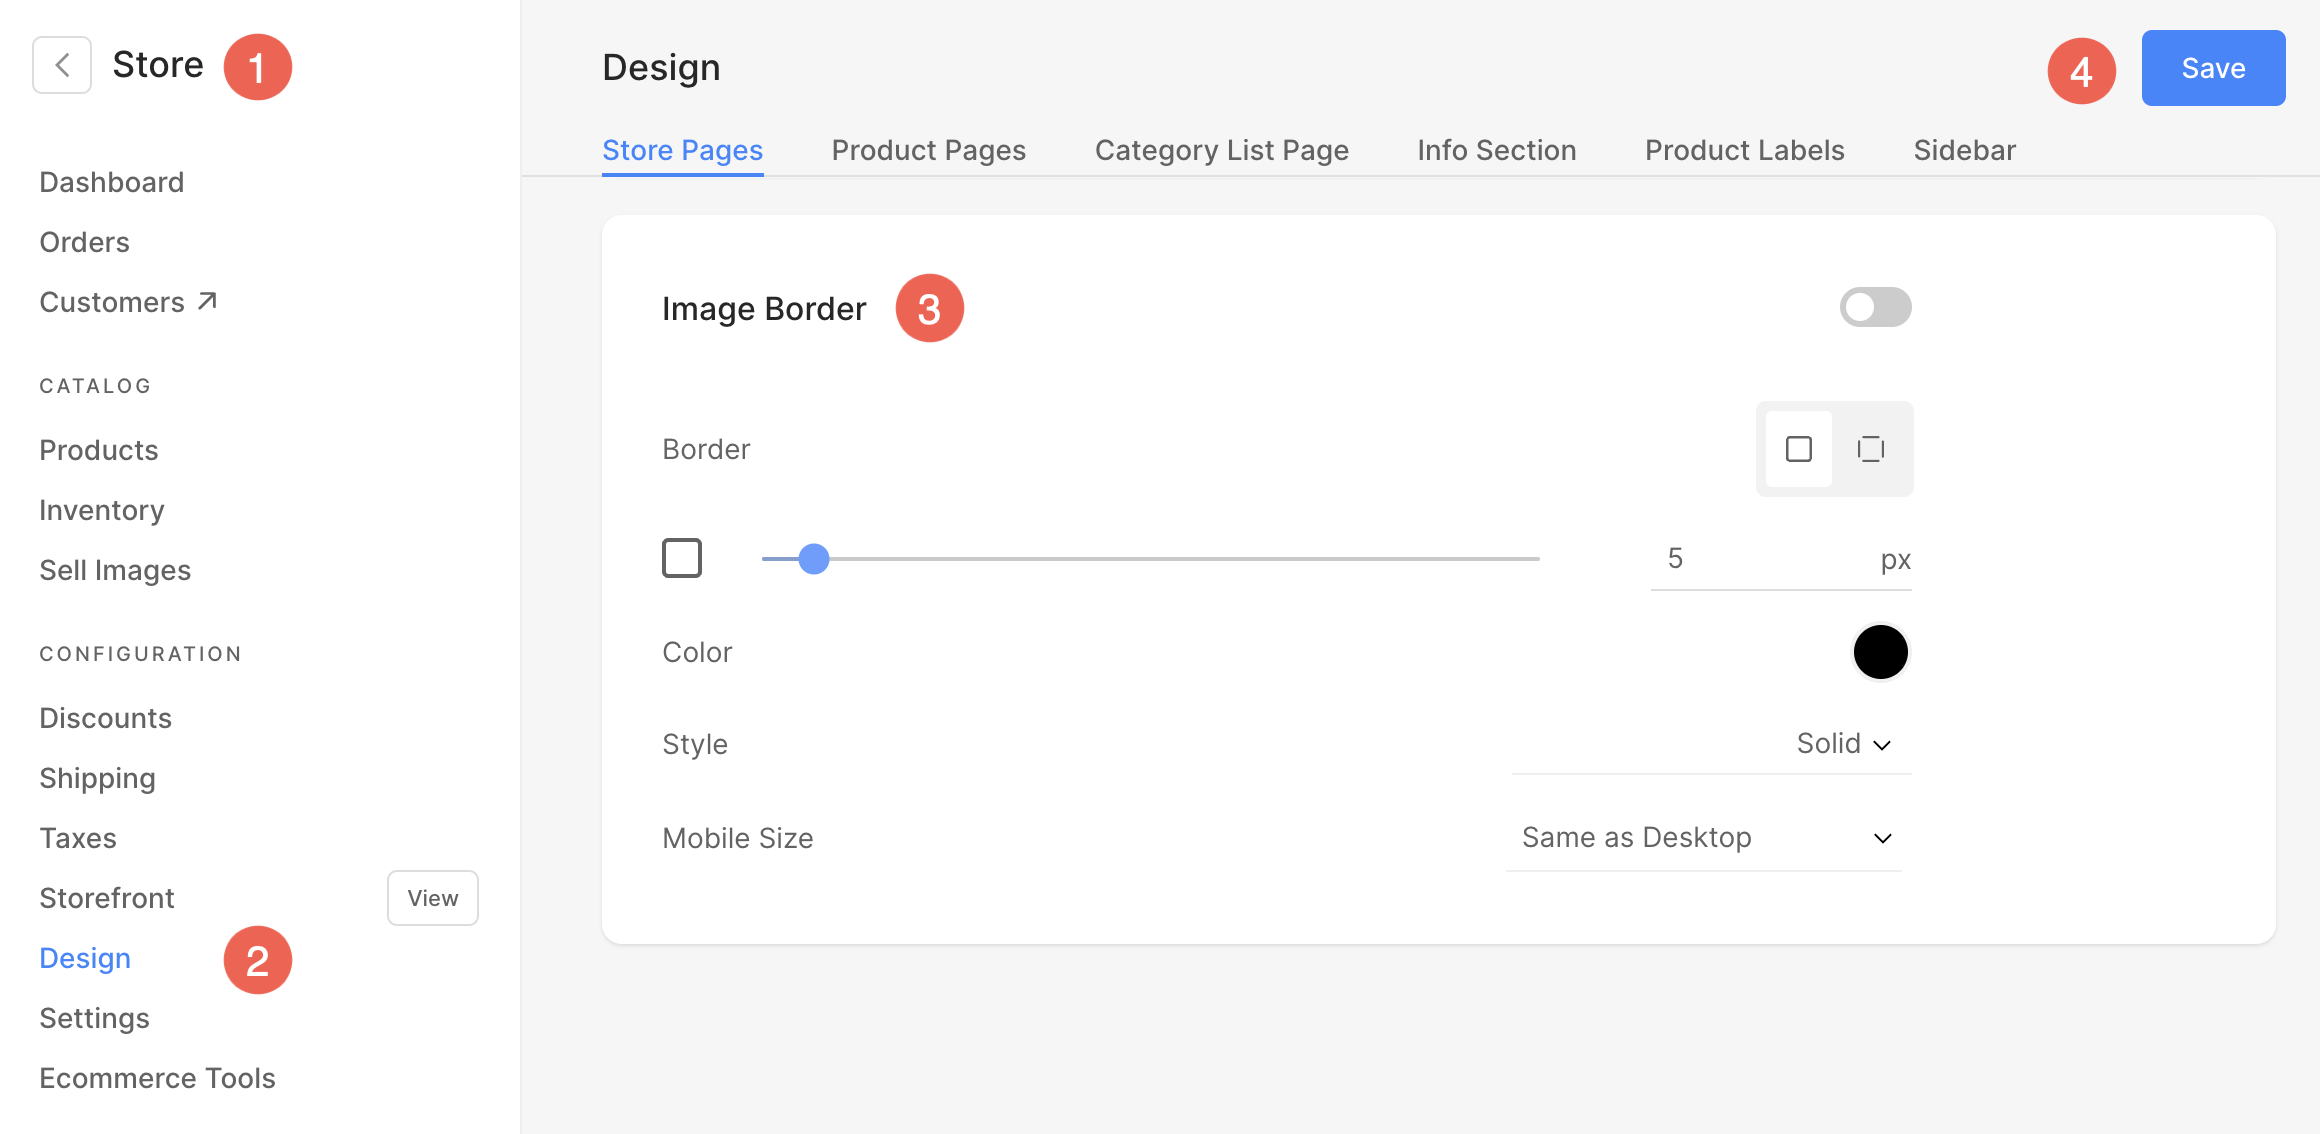
Store
- From the Store (1), click on Design (2) option.
- Under Store Pages tab, scroll to Image Border (3) options.
- After making the customization, Save (4) the changes.
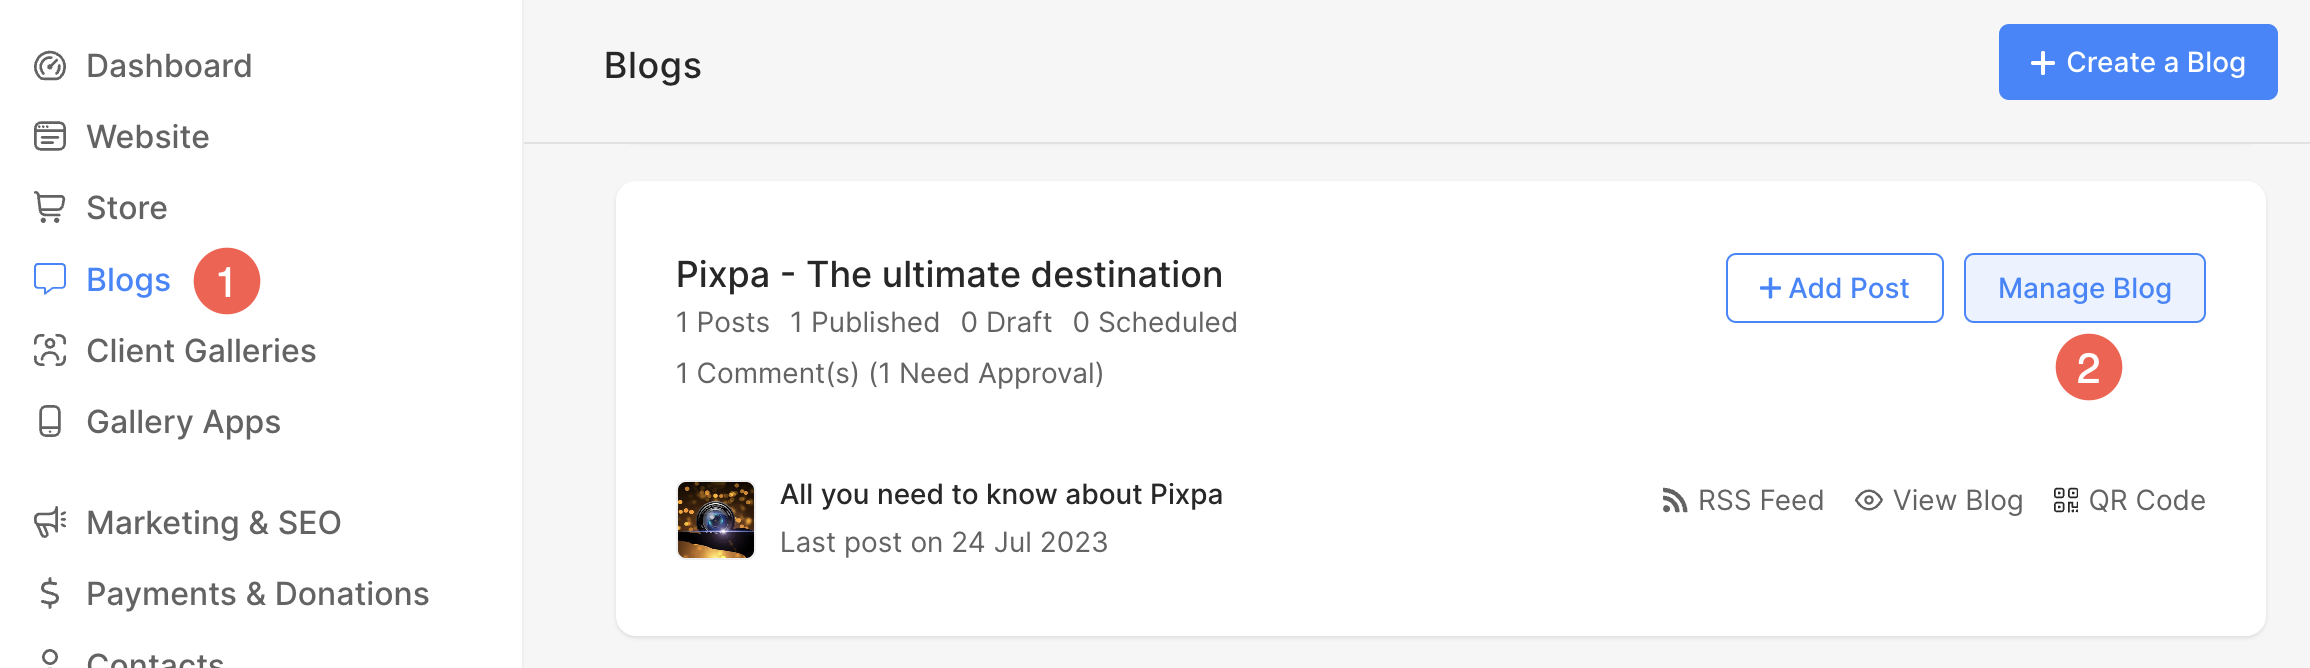
Blog
- From the Blogs (1) section, click on Manage Blog (2).
- Click on Settings (3) and then the Design (4) tab.
- A sidebar will appear. From the Blog Listing Page (5) tab, scroll to the Image Border (6) options.
- After making the customizations, Save (7) the changes.

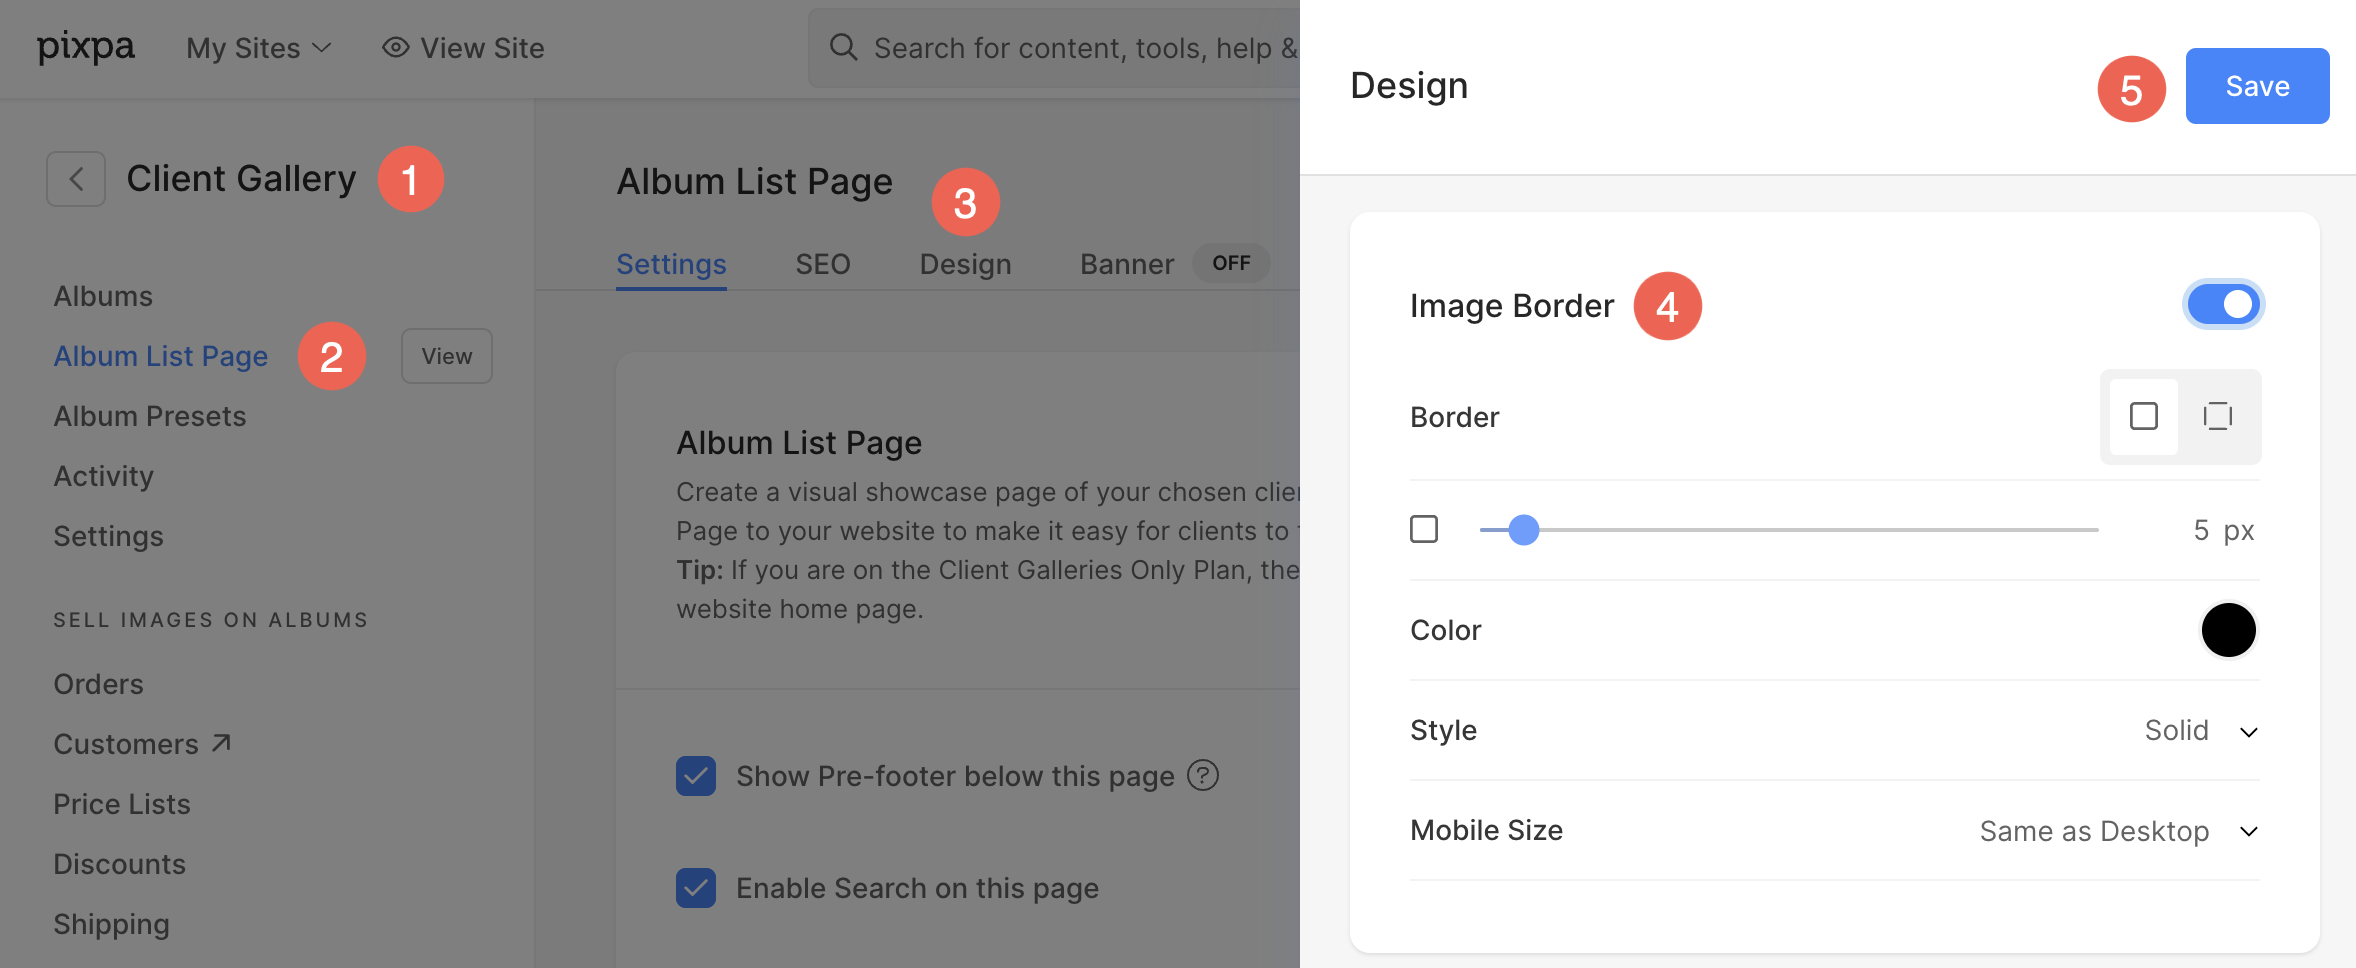
Client Galleries
Under Client galleries, you will find the Image Border options for Album List page.
- From the Client Galleries (1) section, click on Album List Page (2) option.
- Click on the Design (3) tab.
- From the sidebar, manage the Image Border (4) options and Save (5) the changes.