Pixpa gives you the option to add your Blog feed to your pages. Using this section you can exhibit any blog you wish to.
You can create advertising blog posts that promote your brand, elaborate on your products/services and show them on any of your pages using this section.
In this article:
- Add Blog Feed section
- Edit Blog Feed Section
- Blog Feed Settings
- Blog Feed Elements
- Change Blog Feed Layout
- Style Settings
- The Full card and the Text card
Add Blog Feed Section
- A section can be added to a page. You can either add a section to an already existing page or create a new page within your website.
- On your page, click on the blue + icon to add a New Section to your page.
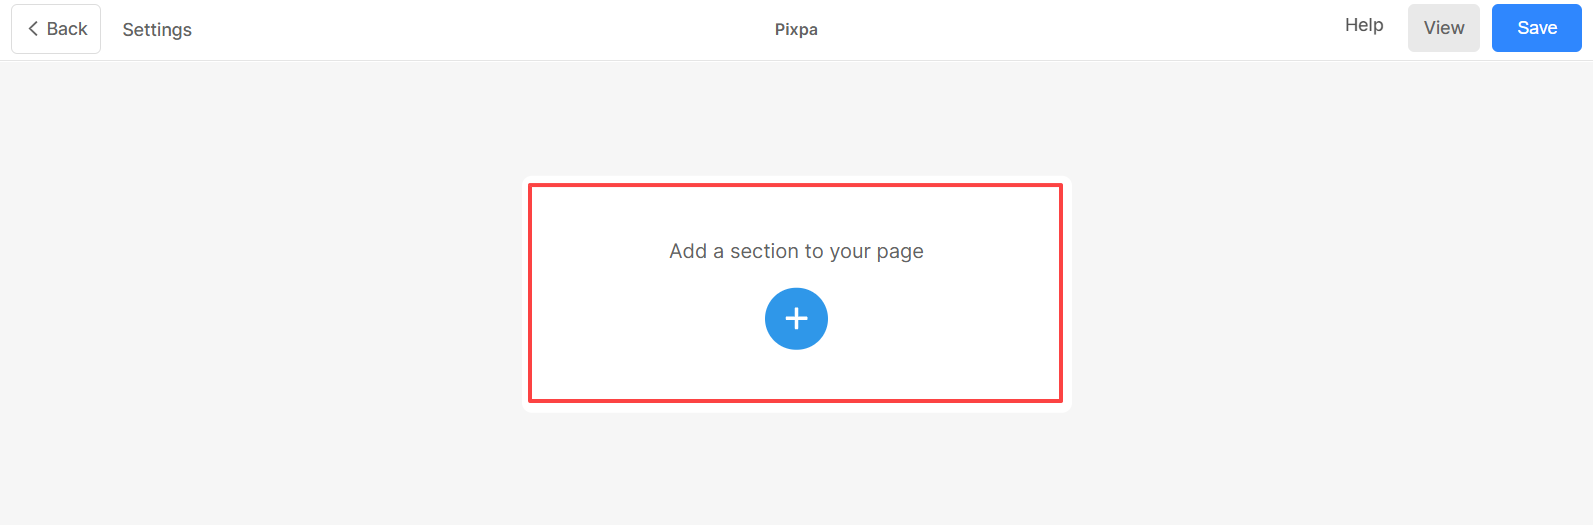
- You will now see the section categories on the left side.
- Scroll down and choose the Blog Feed Section (1) option where you can choose from the different layouts.
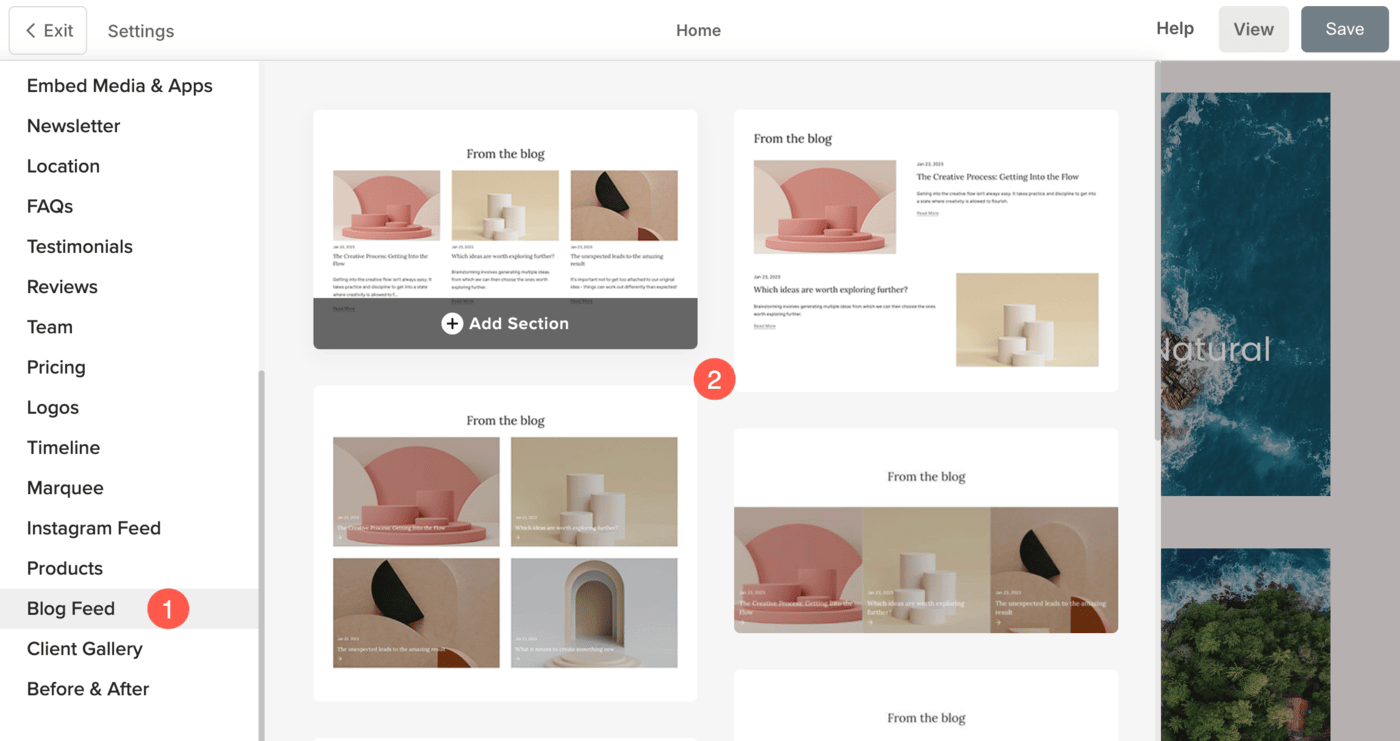
- Choose any section layout (2) and click on it to add it to your page.
Edit Blog Feed Section
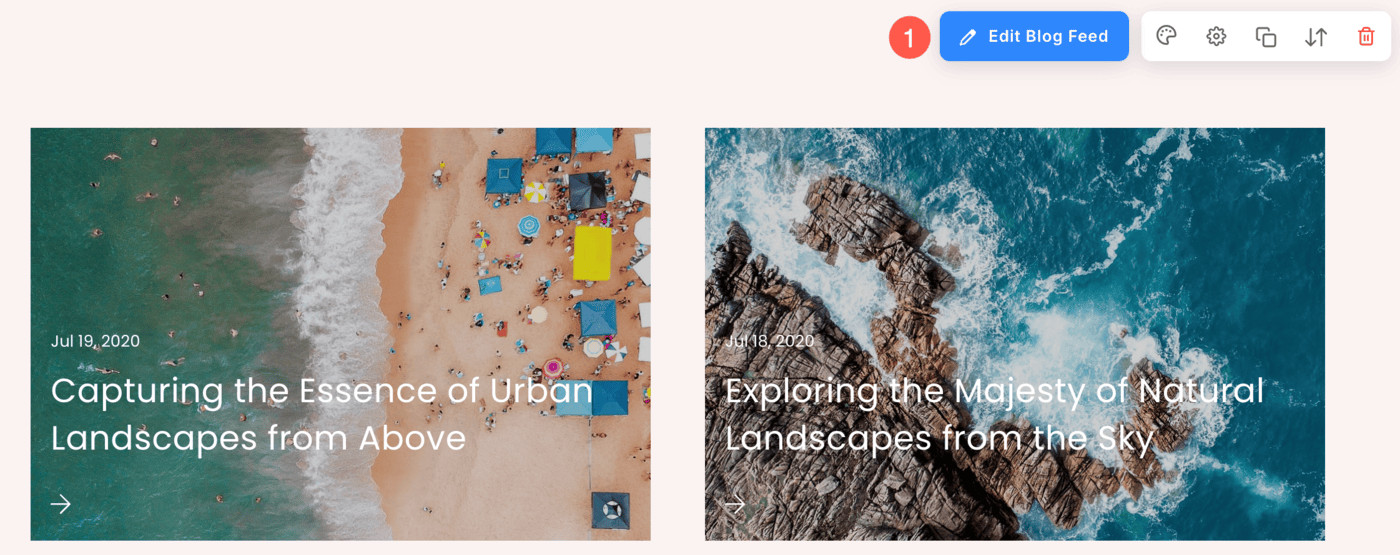
Once you have added the section
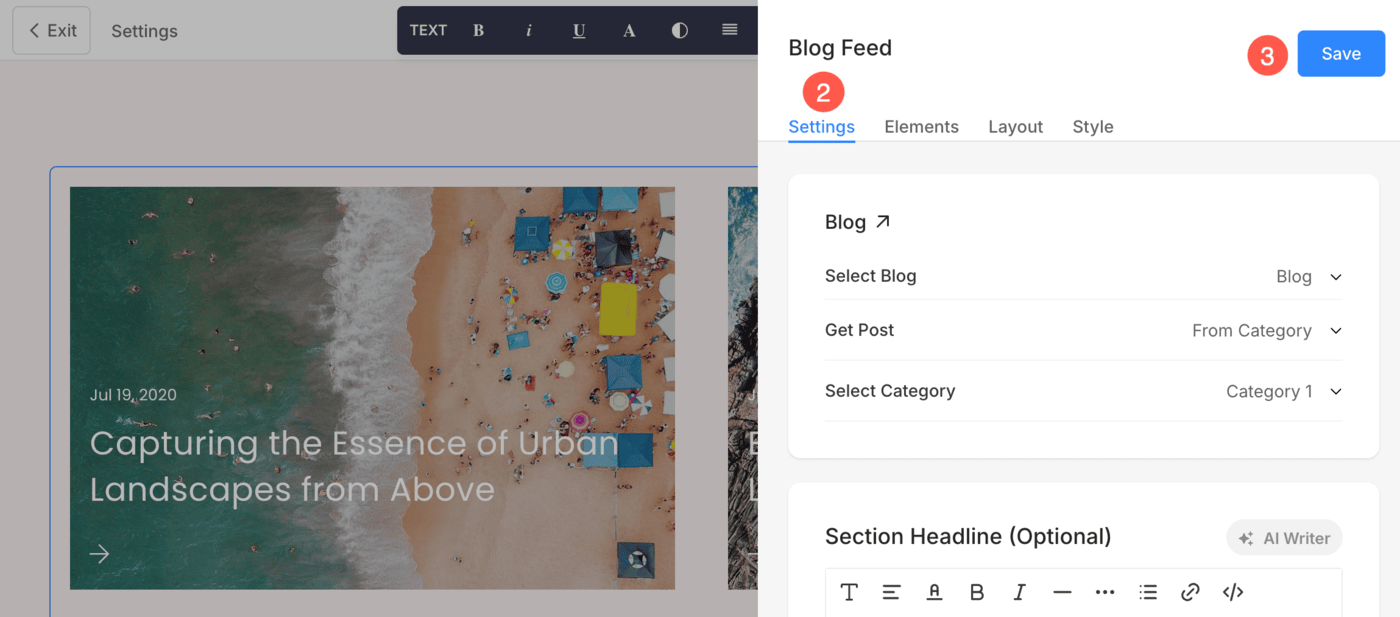
- Click on the Edit Blog Feed (1) button.
- Click on the Settings (2) option to manage the Blog Feed settings.
- Save your changes.
Blog Feed Settings
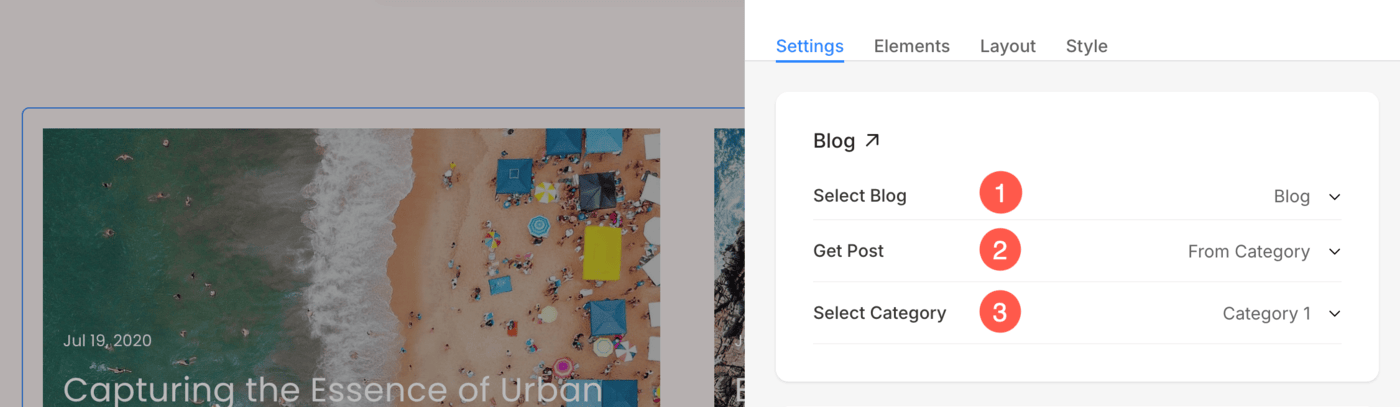
- Select the Blog from which you want to show the posts.
- Choose how to retrieve the blog posts. You can display all the blog posts or select Category option.
- If you have selected Category in the previous step, choose the category from which you want to display the posts.
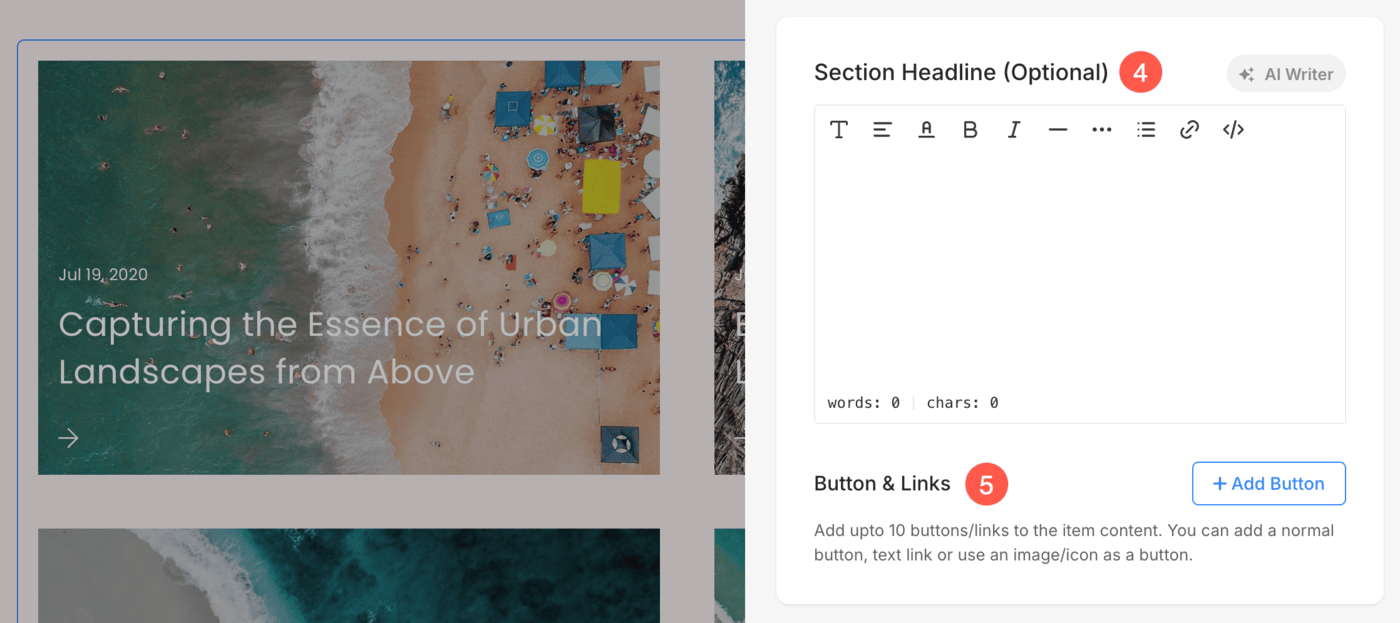
- Add a Section Headline to display at the top of the section. This helps introduce or highlight the content below. Click here to learn more about Pixpa Text Editor.
- Add Buttons or Links within the section. These can be text links, standard buttons, or image/icon-based buttons to guide visitors to other pages or actions. Learn more.
Blog Feed Elements
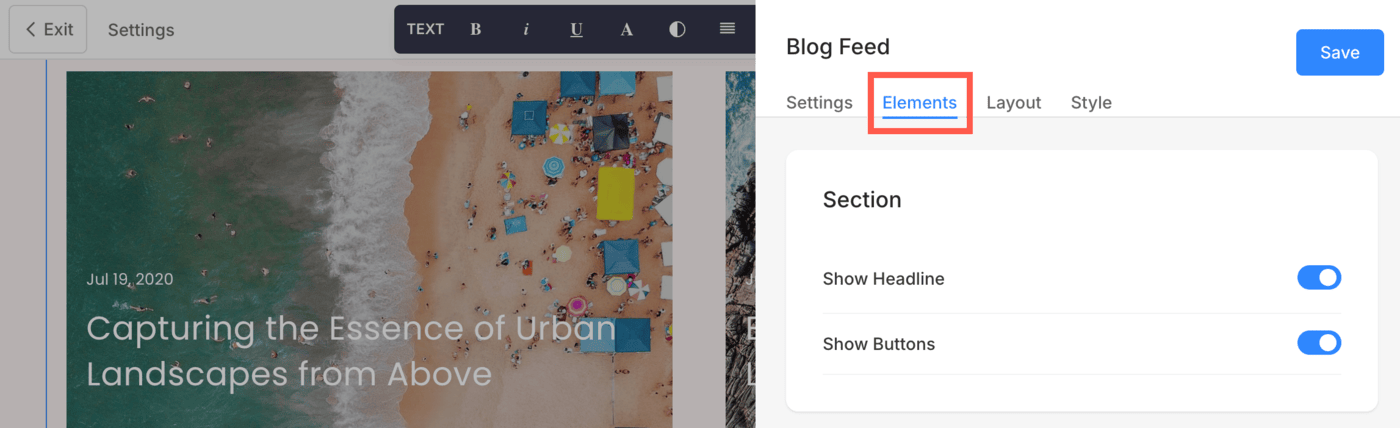
Elements tab allows you to manage the visibility of various elements within the section with ease. Using simple toggle switches, you can enable or disable specific elements without having to delete or modify the elements themselves.
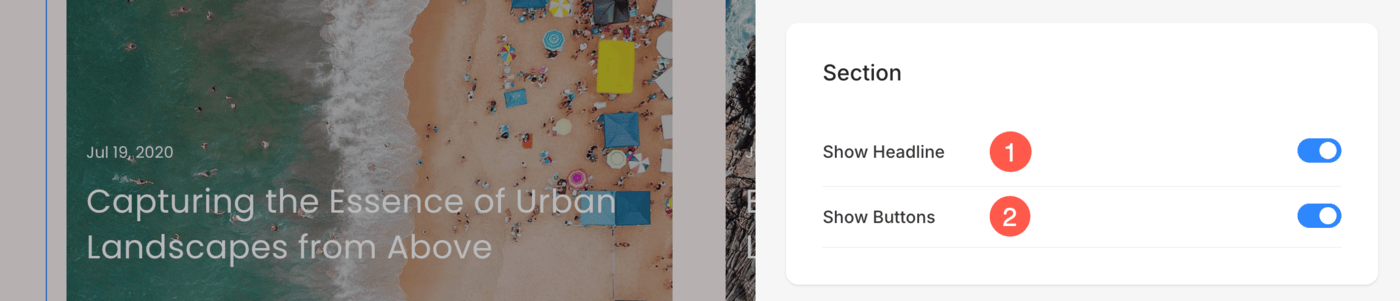
Section Options
- Show Headline: Enable or disable the visibility of the headline for Blog Feed section.
- Show Buttons: Control whether buttons are displayed at the section level.
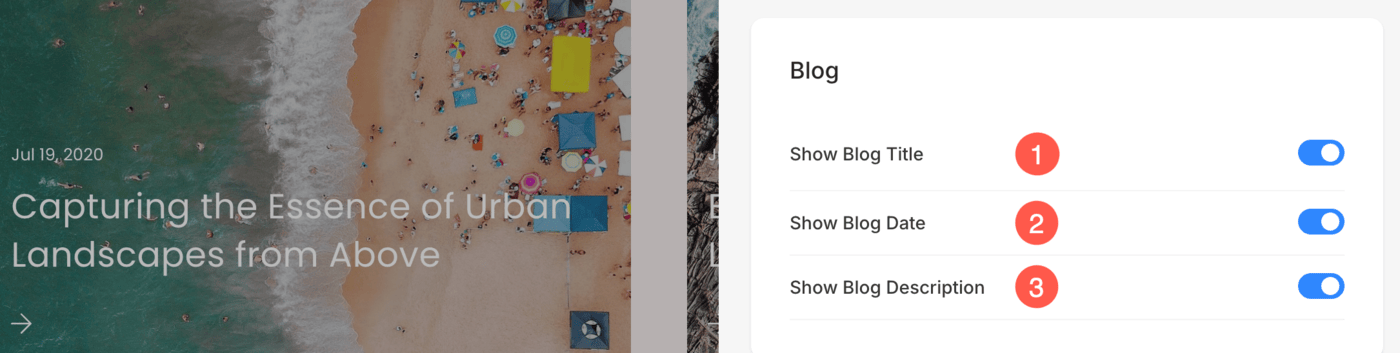
Blog Options
- Show Blog Title: Use this toggle to show or hide the blog post title within the feed layout.
- Show Blog Date: Enable or disable the display of the blog post’s published date.
- Show Blog Description: Toggle the visibility of the blog post excerpt or description text.
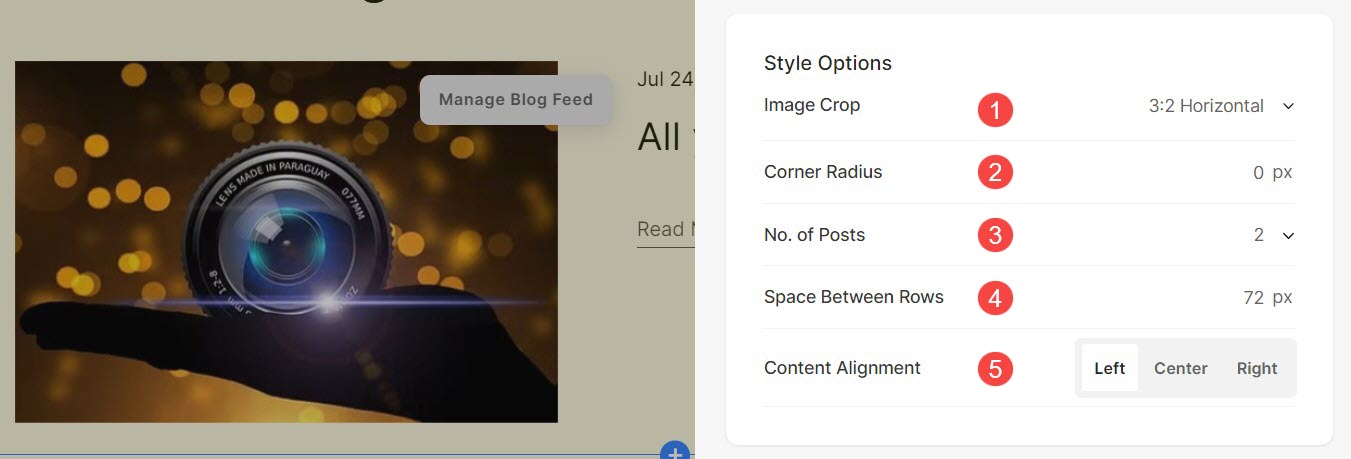
Style Settings
- Choose the image crop of the blog post thumbnails. You can set the images as Square, Circle, Horizontal, Portrait, and Original.
- Set the border radius of the thumbnail image by changing the value of Corner Radius.
- Set the number of Posts that you want to show.
- Specify the Space Between Rows of the list items.
- Align the content of the list items. You can set them to be left, right, or center aligned.
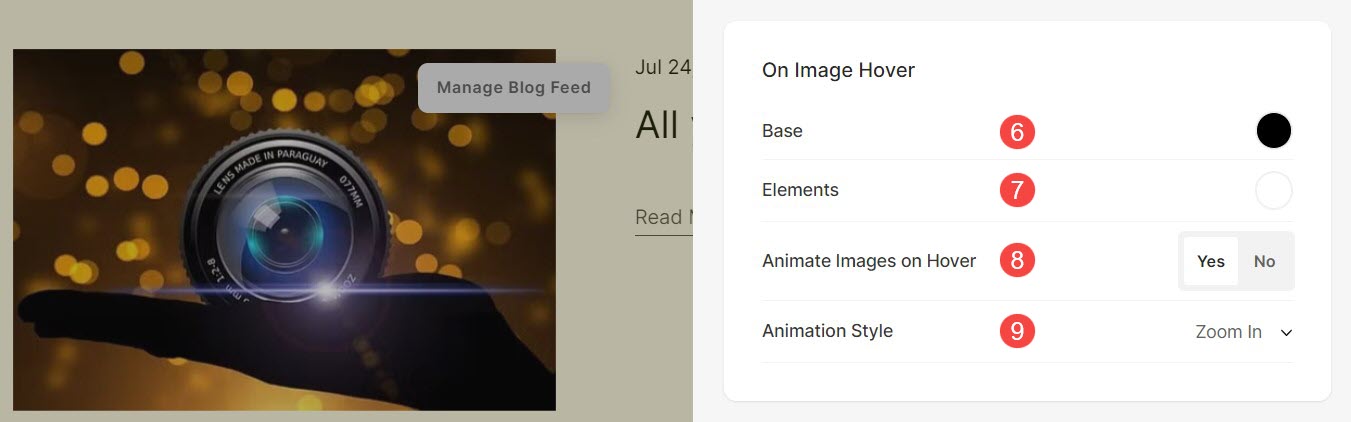
- Set the Hover Base color and its opacity
- Set the Hover Elements color.
- Choose to animate the list item images on hover by clicking on Yes.
- Choose the animation style for the blog post thumbnails.
- Specify the Image Width for list items.
- Specify the Content Width for the list items.
- Specify the Space below Section Headline in px.
- Specify the Space below images and Text of the list items (in %).
- Specify the Space below the Date of the posts (in %).
- Specify the Space below the Titles of the posts (in %).

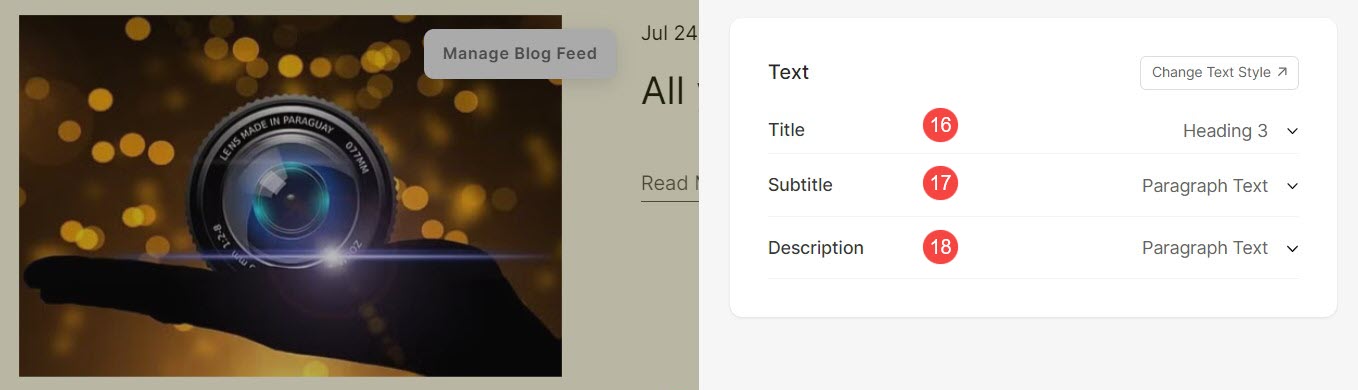
- Set the Title font style for the list items of the section.
- Set the Subtitle font style for the list items of the section.
- Set the default Description font style for the list items of the section.
- See how to manage Cards.

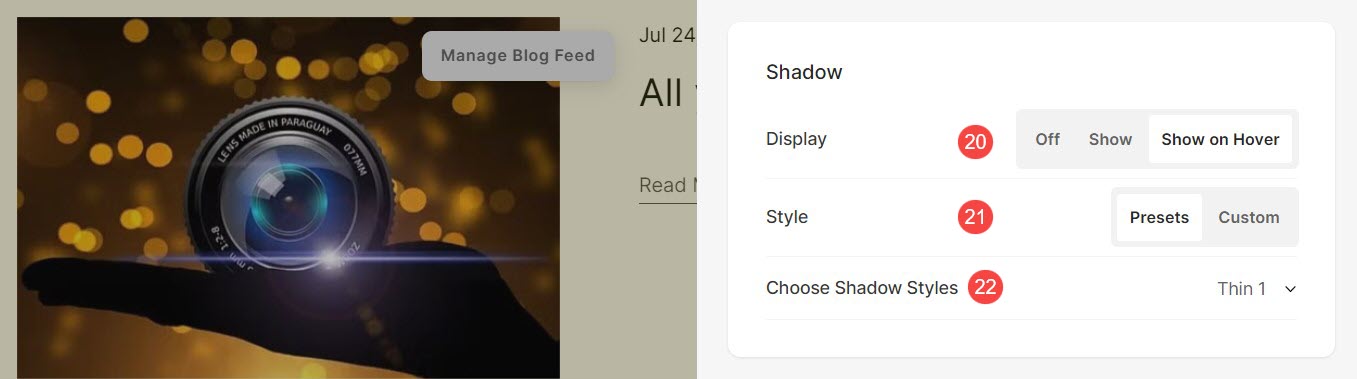
- Display – Choose to show the shadow behind the list items always or on hover only.
- Style – Choose from existing presets or create a custom shadow.
In case you have chosen the Custom option, then visit this Box Shadow Generator to create a custom shadow. Finally, copy and paste the box shadow CSS. - In case you have chosen the presets option, then Choose Shadow Styles from the dropdown.
- Specify the Section Headline of the Blog Feed section here.

Change Blog Feed Layout
Once you have added the blog feed section:
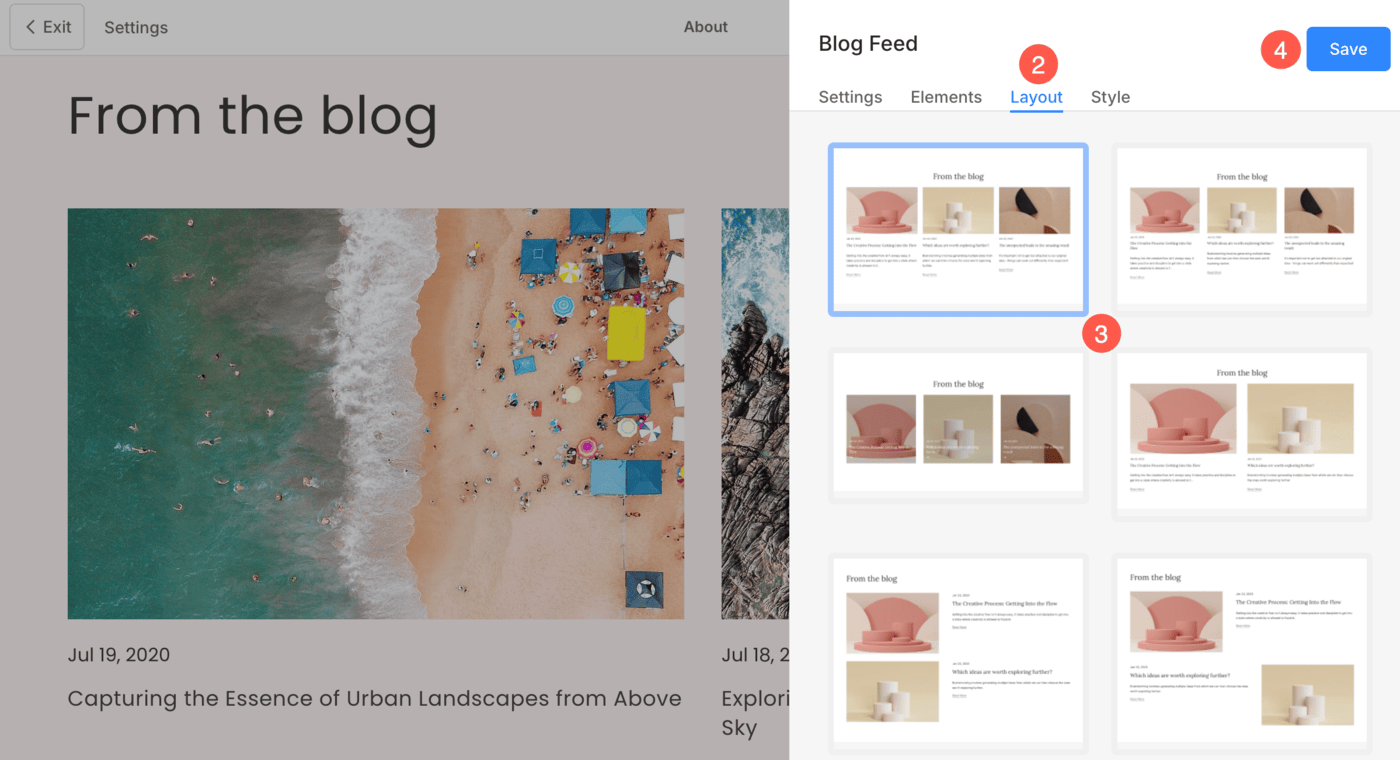
- Click on the Edit Blog Feed (1) button.
- Click on the Layout (2) tab where you can choose the blog feed layout.
- Choose the layout (3) and Save (4) your changes.
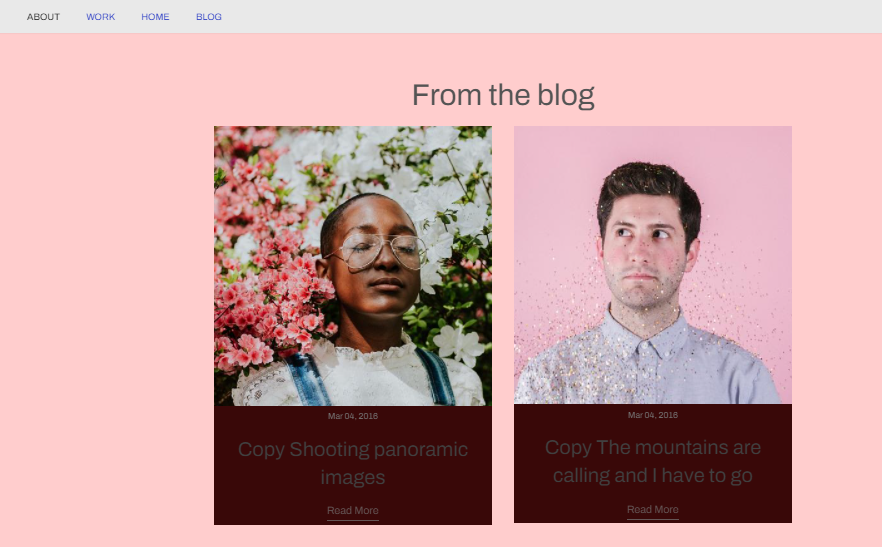
The Full card and the Text card
When you turn on the Full/Text Card over your blog post list, the list items will have an outline and background with the card color that you have selected in the Design section.
Also See: Website colors and spacing.
Full Card
When the full card option is selected, the card color is applied to the whole card i.e., the image and the text associated with it.
Have a look:
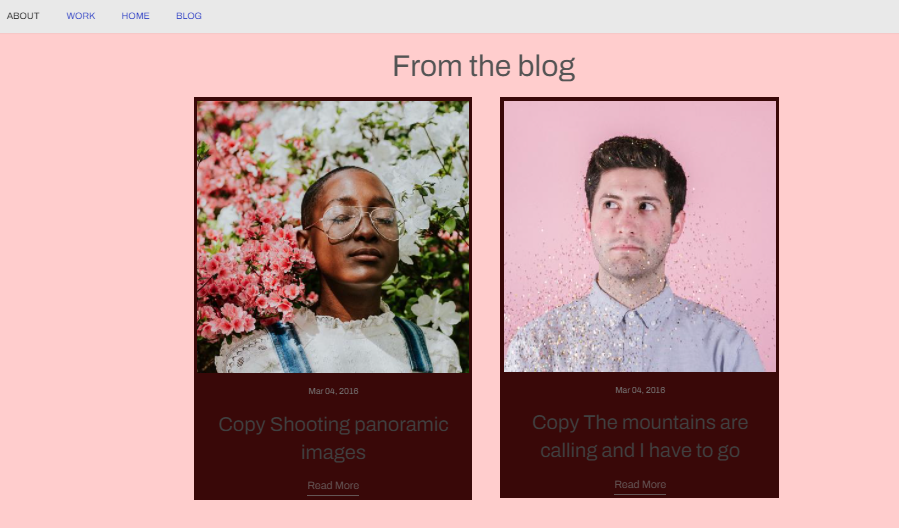
Text Card
When the text card option is selected, the card color is applied only to the text associated with the image.
Have a look: