An Album is a group of galleries that you can share with anyone publicly or privately.
Once you have created an Album in Client Galleries, the next step is to manage its settings. You can manage the album title, visibility, expiry date, cover image, SEO metadata, and many other album settings.
In this article:
To access the Album settings, follow these steps:
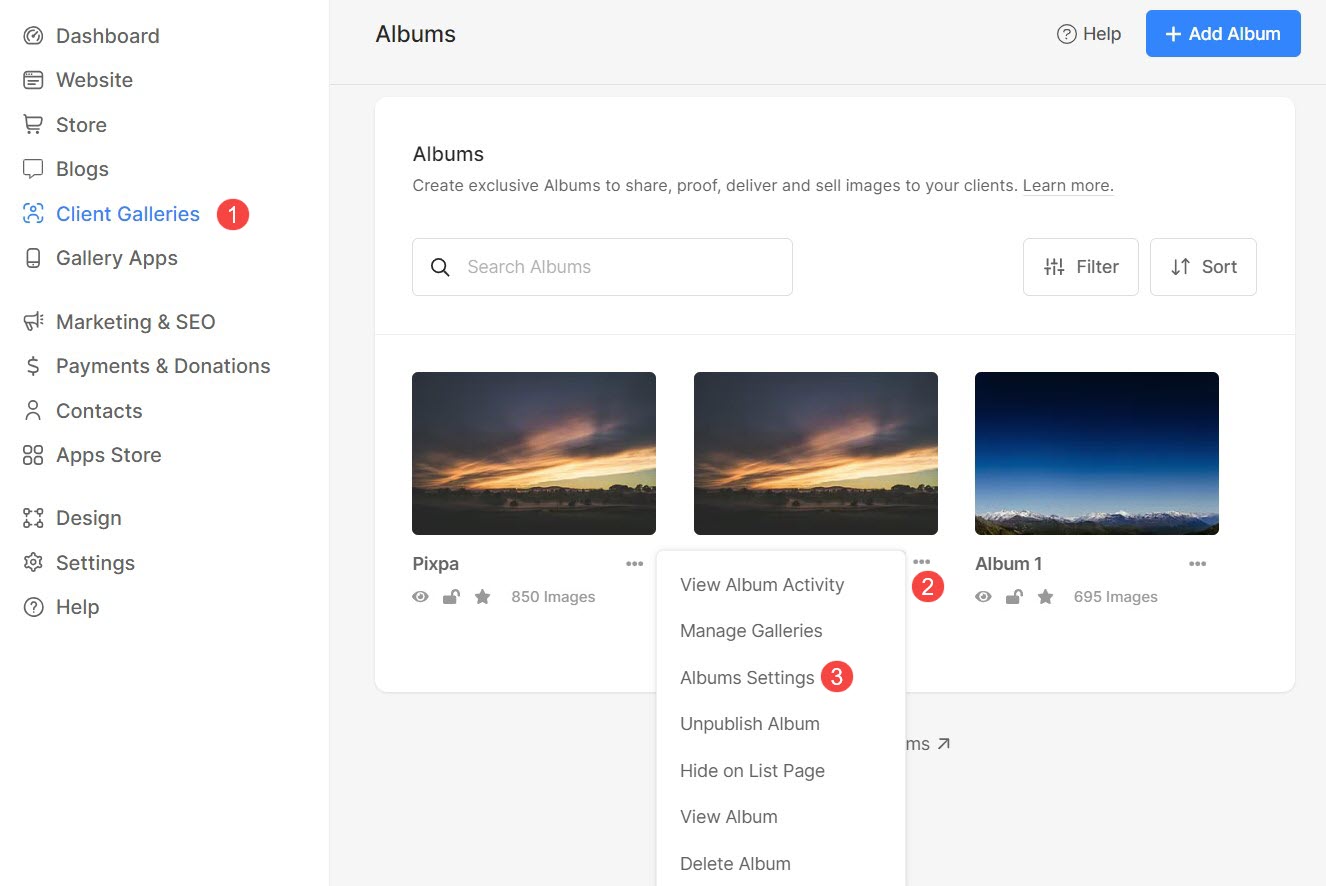
- From the Dashboard of studio, click on Client Galleries (1).
- You will see the list of albums. Click on the three dots (2) adjacent to the name of album that you want to edit.
- A popup will appear. Click on Album Settings (3).
If you are inside an album, you can navigate to it’s settings by following these steps:
- Click on the Settings (1) icon and then on the Album Settings (2).
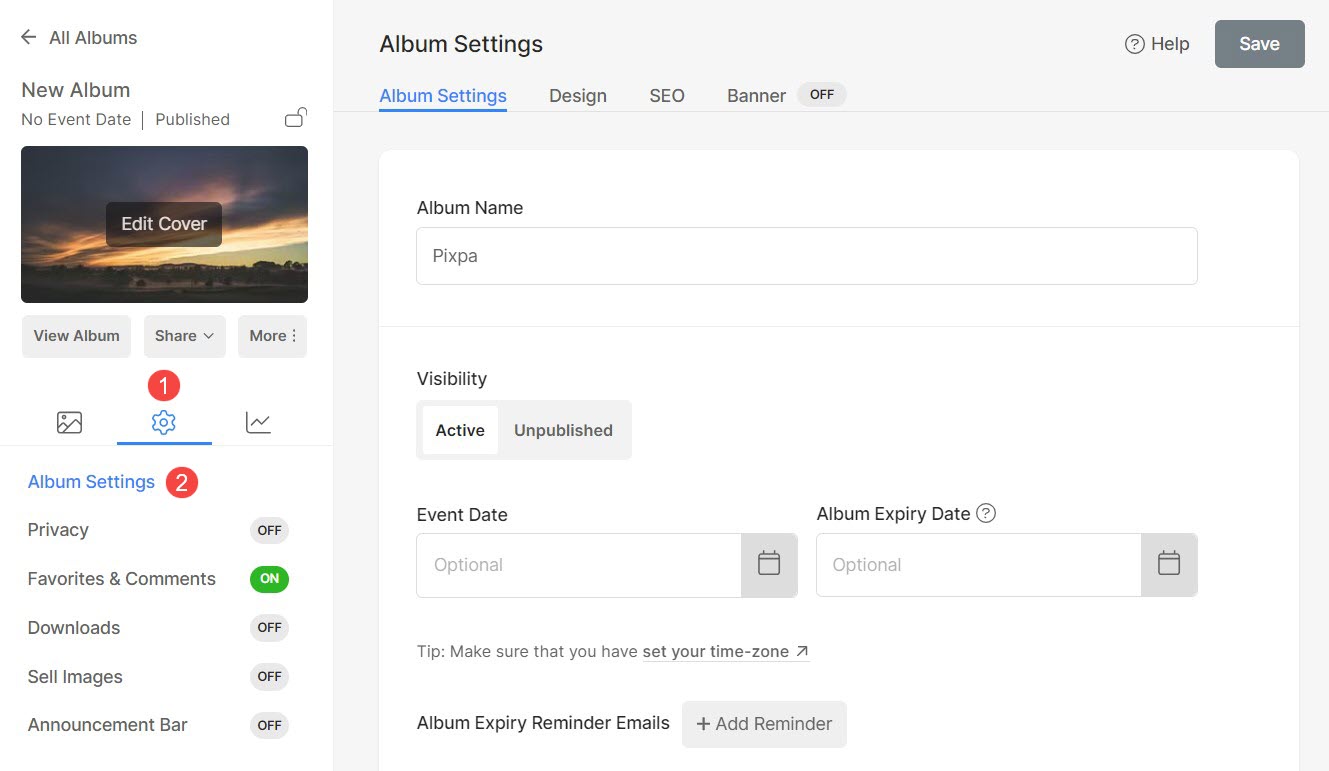
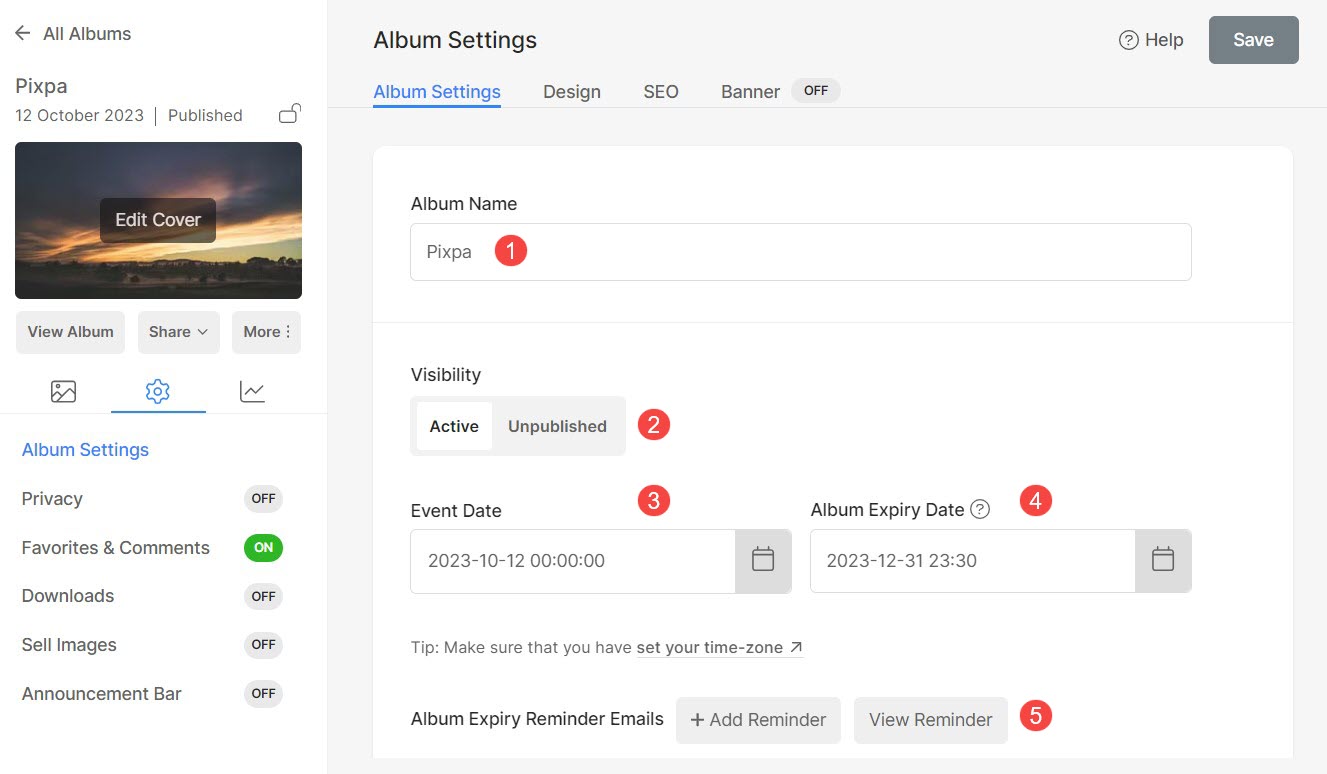
On the Album Settings page, you can manage: (See screenshot below)
- Album Name – You can change the album name if needed.
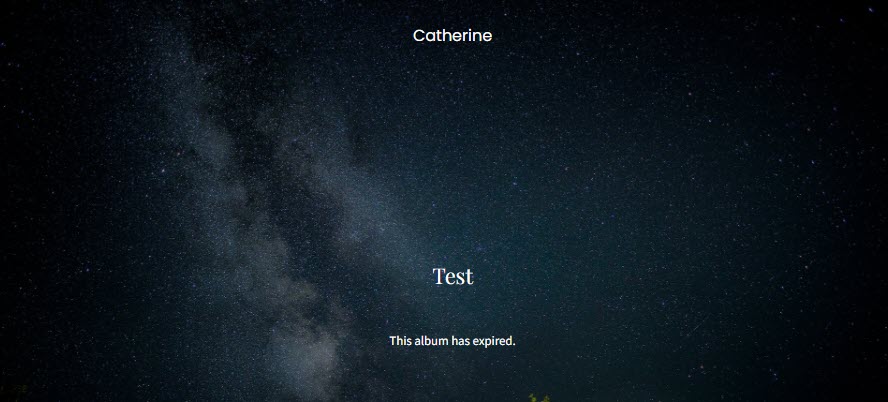
- Visibility – You can make the album Active or Unpublished.
When you unpublish an album, your visitors cannot enter into it. It shows up as expired when anyone views it.
- Event Date – Add an album event date (optional).
- Album Expiry Date – Add an expiry date (optional) for the album. After that particular date, the album will no longer be accessible.
- Album Expiry Reminder Emails – Set the album expiry reminder emails that will be sent to your clients.
- Add Reminder – Click on this button to add a reminder email. You can add a reminder only if you have set the album expiry date.
- View Reminders – Click on this button to view all the reminder emails sent.
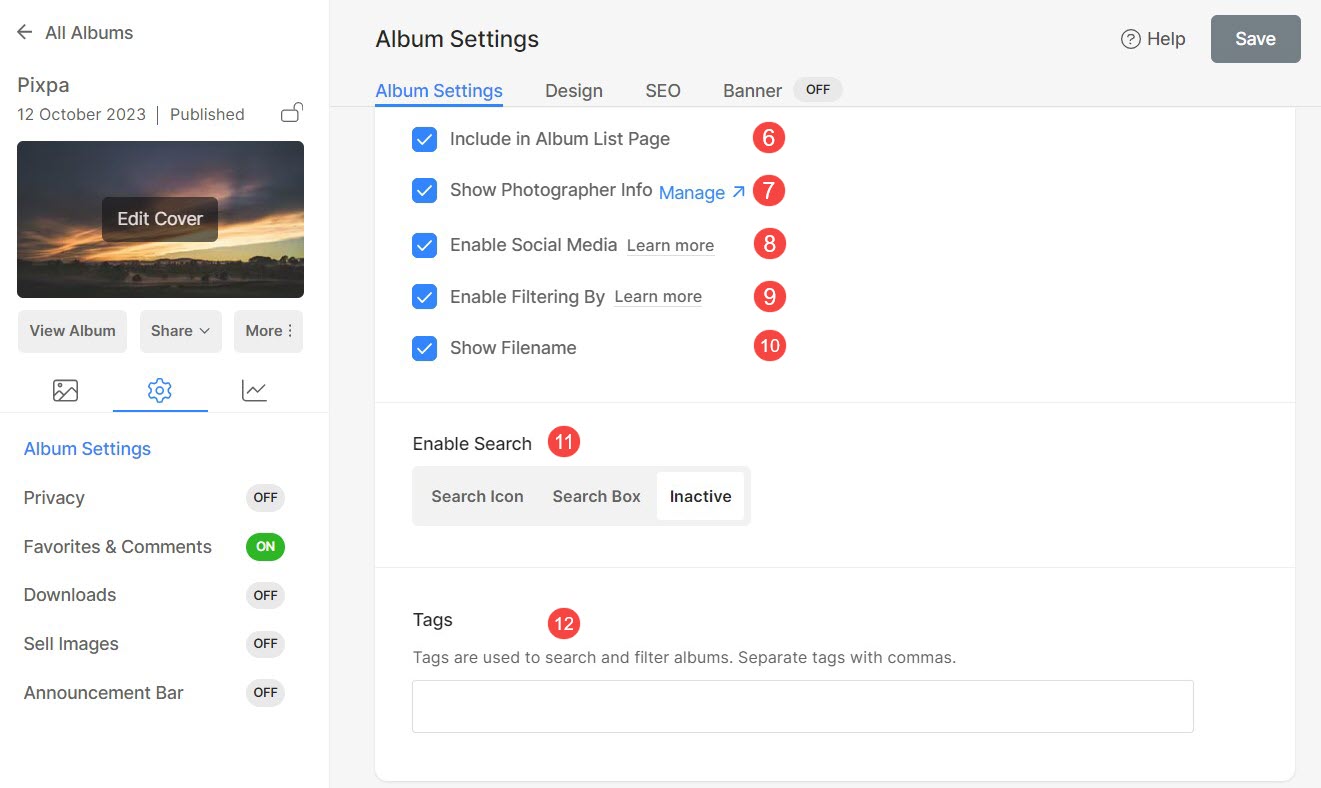
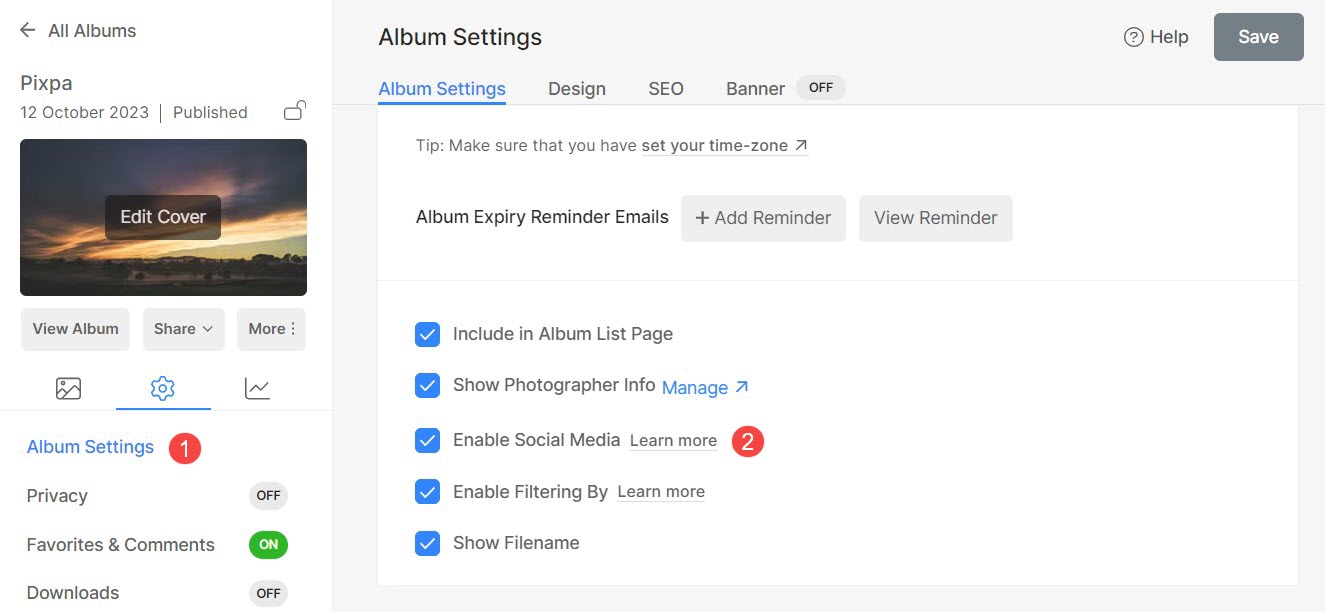
- Include in Album Listing Page – Select this option to include this particular album in the Album Listing Page.
- Show Photographer Info to your clients. You can specify this information on the My Account page.
- Enable social media sharing of your album.
- Enable filtering by Tags on the album page.
- Show Filename – Check in this option to show the filename under the image in the lightbox mode.
- Enable the image search icon/box on your album. The image filenames or keywords can be used for searching.
- Tags – Enter the tags for this particular album.
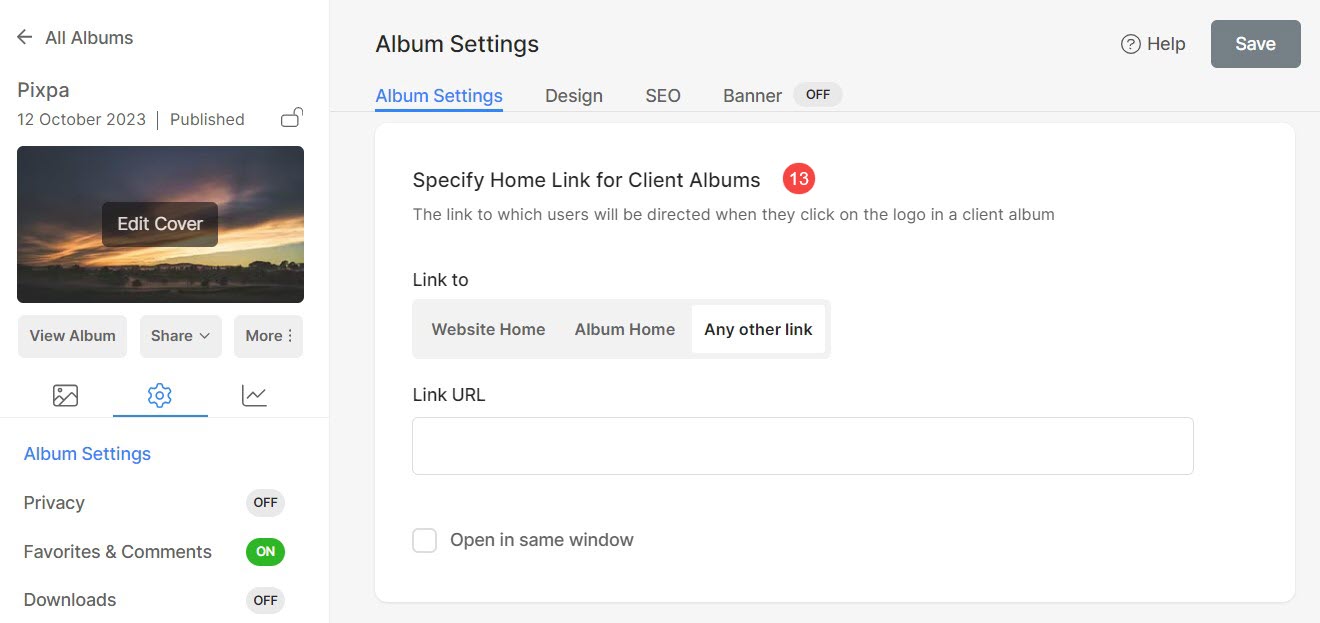
- Specify Home Link for Client Albums – Specify the link to which users will be directed when they click on the logo in an album.
You can link it to your website homepage, album homepage, or specify any other link.
You can choose to open the link in the same window or a new one.
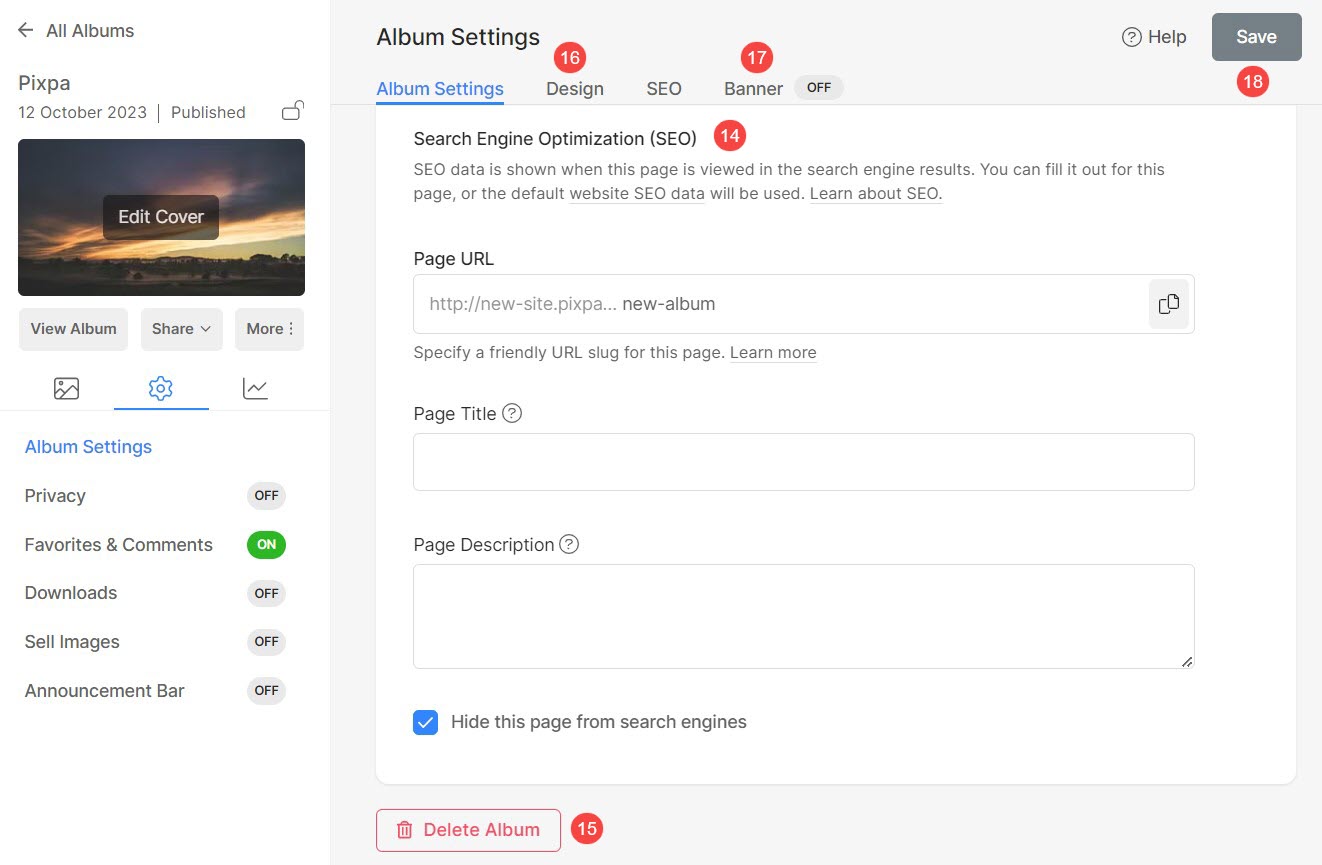
- SEO data – Specify SEO metadata for this album. It will override the website’s main SEO data specified in the website settings section.
- Google Search Result Preview shows how the album details will reflect in case of a google search.
- Page URL – Manage the URL for this album.
- Page Title –
- Page Description –
- Hide this page from Search Engines if you do not want your album to be indexed.
- Delete this album.
- Design – Control how to display your galleries in the album.
- Banner – Used to show a full-width banner on the top or bottom of the album.
- Save all the changes done.
Social Media Sharing
Enabling sharing for a client album lets visitors share the album, galleries, and images on social media platforms.
You can enable social media sharing on any album.
To enable sharing of an album, follow these steps:
- In the Album Settings (1), you would see the social media sharing option on the right side (2).
- Select it.
- Hit the Save button to save the changes. That’s it.
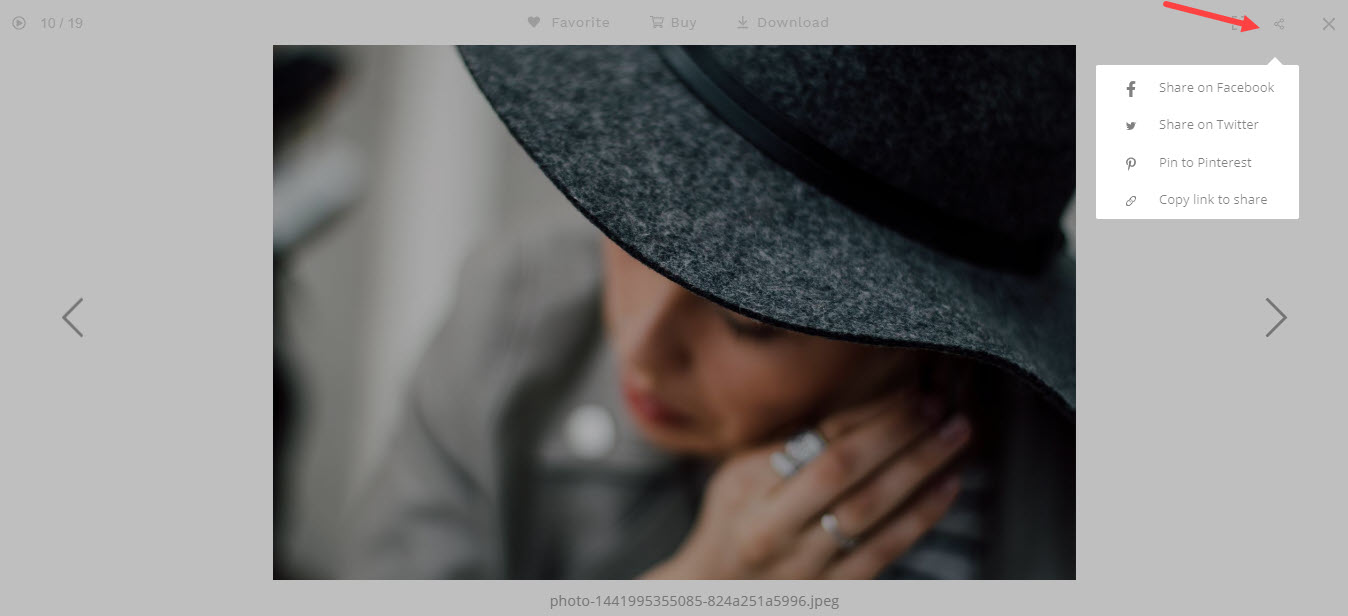
Preview
This is how you will see the sharing links on individual images of client albums.
Do check out the demo album in action here.