Any menu item (excluding a Folder) can be directly added to a Folder via drag-and-drop.
A nested structure has two levels of folders. This can be useful when you have different categories of images or content and of different dates/any other classification. That means when you need two levels of classification for your content, you can opt for the nested structure.
Here are the two ways to achieve a nested folder structure:
Add a folder inside another folder
A folder can not be directly added to another folder. However, there is a workaround to achieve this with the help of the link menu item.
Step 1: Create two folders
See how to create a new folder.
Step 2: Create a link menu item under a folder (Folder A)
- Click on the + Add Page button below one of the folders (Folder A).
- This will open up a screen where you can select the page type. Select Link.
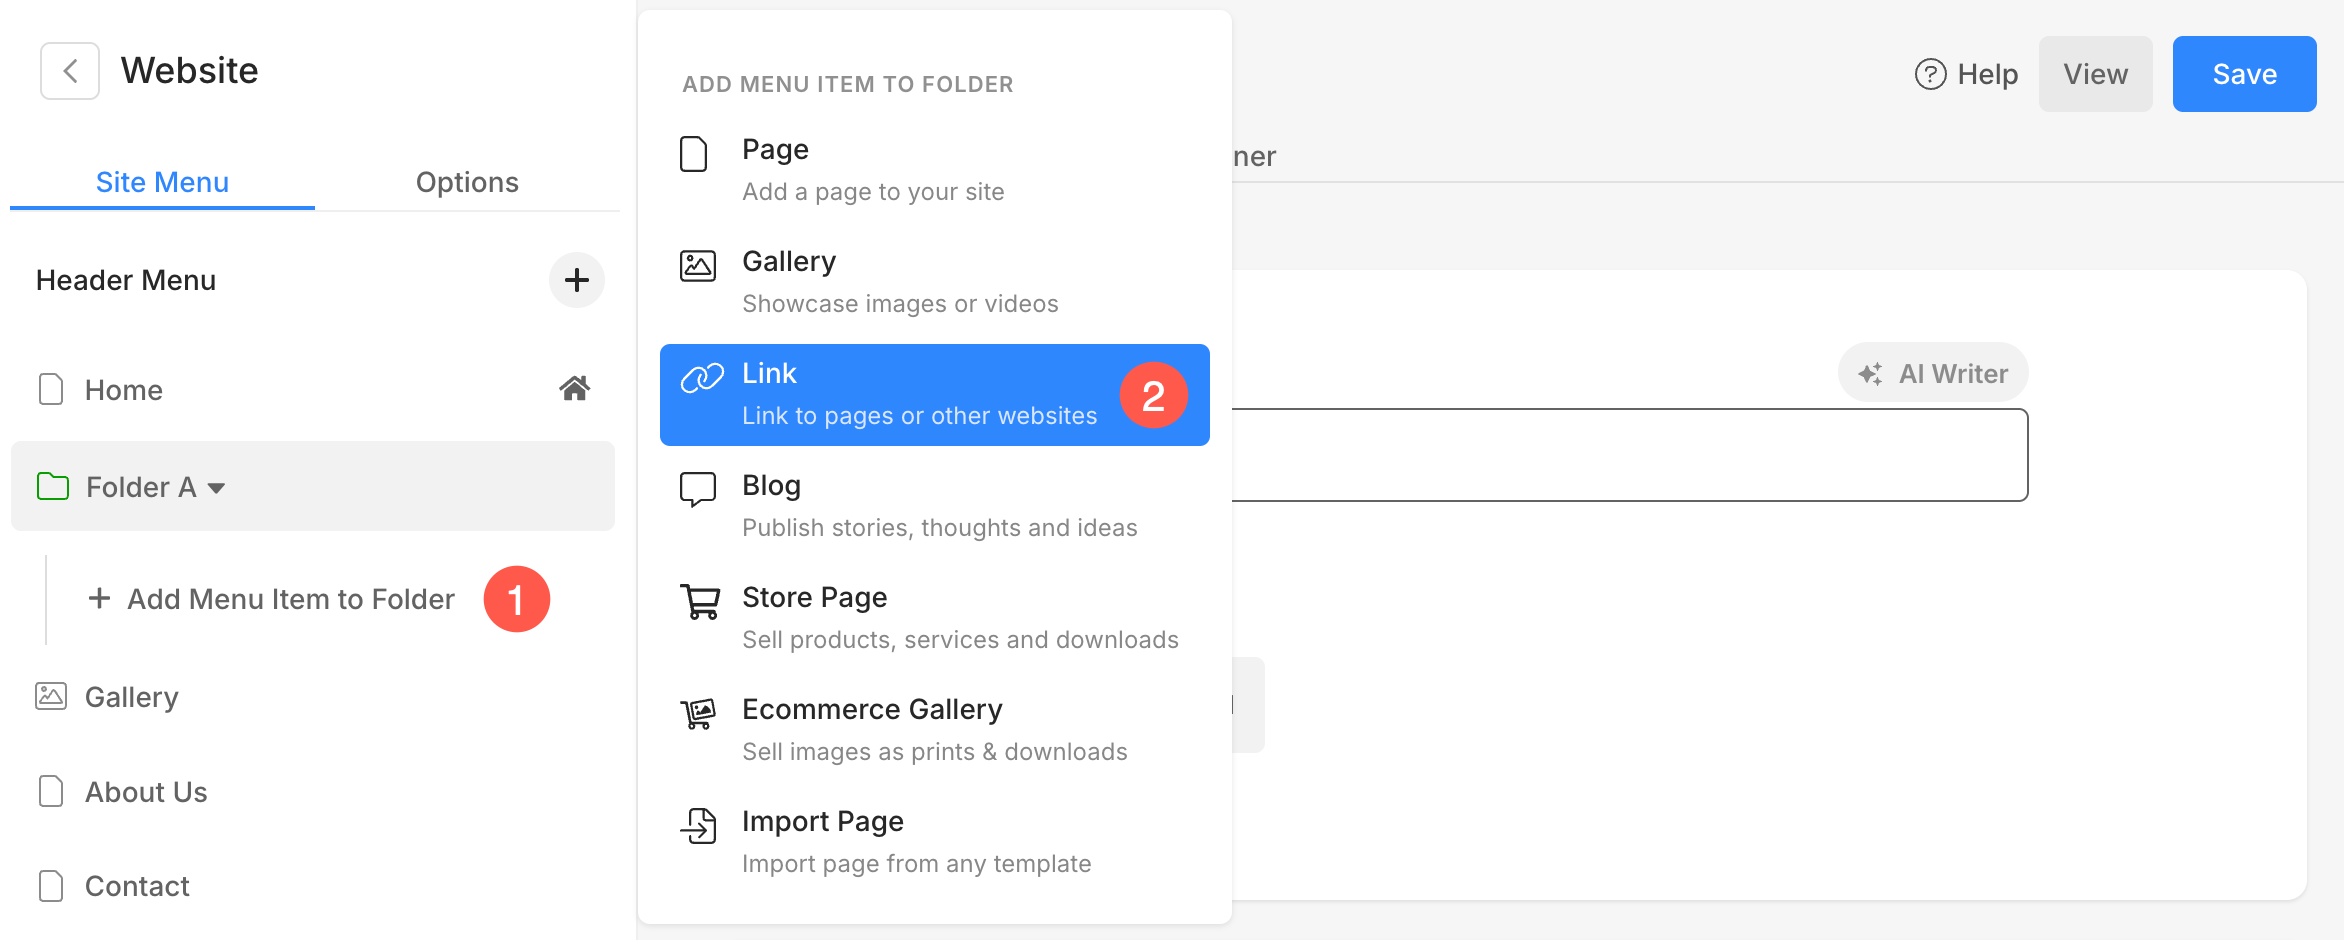
- Specify a name for this link menu item. Typically, it should be the name of the other folder (Folder B) that you want to add under this folder (Folder A).
- In this example, we will add folder B to this folder. Hence, I’ll name it ‘Folder B link’.
Also Check: Add a link to your website
Step 3: Link the other folder (Folder B) to the link menu item
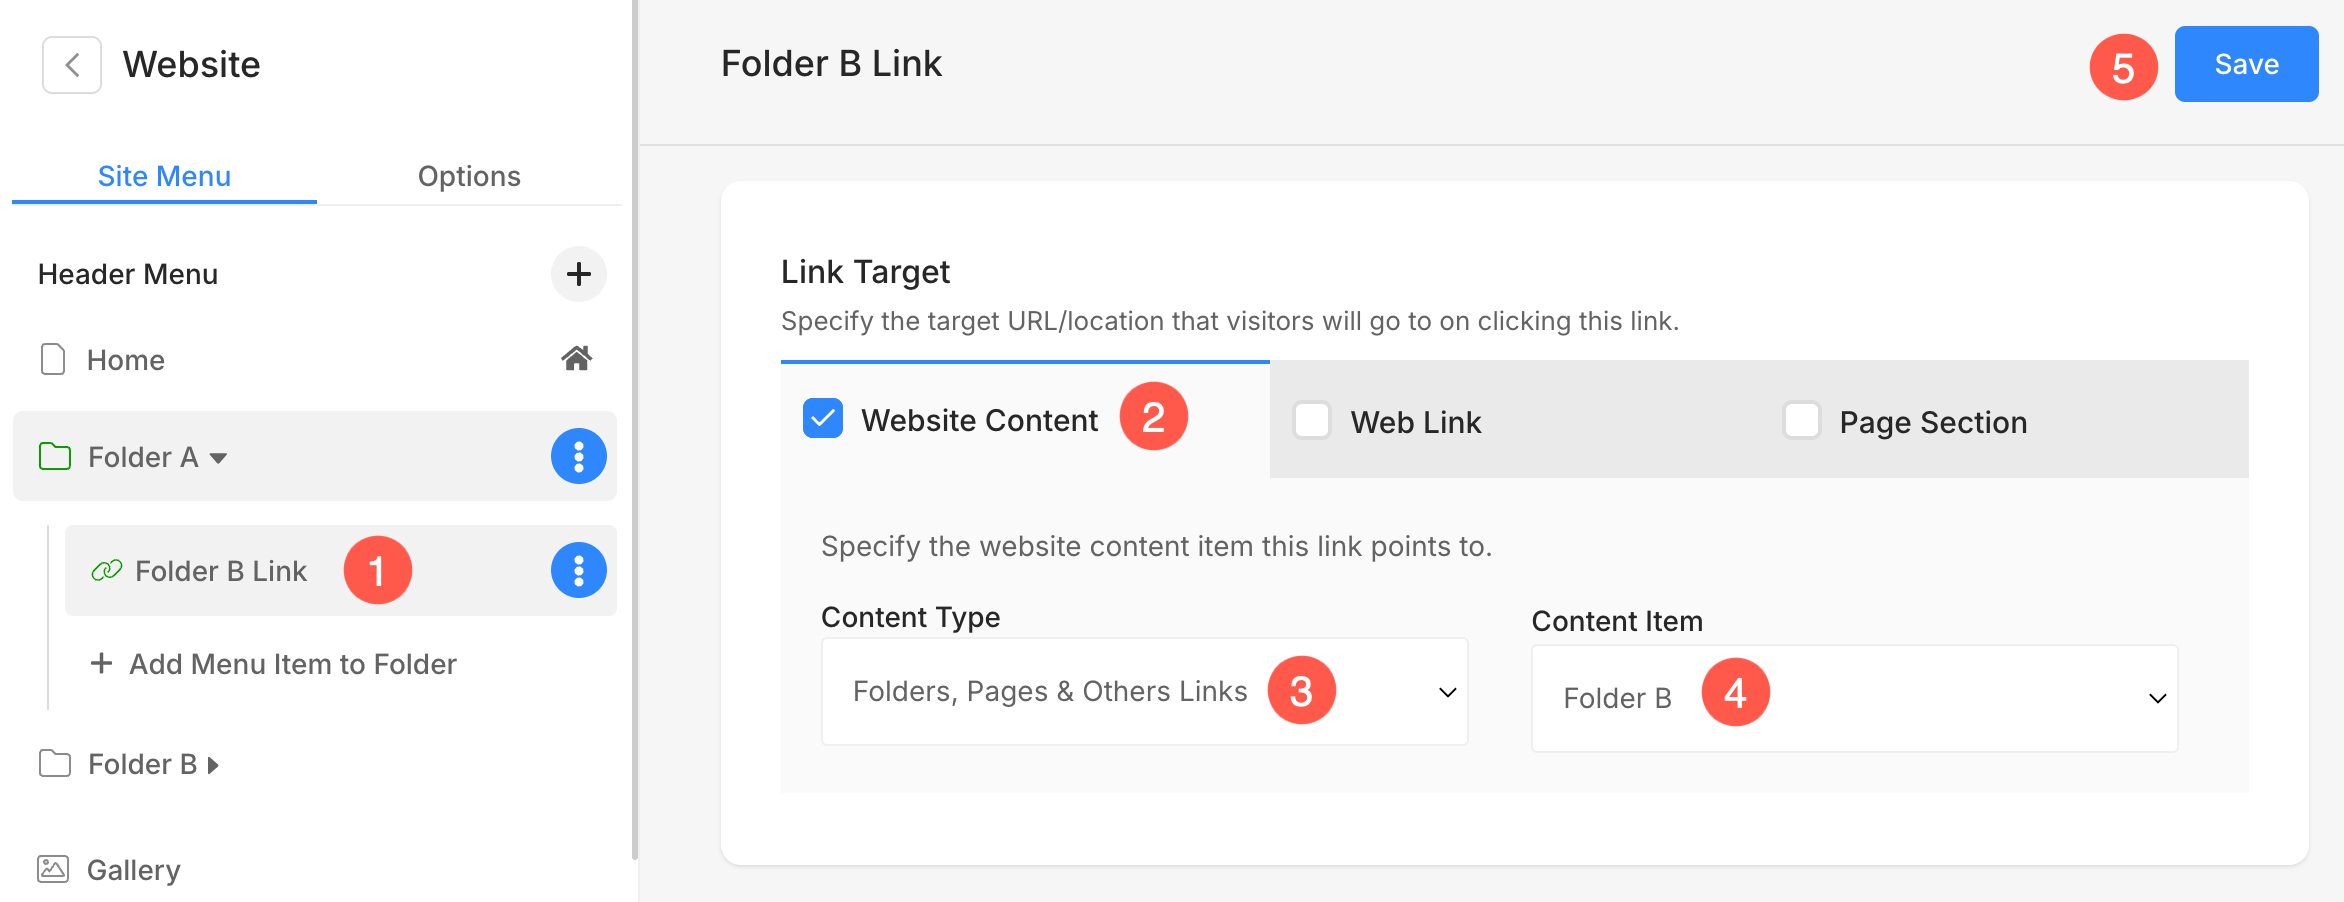
- Click on the newly created link menu item (1). You’ll now see the settings for the link.
- Scroll down until you find ‘Link Target’ and check Website Content (2).
- Under Content Type, select ‘Folders, Pages & Other Links’ (3).
- Next up, select the other folder (Folder B) (4) and hit the Save button (5).
Add folders inside a page using image lists
Step 1: Create a folder for each of your categories
Create folders for each of your categories and add pages/content to them.
Step 2: Create a new page
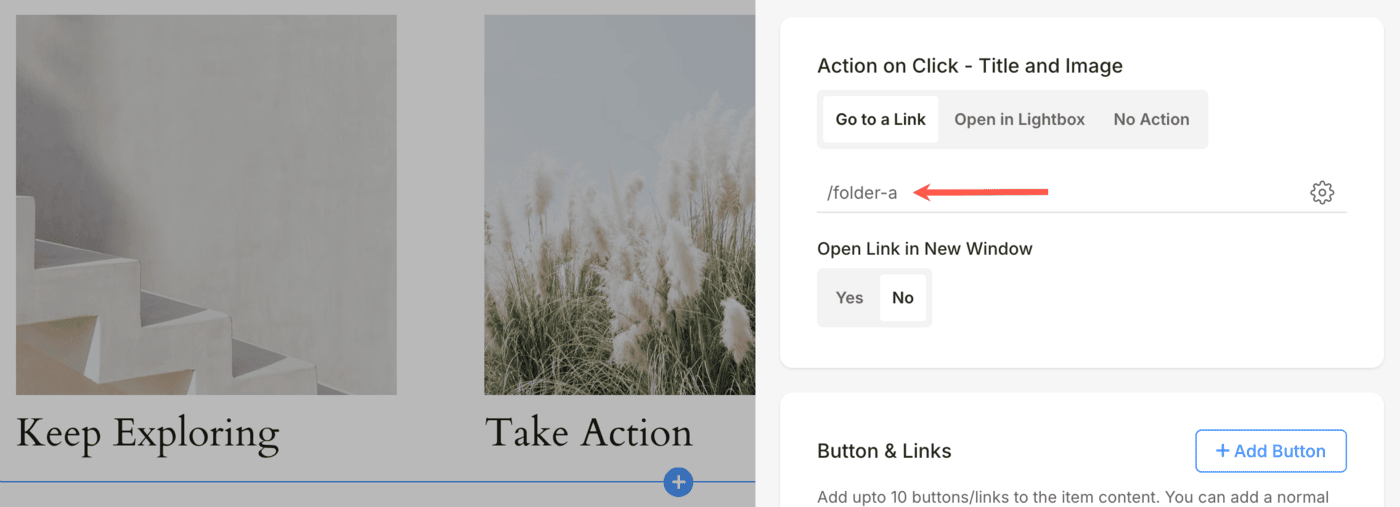
- Create a new page and add an image list section to the page.
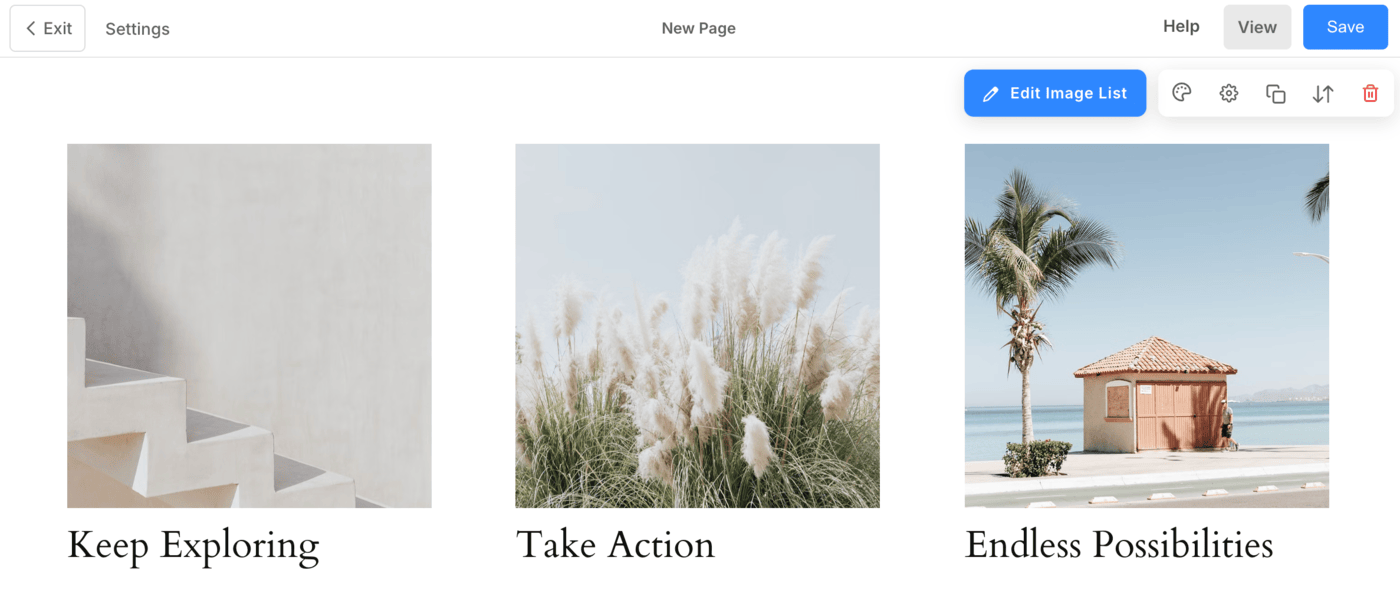
- Next up, link each image list item to the folders you created earlier.
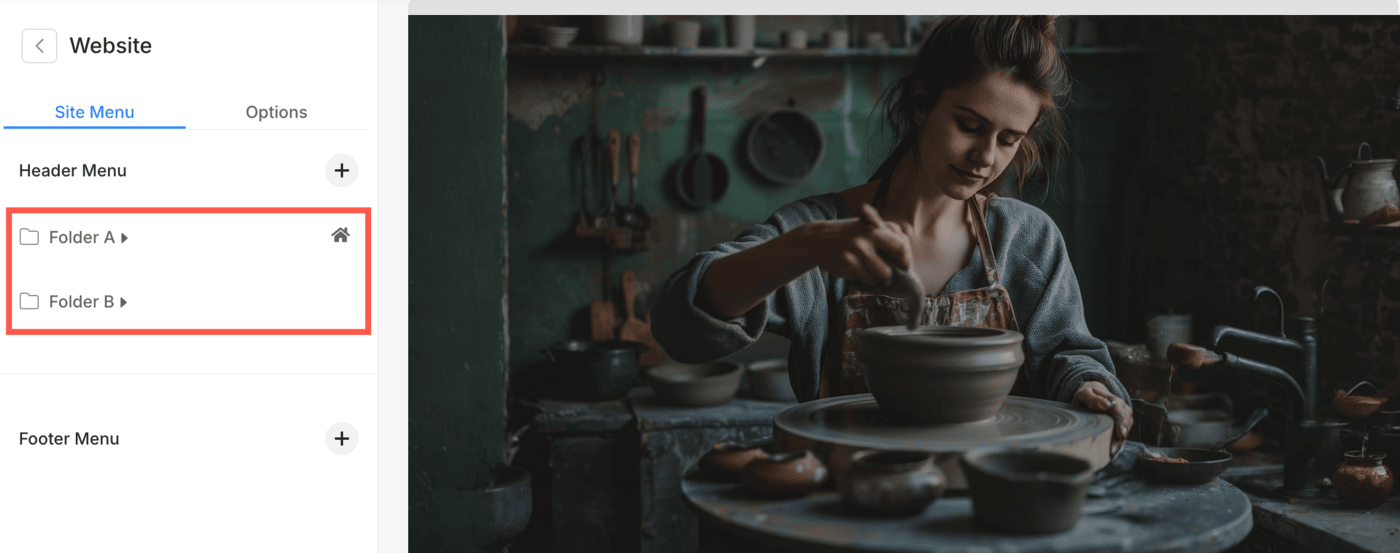
- That’s all! Now, view the page and check the nested structure.