You may want to change the template your website is currently using or check out different templates until you have finalized the one you’d like to use.
What is a template?
- Think of each template as a set of presets created by Pixpa experts to help you get the look you want for your website.
- You can further customize any template using the Style Editor in the Design section.
Check the templates offered. - Just change your website design template, and you will have a brand new look for your website with a single click.
- You can change your website template as many times as you like. There’s no additional charge for that.
Also see: What happens when you change the website template?
In this article:
- Change the website template
- Manage demo content of the chosen template
- Using an earlier design style with the new template
Change the website template
- Go to the Design section, and click on the template.
- You can then click on the Change Template button.

- This will bring you to the Choose Templates screen. All the available templates will be present here.
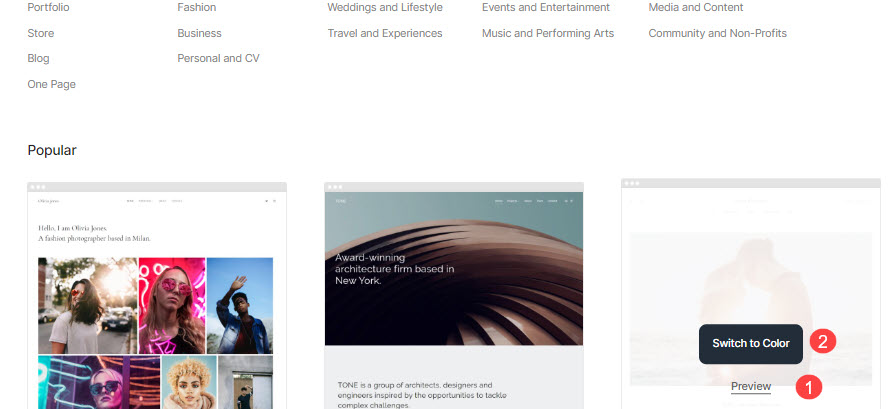
- To view the preset styles of a particular template before applying the same, you can click on the Preview button (1).
- To switch to a particular template, you just need to hover over it, and then click on the Switch to template_name button (2).
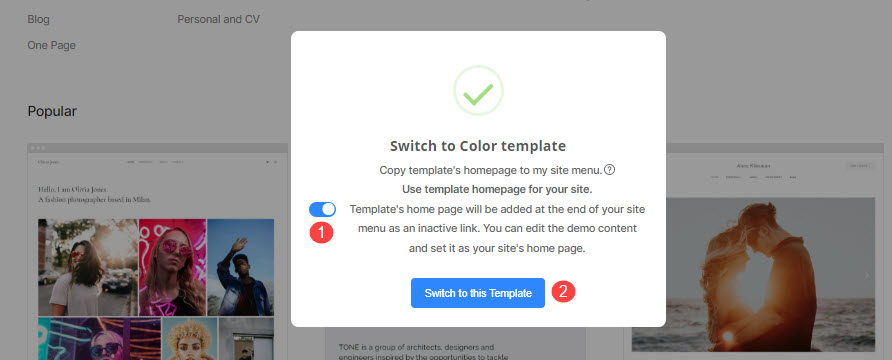
- Once you have clicked on the Switch to template_name button, the system would ask if you want to copy the home page of the chosen template in case the chosen template is a single-page website or its home page is a page. In all other cases wherein the home page is a folder or gallery or blog, the copy home page toggle would not be available.
- You can edit or delete this demo page from the Website section later.
- If yes, turn on the copy template’s homepage demo content toggle (1). If not, you can turn off this option, and just switch the template (2).
Voila! Your chosen template has been applied to your website.
Manage demo content of the chosen template
- On copying the demo content in the step above, the home page of the new template that you have chosen is added to your website. You can edit this, and add your content to match the exact look of the original template you have selected.
- Or you can delete/hide it as well from the Website section.
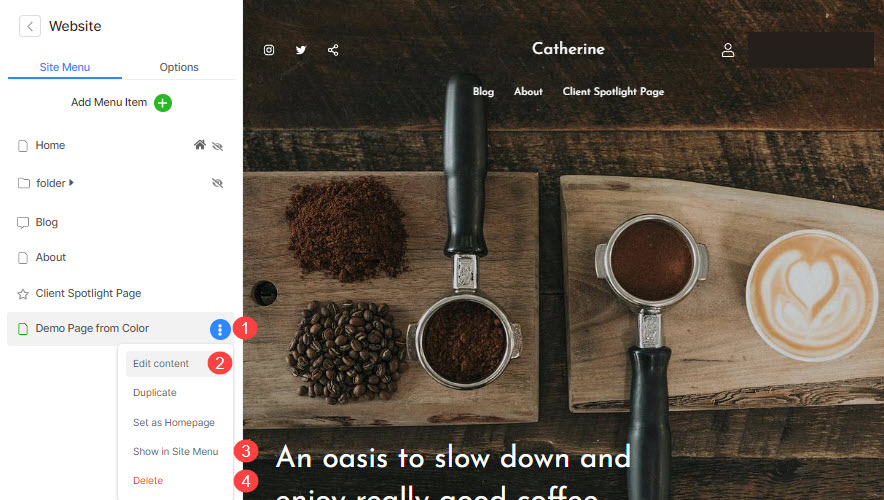
- Click on the three vertical dots (1) icon next to its name. You would see the Edit Content (2), Show in Site Menu (3), and Delete (4) options under the dropdown.
- To edit the demo page, click on Edit Content.
Also Check: Edit a page. - To show the same, click on Show in Site Menu.
- To delete the same, click on Delete. Learn more.
See:
See in action
Using an earlier design style with the new template
- You can use your old style with this new template.
- That would mean you can apply your previously used fonts, color, size, weight and gallery layouts, etc on this new template in a single click with the help of Style History button under the Design section.
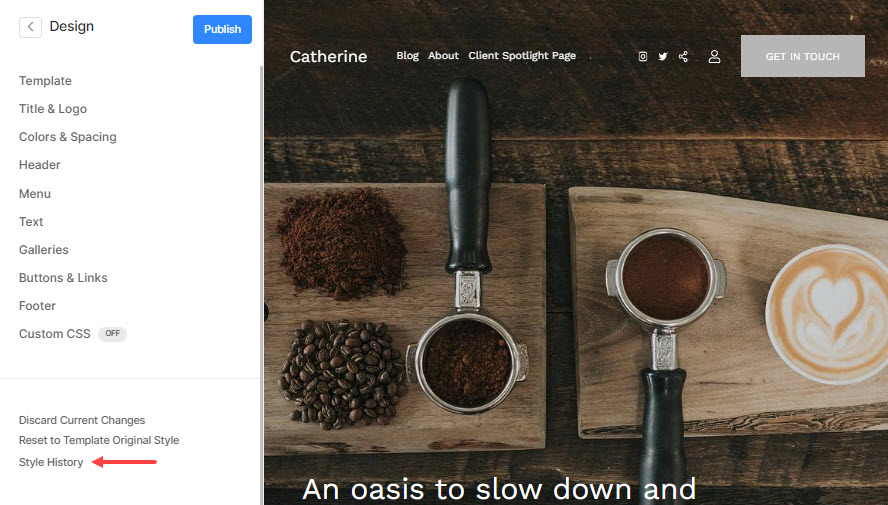
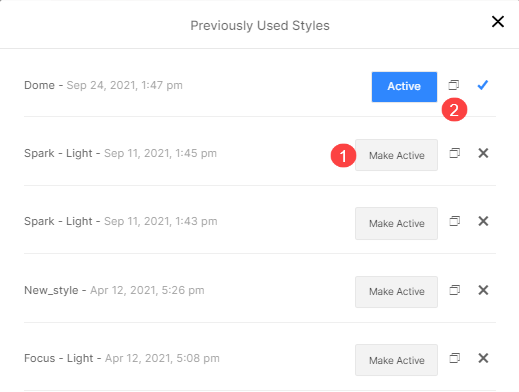
- Style History tab would open a pop-up window when clicked on, which will show all your saved and currently active styles.
- You can apply any saved style (1) from here or you can copy the original style (2) with any name, and make changes to it.
- You can click on the Reset to Template Original Style button to apply the current template’s style to your website.
