If you haven’t purchased your domain name yet, you can buy your domain name from any domain registrar like Godaddy.com, Name.com or Register.com etc.
If you need any assistance in buying the domain, please email us at support@pixpa.com & our support team will help you in this process.
To use your existing domain name with Pixpa, you need to add/update the DNS settings in your domain control panel. Many domain registrars allow you to login to their web sites and update the DNS settings through an online form. If not, then you would need to contact your domain name registrar and request them to do these changes for you.
Steps to connect your domain name to your Pixpa website:
Step 1. Locate the DNS settings for your domain.
Login to your domain name control panel. This is typically the account that you created when you purchased your domain name from any domain registrar. Find the DNS settings section for your domain name. Some registrars refer to it as Advanced Domain Name settings.
Step 2. Create a CNAME record
In the DNS Settings section, create a www CNAME record and point it to domains.pixpa.com
Please note, do not add anything in this, the CNAME value will be “domains.pixpa.com” only.
Step 3. Create a Domain Name Forwarder
Find the section in your domain name control panel where you can add forwarding for your domain name.
Create the domain name forwarder: yourdomain.com will forward it to www.yourdomain.com.
For Example: amrishmudgal.in will forward to www.amrishmudgal.in
Step 4. Make a Go Live Request in the Studio
Once you have completed the above steps, you can then submit a Go Live request now.
- Go to the Pixpa dashboard.
- Search for ‘domain’ and click on the first search result.
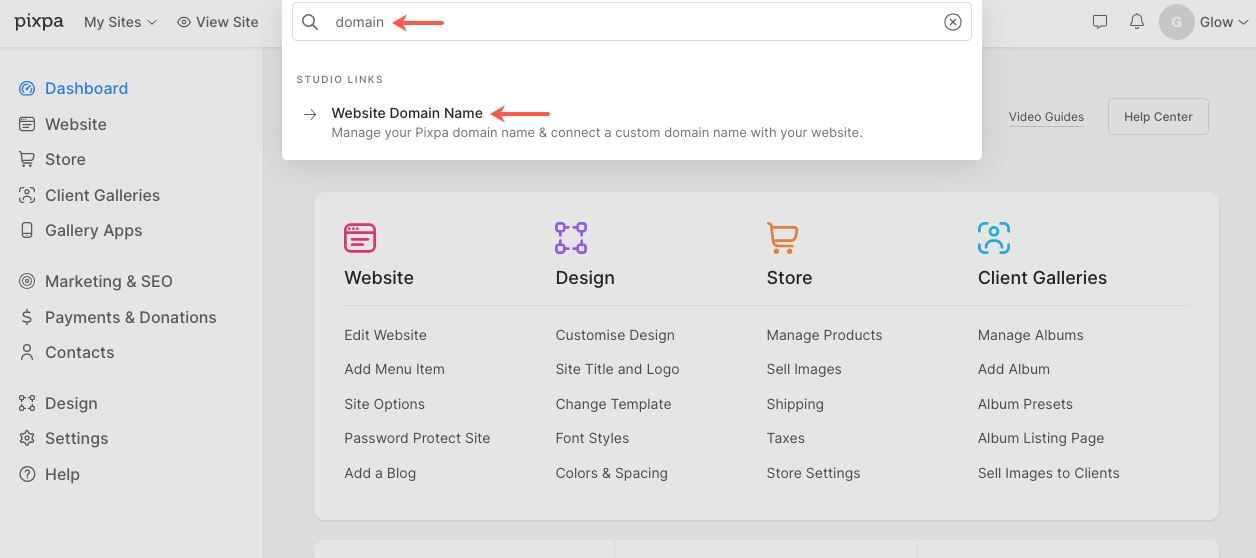
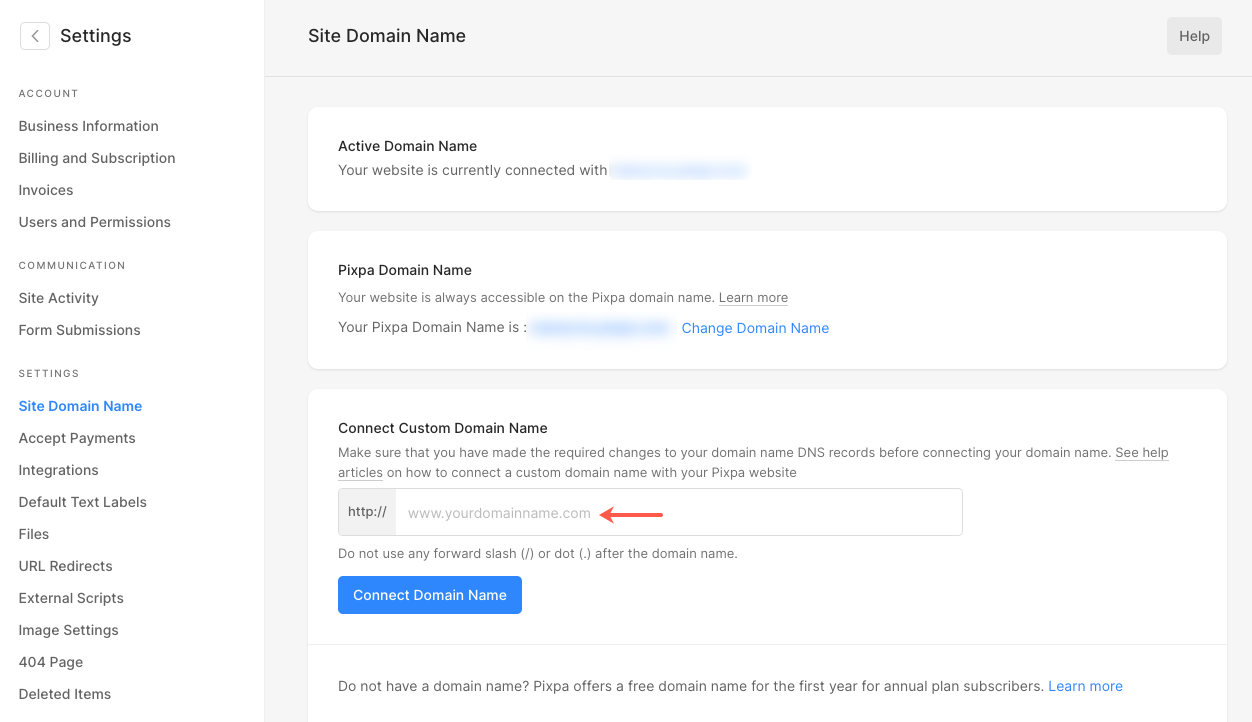
You’ll reach the Site Domain Name page.
Enter your domain name with “http://www” prefix as http://www.amrishmudgal.in in Connect your Domain Name section as shown in the image below.
Here amrishmudgal.in a domain name is an example in this help article. Request you to replace it with your domain name.
If you need any assistance at any point through the process, email us at support@pixpa.com.